Increasing interpolated position holding strength when printing
-
As my understanding goes using interpolation mode with the steppers basically cuts the signal early which, at the cost of some holding strength, greatly reduces the motor noise while printing.
I'm currently running a corexy machine and while running in 1/16th interpolated I'm running into a problem of speed causing arc segments to lose position.
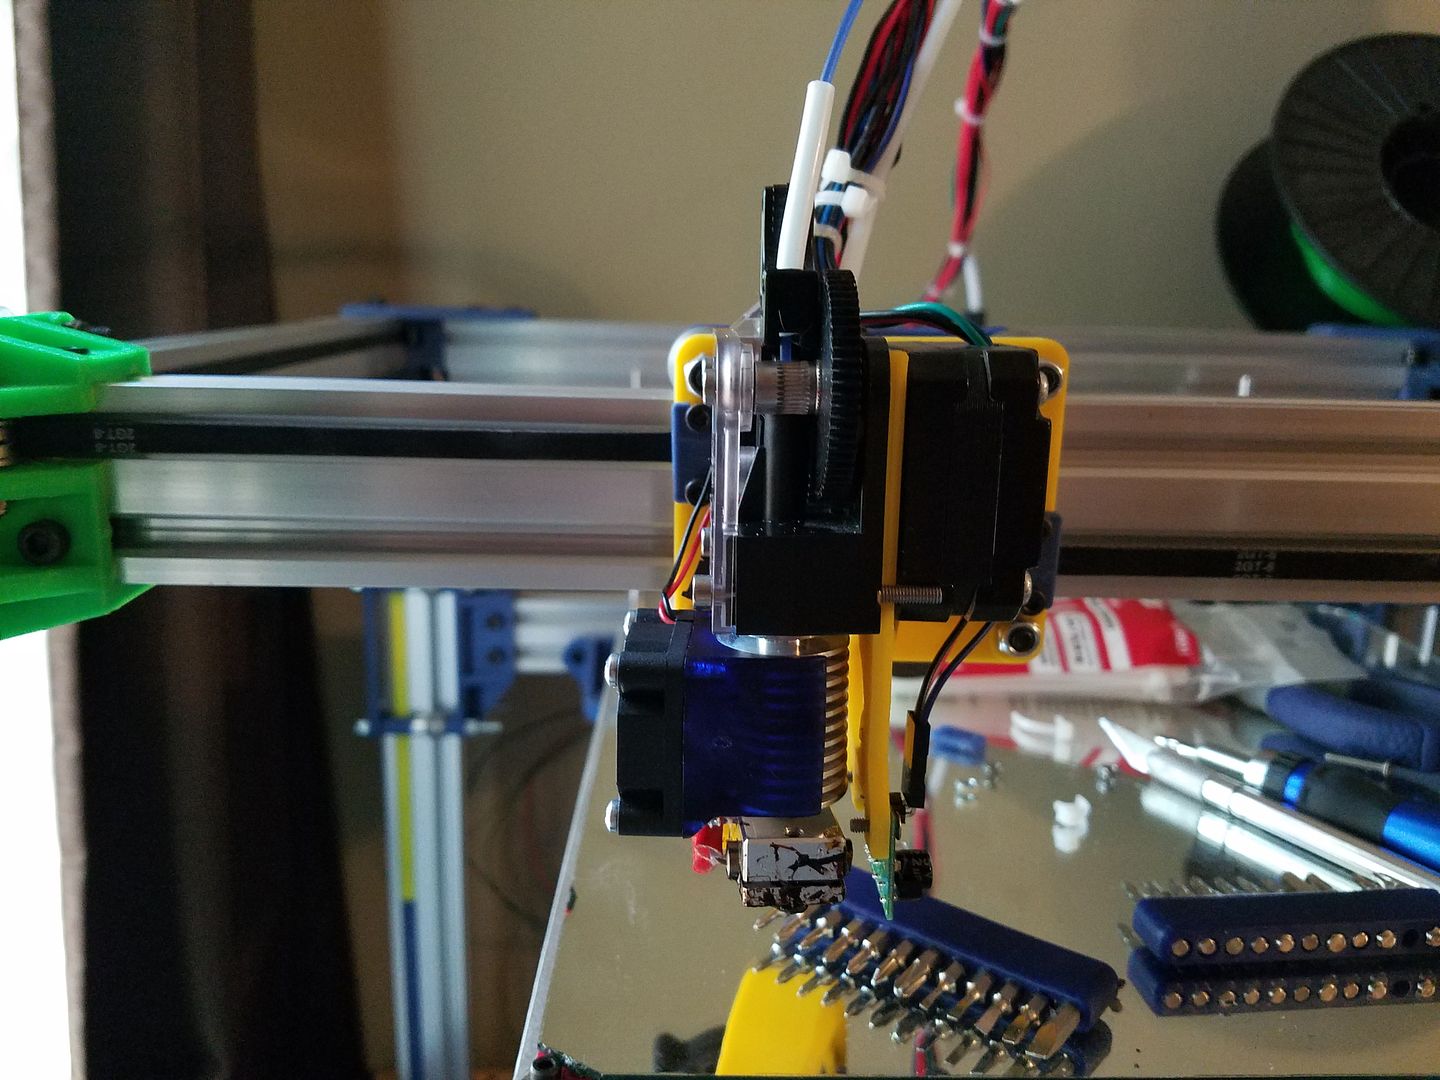
I am assuming this is due to the weight of the xy gantry weight of a pancake nema17 and a titan extruder and a printed blower fan duct and blower fan.
All of this is leading up to the big question of is there a way to increase the holding strength and maintain quietness? Adjusting accel and Jerk up helps fix this but causes severe ringing from moving around corners reducing it helps but you have to back off the speed. I'm not looking for 150mm/s print speeds. But I would like to be able to push between 75 and 100.
If turning off Interpolating is my only real option then so be it but I thought I would ask first. Motor currents are currently 800ma for x and y 1200 for z
-
I'm not an expert but i build my core xy printer to achieve the same goal. All your componement have to be really light and the couple jerk/acceleration have to be test closely to find the good compromise. I also increase motor power for x/y to 1200ma, i think it's help to avoid skipping step but not sure but i've still the interpolation active.
I can run my printer at 150mm/s with 7000 in acceleration and 2500 in jerk whithout loosing step and ringing. But it's a small printer 200x200x300 in bowden mode. You can see it here https://www.duet3d.com/forum/thread.php?id=36I'm building my next bot now, a bigger 400x400x600 mm and i've bought close loop stepper to reach the same value and with a direct drive. I will see soon If it's work !
-
No, interpolation doesn't cut the signal early. It generates intermediate microsteps in between the ones that the electronics provides. I don't believe it will affect holding strength or positioning accuracy at all.
Apart from mechanical design, which isn't my area, the following may help achieve high speeds:
- use firmware 1.15c which includes a bug fix for handling sequences of short segments.
- use low inductance motors
- run the motors at around 80 to 85% of their rated current
- 0.9deg motors may help, as long as you also use 24V power
-
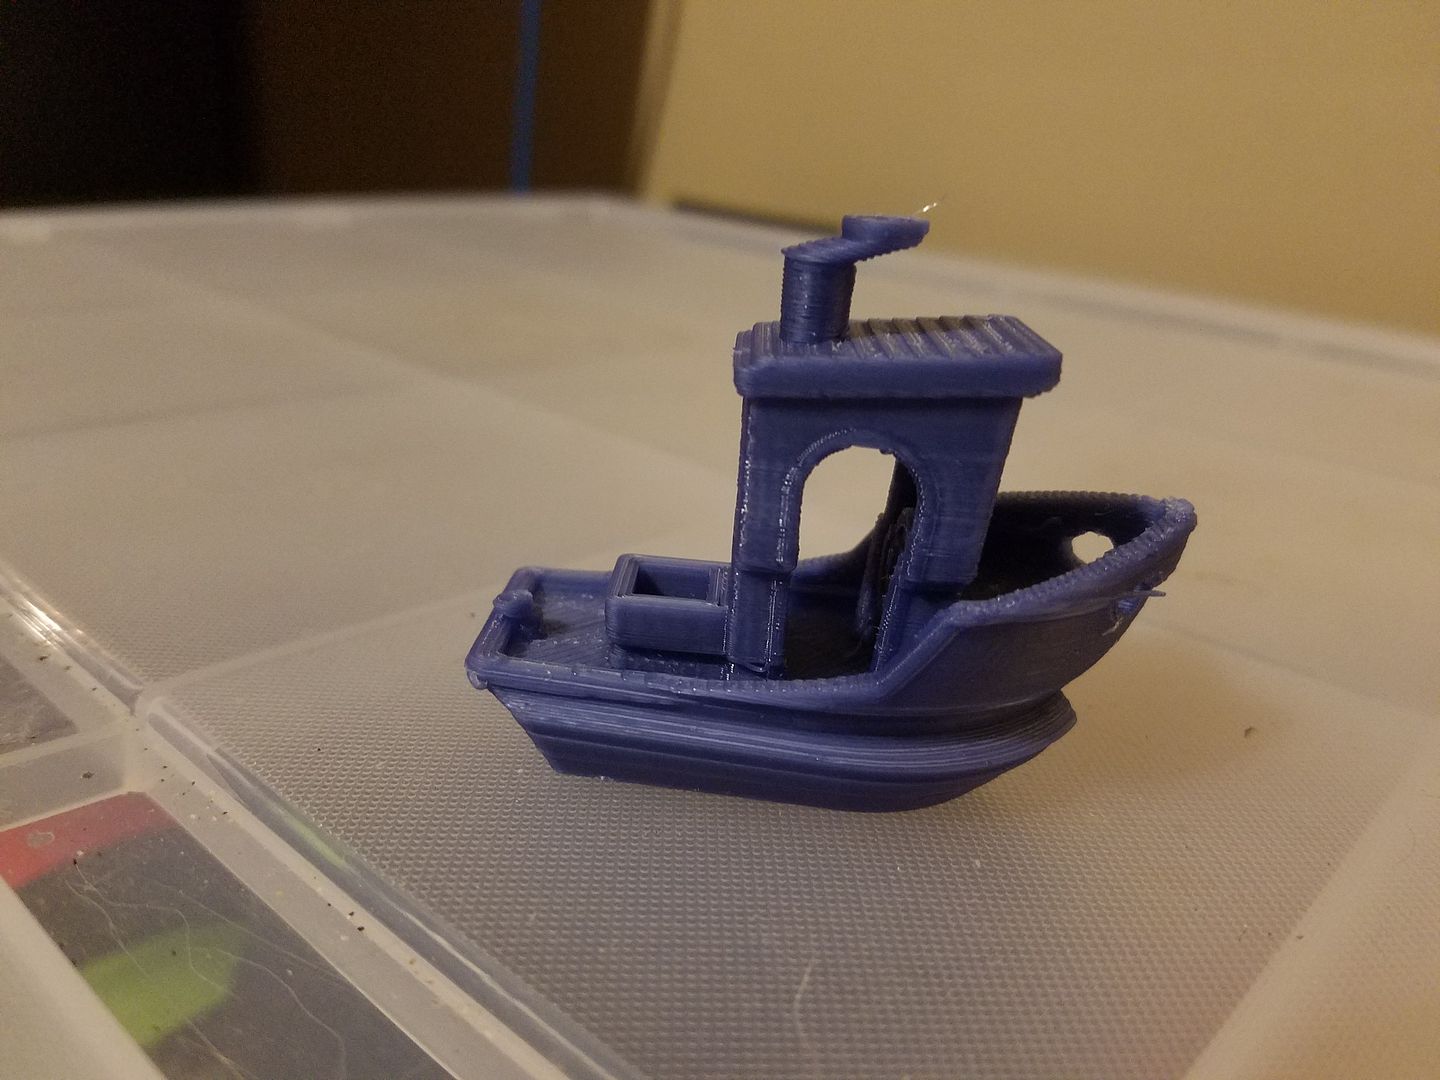
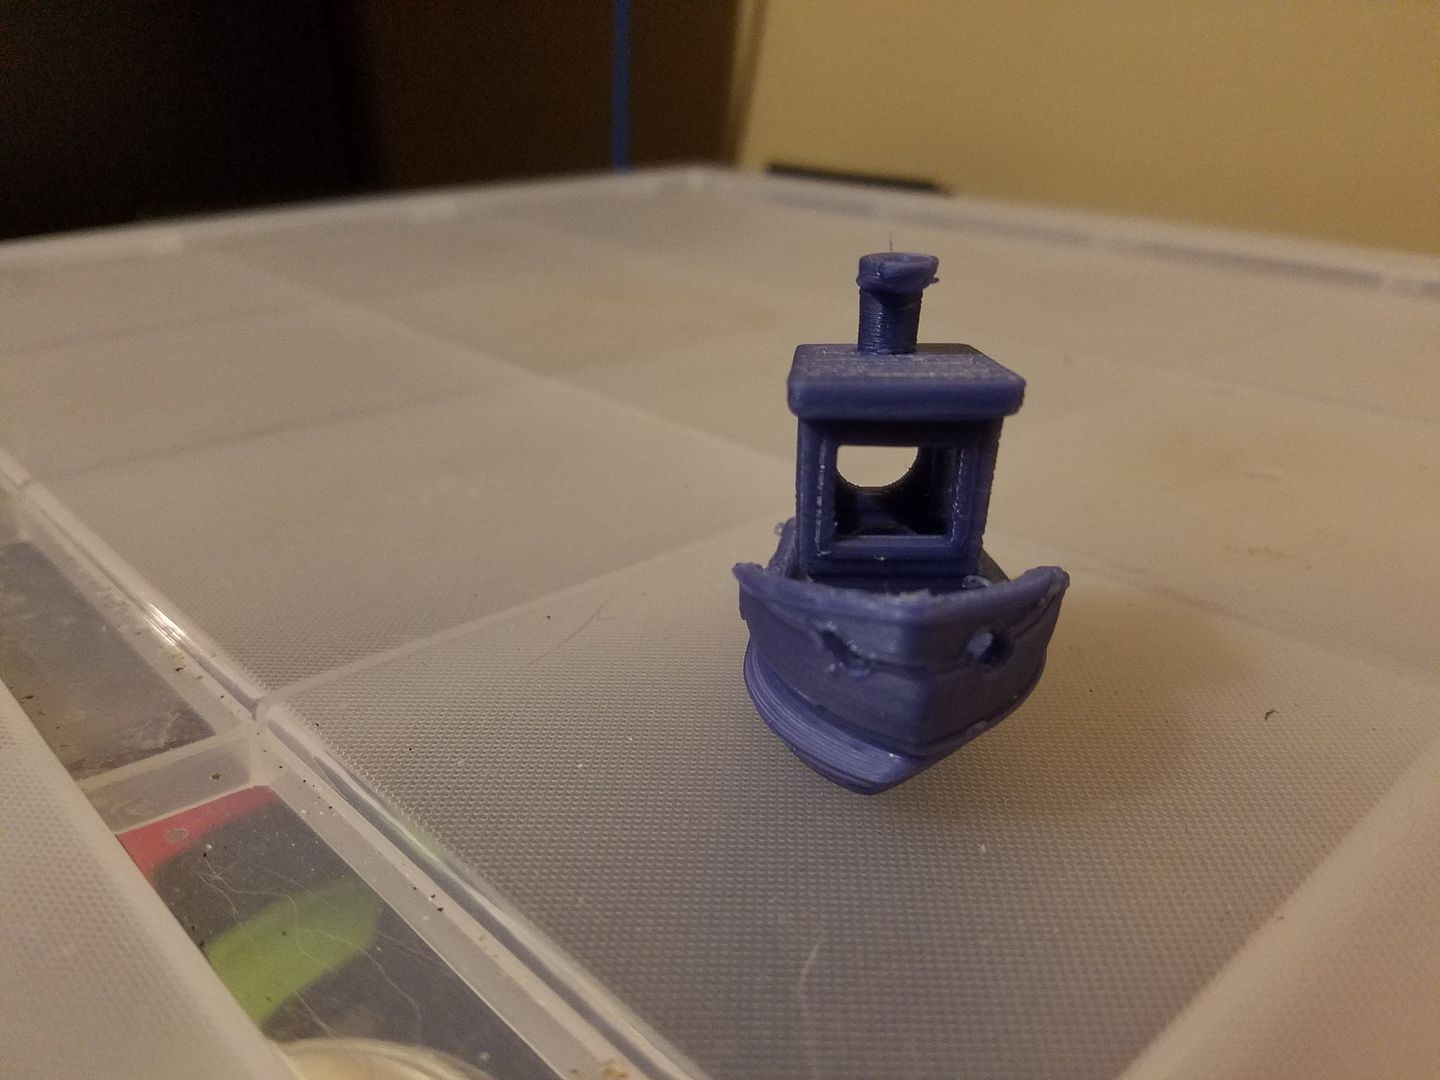
Hmm…Ill have to try bringing the accel and Jerk up a lot higher and see what kind of difference it makes if any and the amperage... I'm just working through it at this point. The layers themselves look great just misaligned
Couple pics of one of the early prints it's much better now than it was at the time these picsites were taken.
-
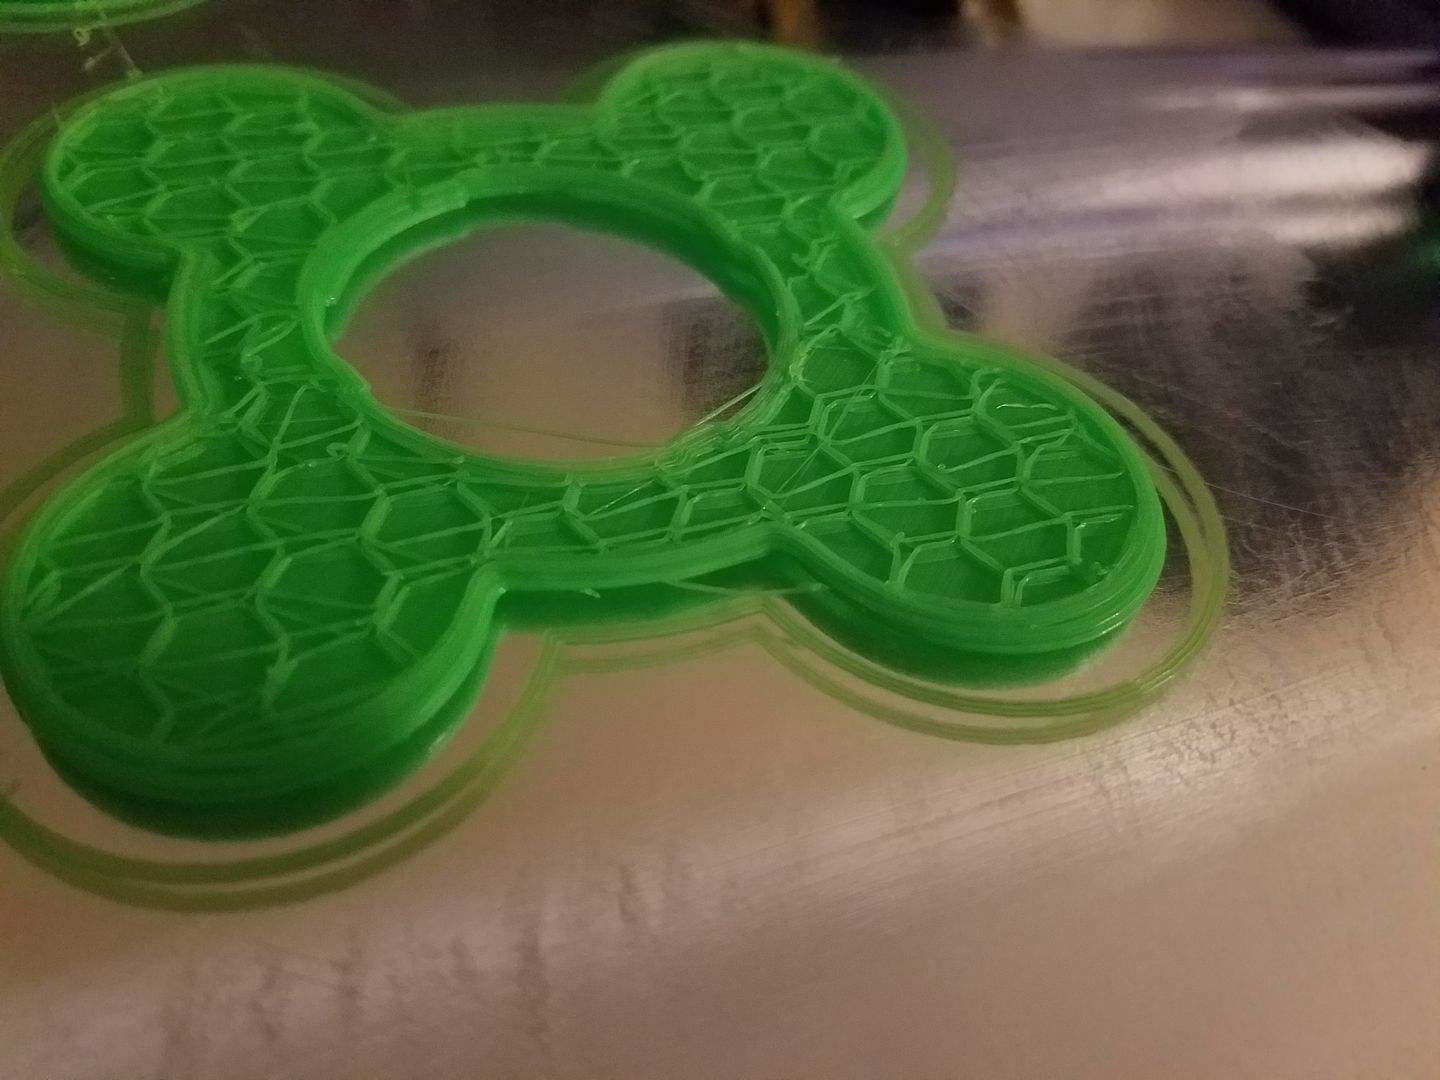
I've been working on this the last week, and have made some progress but I am running into a roadblock of sorts. No matter what I do unless I drop my print speed dramatically or increase my accel and jerk dramatically(thus causing an extreme amount of ringing or ghosting) I have pretty horrible layer shifting.
I have Tightened belts, further tightened belts, checked for obstructions in the belt path, tested by hand fast sudden and dramatic moves, nothing can recreate the layer shifting noise that occurs which leads me to believe that the stepper is somehow losing its position during movement. Firmware wise, I have increased and decreased accel and jerk with varying degrees of success, tried both interpolated and non interpolated thinking that might be the cause with little to no results that are worthwhile.
here is a video I uploaded to youtube
https://www.youtube.com/watch?v=9uL6deFwzjIthe significant time stamps are
1:51-1:53
3:48-3:50
4:18-4:20
4:28-4:30during these times you can hear a thud noise where i am beginning to believe that the stepper has jumped to a full step position when it shouldnt. When that noise occurs is when a layer shift seems to happen.
pictures of the actual shifted print and my config.g to follow.
; Communication and general M111 S0 ; Debug off M550 CoreXY ; Machine name and Netbios name (can be anything you like) M551 Preprap ; Machine password (used for FTP) ;*** If you have more than one Duet on your network, they must all have different MAC addresses, so change the last digits M540 P0xBE:0xEF:0xDE:0xAD:0xFE:0xED ; MAC Address ;*** Wifi Networking M552 S1 ; Enable WiFi M555 P2 ; Set output to look like Marlin M575 P1 B57600 S1 ; Comms parameters for PanelDue ; Axis and motor configuration M667 S1 ; switch to CoreXY mode M569 P0 S1 ; Drive 0 goes forwards (change to S0 to reverse it) M569 P1 S0 ; Drive 1 goes backwards M569 P2 S0 ; Drive 2 goes forwards M569 P3 S0 ; Drive 3 goes forwards M569 P4 S1 ; Drive 4 goes forwards M350 X16 Y16 Z16 E16 I1 ; set 16x microstepping with interpolation M574 X1 Y1 Z1 S0 ; set homing switch configuration (All Active, at low end, active low) M906 X1200 Y1200 Z1000 E800 ; Set motor currents (mA) M201 X800 Y800 Z15 E1000 ; Accelerations (mm/s^2) M203 X15000 Y15000 Z100 E3600 ; Maximum speeds (mm/min) M566 X600 Y600 Z30 E20 ; Maximum jerk speeds mm/minute M208 X300 Y300 Z300 ; set axis maxima and high homing switch positions (adjust to suit your machine) M208 X0 Y0 Z0 S1 ; set axis minima and low homing switch positions (adjust to make X=0 and Y=0 the edges of the bed) M92 X94 Y94 Z597.5 ; set axis steps/mm M92 E850:850 ; set extruder 0 and 1 steps/mm G21 ; Work in millimetres G90 ; Send absolute coordinates... M83 ; ...but relative extruder moves ; Thermistors M305 P0 T100000 B3974 R4700 H0 L0 ; Put your own H and/or L values here to set the bed thermistor ADC correction M305 P1 T100000 B3974 R4700 H0 L0 ; Put your own H and/or L values here to set the first nozzle thermistor ADC correction M307 H1 A300.2 C87.1 D4.4 B0 M570 S180 ; Hot end may be a little slow to heat up so allow it 180 seconds ; Fans M106 P1 H-1 ; disable thermostatic mode for fan 1 ; Tool definitions M563 P0 D0 H1 ; Define tool 0 G10 P0 S0 R0 ; Set tool 0 operating and standby temperatures ; Z probe and compensation definition ;*** If you have a switch instead of an IR probe, change P1 to P4 in the following M558 command M558 P1 X0 Y0 Z1 H3 F200 T500 ; Z probe is an IR probe and is not used for homing any axes G31 X18 Y5 Z0.5 P500 ; Set the zprobe height and threshold (put your own values here) ;*** If you are using axis compensation, put the figures in the following command M556 S78 X0 Y0 Z0 ; Axis compensation here M208 S1 Z-0.2 ; set minimum Z T0 ; select first hot end -
The only reason I can think of why it would jump to a full step is if the power supply voltage temporarily dropped below the driver minimum of about 10V. This would cause them the be re-initialised when it rises above about 10.5V again (sorry I can't remember the exact voltages and I can't easily look at the firmware right now). Does M122 report any under voltage events? If so, what is the voltage of VIN to the board? Is the bed heater powered from the same supply?
-
[[language]]
M122
Diagnostics
Used output buffers: 2 of 32 (4 max)
Platform Diagnostics:
Memory usage:
Program static ram used: 19280
Dynamic ram used: 82912
Recycled dynamic ram: 208
Current stack ram used: 2768
Maximum stack ram used: 7872
Never used ram: 20800
Last reset 13:14:38 ago, cause: software
Error status: 0
Bed probe heights: -1.273 0.764 0.914 -1.422 -0.060 0.000 0.000 0.000 0.000 0.000 0.000 0.000 0.000 0.000 0.000 0.000 0.000 0.000 0.000 0.000 0.000 0.000 0.000 0.000 0.000 0.000 0.000 0.000 0.000 0.000 0.000 0.000 0.000 0.000 0.000 0.000 0.000 0.000 0.000 0.000 0.000 0.000 0.000 0.000 0.000 0.000 0.000 0.000 0.000 0.000 0.000 0.000 0.000 0.000 0.000 0.000 0.000 0.000 0.000 0.000 0.000 0.000 0.000 0.000
Free file entries: 10
SD card 0 detected, interface speed: 20.0MBytes/sec
SD card longest block write time: 17.5ms
MCU temperature: min 22.8, current 25.4, max 32.1
Supply voltage: min 11.7, current 12.3, max 20.1, under voltage events: 0, over voltage events: 0
Slowest main loop (seconds): 0.064453; fastest: 0.000000
Move Diagnostics:
MaxReps: 114, StepErrors: 0, MaxWait: 1ms, Underruns: 0, 0
Heat Diagnostics:
Bed heater = 0, chamber heater = -1
Heater 0 is on, I-accum = 0.0
GCodes Diagnostics:
Move available? no
Stack pointer: 0 of 5
macro is idle
http is ready with "M122"
telnet is idle
serial is idle
aux is idle
file is idle
Network Diagnostics:
WiFiServer is running
SPI underruns 0, overruns 0
Webserver Diagnostics:
HTTP sessions: 2 of 8
The heated bed is on the same 30A supply, but isolated so not to draw full current from the board itself.
-
The M122 output shows no under voltage events. I suspect that the nozzle hit a blob and the motor torque was too low to overcome it. What motors are you using, and what is their rated current?
-
The M122 output shows no under voltage events. I suspect that the nozzle hit a blob and the motor torque was too low to overcome it. What motors are you using, and what is their rated current?
-
Ive watched it print an entire benchy just to make sure it wasnt a blob and no blobs are present. It always happens in curves or sharp turning type motions like the small circular port on the rear(the stern?) of a benchy.
the motors are 42BHH48-151K-24B, 4V 1.5 amp motor.
FIRMWARE_NAME: RepRapFirmware for Duet WiFi FIRMWARE_VERSION: 1.15c ELECTRONICS: Duet WiFi 1.0 DATE: 2016-09-05
-
Your X and Y accelerations look modest to me, but the jerk values may be a little high. Try reducing them.
-
I experimentally dropped the Jerk settings down, until it stopped causing problems, on a second print to verify the settings, I am now only getting layer shifting along the x axis which i expected decreasing hte accel would solve that problem but hasnt helped much at all and its to the point now where what should be a 85mm/s print is printing slower than a 60mm/s print on onbe of my marlin machines…. so frustrating.
-
On a corexy machine, if one motor skips steps then you will get a layer shift at 45 degrees to X and Y. As your layer shift is I. The X direction only, I suspect a mechanical issue on the X axis. For example, could the print head be moving relative to the carriage? Is the X axis binding?
-
PS what is the print bed made of? If it's glass on top of aluminum, is there any chance that the glass is shifting on the aluminium?
-
its aluminium with cork insulators with a PCB heater with glass on top. the pcb is held in place with screws to prevent shifting, and thermal pads preven the glass from shifting on the pcb
as to the axis binding, all axis move freely by hand without any binding, and can be moved faster than the printer in short jerking motions without any type of problem as well
P.S. /i have the hardest time getting the wifi to remember which access point to use, even though mine is the only one in the vicinity, following the directions of the wiki of course. on the following code in between every wifi server shutdown and restart i connect to the duet wifi access point and setup my router access point info then shut down the wifi server and restart it,
>>>M552 S0
SENDING:M552 S0
WiFi server stopped
>>>M552 S1
SENDING:M552 S1
WiFi server starting up
DuetWiFiServer version 1.02
Flash size 4194304, free RAM 33288 bytes, WiFi Vcc 3.31V, host name: duetwifi, reset reason: Turned on by main processor
WiFi is running as an access point with name DuetWiFi
>>>M552 S0
SENDING:M552 S0
WiFi server stopped
>>>M552 S1
SENDING:M552 S1
WiFi server starting up
DuetWiFiServer version 1.02
Flash size 4194304, free RAM 33288 bytes, WiFi Vcc 3.31V, host name: duetwifi, reset reason: Turned on by main processor
WiFi is running as an access point with name DuetWiFi