Duet3: Loading config.g after upload
-
I'm sure this is an extra dumb question coming from a newbie to the Duet ecosystem, but I've spent an hour on it now and I'm stumped.
After uploading
config.gand related files, how do you get the Duet 3 to load them?I've:
- Followed the instructions in the SBC Setup Guide. No problems, the Pi4 and Duet3 are working fine.
- Created config files with the Config tool, then adapted them with the instructions in the RRF3 Overview.
- Uploaded them via the web UI's System tab, as instructed in the SBC Setup Guide's section on Configuring System Files:
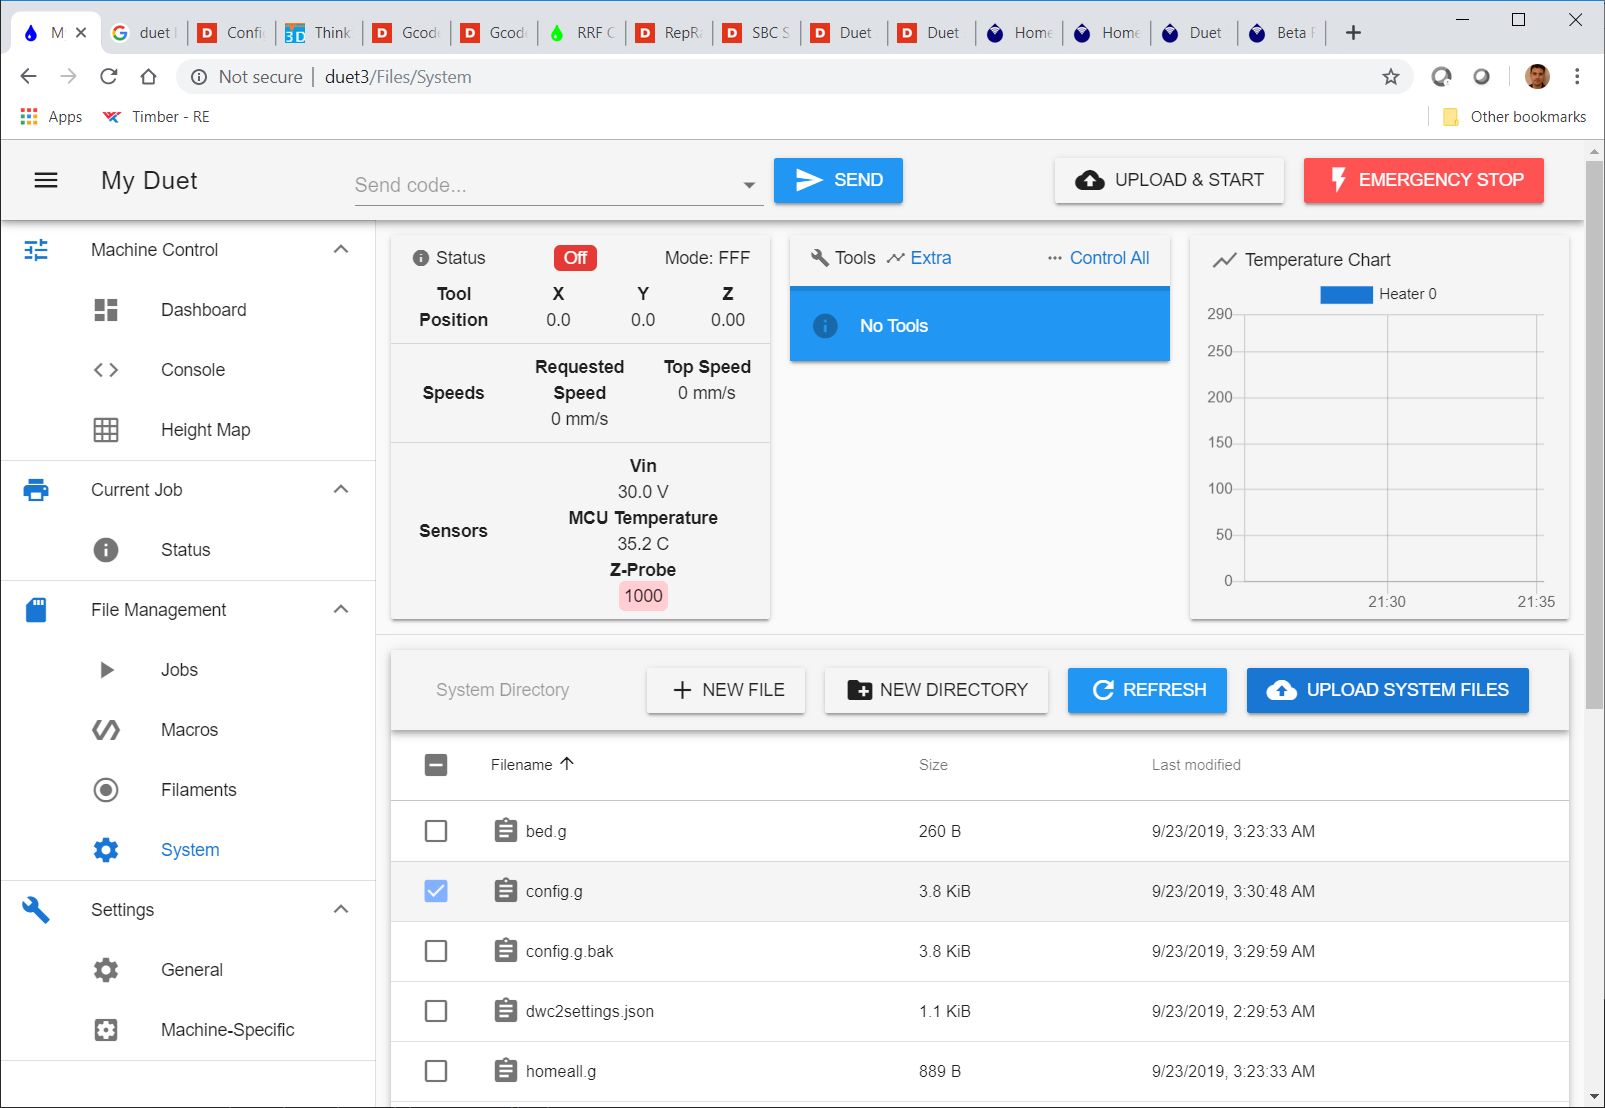
Is there a GCode or some such I need to run or option in the Web UI I need to run to execute the config.g file? I've even tried rebooting several times (
shutdown -r now, via SSH) with no luck. The Console tab is empty save for one entry that reads, "Connected to duet3."If it helps, my config.g is here. (Disclaimer: It's a first pass, I'm a newbie to RRF, and there are probably issues.)
; Configuration file for Duet WiFi (firmware version 2.03) ; executed by the firmware on start-up ; ; generated by RepRapFirmware Configuration Tool v2.0.4 on Sat Sep 21 2019 18:19:31 GMT-0500 (Central Daylight Time) ; General preferences G90 ; send absolute coordinates... M83 ; ...but relative extruder moves M550 P"Duet3" ; set printer name ; Network ; M552 S0 ; disable network ; Drives M569 P0 S1 ; physical drive 0 goes forwards M569 P1 S1 ; physical drive 1 goes forwards M569 P2 S1 ; physical drive 2 goes forwards M569 P3 S1 ; physical drive 3 goes forwards M569 P4 S0 ; physical drive 4 goes backwards M584 X0 Y1 Z2:3 E4 ; set drive mapping M350 X16 Y16 Z16 E16 I1 ; configure microstepping with interpolation M92 X200.00 Y200.00 Z400.00 E980.00 ; set steps per mm M566 X900.00 Y900.00 Z60.00 E240.00 ; set maximum instantaneous speed changes (mm/min) M203 X12000.00 Y12000.00 Z720.00 E7200.00 ; set maximum speeds (mm/min) M201 X2500.00 Y2500.00 Z200.00 E5000.00 ; set accelerations (mm/s^2) M906 X1500 Y1500 Z600 E1050 I50 ; set motor currents (mA) and motor idle factor in per cent M84 S30 ; Set idle timeout ; Axis Limits M208 X0 Y6.2 Z0 S1 ; set axis minima M208 X255 Y218.7 Z210 S0 ; set axis maxima ; Endstops M574 X1 Y1 S3 ; set endstops controlled by motor stall detection ; Z-Probe M574 Z1 S2 ; set endstops controlled by probe M558 P5 H5 F300 T6000 ; set Z probe type to switch and the dive height + speeds G31 P500 X-20 Y10 Z1.54 ; set Z probe trigger value, offset and trigger height M557 X15:215 Y21.2:195 S20 ; define mesh grid ; Heaters ; - Bed Heater M308 S0 A"BedTemp" P"temp0" Y"thermistor" T100000 B4725 C7.060000e-8 R4700 ; define bed temperature sensor M950 H0 C"out9" T0 Q10 ; heater 0 uses the out_9 pin, sensor 0, low PWM freq because it's a SSR (Can we use bang-bang mode?) M143 H0 S125 ; set temperature limit for heater 0 to 125C ; - E0 Heater M308 S1 A"ExtruderTemp" P"temp1" Y"thermistor" T100000 B4092 R4700 ; define E0 temperature sensor M950 H1 C"out0" T1 Q100 ; heater 1 uses the high current output pin, sensor 1 M143 H1 S300 ; set temperature limit for heater 1 to 300C ; Fans ; F0 - Part Cooling Fan M950 F0 C"out4+out4.tach" Q500 ; Part cooling fan F0 is three-wire fan with tacho on out4 M106 P0 C"Part" S0 H-1 ; Name the fan. No thermostatic control. ; F1 - Extruder Fan M950 F1 C"out5+out5.tach" Q500 ; Extruder fan F1 is a three-wire fan with tacho on out5 M106 P1 C"Extruder" S1 H1 T45 ; Name the fan. Thermostatic control is turned on. ; F2 - Case Fan M950 F2 C"!out6+out6.tach" Q25000 ; Case fan F2 is a four-wire PWM fan with tacho on out6 M106 P2 C"Case" S0.5 H-1 ; Name the fan. No thermostatic control. Start at half speed. ; F3 - Pi Fan M950 F3 C"out7" Q500 ; Pi fan F3 is a three-wire PWM fan (but we're out of tacho inputs) on out7 M106 P3 C"Pi" S0.5 H-1 ; Name the fan. No thermostatic control. Start at half speed. ; Tools M563 P0 S"Extruder" D0 H0 F0 ; define tool 0 G10 P0 X0 Y0 Z0 ; set tool 0 axis offsets G10 P0 R0 S0 ; set initial tool 0 active and standby temperatures to 0C ; Custom settings are not defined -
Boot (the Duet, not the Pi).
Enter M999 into either of the DWC (Duet Web Console) command areas. Or power cycle.
There is a small advantage by going to the DWC "console" function and entering M999 there. This allows you to see the error messages from your config.g (if any), when DWC re-connects.
-
Ahh, that's what I was missing. Thank you!