Homeing does not work - fadeing x Endstop
-
Hi,
well thx for this hint. I directly homed again while holding the x endstop and it works as it should until I let it again.
So now my question is why is it that my machine thinks he is always triggered even when the Endstop LEDs are not shineing. -> why doesnt it work when i change the M574 command from X0 to X1 or other direction or die S1 to S0?Greetings
JoeEdit:
I use NO Switches with 2 wires. So I wired only the 2 outer pins as said in this wiki: https://duet3d.dozuki.com/Guide/2.)+Wiring+your+Duet+2+WiFi-Ethernet/9?lang=en
And I have the config.g as posted above. what would be the correct commands for my ender 3 with this setup? can anybody tell me I will test it then")
-
Hi,
In the M574 the number after the X,Y,Z specifies if the end stop is at the low or high end of the axis range.
S1 specifies an active high input, S0 specifies active low.
You need to use S0 since your switches, when closed, connect the input to ground.
Frederick
-
Ok, then I have understood that correctly. So here is my endstop config from config.g
Endstops
M574 X1 Y1 Z1 S0
and this is how i wired the x and y endstops on the duet:

this is how both endstops (normaly closed) are connected:

but they behave weird. When I interrupt the connection (pushing the trigger or just disconnect the switch) the red LED goes off and i am able to home correct. -> so the FW works as NO Switches.
Here I have the x-endstop just connected and the board thinks it is triggered when it is not, but the disconnected y is not "triggered".
In my understanding it shouldnt behave like this - might there be an overwrite file where I also have to change something because inverting the config.g to S0 or S1 makes both no diffrence in behaviour.
But when I change thw wires on the switch side to NO it works fine. How ever I want to use them in NC mode.
BTW can i scale the images down in this view ? that i dont spam pages ?
Joe
-
Where are your endstops actually located? Left/right front/back?
Low end of travel is to the left, high end to the right.
Low end to the front, high end to the back.
-x to the left, +x to the right.
-y to the front, +y to the back.Your homeall file is setup for the switches to be at the low ends of travel. Is that still the case?
What does your M574 line look like now?
For the Ender 3 pro in RRF2 it should be
M574 X1 Y1 Z1 S1 -
Hi,
I havent changed anything on the positioning of the ender 3 pro switches. So when I look at my printer the x is on left side and the y on the back.
In the config.g file the M574 command is
; Endstops
M574 X1 Y1 Z1 S1
Ok for reasons that I dont understand the homeing process now works as intended. exept for one little detail. it trys to home the z axis with the BL Touch on spot near the x endstop so out of the heated bed. How do I fix this :)?
The x & y endstop LED is always on when not triggered. I asume that is fine?!
When Y triggered the LED goes off how ever when X is triggered the LED goes from bright shine to low dimmed but not off. -> is that a problem / do you guys have that behavior as well?Joe
-
@humbleJoe said in Homeing does not work - fadeing x Endstop:
of the heated bed. How do I fix this :)?
Edit x and y position in homeall.g and homez.g
G1 X15 Y15 F6000 ; go to first bed probe point and home Z -
@humbleJoe said in Homeing does not work - fadeing x Endstop:
Ok for reasons that I dont understand the homeing process now works as intended. exept for one little detail. it trys to home the z axis with the BL Touch on spot near the x endstop so out of the heated bed. How do I fix this :)?
For this purpose I would do it at the center of the bed.
Now I prefer setting up axis min/max values so 0,0 IS the center of the bed.
So for my FT-5 with a 300x300 bed the X and Y axis min/max values are -150/150.
IF I kept 0,0 at the left-front corner the X and Y axis min/max values would be 0/300.
In that case to probe at the center I would have to use 150,150.
Someone else has suggested using the first probe point at 15,15 - not sure why you would want to do that.
Frederick
-
Looks good now, changed x & y to 118 (235/2).
So thank you all for helping meHowever one last point. It looks like my Extruder is not set up correctly.
I cant extrude or retract something an when clicking on it I get the following error.
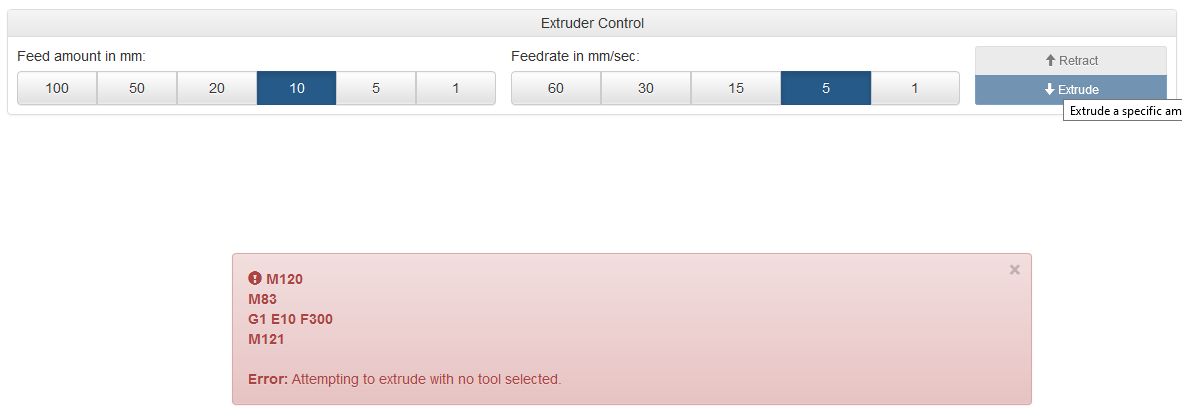
Joe
-
Select a tool first by either clicking on the tool, or sending T0. Most people add a T0 to the end of config.g so that it's selected at start up. It also must be at temp to extrude unless you've specifically allowed cold extrusion.
-
Thank you all so much. Works everything fine now.... I will read some more wiki and learn all this machine code
but thank you all for the support Greetings and have good prints!
Joe