Manual Calibration?
-
Hi guys, quick question. I’m trying to do a manual calibration as I don’t have a Z probe to do it for me, but I’m lost.
In config.g I’ve set the homed height higher than it actually is.
Then homed the towers and started lowering the nozzle until it barely touches the bed.
How do I set this point as the new Z=0?Also, what does Delta Radius means? By tweaking this value is the same as the horizontal radius in Repetier Firmware?
Z height at 0,0,0 will remain the same but it changes the height around the perimeters? -
Read the Z height off from the web interface, then subtract that from the H parameter in the M665 command. Then reset and it should be correct.
Recent 1.19beta versions of RRF + latest DWC support a "manual Z probe" mode. Set the Z probe type to 0 to activate it. Then follow the standard instructions for setting up and running auto calibration.
-
Hi,
There is this which describes one way of doing it.
http://forums.reprap.org/read.php?178,510675,510675
This will get you the endstops set correctly and the delta radius but that is all.
Notice though that in that article they are turning the adjustment screws on the top of the carriages that push on the endstop switches.
You may not have these but you can achieve the same thing by using the M666 command which allows entering values which have the effect of raising or lowering the switch itself.
I have not tried the manual approach the RRF supports - since I just learned about from dc42 post.
Frederick
-
Read the Z height off from the web interface, then subtract that from the H parameter in the M665 command. Then reset and it should be correct.
Recent 1.19beta versions of RRF + latest DWC support a "manual Z probe" mode. Set the Z probe type to 0 to activate it. Then follow the standard instructions for setting up and running auto calibration.
Yes, that's how I'm doing it. But I thought there was some g-code that could set the new Z height without the need to edit the config.g
Hi,
There is this which describes one way of doing it.
http://forums.reprap.org/read.php?178,510675,510675
This will get you the endstops set correctly and the delta radius but hat is all.
Notice though that in that article they are turning the adjustment screws on the top of the carriages that push on the endstop switches.
You may not have these but you can achieve the same thing by using the M666 command which allows entering values which have the affect of raising or lowering the switch itself.
I have not tried the manual approach the RRF supports - since I just learned about from dc42 post.
Frederick
I do have endstop screws attached to each carriage, so yes, I can follow that guide.
Thanks for the link.So does changing the Delta Radius alters the concave/convex motion of the effector?
-
Yes, that's how I'm doing it. But I thought there was some g-code that could set the new Z height without the need to edit the config.g
G92 Z0 should do that.
I do have endstop screws attached to each carriage, so yes, I can follow that guide.
Endstop screws are the old way of doing it. These days we use M666 to adjust the endstop positions instead.
So does changing the Delta Radius alters the concave/convex motion of the effector?
Yes.
If you run auto calibration with Z probe type 0 and latest firmware and DWC, it will sort out the endstop adjustments and delta radius for you.
-
+1 for this manual mode it's a nice reference to verify your probe is accurate also.
-
Thank you David, but I can't make it work.
Sorry for these silly questions, I'm a total newbie here.When sending G92 Z0, under "machine status", Z heads position changes to 0. But once I send G28 it goes back to the previous Z height. Config.g Z height value remains the same.
So, I did it as you previously suggested and modified the H parameter. Made my first print and….
IT WORKS!!!!
I can't believe how silent everything is now, the only noticeable noise comes from the Titan Aero fan. Might change that one for a noctua or similar. Thank you so much for this incredible board.
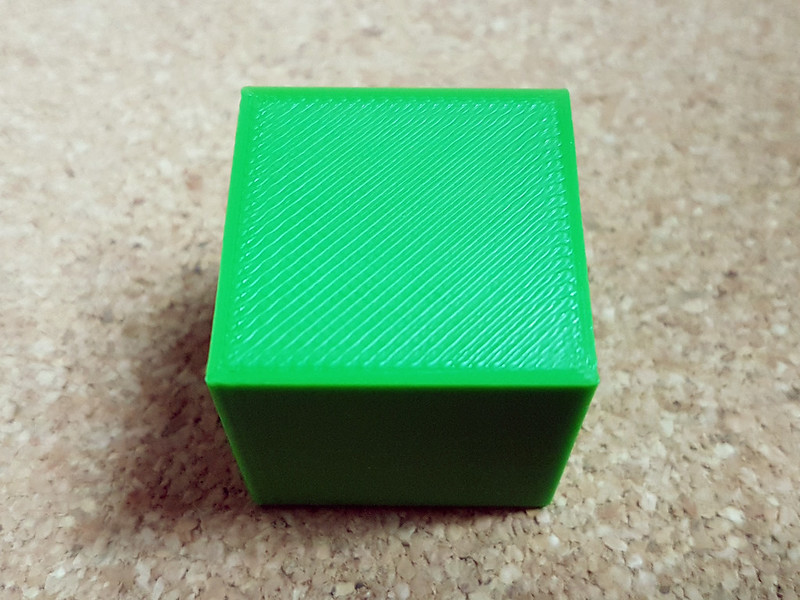
30x30 test cube:

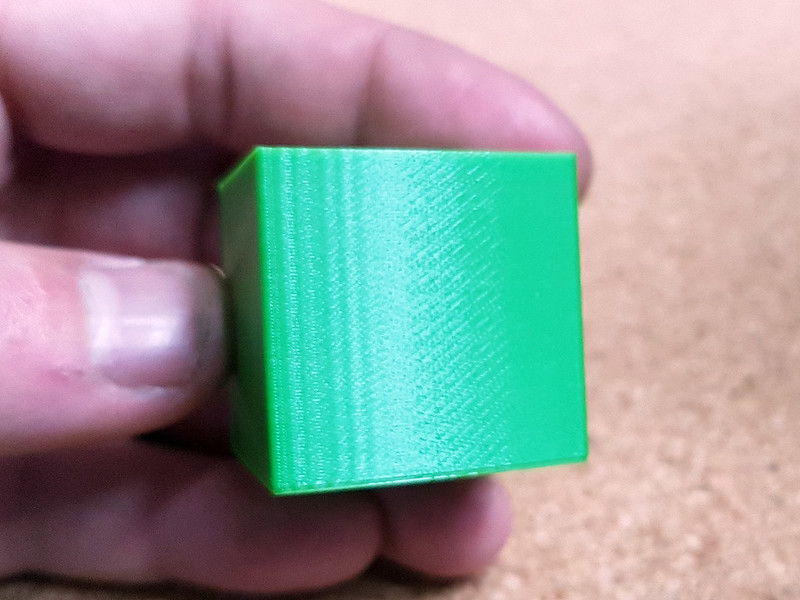
A little bit overextruding, but looks great.

The best part is that segmentation or vertical banding dissapeared now. This was the main reason to do the upgrade.
Still having some corner overshoot. Any help here would be much appreciated.