Current printer project
-
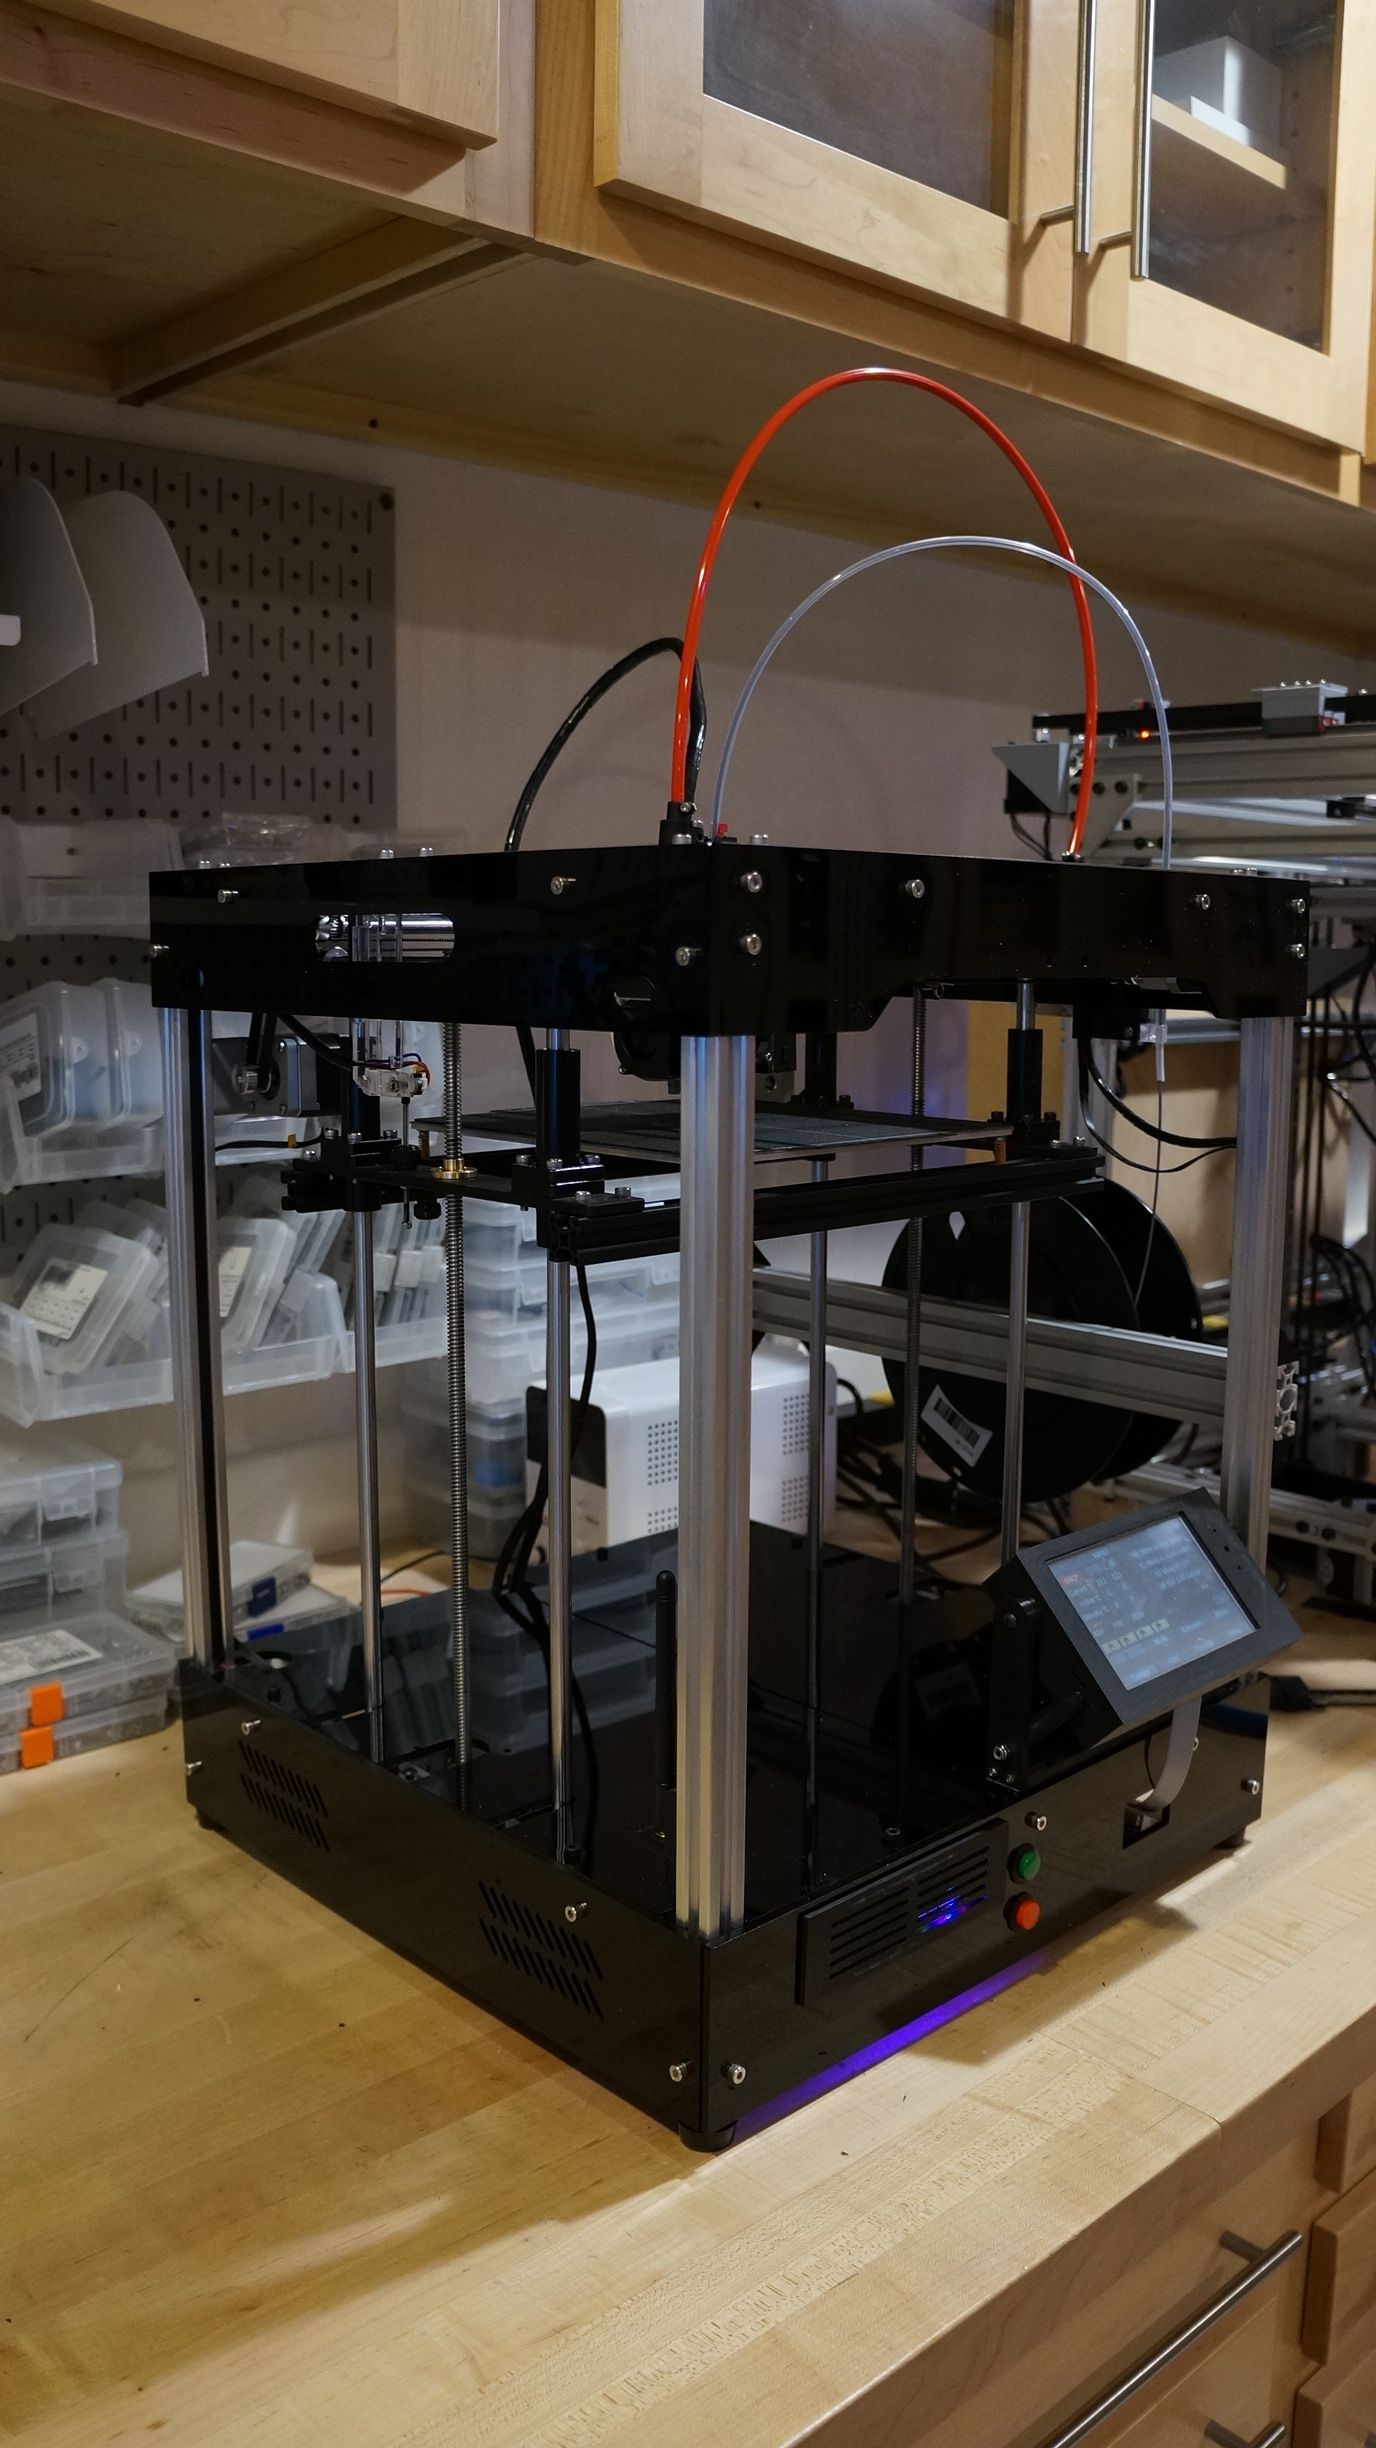
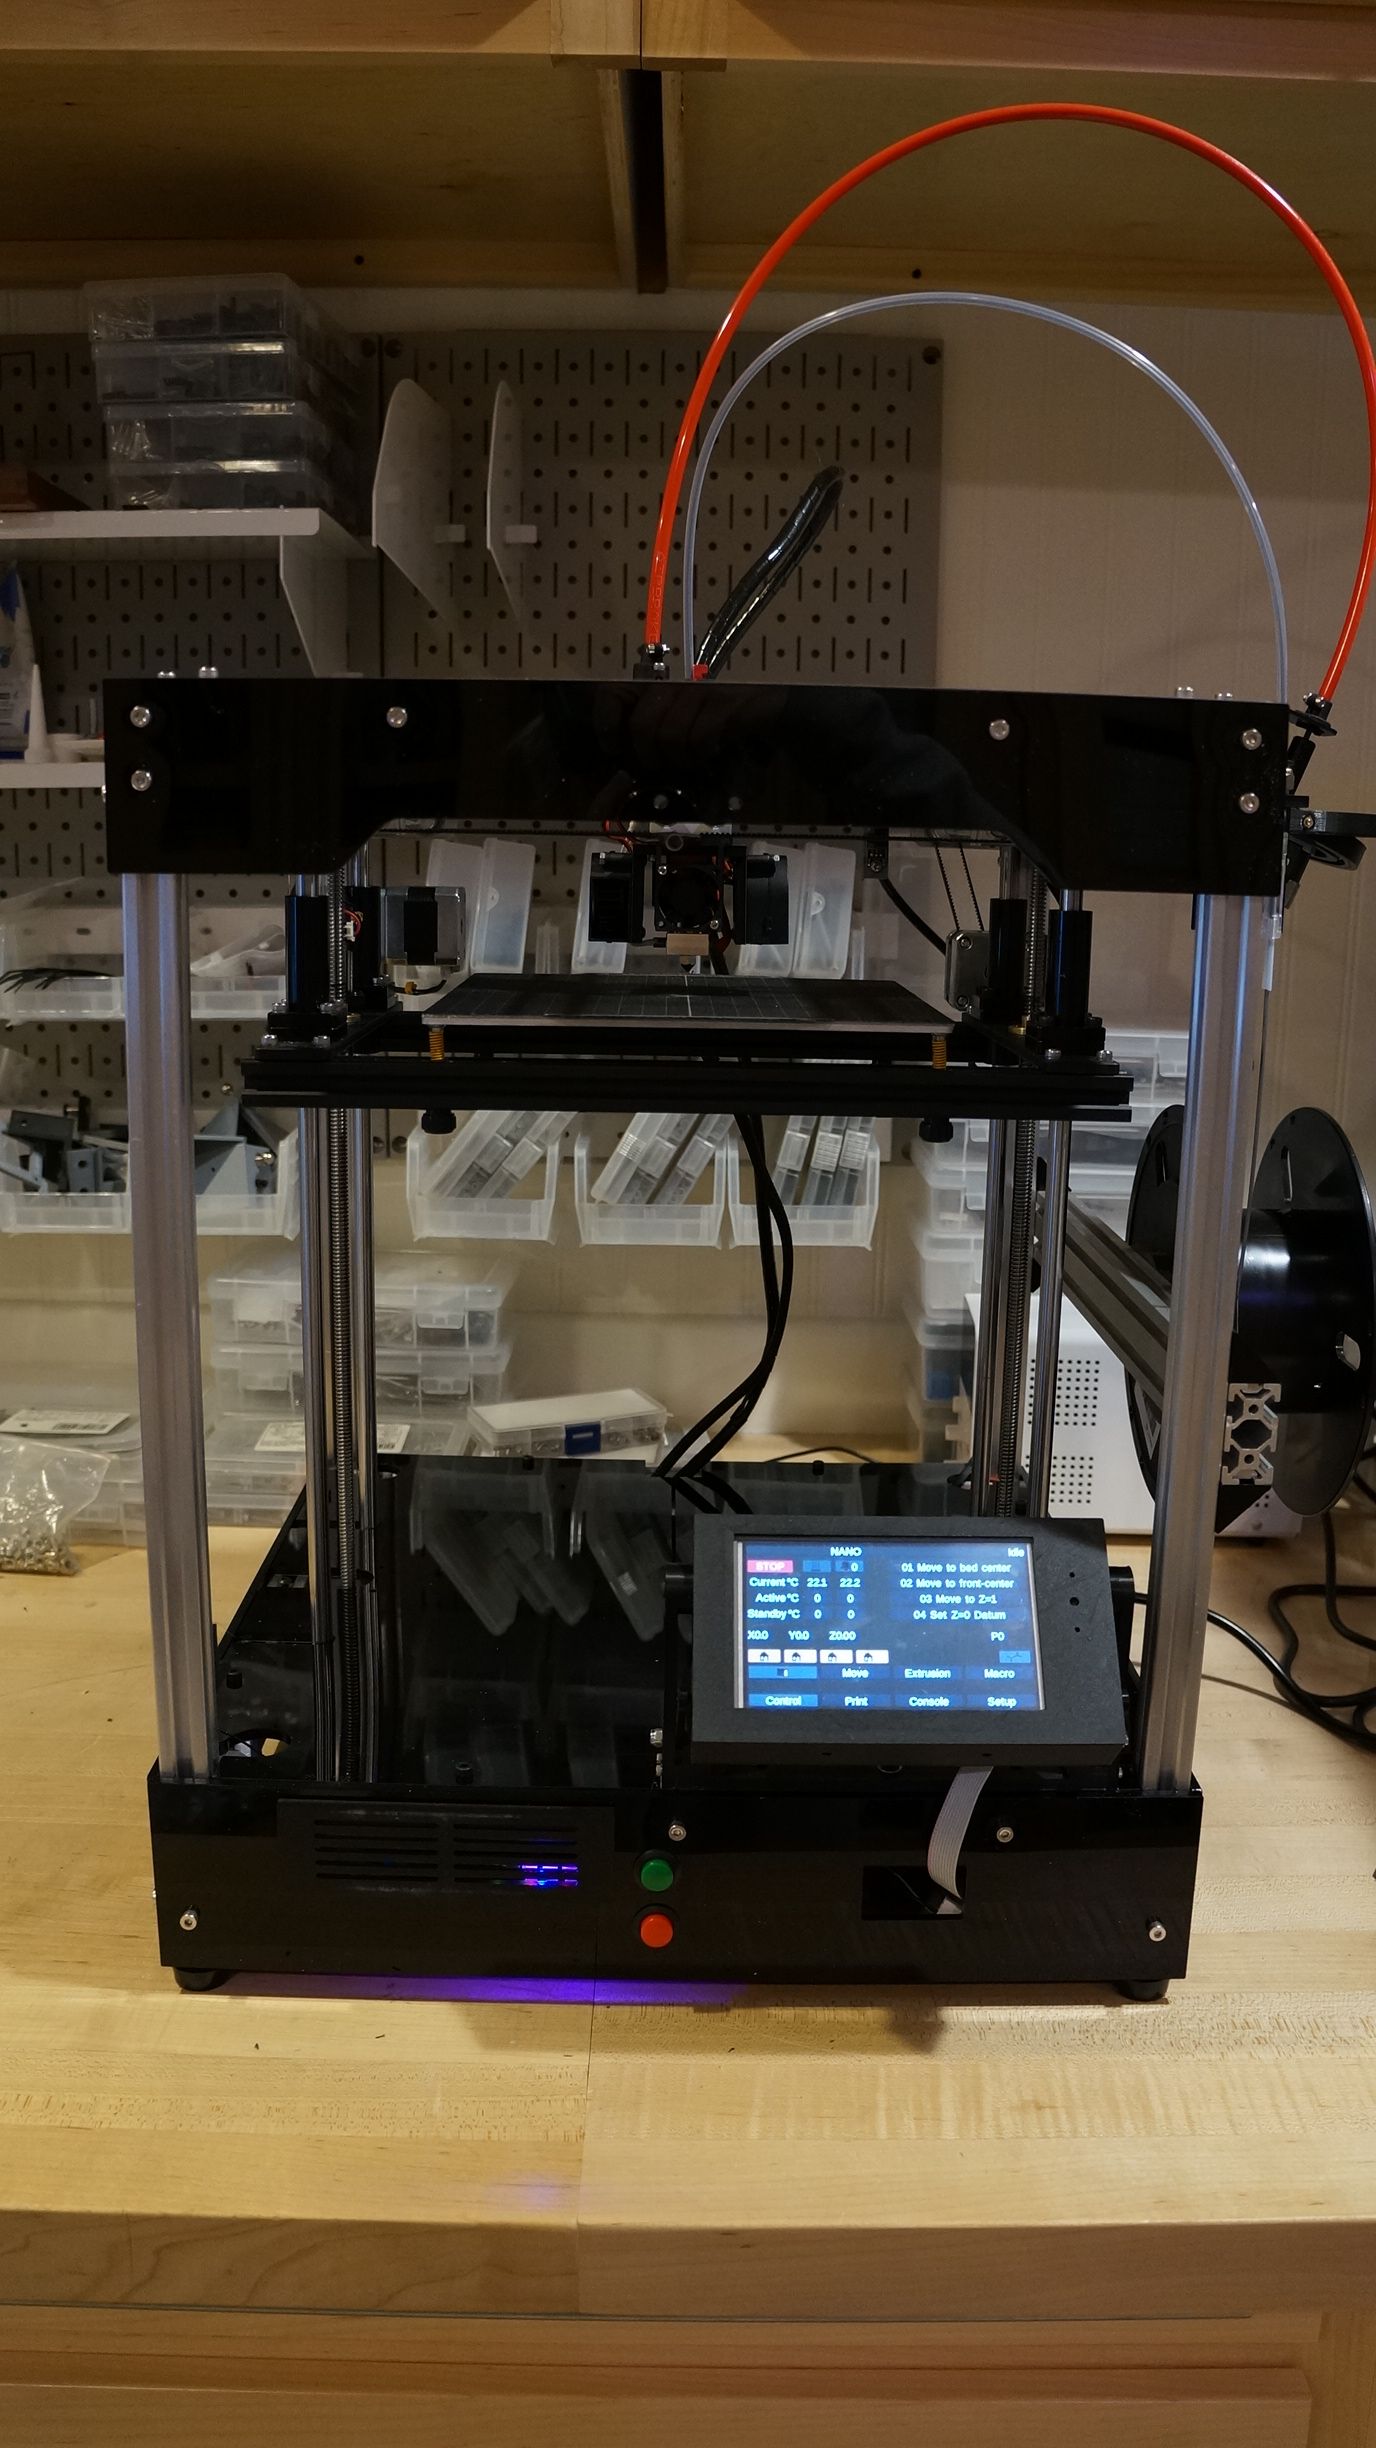
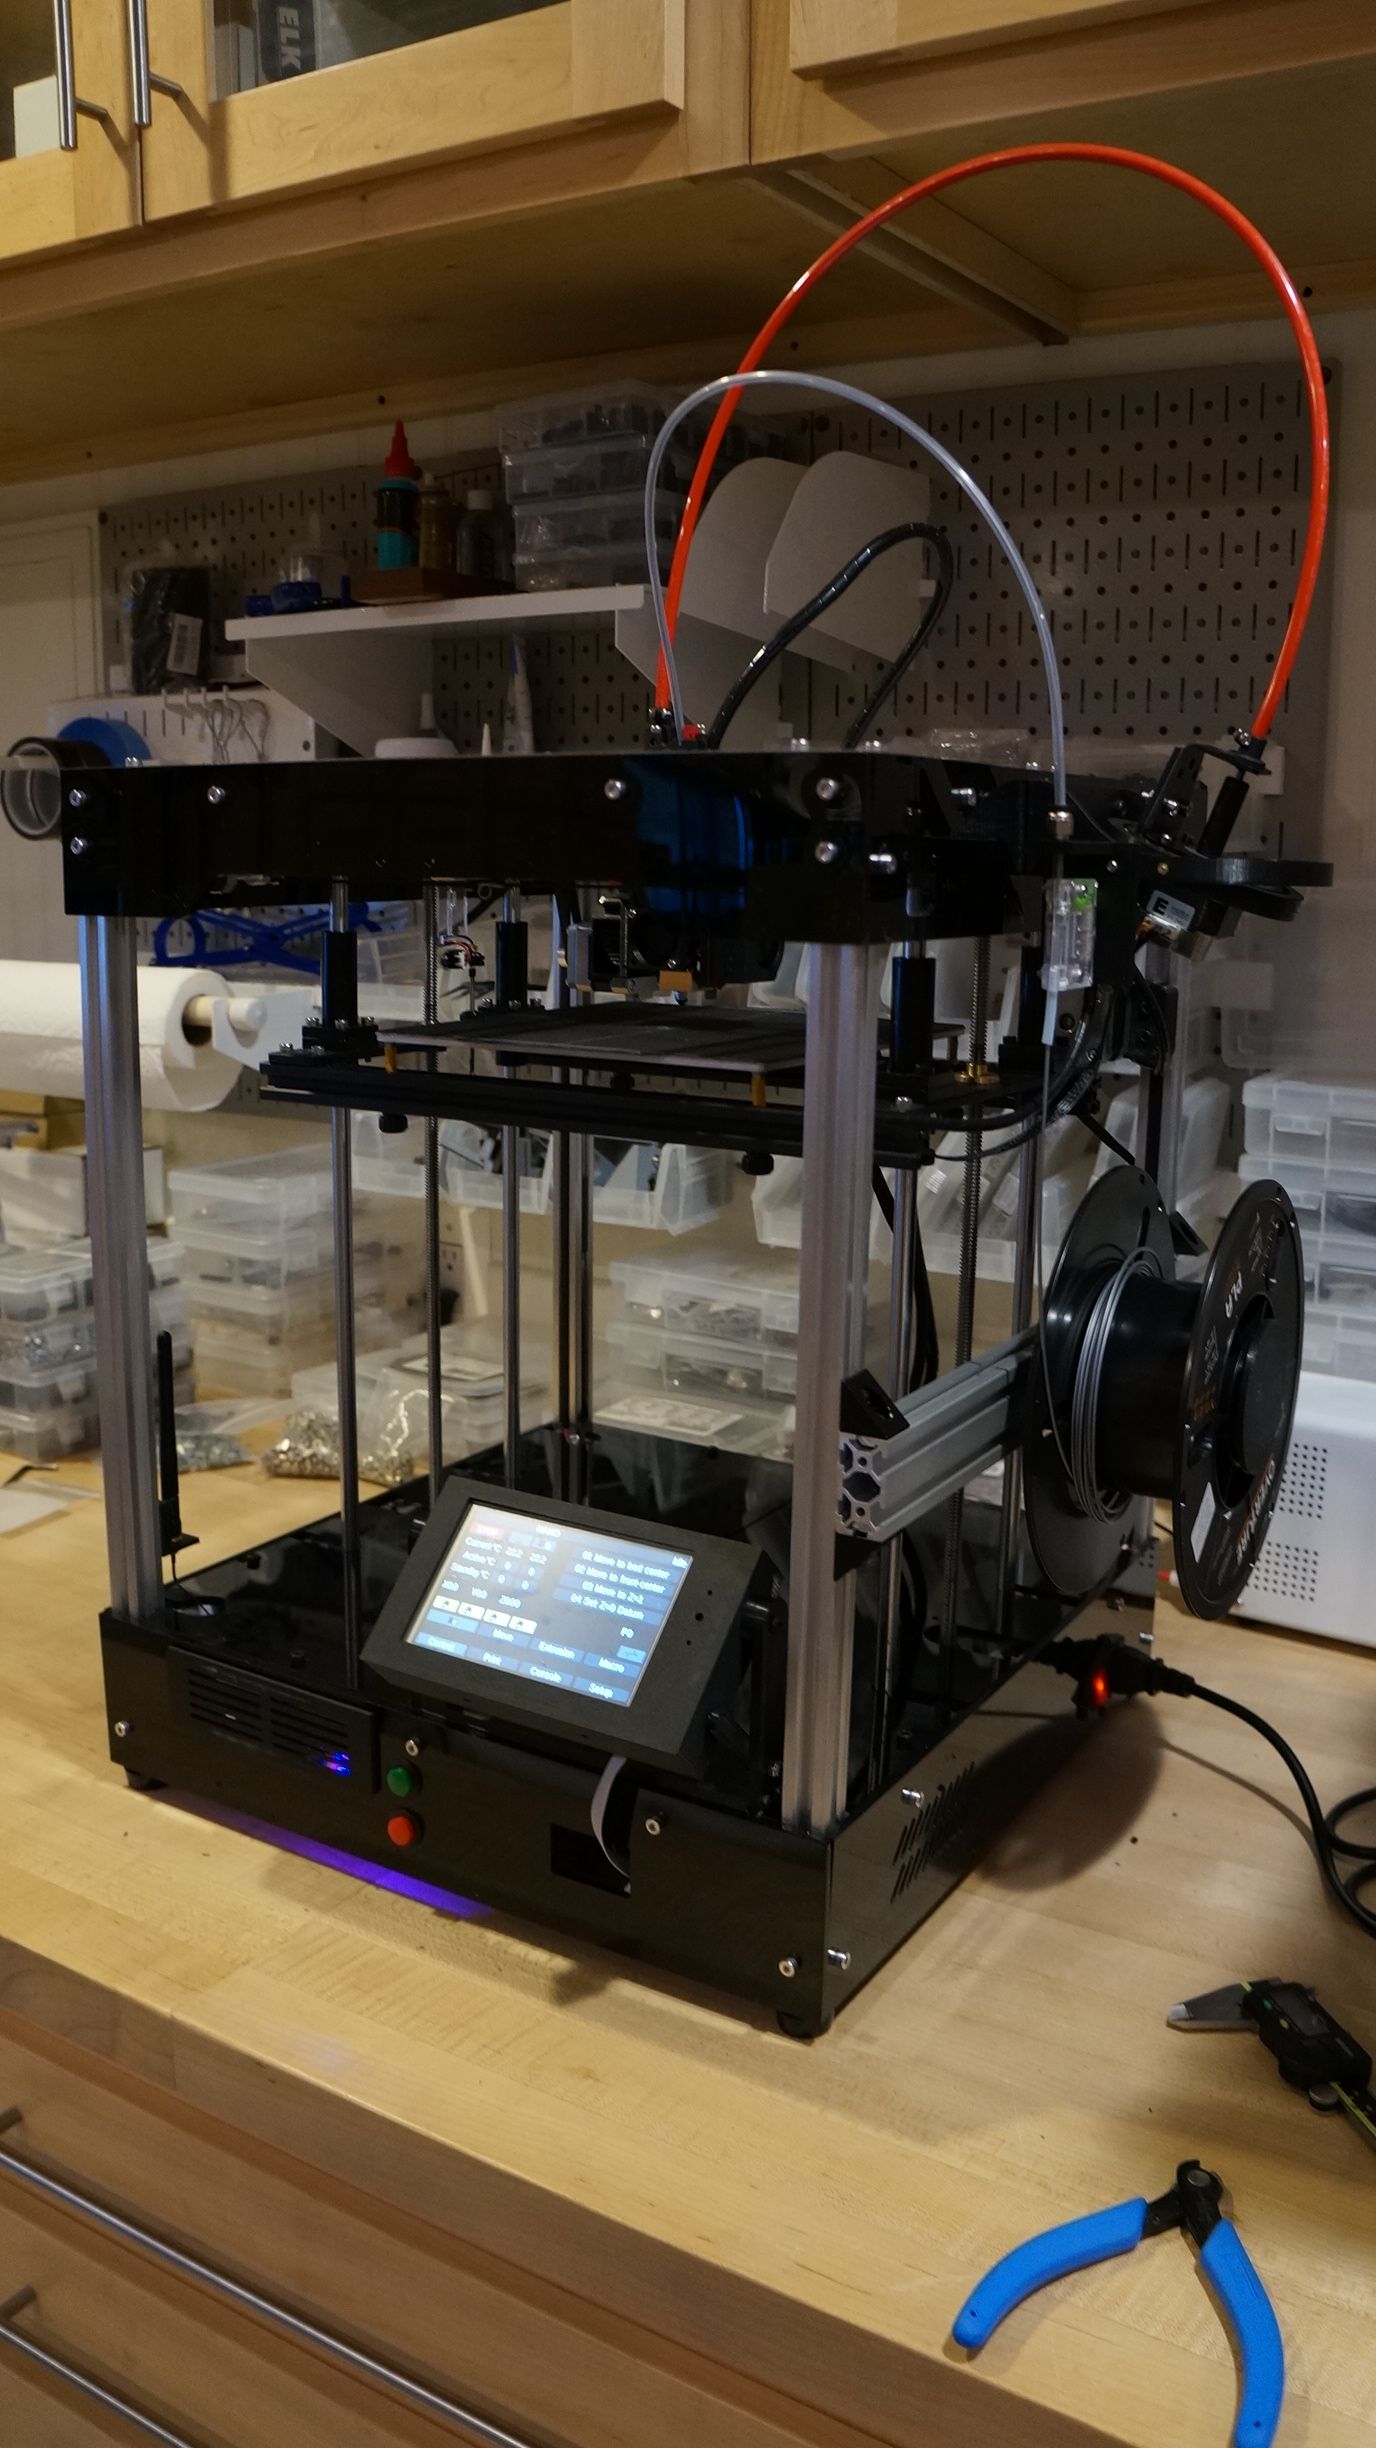
Here is the state of my current printer project.
It started life as a Chinese kit using the "crossed rods" motion system as used in some Ultimaker printers.
The build area is 200 x 200 x 240. The ferrous metal bed came with an integral heater/sensor. The removable build surface is a piece of flexible magnetic material with a decent texture.
The motion system came pre-assembled though the realities of shipping from China led to a certain amount of vibration induced disassembly. It actually is a very nicely designed all-metal (except for the belts) motion system. The "crossed rods" are actually a pair of 6mm rods per axis - rather than a single larger rod per axis.
The metal block at the intersection was a very simple design, nearly a cube, with a flat surface top and bottom with four M3 threaded holes at the corners and a appx 10mm diameter centered hole from top to bottom for the filament guide. It was well suited for modifying the hotend setup.
One interesting aspect of the kit is that it came with parts to enclose the working area. The plastic parts that would often be printed parts, like the endstop sensor mounts, where assembled from something like acrylic - for heat tolerance I suspect.
I don't think I will be needing the enclosure so I left them off for the pictures.
But being who I am I modified the printer to incorporate my hardware preferences and, of course, a Duet board - a Duet 3 Mini 5.
Aside from replacing the supplied controller with the Mini 5 the other changes I made were:
-
the original design mounted the Z steppers to the large black plastic piece you can see in the photo. I didn't like that so I designed and printed mounts to attach the steppers to the frame, as were the guide rods already. The plastic piece I cut into two pieces and cut slots from the edge to the existing holes where the lead screws and guide rods where intended to pass through so I could install the pieces once the printer was complete and working.
-
replaced the combination of stepper, coupler and 8 lead lead screw with steppers I had on hand with integral 2 lead lead screws
-
replaced the micro-switch based endstop sensors with IR beam break sensors
-
replaced the E3D Lite Clone hotend with a interesting Chinese unit similar in design to my Mosquito units
-
replaced the dual part cooling fans with dual blowers
-
replaced the Bowden Extruder setup with a remote drive Nimble v1 with gimbal
-
added a 8mm inductive Z probe
-
added the PanelDue 5i
I recently did the first test print using my standard default settings for a new printer and darn if it didn't turn out first rate.
Frederick
-