HELP! Duet 2 WiFi Configuration and DWC Upload???
-
@pcnoobneedsmajorhelp said in HELP! Duet 2 WiFi Configuration and DWC Upload???:
The only other thing that comes to mind would be the gear ratio not sure if It's 3:1 or not
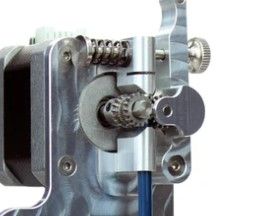
Is it this microswiss extruder? https://store.micro-swiss.com/products/micro-swiss-direct-drive-extruder
If so there is no gearing at all, which kind of explains the lack of torque. Those slim line motors are really only good for a geared extruder that gain them some torque back.
-
Yeah I'm pretty sure it's the in the slim line motor family.
Would you then suggest I swap out the gearless Idler/Driver for a geared Idler/Driver? Is there any downside to that, given that I have a direct drive system?
If I did swap them should I get a better stepper driver while I'm at it?
-
A geared extruder is always preferable to an ungeared one. More torque and better resolution. That slim motor would be more suitable to a geared extruder. But as I said above, if you don't plan on trying to push a lot of plastic very quickly you should be fine as it is. Otherwise if you want to go beyond 50mm/s 0.4 width 0.2 layers you'd probably want either a geared extruder or a larger motor.
-
Ok. If a motor is a 2 phase motor and the rated current per phase is .8A, then that motor would be a 1.6 motor, correct? (Rated current 1.6[1.6 * .85= 1.28] set motor current in config.g for 1280mA)
-
-
so as you said in a previous reply this I s NOT a geared drive? although to me it looks geared. just want to be clear
Yeah I read that page yesterday but it didn't answer my question that's why I was asking
-
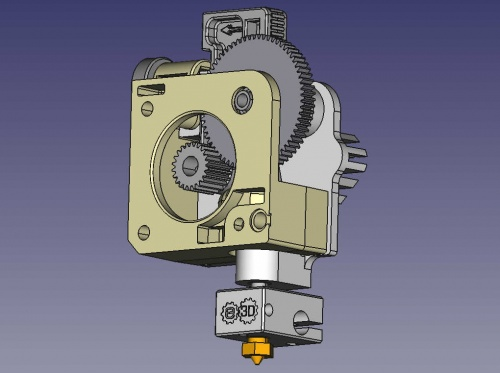
I don't think that's geared. The motor shaft is in direct contact with the filament path. A geared extruder would have a small gear on the shaft and then a larger gear in contact with it and driving the hobb to drive the filament.
for example:
-
Ah ok got it.
but the reason I was asking about the current ratings in the first reply was because I'm looking at 5 potential motors and some of them are rated 1.5 and some are rated .8/phase and they have really similar mN.m ratings and I just wanted to know, before I buy the one that I think is the best.
Thanks,
-Carson
-
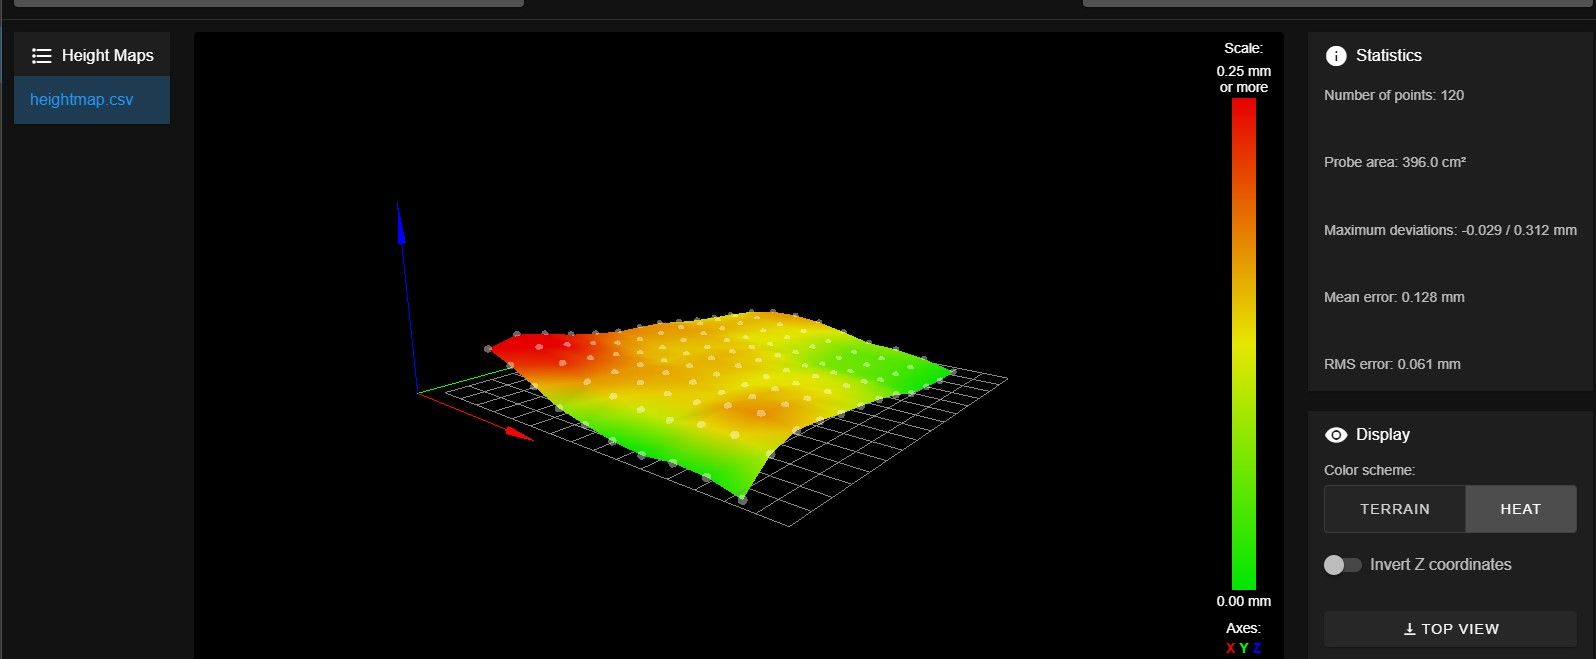
How do I know if my mesh compensation is enabled? I did a test print and it was way off even though the map said it was super flat. So of course before checking if it was enabled, I messed with it and although the Mean and Deviations are worse now, I want to see if it's actually enabled before I run another test print.
Here's what my new map looks like (HORRIBLE compared to my last one bummed out
 )
)
-
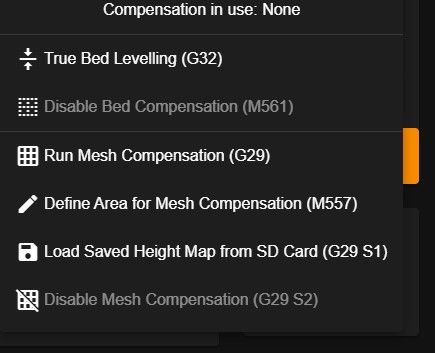
Send M122 and check for "compensation in use: mesh"
-
-
how do I enable it?
-
these are my options
-
Once you have a good heightmap saved all you have to do to load it before each print is add
G29 S1to your slicer start gcode after the G28 to home the axis. -
So, When I try to save my Z height under G31 and then home it, it doesn't go to the height I had just set it at. What am I doing wrong? Do I need to change something in homez.g and homeall.g?
Thanks,
-Carson
-
So, literally for the past 7 hours I have been trying to get the height map I had when I first started. After almost pulling my hair out and a lot of temper tantrums, I finally got close, probably as close as I'll ever get. It may not look flat but I like the low deviation number
Check it out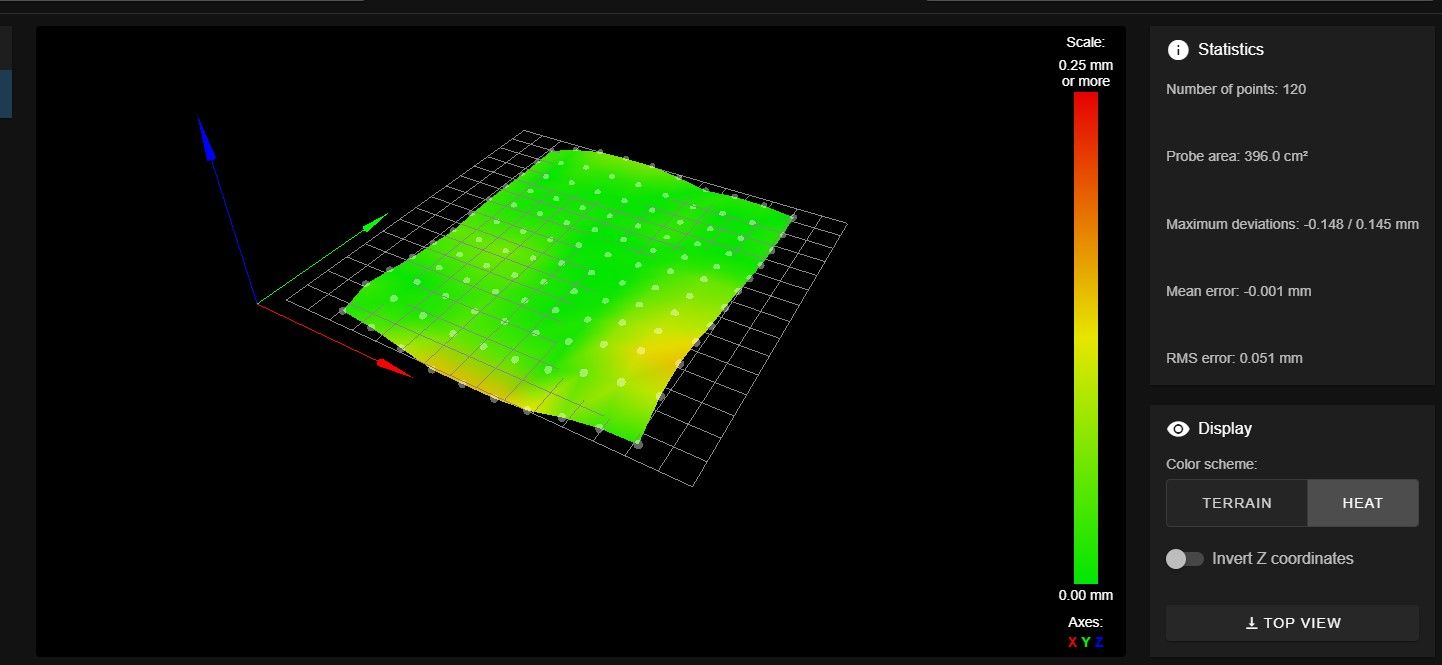
-
@pcnoobneedsmajorhelp said in HELP! Duet 2 WiFi Configuration and DWC Upload???:
So, When I try to save my Z height under G31 and then home it, it doesn't go to the height I had just set it at. What am I doing wrong? Do I need to change something in homez.g and homeall.g?
Thanks,
-Carson
G31 Z sets the distance between the nozzle and the bed when the probe triggers. So I'm not sure I understand the question. What are you expecting to happen and when?
@pcnoobneedsmajorhelp said in HELP! Duet 2 WiFi Configuration and DWC Upload???:
It may not look flat but I like the low deviation number
That's about as good of a heightmap as I could ever hope to get.
-
I ended up figuring it out. I was going in the wrong direction.
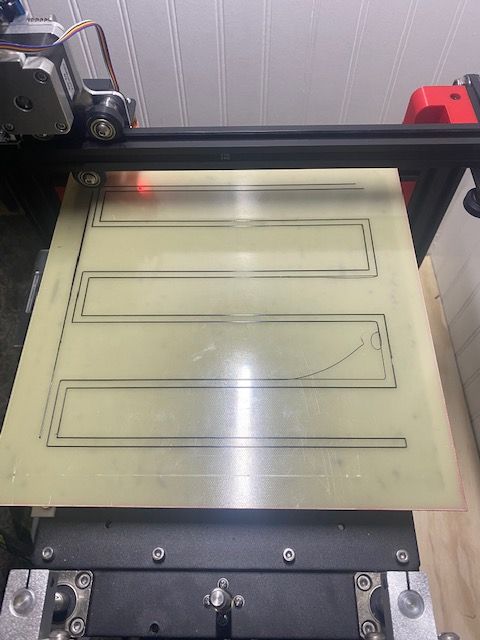
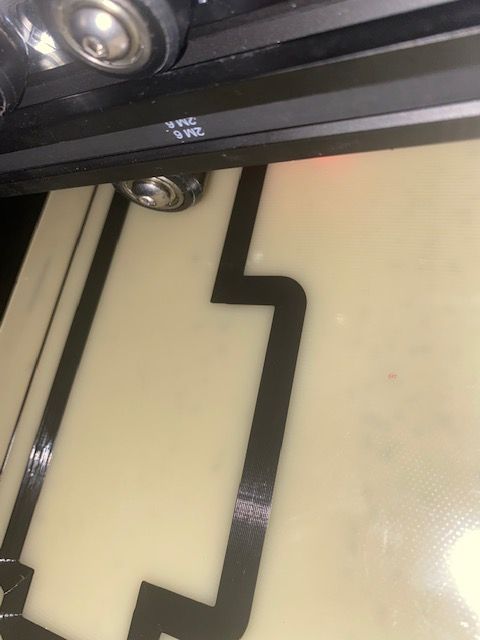
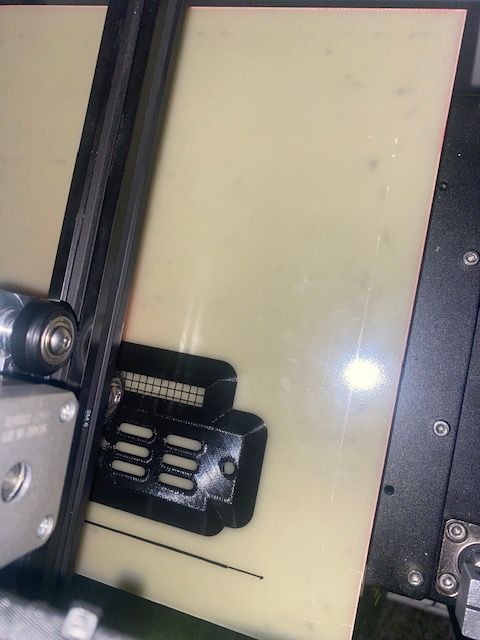
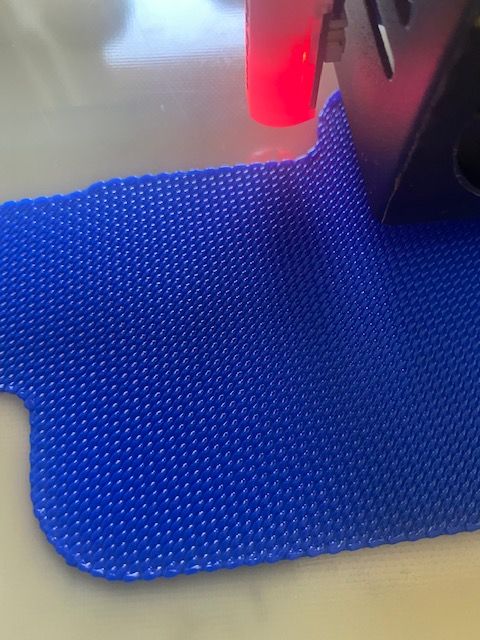
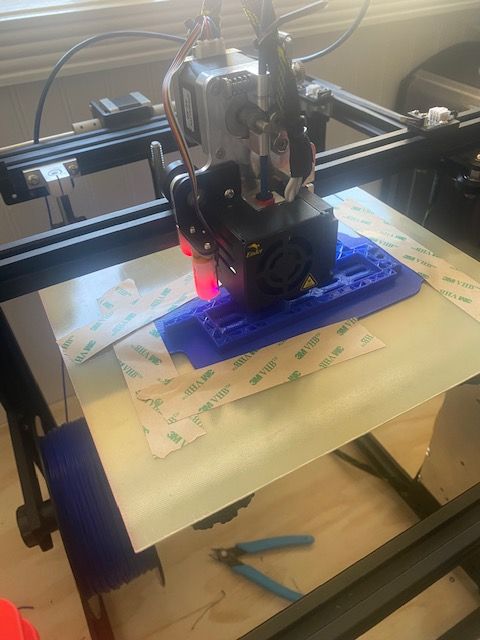
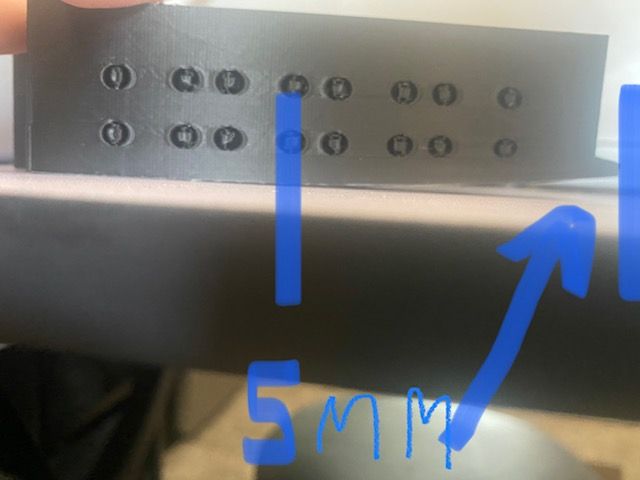
The problem I'm having now despite having a perfect first layer, and then perfect layers throughout, is that the print is peeling up more and more throughout the print until a print is about half way done (about 122 layers) and it completely separates from the bed causing me to have to stop the print.
For the next print (same object), I put a raft down first instead of just a brim and the same thing happened but this time at 13 layers, all while having flawless layersThe bed is flat, adhesion seems to be fine, and the bed is only at 55c°
Just so the print I have going now doesn't fail again, I've taped the raft to the bed using high heat transfer tape.
I feel like after the PLA cools down all the way, it somehow loses it's adhesion
What are your thoughts?
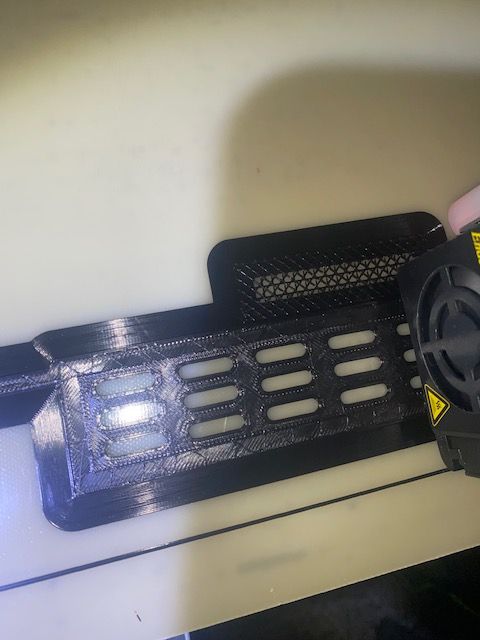
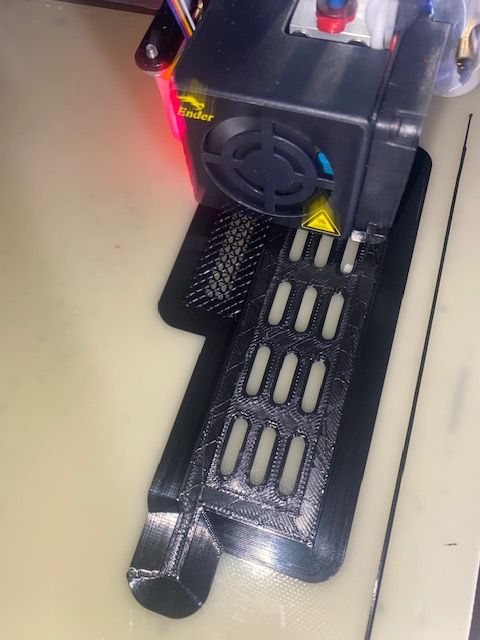
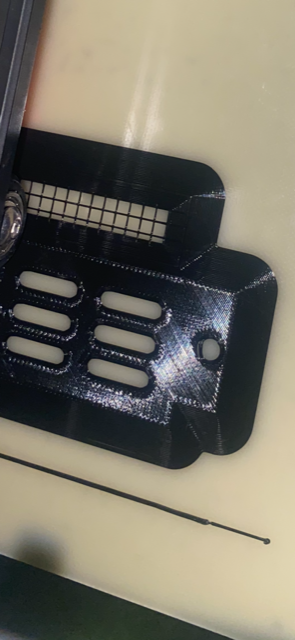
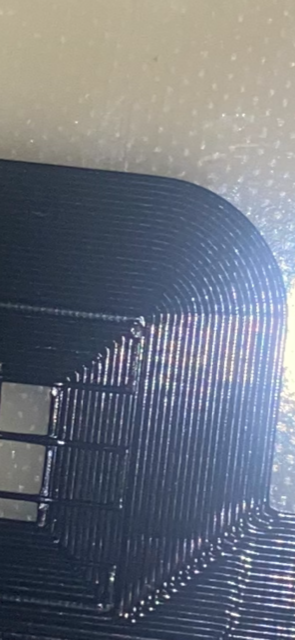
Thanks,
-Carson
-
Clean your bed really well with isopropyl alcohol.
And crank up your bed temp. If the heater is set to 55c the surface of the bed could be 10c cooler. Try 65c. -
I usually have it set at 60, but when researching what causes peeling it said bed temp was likely too high. After this print though I'll definitely clean the bed with the rubbing alcohol and do a small test print at 65°c. It'll be like 11pm (PT) by the time this print finishes, so if 65°c doesn't work, what would you suggest I try?
Thanks,
-Carson
