My Second build (in progress)
-
wiring is all done , basically only things left is to go throw the config and make sure axis and limit switch are good , need to replace some of the 3d printed gantry to aluminum , added an extra thermistor that will monitor temp of the gantry between both watercooled hotend and extruder . tested the cpap fan and it work even at 5% and it feel stronger than most fan ive tried before at that level , cant wait to test that baby at 100% lol were we come with speed run benchy lol

just need to dremel it a bit to get it closer of the 3d printed part and clean it a bit , might be a bit crude but him not worried about that lol


-
Had to redesign some part , there was a few issue but i might have this thing going today ! Reprinted a few part overnights , and hopefully they fix the problem then I only need to fill up the water loop .

-

-
So now I need to calibrate things a bit more but I ended up doing it quick I wanted to test print lol
So far it seem the single 2020 were the z axis rail is, is not stiff enough and make the bed shake a bit , so I will need to had Some reinforcement to stiffen that . Need to work on my klicky dock as well . test printed with some old PLA that i had laying around ,
current setting in config is :
; Axes
M584 X0.0:0.1:0.2 Y0.4:0.5:0.3 Z1.1:1.2 ; set axis mapping
M350 X16 Y16 Z16 I1 ; configure microstepping with interpolation
M906 X2400 Y2400 Z1200 ; set axis driver currents
M92 X80 Y80 Z2560 ; configure steps per mm
M208 X10:205 Y-40:200 Z0:300 ; set minimum and maximum axis limits
M566 X900 Y900 Z100 ; set maximum instantaneous speed changes (mm/min)
M203 X90000 Y90000 Z500 ; set maximum speeds (mm/min)
M201 X20000 Y20000 Z500 ; set accelerations (mm/s^2)him curious to see how far i can push this machine once i fix the last few things
-
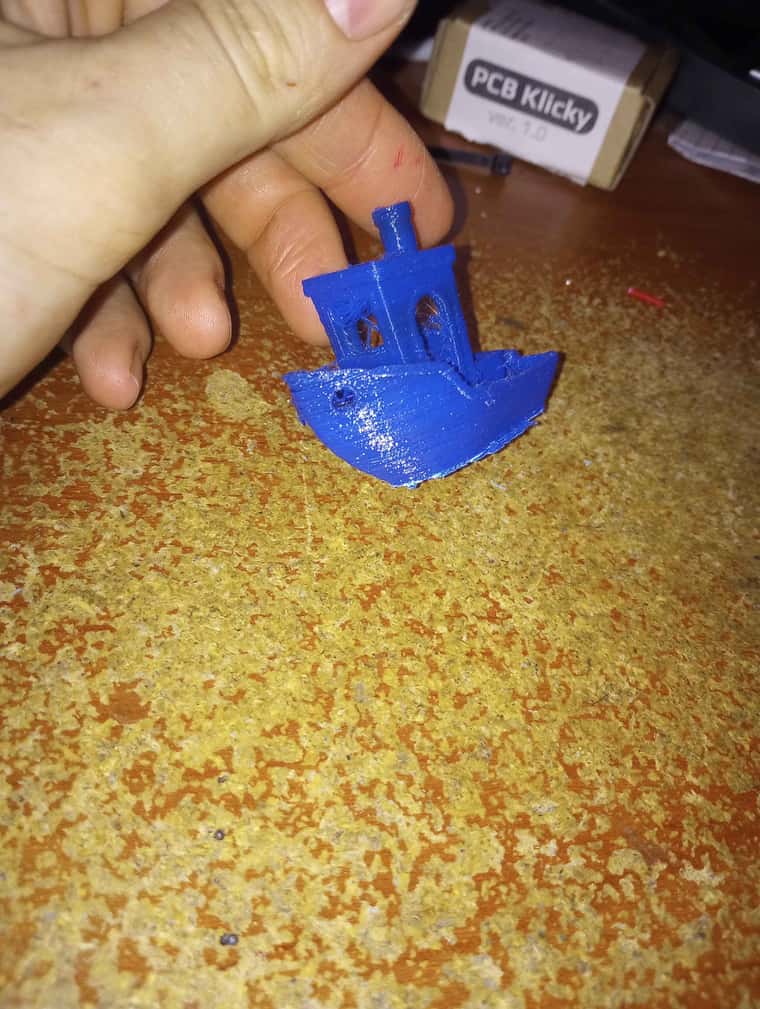
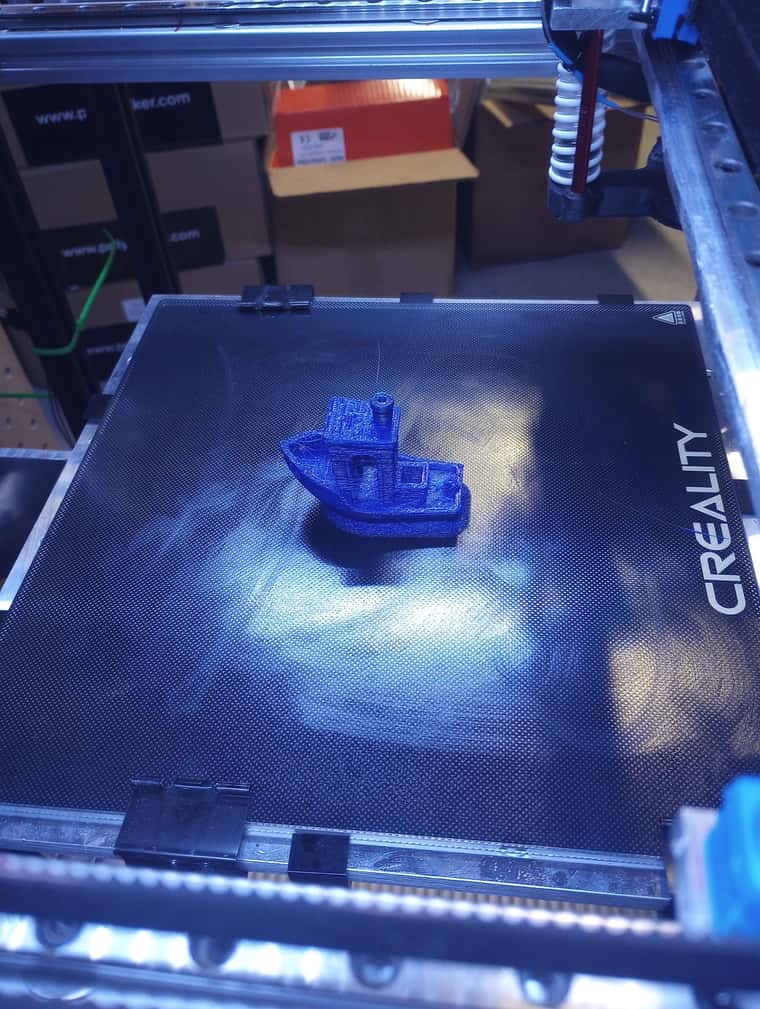
so a bit rough looking and lots of stringing from the old pla but not the worst benchy ive ever seen since it on an untuned machine , lots of stringing lol


-
Did some further tuning , extruder is nearly fully dial , skew compensation should be bang on , z axis step seem fine , just need to reinforce the z axis and we should all be set for more printing test .
-
Got the accelerometer working tonight and I it seem zvddd at 40-42hz was the flatest curve like.
Tomorrow I can hopefully fix the print bed shaking and keep going on those calibration and push the speed to see how far it can go -
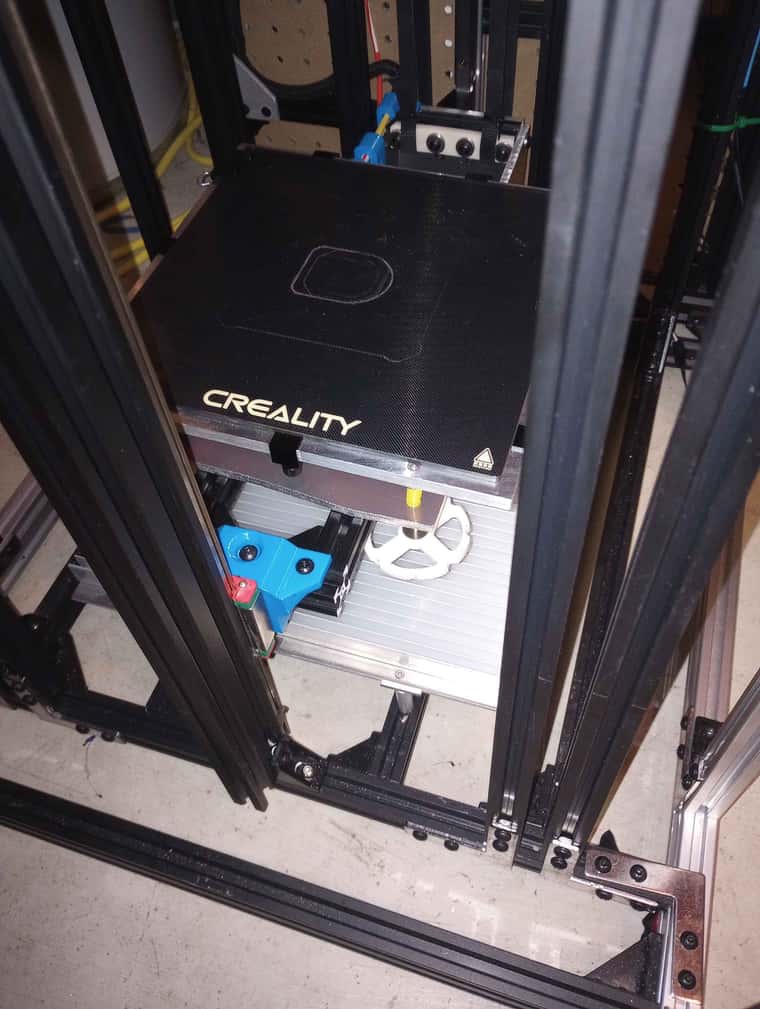
Well adding up reinforcement on the z axis didn't seem to have fixed my issue , i think i would just have to double the linear rail and block on it , but i had some old mgn15 rail laying around and tested something , so i decided to put that rail at the front of the platform , it look at bit goody but so far it seem to have completely eliminated any wobbling of the print bed . platform goes up and down without any problem , so i think him gonna test this a bit more and see how to it goes . before i order any more rail for this

-
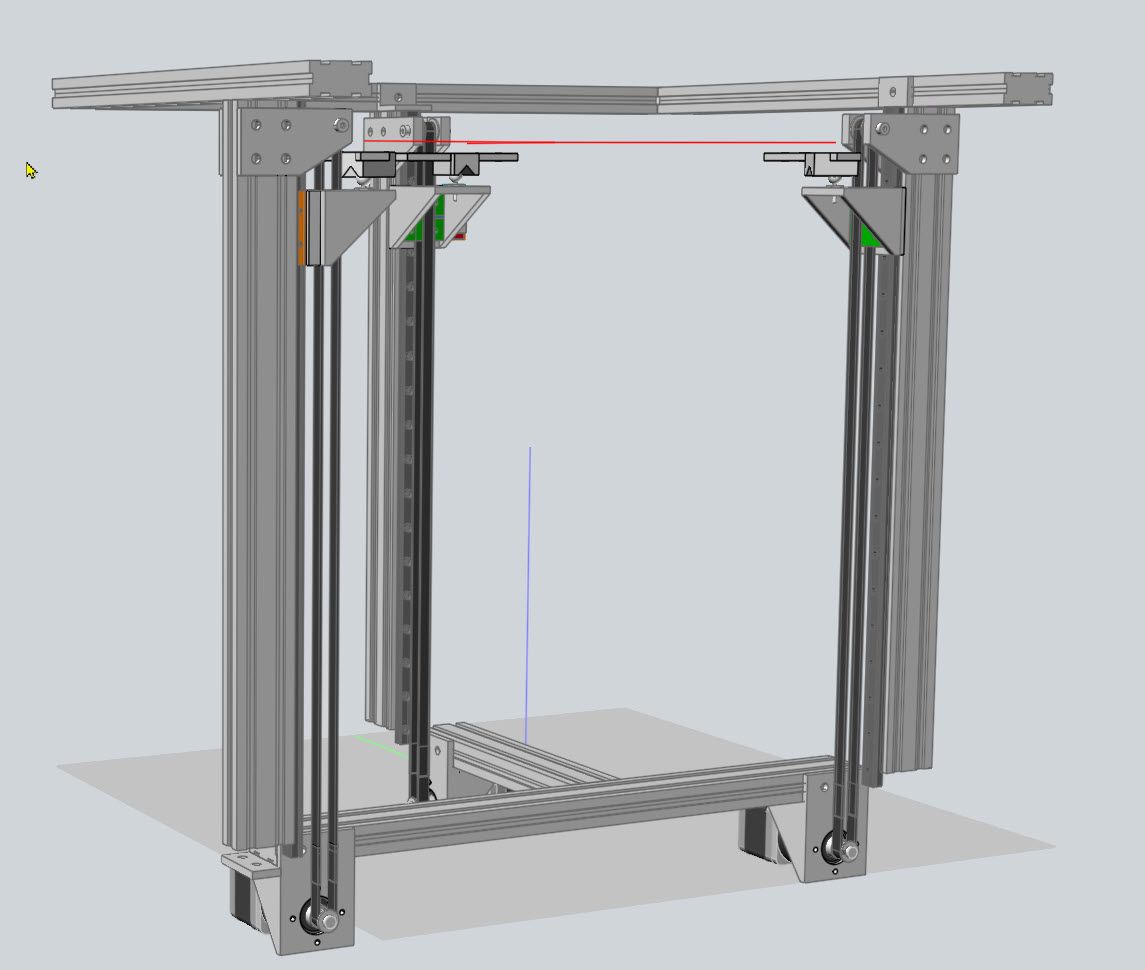
I had my bed being lifted at three points, so as to allow auto leveling.
I used steppers with integral planetary gearboxes. He are most of the parts related to the Z axis. It is quite simple, to my way of thinking.

Regards, Frederick
-
@fcwilt yea , my goal was to keep it simple with only one axis to power the bed , I always run a bed mesh before print so bed leveling doesn't need to be 100% perfect , him just testing things out .
-
@Dad003 said in My Second build (in progress):
@fcwilt yea , my goal was to keep it simple with only one axis to power the bed , I always run a bed mesh before print so bed leveling doesn't need to be 100% perfect , him just testing things out .
True but the flatter and more level the bed is, the less work mesh compensation needs to do.
And as you can see with planetary steppers you only need the toothed pulley on the stepper and the toothed idler at the other end. Doesn't get much simpler than that.
And watching a bed auto level is kind of fun.

Frederick