My Second build (in progress)
-
Got the accelerometer working tonight and I it seem zvddd at 40-42hz was the flatest curve like.
Tomorrow I can hopefully fix the print bed shaking and keep going on those calibration and push the speed to see how far it can go -
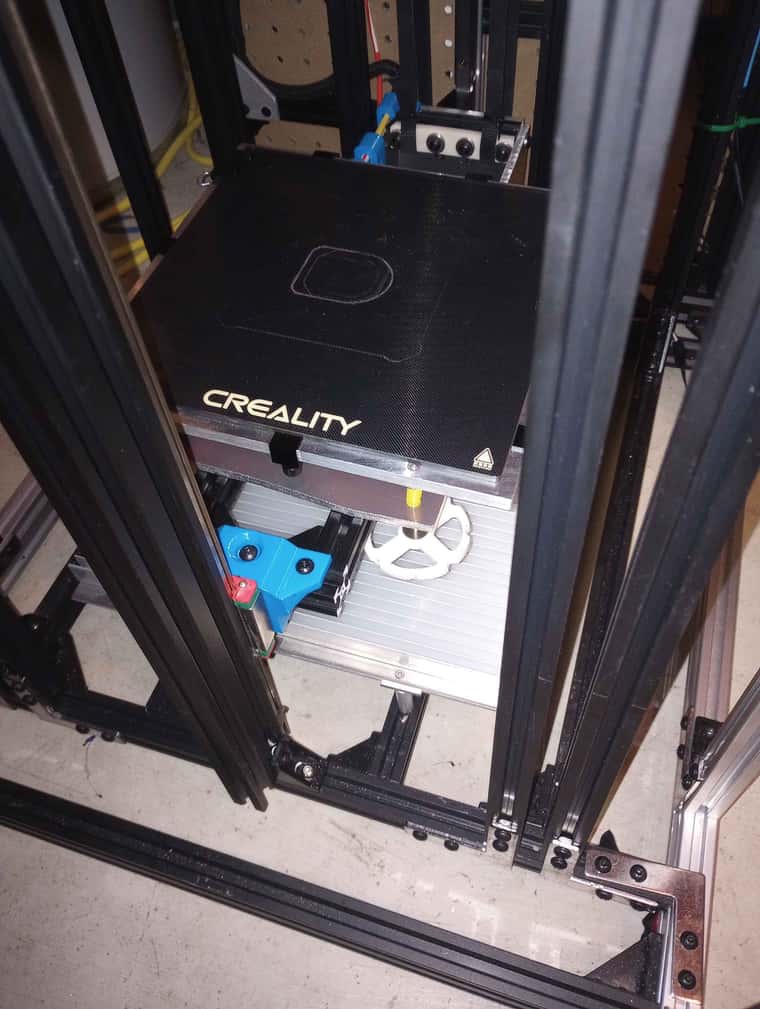
Well adding up reinforcement on the z axis didn't seem to have fixed my issue , i think i would just have to double the linear rail and block on it , but i had some old mgn15 rail laying around and tested something , so i decided to put that rail at the front of the platform , it look at bit goody but so far it seem to have completely eliminated any wobbling of the print bed . platform goes up and down without any problem , so i think him gonna test this a bit more and see how to it goes . before i order any more rail for this
-
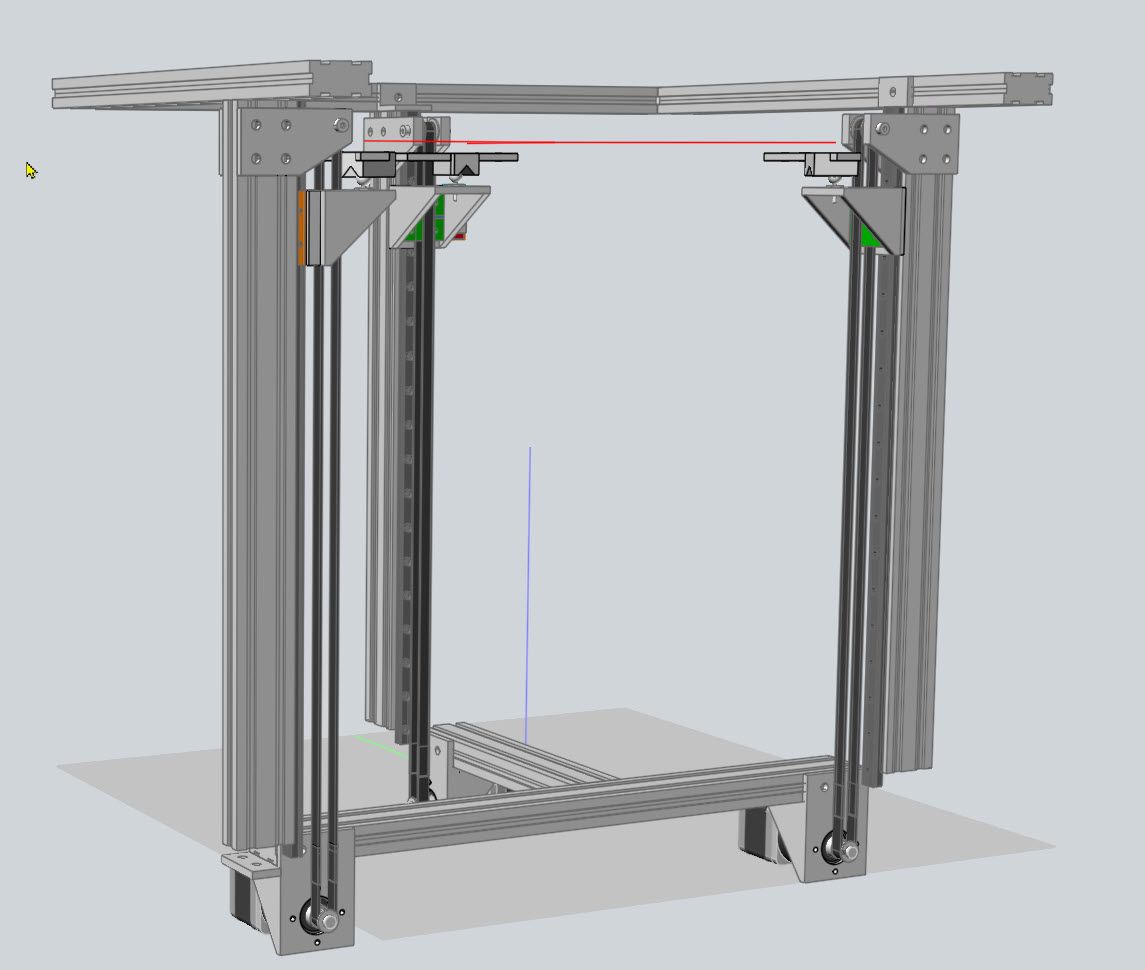
I had my bed being lifted at three points, so as to allow auto leveling.
I used steppers with integral planetary gearboxes. He are most of the parts related to the Z axis. It is quite simple, to my way of thinking.
Regards, Frederick
-
@fcwilt yea , my goal was to keep it simple with only one axis to power the bed , I always run a bed mesh before print so bed leveling doesn't need to be 100% perfect , him just testing things out .
-
@Dad003 said in My Second build (in progress):
@fcwilt yea , my goal was to keep it simple with only one axis to power the bed , I always run a bed mesh before print so bed leveling doesn't need to be 100% perfect , him just testing things out .
True but the flatter and more level the bed is, the less work mesh compensation needs to do.
And as you can see with planetary steppers you only need the toothed pulley on the stepper and the toothed idler at the other end. Doesn't get much simpler than that.
And watching a bed auto level is kind of fun.

Frederick
Printers: a E3D MS/TC setup and a RatRig Hybrid. Using Duet 3 hardware running 3.4.6
-
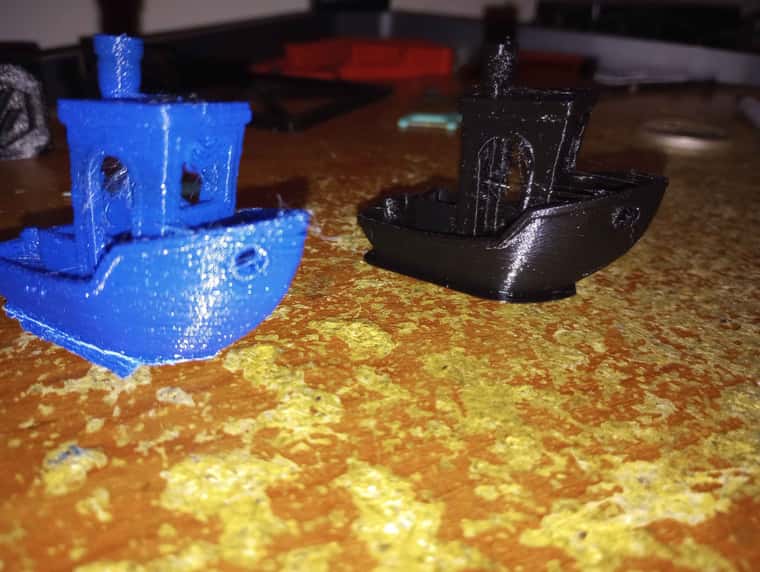
well i ve done some testing and him close to figure out the acceleration and jerk this things like , tried a 150x150 square with only 2 layer for wall , and was able to get the movement speed up to 1200mm/Sec without skipping but it was at the edge of the acceleration . but 900-1000mm/sec no issue
-
@fcwilt And if you do it right, there's no need for mesh compensation or auto tramming.
I use a single NEMA 23 stepper with a 30:1 worm drive gearbox to lift the bed on two linear guides in my printer. It has an 8 mm thick cast tooling plate bed on a kinematic mount. There's no autotramming or mesh compensation. The last time I trammed the bed was at least 2 years ago, and it took less than a minute. It just works every time I turn it on. The bed doesn't move when power is cut, so theoretically I can resume printing after a blackout, though I've never tried.
-
Everything you say is mostly true.
Cast tooling plate is typically flat within 0.015" or 0.381 mm.
The worst case means the plate may be "out of flat" by nearly 4 layers when printing at 0.1 mm layers.
I have my machinist verify the flatness after creating a bed plate.
As to tramming I rather enjoy watching a triple Z setup level the bed.
Frederick
-
@fcwilt said in My Second build (in progress):
The flatness spec is based on an entire sheet (4'x12' or so) of tooling plate. Typical flatness over a smaller piece is usually much better. In my printer, I would guess the varying thickness of the PEI and adhesive sheet under it are likely to contribute more to the unflatness than the plate itself. I have never tried to print a 100um first layer- I'm not sure why that would be needed - but I do print with 200 um first layers once in a while without any trouble.
The purpose of tramming/mesh compensation is to get the first layer to stick for the duration of the print, not to get a flat bottom on the print. If you move the Z axis up and down to compensate for bed unflatness or tramming error, you're not going to have a flat bottom on the print - it's going to be the shape of the bed, whatever that is. I can't imagine any application for a plastic 3D print where the flatness of its bottom, beyond what comes off the bed, would be critical to the function or appearance of the print. If flatness down to micron level is needed, a 3D printer is the wrong way to make the part in the first place.
Auto tramming and multiple screws/motors to lift the bed are a chicken and egg sort of thing. A lot of people think they want auto tramming so they use multiple screws/motors to lift the bed. But if you use multiple screws/motors, you have to use auto tramming because the bed is going to tilt every time you cycle power to the printer. I think what people really want is a reliable printer that they don't have to mess around with, but youtube videos showing corners of beds going up and down have made them think that auto tramming is the only way to achieve that.
If you use a single motor to lift the bed, regardless of the number of screws or belts, the bed won't tilt when you cycle power. If the bed plate is on a stable mount, it won't require tramming every time you print. You won't need bed sensors, multiple motors, drivers, and cables. And you'll never experience the joy of troubleshooting it when it fails.
I enjoy starting prints and not waiting for the machine to tram itself. I also enjoy not having to worry about whether the print is going to stick or whether I'll be able to to print at all if auto tramming fails. There's less to go wrong with a flat bed plate on a stable mount that doesn't require tramming before every print.
-
@mrehorstdmd this , i personally just want a simple system , the way him set right now , even power off bed will not move at all