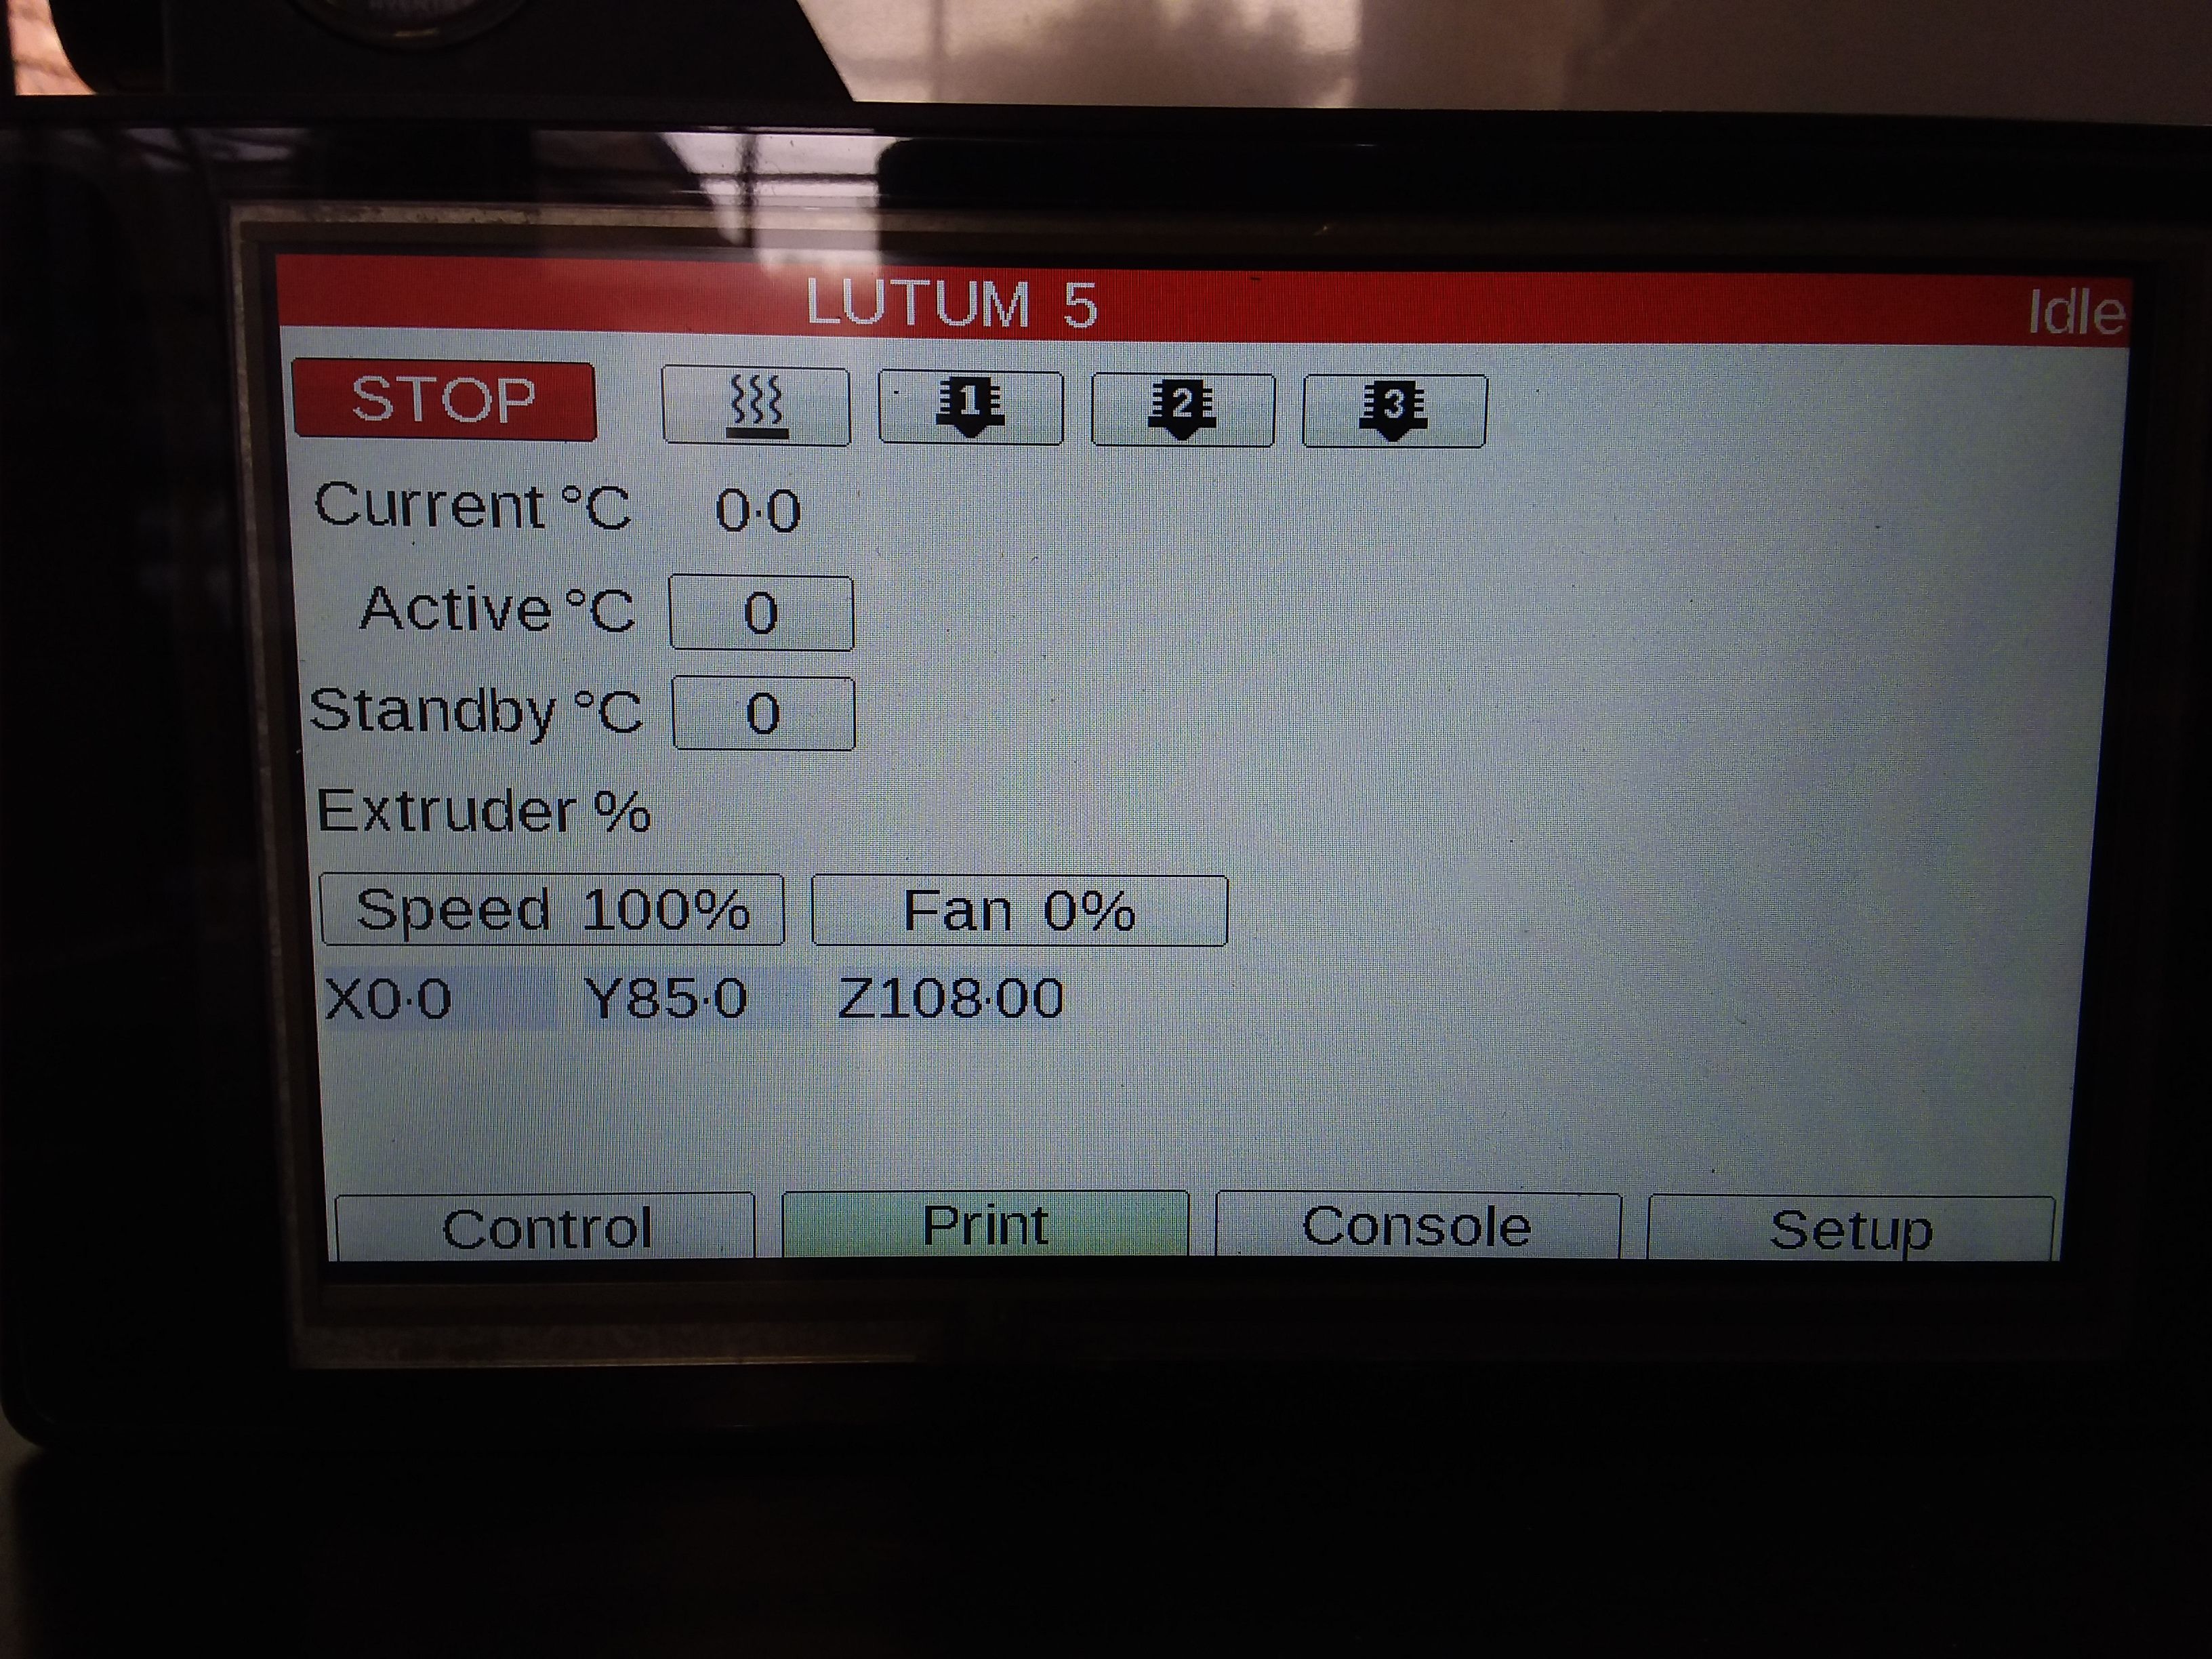
Extrusion% button,
-
Hi!
I am looking for the extrusion% button in the new paneldue firmware 1.23.2
In the 1.17 firmware i have it.
How can i get it back?!


-
@Yao it's not there because you don't have a tool defined; there's no temperatures under the nozzle heater '1' icon. Are you changing the Duet firmware from RRF 2 to RRF 3 at the same time? Have you updated config.g for RRF 3? You may also need to add
M575 P1 S1 B57600to your config.g.Also, PanelDue firmware v1.24 is the latest: https://github.com/Duet3D/PanelDueFirmware/releases
Ian
-
@droftarts hi, thanks for the quick reply! on both setups I use the same config file. And both have RRF 3.1 installed
however, I did not change the panel due firmware as I just needbasic control.The tools on our machines do not use heating, no hotends and no heatbed so I did not include that in the definition.
basically as below.; Tools
M563 P0 D0 ; tool 0 use extruder drive 0
M563 P1 D1 ; tool 1 use extruder drive 1
M563 P2 D2 ; tool 2 use extruder drive 2I guess i should get the extrusion% button back when I include the full definition en set parameters...?
something like this:
M563 P0 D0 H0; tool 0 use extruder drive 0
G10 P0 S0 R0 X0 Y0 ; set tool 0
M563 P1 D1 H1; tool 1 use extruder drive 1
G10 P1 S0 R0 X0 Y0 ; set tool 1
M563 P2 D2 H2 ; tool 2 use extruder drive 2
G10 P2 S0 R0 X0 Y0 ; set tool 2Is this what you ment with 'no tool defined'?
I'll try.The M575 was included in the config.
-
@Yao I think this is just down to the way that PanelDue creates it's display. See https://duet3d.dozuki.com/Wiki/Connecting_an_LCD_control_panel#Section_Limitations
PanelDue will display the bed heater H0 first (even if it is disabled), then iterate the defined tools. It then iterates the defined heaters below this. It expects a 1:1 relationship between tools and heaters. This means if you have a machine that uses one heater for more than one tool (eg a 2-into-1, filament-swapping hot end), it will display more tools than heaters. Tools may not line up with their respective heaters.
So you're seeing the three tools, but not the heaters. My guess is that the older firmware assumed the first heater is there by default, but the newer firmware has removed this. So yes, defining dummy heaters in the tool definition will probably resolve this.
Ian
-
To make it easier I activated only 1 tool.
When rebooting it shows up for a second but no macros visible
Then it sort of resets the screen en rebuild the buttons. showing the macros but removes the heaters for the tool.I think i need to define the heaters seperately...?
I have never investigated heaters etc. only how to remove all references to heaters from firmware as quickly as possible.
")
Do I need to define them with the "M950 H1" for them to show up??
-
@droftarts I got it to work
had to change the H0 to H1 in the
"M563 P0 D0 H1" line.Unfortunately as we do not use heaters we also do not install sensors. it now shows -273.1 degrees on the display.
Is there a simple way to show a temp of 0.0 ?
It works with the bed temp after disabeling the bed heating with "M140 H-1"thanks!
-
@Yao Define a temperature monitor as
M308 S1 Y"drivers"and a heaterM950 H1 C"e0heat" T1which uses it. Map H1 to all tools; I think that should work, and show 0C, unless your stepper drivers get over 100C!Ian
-
@droftarts YES! worked.
would be nice if those temperature readings don't show up when I'm not using a temporary assignment ánd have the extrusion% button active. I don't understand the logic why this is related to temperature measurements. Especially if I allow cold extrusion.
-
@Yao The logic is that the PanelDue assumes you have a 3D printer, and certain parts of it are hard-coded to this assumption. Hopefully firmware is coming that will be a bit more flexible (I've heard rumours), but for now, it is what it is!
Ian
-
@droftarts one more question..
To update the paneldue firmware, can this be done via the USB connecton of the DUET wifi board?
I can only find update information examples with direct usb connection to the panel.
thanks! -
@Yao said in Extrusion% button,:
To update the paneldue firmware, can this be done via the USB connecton of the DUET wifi board?
No.
I can only find update information examples with direct usb connection to the panel.
Yes, that's correct. Is that an issue for you? And unplug it from the Duet first. See https://duet3d.dozuki.com/Wiki/PanelDue_Firmware_update
You can program it with an FTDI programmer; there's this comment on the above page:OK clearly I didn’t pay enough attention to the caution about snapping off the micro USB socket. In any case if you need to flash the board without usb then you can still use an FTDI programmer and wire directly into the tx rx vcc gnd pins on the panelduo connector. The instructions above regarding the Bossa GUI continue to work like a charm, plus you get to look extra geeky for a few mins.
Ian