Multiple problems
-
Well, How would I know, the console is obviously displaying error messages, and to enter M-commands, I thought that M-commands was a different thing, bear in mind, this is my first encounter with these things. So I obviously have to learn.
Now, why is it homing to the middlke of the build-plate, is it du to miss-configured endstopps, or what. -
@TomasL said in Multiple problems:
Now, why is it homing to the middlke of the build-plate, is it du to miss-configured endstopps, or what.
Well clearly something is wrong - either with your configuration or your hardware.
For starters post the follow using the </> tag
- config.g
- homeall.g
- homex.g
- homey.g
- homez.g
- bed.g (if you have one)
If you use the tag we don't have to download the files to view them.
Here is an example of gcode wrapped in the tag:
G90
G1 X100 F1200
G1 Y100 F1200
Thanks.
Frederick
-
Ok, here it is;
config.g; Configuration file for Duet WiFi (firmware version 3) ; executed by the firmware on start-up ; ; generated by RepRapFirmware Configuration Tool v3.2.2 on Fri Feb 05 2021 18:34:18 GMT+0100 (centraleuropeisk normaltid) ; General preferences G90 ; send absolute coordinates... M83 ; ...but relative extruder moves M550 P"Frankenstein" ; set printer name ; Network M552 S1 ; enable network M586 P0 S1 ; enable HTTP M586 P1 S0 ; disable FTP M586 P2 S0 ; disable Telnet ; Drives M569 P0 S0 ; physical drive 0 goes backwards M569 P1 S1 ; physical drive 1 goes forwards M569 P2 S1 ; physical drive 2 goes forwards M569 P3 S1 ; physical drive 3 goes forwards M584 X0 Y1 Z2 E3 ; set drive mapping M350 X16 Y16 Z16 E16 I1 ; configure microstepping with interpolation M92 X80.00 Y80.00 Z500.00 E420.00 ; set steps per mm M566 X900.00 Y900.00 Z60.00 E120.00 ; set maximum instantaneous speed changes (mm/min) M203 X6000.00 Y6000.00 Z180.00 E1200.00 ; set maximum speeds (mm/min) M201 X500.00 Y500.00 Z20.00 E250.00 ; set accelerations (mm/s^2) M906 X800 Y800 Z800 E800 I30 ; set motor currents (mA) and motor idle factor in per cent M84 S30 ; Set idle timeout ; Axis Limits M208 X18 Y10 Z5 S1 ; set axis minima M208 X205 Y235 Z190 S0 ; set axis maxima ; Endstops M574 X1 S1 P"^xstop" ; configure active-high endstop for low end on X via pin ^xstop M574 Y1 S1 P"^ystop" ; configure active-high endstop for low end on Y via pin ^ystop M574 Z1 S1 P"^zstop" ; configure active-high endstop for low end on Z via pin ^zstop ; Z-Probe M558 P1 C"zprobe.in" H5 F120 T6000 ; set Z probe type to unmodulated and the dive height + speeds G31 P500 X29 Y0 Z2.5 ; set Z probe trigger value, offset and trigger height M557 X33:200 Y25:195 S20 ; define mesh grid ; Heaters M308 S0 P"bedtemp" Y"thermistor" T100000 B4138 ; configure sensor 0 as thermistor on pin bedtemp M950 H0 C"bedheat" T0 ; create bed heater output on bedheat and map it to sensor 0 M307 H0 B0 S1.00 ; disable bang-bang mode for the bed heater and set PWM limit M140 H0 ; map heated bed to heater 0 M143 H0 S120 ; set temperature limit for heater 0 to 120C M308 S1 P"e0temp" Y"thermistor" T100000 B4138 ; configure sensor 1 as thermistor on pin e0temp M950 H1 C"e0heat" T1 ; create nozzle heater output on e0heat and map it to sensor 1 M307 H1 B0 S1.00 ; disable bang-bang mode for heater and set PWM limit M143 H1 S280 ; set temperature limit for heater 1 to 280C ; Fans M950 F0 C"fan0" Q500 ; create fan 0 on pin fan0 and set its frequency M106 P0 S0 H-1 ; set fan 0 value. Thermostatic control is turned off M950 F1 C"fan1" Q500 ; create fan 1 on pin fan1 and set its frequency M106 P1 S1 H-1 ; set fan 1 value. Thermostatic control is turned off ; Tools M563 P0 D0 H1 F0 ; define tool 0 G10 P0 X0 Y0 Z0 ; set tool 0 axis offsets G10 P0 R0 S0 ; set initial tool 0 active and standby temperatures to 0C ; Custom settings are not defined ; Miscellaneous M575 P1 S1 B57600 ; enable support for PanelDue M501 ; load saved parameters from non-volatile memory M911 S10 R11 P"M913 X0 Y0 G91 M83 G1 Z3 E-5 F1000" ; set voltage thresholds and actions to run on power loss T0 ; select first toolHome All
; homeall.g
; called to home all axes
;
; generated by RepRapFirmware Configuration Tool v3.2.2 on Fri Feb 05 2021 18:34:18 GMT+0100 (centraleuropeisk normaltid)
G91                     ; relative positioning
G1 H2 Z5 F6000          ; lift Z relative to current position
G1 H1 X-192 Y-230 F1800 ; move quickly to X and Y axis endstops and stop there (first pass)
G1 H2 X5 Y5 F6000       ; go back a few mm
G1 H1 X-192 Y-230 F360  ; move slowly to X and Y axis endstops once more (second pass)
G1 H1 Z-190 F360        ; move Z down stopping at the endstop
G90                     ; absolute positioning
G92 Z5                  ; set Z position to axis minimum (you may want to adjust this)

; Uncomment the following lines to lift Z after probing
;G91                    ; relative positioning
;G1 Z5 F100             ; lift Z relative to current position
;G90                    ; absolute positioning
homex.g
; homex.g
; called to home the X axis
;
; generated by RepRapFirmware Configuration Tool v3.2.2 on Fri Feb 05 2021 18:34:18 GMT+0100 (centraleuropeisk normaltid)
G91               ; relative positioning
G1 H2 Z5 F6000    ; lift Z relative to current position
G1 H1 X-228 F1800 ; move quickly to X axis endstop and stop there (first pass)
G1 H2 X5 F6000    ; go back a few mm
G1 H1 X-228 F360  ; move slowly to X axis endstop once more (second pass)
G1 H2 Z-5 F6000   ; lower Z again
G90               ; absolute positioning
homey.g
; homey.g
; called to home the Y axis
;
; generated by RepRapFirmware Configuration Tool v3.2.2 on Fri Feb 05 2021 18:34:18 GMT+0100 (centraleuropeisk normaltid)
G91               ; relative positioning
G1 H2 Z5 F6000    ; lift Z relative to current position
G1 H1 Y-250 F1800 ; move quickly to Y axis endstop and stop there (first pass)
G1 H2 Y5 F6000    ; go back a few mm
G1 H1 Y-250 F360  ; move slowly to Y axis endstop once more (second pass)
G1 H2 Z-5 F6000   ; lower Z again
G90               ; absolute positioning
homez.g
; homez.g
; called to home the Z axis
;
; generated by RepRapFirmware Configuration Tool v3.2.2 on Fri Feb 05 2021 18:34:18 GMT+0100 (centraleuropeisk normaltid)
G91               ; relative positioning
G1 H2 Z5 F6000    ; lift Z relative to current position
G1 H1 Z-200 F1800 ; move Z down until the endstop is triggered
G92 Z5            ; set Z position to axis minimum (you may want to adjust this)

; Uncomment the following lines to lift Z after probing
;G91              ; relative positioning
;G1 Z5 F100       ; lift Z relative to current position
;G90              ; absolute positioning
bed.g
; called to perform automatic bed compensation via G32 ; ; generated by RepRapFirmware Configuration Tool v3.2.2 on Fri Feb 05 2021 18:34:18 GMT+0100 (centraleuropeisk normaltid) M561 ; clear any bed transform G29 ; probe the bed and enable compensation -
@TomasL said in Multiple problems:
Thanks - looking at them now...
M208 X18 Y10 Z5 S1 - Z5 is a very odd value - normally the value is 0 or a bit less.
Please explain.
Frederick
-
Another problem I have is that when I do the motor test macro, randomly it says that one phase is missing on the motors.
Allways on the extruder thoug.
I have measured the connection and everything seems to be ok, connectionwise, i.e there is no open circuit or any short circuit. -
What is M208?
-
I guess that is the offsets from the limitswitches.
Well, when the X-switch is activated, the head is around 18mm out of the bed, same with the Y-switch, the Z I had set just to avoid it craching into the glass. for the moment.
Maybe I got it the wrong way around -
@TomasL said in Multiple problems:
What is M208?
Another "victim" of the configuration tool - it has shielded you from learning the commands.
M208 is used to set the axes minimum and maximum positions.
For example on one of my printers I have this: M208 X-150:150 Y-100:100 Z0:300.
What is means is the range on...
- the X axis is from -150 to +150
- the Y axis is from -100 to +100
- the Z axis is from 0 to 300
Frederick
-
@TomasL It's just FINE that you are confused and having problems.
We're here to help you and we will get you going eventually. We've all been confused with this stuff also.
Stay POSITIVE and you';ll get the best results from this group.
You can look up all the G and M codes here.
Here's M208
So, let's start with this:
- Move the carriage away from the X, Y and Z limit switches and post the result of M119
- Press the X limit switch and post the result of M119. Release the X limit switch.
- Press the Y limit switch and post the result of M119. Release the Y limit switch.
- Press the Z limit switch and post the result of M119. Release the Z limit switch.
This will show that each limit switch is hooked up correctly and working correctly.
Then we can move on to homing.
-
@TomasL said in Multiple problems:
I guess that is the offsets from the limitswitches.
Well, when the X-switch is activated, the head is around 18mm out of the bed, same with the Y-switch, the Z I had set just to avoid it craching into the glass. for the moment.
Maybe I got it the wrong way aroundOK that value for Z then makes sense as it is only for testing.
Can the end stop switches be adjusted can reach the edges of the printable area?
Frederick
Printers: a E3D MS/TC setup and a RatRig Hybrid. Using Duet 3 hardware running 3.4.6
-
@TomasL said in Multiple problems:
the motor test macro
What motor test macro? Was it on the SD card? If it is the same as my SD card that macro is for factory use.
Frederick
-
Ok, Ill have to do that tomorrow, since the printer is in my lab and I am at home , by the way, this is my lab

Yes, the macros show upp in the WEB-UI -
@fcwilt said in Multiple problems:
when the X-switch is activated, the head is around 18mm out of the bed
OK, then in M208, you want X-18 instead of X18
Then, in homex.g the command on line #9 G1 H1 X-228 F360 says to move in the negative direction until the endstop switch is hit, and THEN set the current X location at minus-18mm which is what I think you want.So a similar thing for Y and Z
-
I see the problem.
You don't own enough test equipment.
Are those scopes Tektronix? What models?
Frederick
-
Any macros that came on the SD card should not be run. They are for factory testing. These macros are no longer included, but boards that were purchased before the change may still have them.
-
Nice lab!
-
If I am allowed to do som "commercials",
I run two sites, (well three sites really).
They might be usefull, since all information is free.
The first site is ebaman.com, where I collect users/service manuals and other documents, for full free download, the only catch is that you have to register to download.
I have the largest collection of Heathkit manuals available, plus some 13k of other manuals.My next site is ba-restore.com, dedicated for restoring boat-anchors (well for you that dont know what it is, old electronic and mechanical equipment).
The third site, is microdiscray.com basically this site describe how crazy I am, since my intention is to build a MIPS32 CPU/Computer in discrete components based on ECL-technology.
When I'll get some $10k or so available, I would probably build it.
Anyway, I am happy for all help I could get
Btw, here is a picture of Frankenstein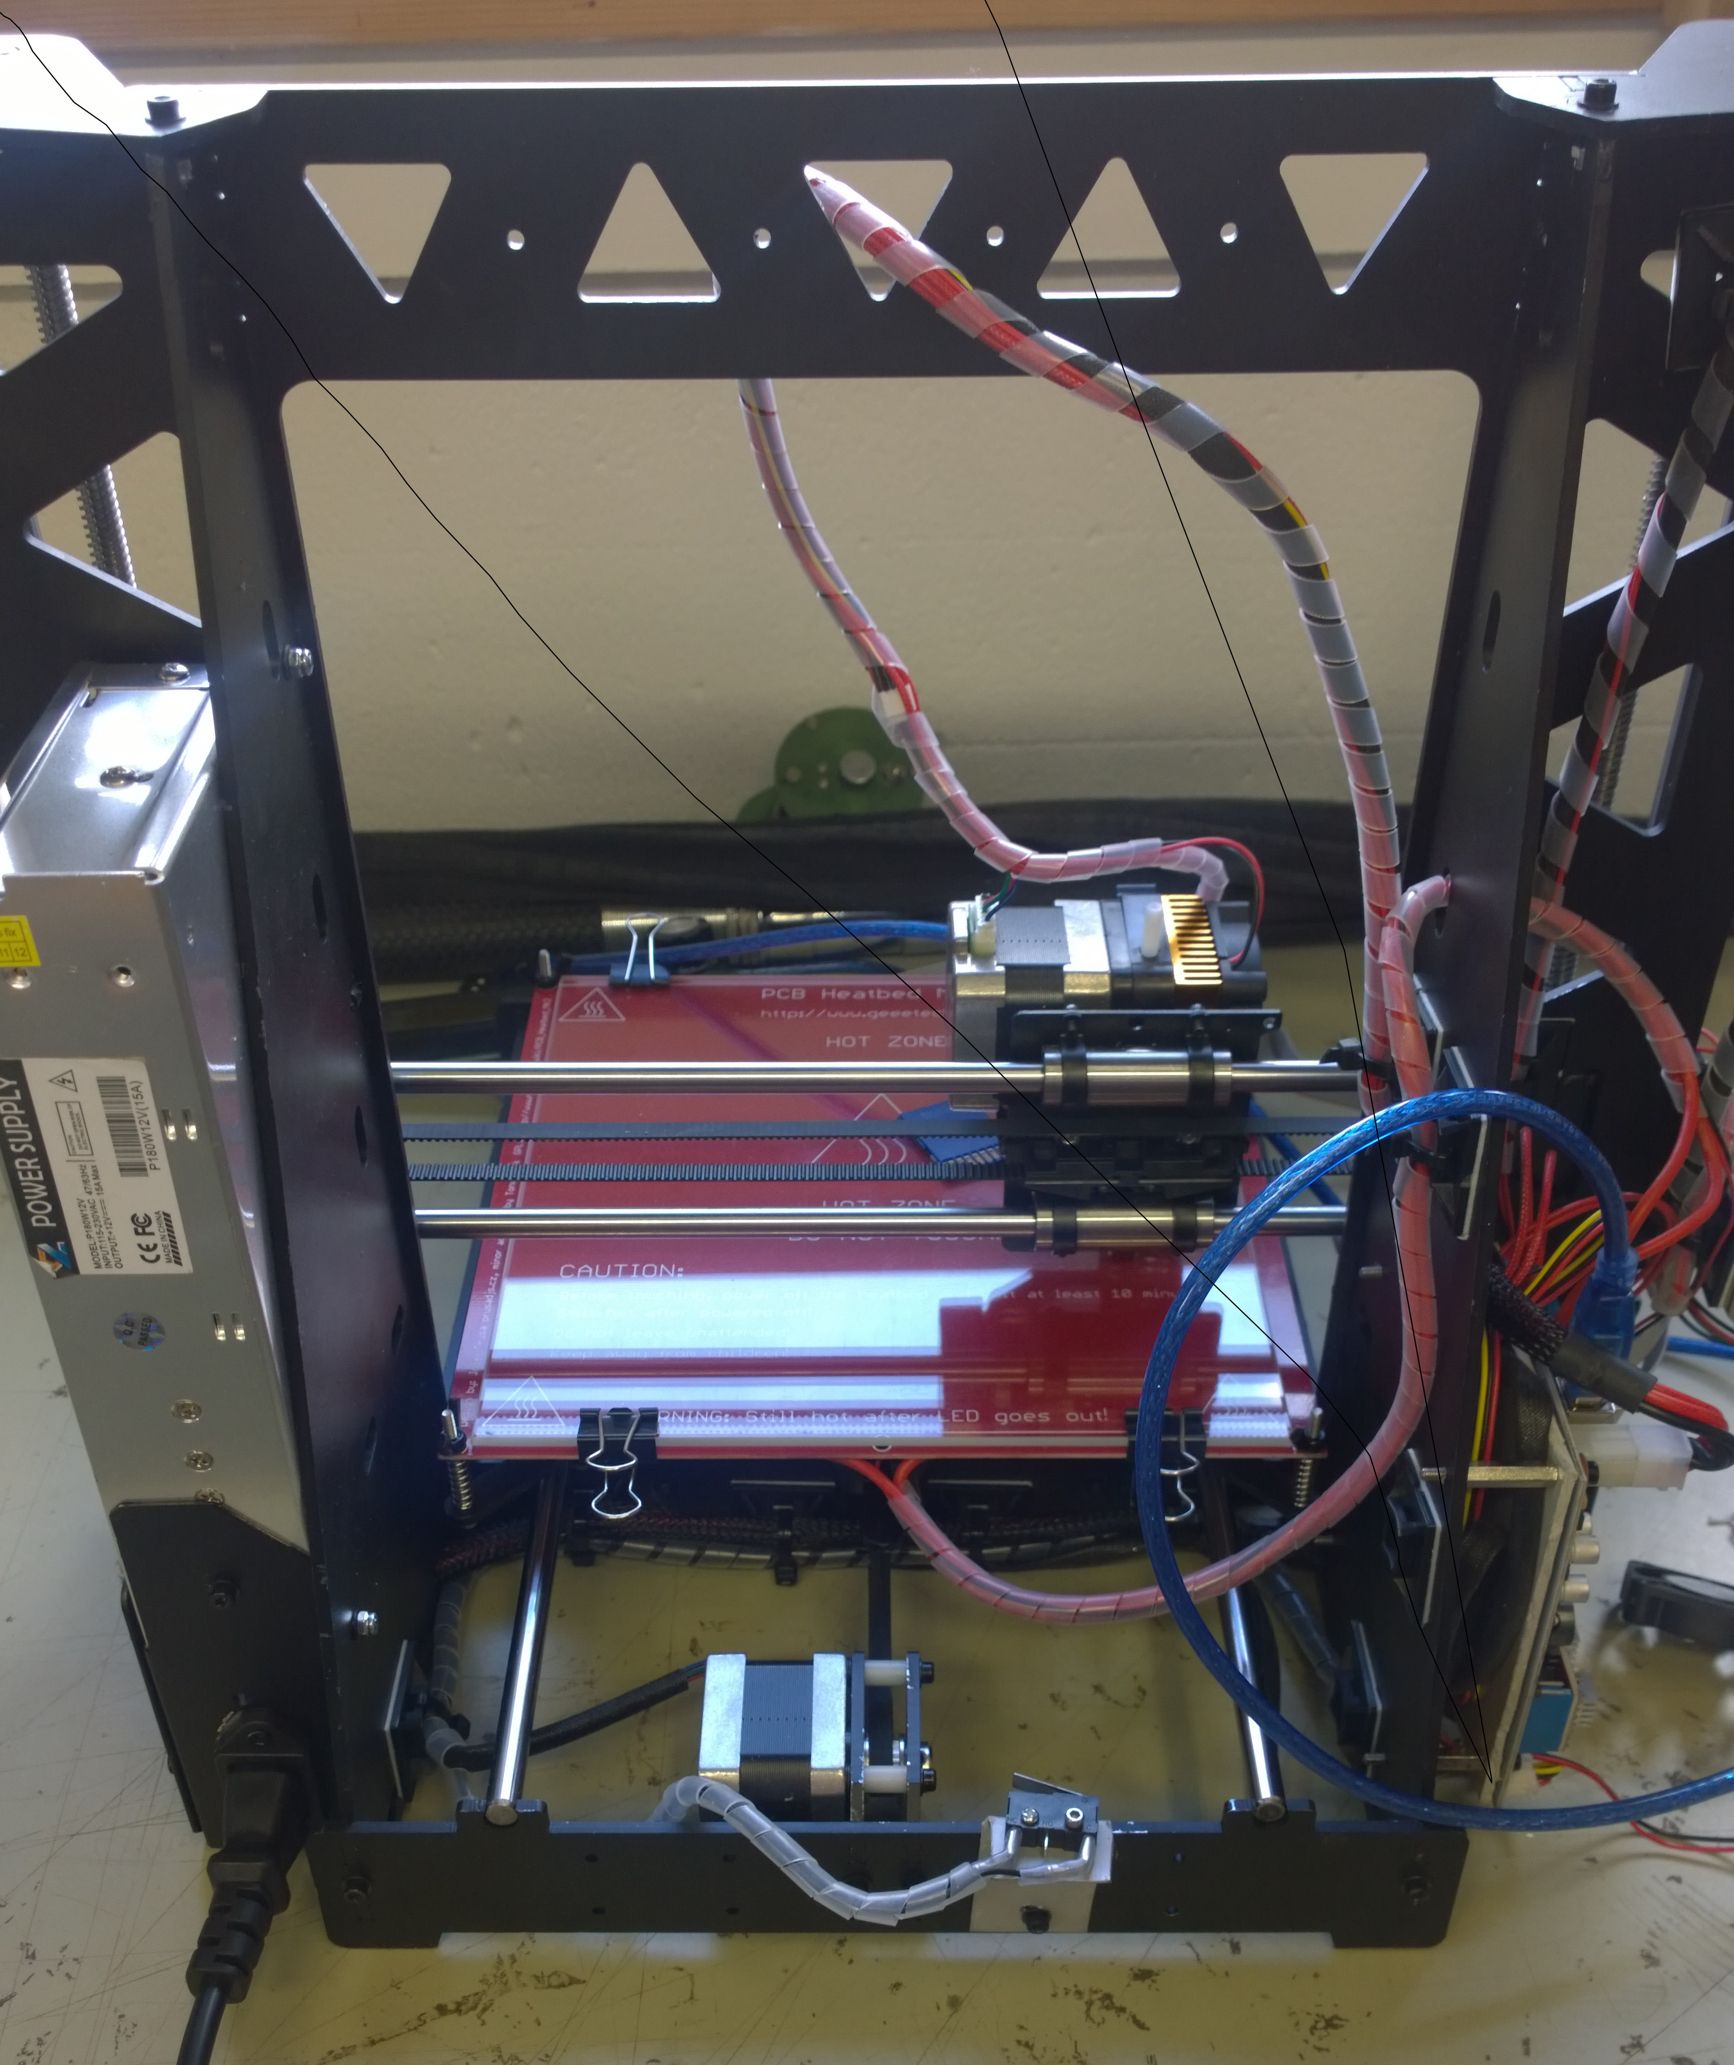
-
Well, the Lab
Right, what do I have in there, well:
One TEK 7854 computing mainframe with calculator.
One TEK 7603 with 7D20 Digitizer
One TEK 7613 Storage with Curve tracer
A number of various TEK7000 series Plug-Inns
One Nicolet 4094 Storage scope with dual 5 1/4 Floppy-Drive.
One TEK DPO7000
One HP 2GHz spectrum analyzer
One Agilent 6,5 digit DVM
One Fluke 8854a 5,5 Digit DVM
One fluke 8000 DVM
Various fluke handhelds
One handheld Agilent LCR-meter
One TEK 1241 96 channel Logic analyzer
One TEK 308 8-bit +16- bit Logic analyzer
One HP Counter
One TM500 with a number of various modules
3 weller WX soldering stations, 40, 80 and 200W
1 Weller De-solderiong station
One Hot air soldering station
2 Leica Stereo microscopes with lightassembly
One 3-d Printer
And to finilize the whole stuff, one complete SMD Pick and Place assembly line -
Fredrick, I know, I need to get some more stuff.
On the purchace list is a Wow&Flutter meter amongst others. -
I worked at Cray Research Inc for 16 years, so I know "Seymour" Cray's work well.
If you don't like integrated circuits like he used in the Cray-1, try looking at his previous machine, the CDC 6600. It's all transistors!