Mesh compensation not working well.
-
I've spent the last month trying to figure out why my first layers are so bad and am at my wits end, hopefully someone here can help get me back on track.
Printer Jubilee CoreXY with 3 print heads and magnetic bed, Duet2 WiFi and Duex5. Config.g and all other files are pretty much straight from the Jubilee GitHub that others have been using without issue. Any variation between my config.g and the original is from my trying to get mesh compensation to work.
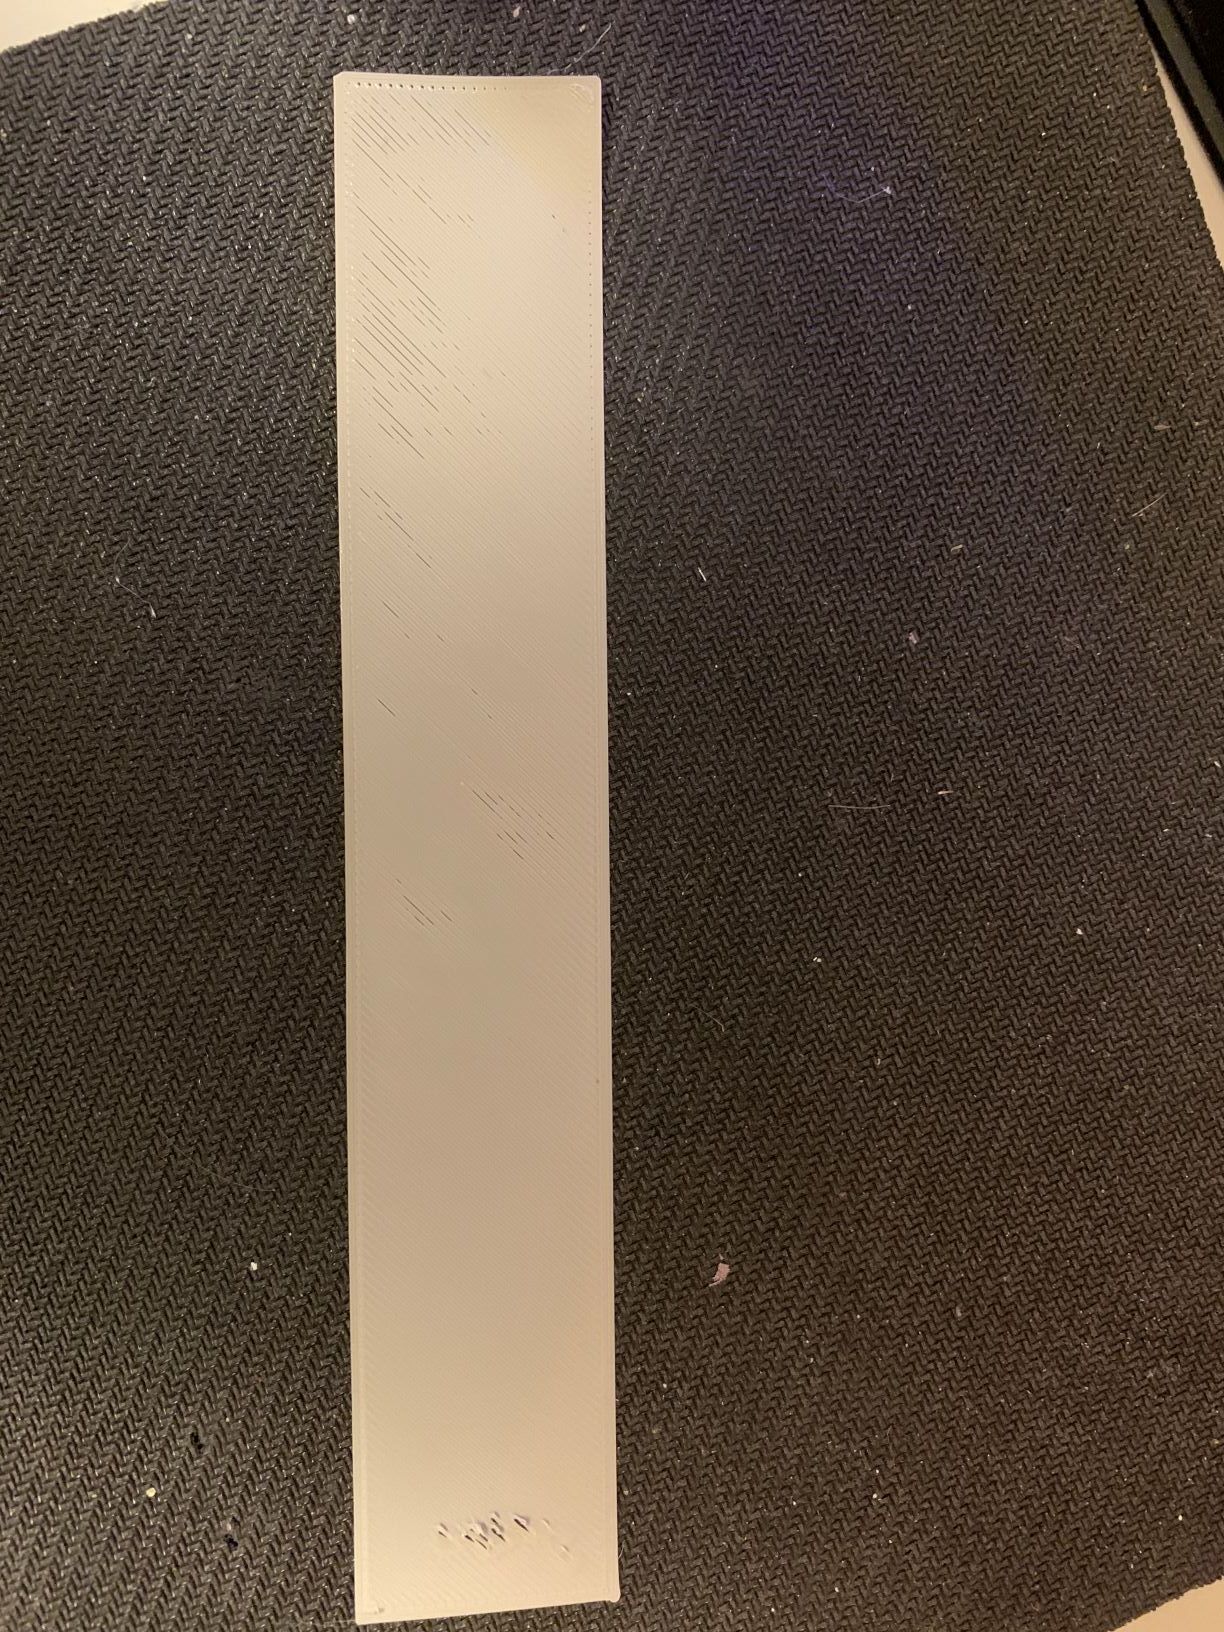
I've ran mesh more times than I care to count and with the thick Buildtak sheet meshes are consistent as shown in the picture below and with the exception of the dimples from magnets in the heatbed I would guess to be acceptable. images of the large square are as good as I can get without causing ripples from being too close to the bed in spots so I really can't lower the nozzle any more without causing issues. See picture of small gray rectangle for an idea of what I get when I bring the nozzle closer to the bed.
Lead screws are turning during prints so mesh is trying to do something. Having mesh enabled yields slightly better first layers but not by much.
Tool offsets were generated using TAMV (tool alignment using machine vision).
I have three Bondtech print heads on the machine and results are almost identical using any of the three tools.
All three tools are firmly attached to the carriage when picked up.
I've increased and decreased Z jerk, acceleration and speed in every combination I could think of and found that l get the best results using the following setup in Prusaslicer, Z feedrate: 400mm/s, Z acceleration: 150mm/s^2, Z jerk: 0.4mm/s and 25mm/s first layer speed.Currently I'm running RRF 3.3 B1 but have worked my way from 3.1.1 up to it and even performed a wipe of the Duet 2 WiFi and reinstalled using "Fallback Procedure #3" to reinstall RRF 3.1.1 with no luck.
Any input/pointing out of a stupid mistake on my part that would help me get better first layers is greatly appreciated.
config (1).g
heightmap (2).csv
Corner of large brown square closest to (0,0) , I tried to adjust to show ripples starting.

Corner of large brown square closest to (300,0)


Smaller rectangle where I tried to adjust first layer.
 resized.jpg)
 -
Please post your homing files and bed.g if used.
And any other macros that are called along the way.
Also please send M98 P"config.g" and post the results.
What do you have in your slicer start gcode?
What type of probe is it? I'm not super familiar with the Jubilee details.
-
G10 P0 X-4.314 Y43.507 Z-2.74 ; Set tool 0 offset from the bed
the first tool should have no offset
and there is no G31 in your config
-
-
Double check that the positions of the lead scrws defined in M671 are in the same order as the z drivers are defined.
https://duet3d.dozuki.com/Wiki/Bed_levelling_using_multiple_independent_Z_motors
You must use the M671 command to define the X and Y coordinates of the leadscrews. The M671 command must come after the M584 command and must specify the same number of X and Y coordinates as the number of motors assigned to the Z axis in the M584 command; and these coordinates must be in the same order as the driver numbers of the associated motors in the M584 command. The M671 command must also come after any M667 or M669 command.
I also find it helpful to use the same order for the points in the bed.g just to keep things consistent.
Also, it may help to re-run the 3 point probing in bed.g a few times just to get any tilt out.
And at the end of it, before you do G29, do another G30 at the same point you use for probing Z as you do in homez.
So bed.g would become
M561 ; Disable any Mesh Bed Compensation G30 P0 X295 Y295 Z-99999 ; probe near back leadscrew G30 P1 X5 Y295 Z-99999 ; probe near front left leadscrew G30 P2 X152.5 Y5 Z-99999 S3 ; probe near front right leadscrew and calibrate 3 motors G90 G1 X135 Y150 F10000 ; Move to the center of the bed M558 F500 ; Set the probing speed G30 M558 F50 ; Set a slower probing speed G30 G30 P0 X295 Y295 Z-99999 ; probe near back leadscrew G30 P1 X5 Y295 Z-99999 ; probe near front left leadscrew G30 P2 X152.5 Y5 Z-99999 S3 ; probe near front right leadscrew and calibrate 3 motors G90 G1 X135 Y150 F10000 ; Move to the center of the bed M558 F500 ; Set the probing speed G30 M558 F50 ; Set a slower probing speed G30 G29 S1 ; Enable Mesh Bed Compensation -
@Phaedrux Thank you. I'll give this a try when I get a free moment.