Manual level with a z probe
-
I want to manually mesh level my bed ignoring my z probe cuz its a piece of junk.
How can i do this? I dont have leveling screws so I can't use the assistant.
-
Set the Z probe type to 0 via M558, probe the bed, and restore the prior Z probe configuration. To dio this, change your bed.g to something like
M558 P0 ; turn off Z probe
G29 S0 ; probe the bed
M558 P1 ; provided P1 is in your config.g too
Make sure to put a M557 code with the correct mesh size in config.g before you run G32 / True Bed Levelling.
Duet software engineer
-
@chrishamm great i will try this, i didnt think to do that because the probe info is located in the config, and it has to be reloaded everytime i change something!
Ill try in the am!
-
Hi,
I have a file called configprobe.g that, as you might expect, configures my Z probe.
I call this file using M98 as needed.
Having a file like this means it can be called from another .g file, or a macro, etc.
Frederick
-
@chrishamm just added to my bed.g file it brings up the adjustment screen but lets say i adjust the nozzle down 5mm the button just sits there and hangs, and will not let me go any lower, actually any button i press it does the same thing, just hangs.

just has the a ever ending refreshing circle on it.
bed.g
; bed.g
; called to perform automatic bed compensation via G32
;
; generated by RepRapFirmware Configuration Tool v2.1.8 on Mon May 11 2020 00:13:10 GMT-0600 (Mountain Daylight Time)G28 ; home
M558 P0 ; turn off Z probe
G30 P0 X-110 Y0 Z-99999 ; probe near a leadscrew, half way along Y axis
G30 P1 X100 Y0 Z-99999 S2 ; probe near a leadscrew and calibrate 2 motors
M561 ; clear any bed transform
G29 ; probe the bed and enable compensation
M558 P1 ; provided P1 is in your config.g tooconfig.g
; Configuration file for Duet WiFi (firmware version 2.03)
; executed by the firmware on start-up
;
; generated by RepRapFirmware Configuration Tool v2.1.8 on Mon May 11 2020 00:13:10 GMT-0600 (Mountain Daylight Time); General preferences
G90 ; send absolute coordinates...
M83 ; ...but relative extruder moves
M550 P"JoehBo3D" ; set printer name; Network
M552 S1 ; enable network
M586 P0 S1 ; enable HTTP
M586 P1 S0 ; disable FTP
M586 P2 S0 ; disable Telnet; Drives
M569 P0 S1 ; physical drive 0 goes forwards
M569 P1 S1 ; physical drive 1 goes forwards
M569 P2 S1 ; physical drive 2 goes forwards
M569 P3 S0 ; physical drive 3 goes forwards
M569 P4 S1 ; physical drive 4 goes forwards
M584 X0 Y1 Z2:4 E3 ; two Z motors connected to driver outputs Z and E1
M671 X-160:160 Y0:0 S1 F1 ; leadscrews at left (connected to Z) and right (connected to E1) of X axis
M208 X-110:110 Y-122:122 ; X carriage moves from -5 to 205, Y bed goes from 0 to 200
M350 X16 Y16 Z16 E16 I1 ; configure microstepping without interpolation
M92 X80 Y80 Z800 E790 ; set steps per mm
M566 X1020 Y1020 Z24 E3000 ; set maximum instantaneous speed changes (mm / min)
M203 X6000 Y6000 Z180 E8000 ; set maximum speeds (mm / min)
M201 X6000 Y6000 Z100 E3000 ; set accelerations (mm / s ^ 2)
M906 X935 Y935 Z935 E935 I30 ; set motor currents (mA) and motor idle factor in per cent
M84 S30 ; Set idle timeout; Axis Limits
M208 X-110 Y-122 Z0 S0 ; set axis minima
M208 X110 Y122 Z203 S1 ; set axis maxima; Endstops
M574 X1 Y1 S1 ; set active high endstops
M574 Z1 S2 ; set endstops controlled by probe; Z-Probe
M558 P1 H3 F120 T6000 ; set Z probe type to unmodulated and the dive height + speeds
G31 P600 x-2 Y-24 Z0.120 ; set Z probe trigger value, offset and trigger height
M557 X-108:108 Y-110:98 S100 ; define mesh grid; Heaters
M307 H0 B0 S1.00 ; disable bang-bang mode for the bed heater and set PWM limit
M305 P0 T100000 B4138 R4700 ; set thermistor + ADC parameters for heater 0
M143 H0 S120 ; set temperature limit for heater 0 to 120C
M305 P1 T100000 B4388 R4700 ; set thermistor + ADC parameters for heater 1
M143 H1 S300 ; set temperature limit for heater 1 to 300C; Fans
M106 P0 S0 I0 F500 H1 T45 ; set fan 0 value, PWM signal inversion and frequency. Thermostatic control is turned on
M106 P1 S1 I0 F500 H1:1 T45 ; set fan 1 value, PWM signal inversion and frequency. Thermostatic control is turned on; Tools
M563 P0 D0 H1 F0 ; define tool 0
G10 P0 X0 Y0 Z0 ; set tool 0 axis offsets
G10 P0 R0 S0 ; set initial tool 0 active and standby temperatures to 0C; Custom settings are not defined
M501 ;
-
May I ask what firmware and DWC version you're using?
-
M115: FIRMWARE_NAME: RepRapFirmware for Duet 2 WiFi/Ethernet FIRMWARE_VERSION: 2.05.1 ELECTRONICS: Duet WiFi 1.02 or later FIRMWARE_DATE: 2020-02-09b1
Duet Web Control 2.0.0-RC3
Electronics: Duet WiFi 1.02 or later
Firmware: RepRapFirmware for Duet 2 WiFi/Ethernet 2.05.1 (2020-02-09b1)
Duet WiFi Server Version: 1.2 -
@joehsmash said in Manual level with a z probe:
Duet Web Control 2.0.0-RC3
I suggest you update to at least DWC 2.0.7 for fw 2.05.1
Your wifi server is out of date as well by the way.
https://github.com/Duet3D/RepRapFirmware/releases/tag/2.05.1
-
@Phaedrux YASSSSSSSSS
that totally fixed it.
the manual level fixed all the issues... now to get to perfecting my first layer again!
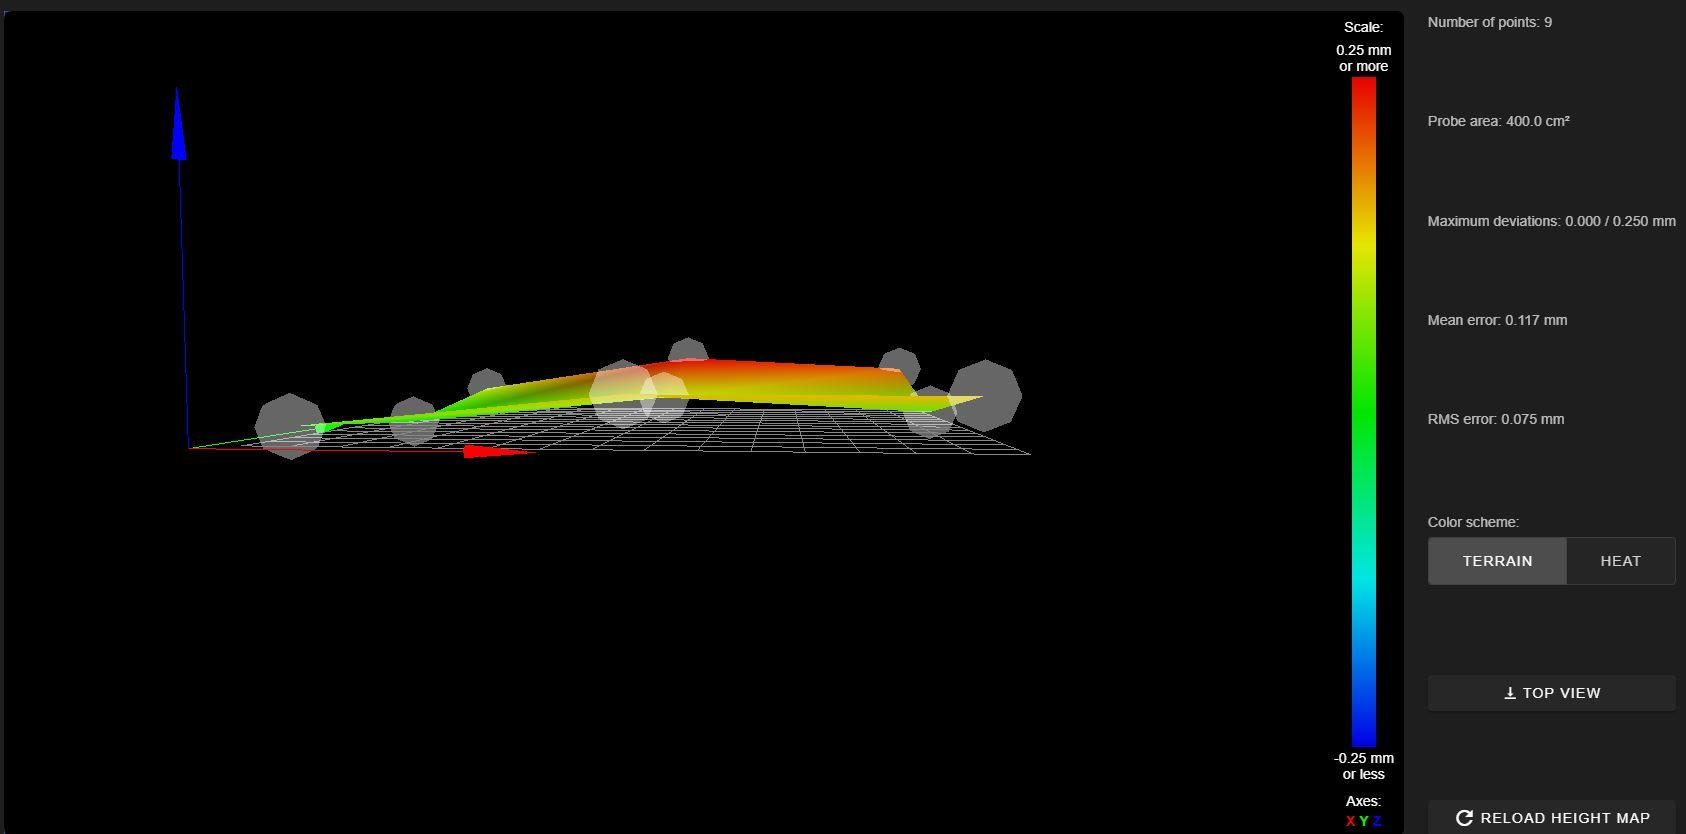
instead of the bed being off by a whopping 1.5m its only a 0.250 deviation off of a 0.2 thickness feeler!
loving it!
how do i mark as solved?