Duet 3 Mini 5+ Tevo Little Monster conversion
-
A few months back I bought a second hand Tevo Little Monster delta printer. I had always wanted a delta, just for the cool motion of the arms as they print. This particular printer came with a bunch of extra parts, which was in fact a second non-working Tevo Little Monster.
I played around with the working printer, but never really got it to print anything more than a simple test print. I found the firmware horrendous; if anything didn't work as planned the printer would just freeze. One time it seemed to be cooking my filament - PLA smells like baking candy when it's too hot. Enough was enough, so I looked for a suitable brain to perform a transplant! What I needed was a Duet 3D brain!
More than one Little Monster has been converted to use a Duet 2 board - these printers are after all quite old. This one is around 7 years. I was going to buy a Duet 2 and convert, but helpful people on the forum suggested the Duet 3 Mini 5+ might be a better choice. So I ordered a WiFi one and went down the rabbit hole...
Figuring my time is actually valuable I decided to upgrade other bits of the printer that were of unknown condition. In the end I replaced the hotend fan, part cooling fans, hotend block (E3D Volcano), heat break, nozzle (now 0.8mm brass), controller fan (Noctua), heater (40W E3D), thermistor (E3D), E3D extruder (but kept using the slimmer extruder motor on the original printer). There was some fabrication of the mount for the controller board and for the WiFi aerial, and I made a new face plate to control air flow better (also blocking off side air to promote air flow under the controller).
The first print had poor adhesion which I traced to too much fan cooling. I was fiddling with 0.55mm layer height. I have since found that I might as well use 0.3mm layer height as volumetric flow seems to be the limiting factor, though I'm using a max of 15mm^3/s and it can probably go higher. Next I want to try the Bondtech CHT 3 into 1 nozzle but like nearly everything, importing this stuff into New Zealand where I live ends up costing a small fortune; a single nozzle will cost an estimated USD$60, landed. Be thankful those who live on large land masses.
The printer is working well. I'm still getting used to a 0.8mm nozzle. Apart form that the only noteworthy thing is that my X and Y don't quite seem to be a 90 degrees to each other. This is a problem as I print electronics enclosures and need accuracy. It does my head in thinking about what I have to change to get this right.
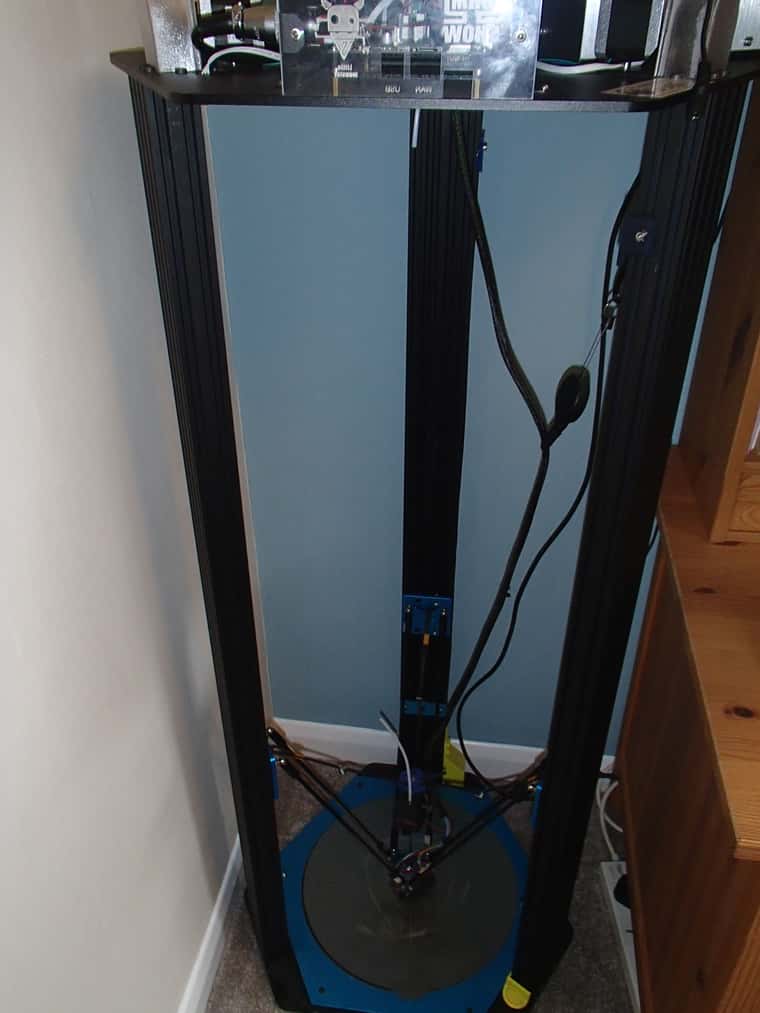
Anyway, here are some photos.
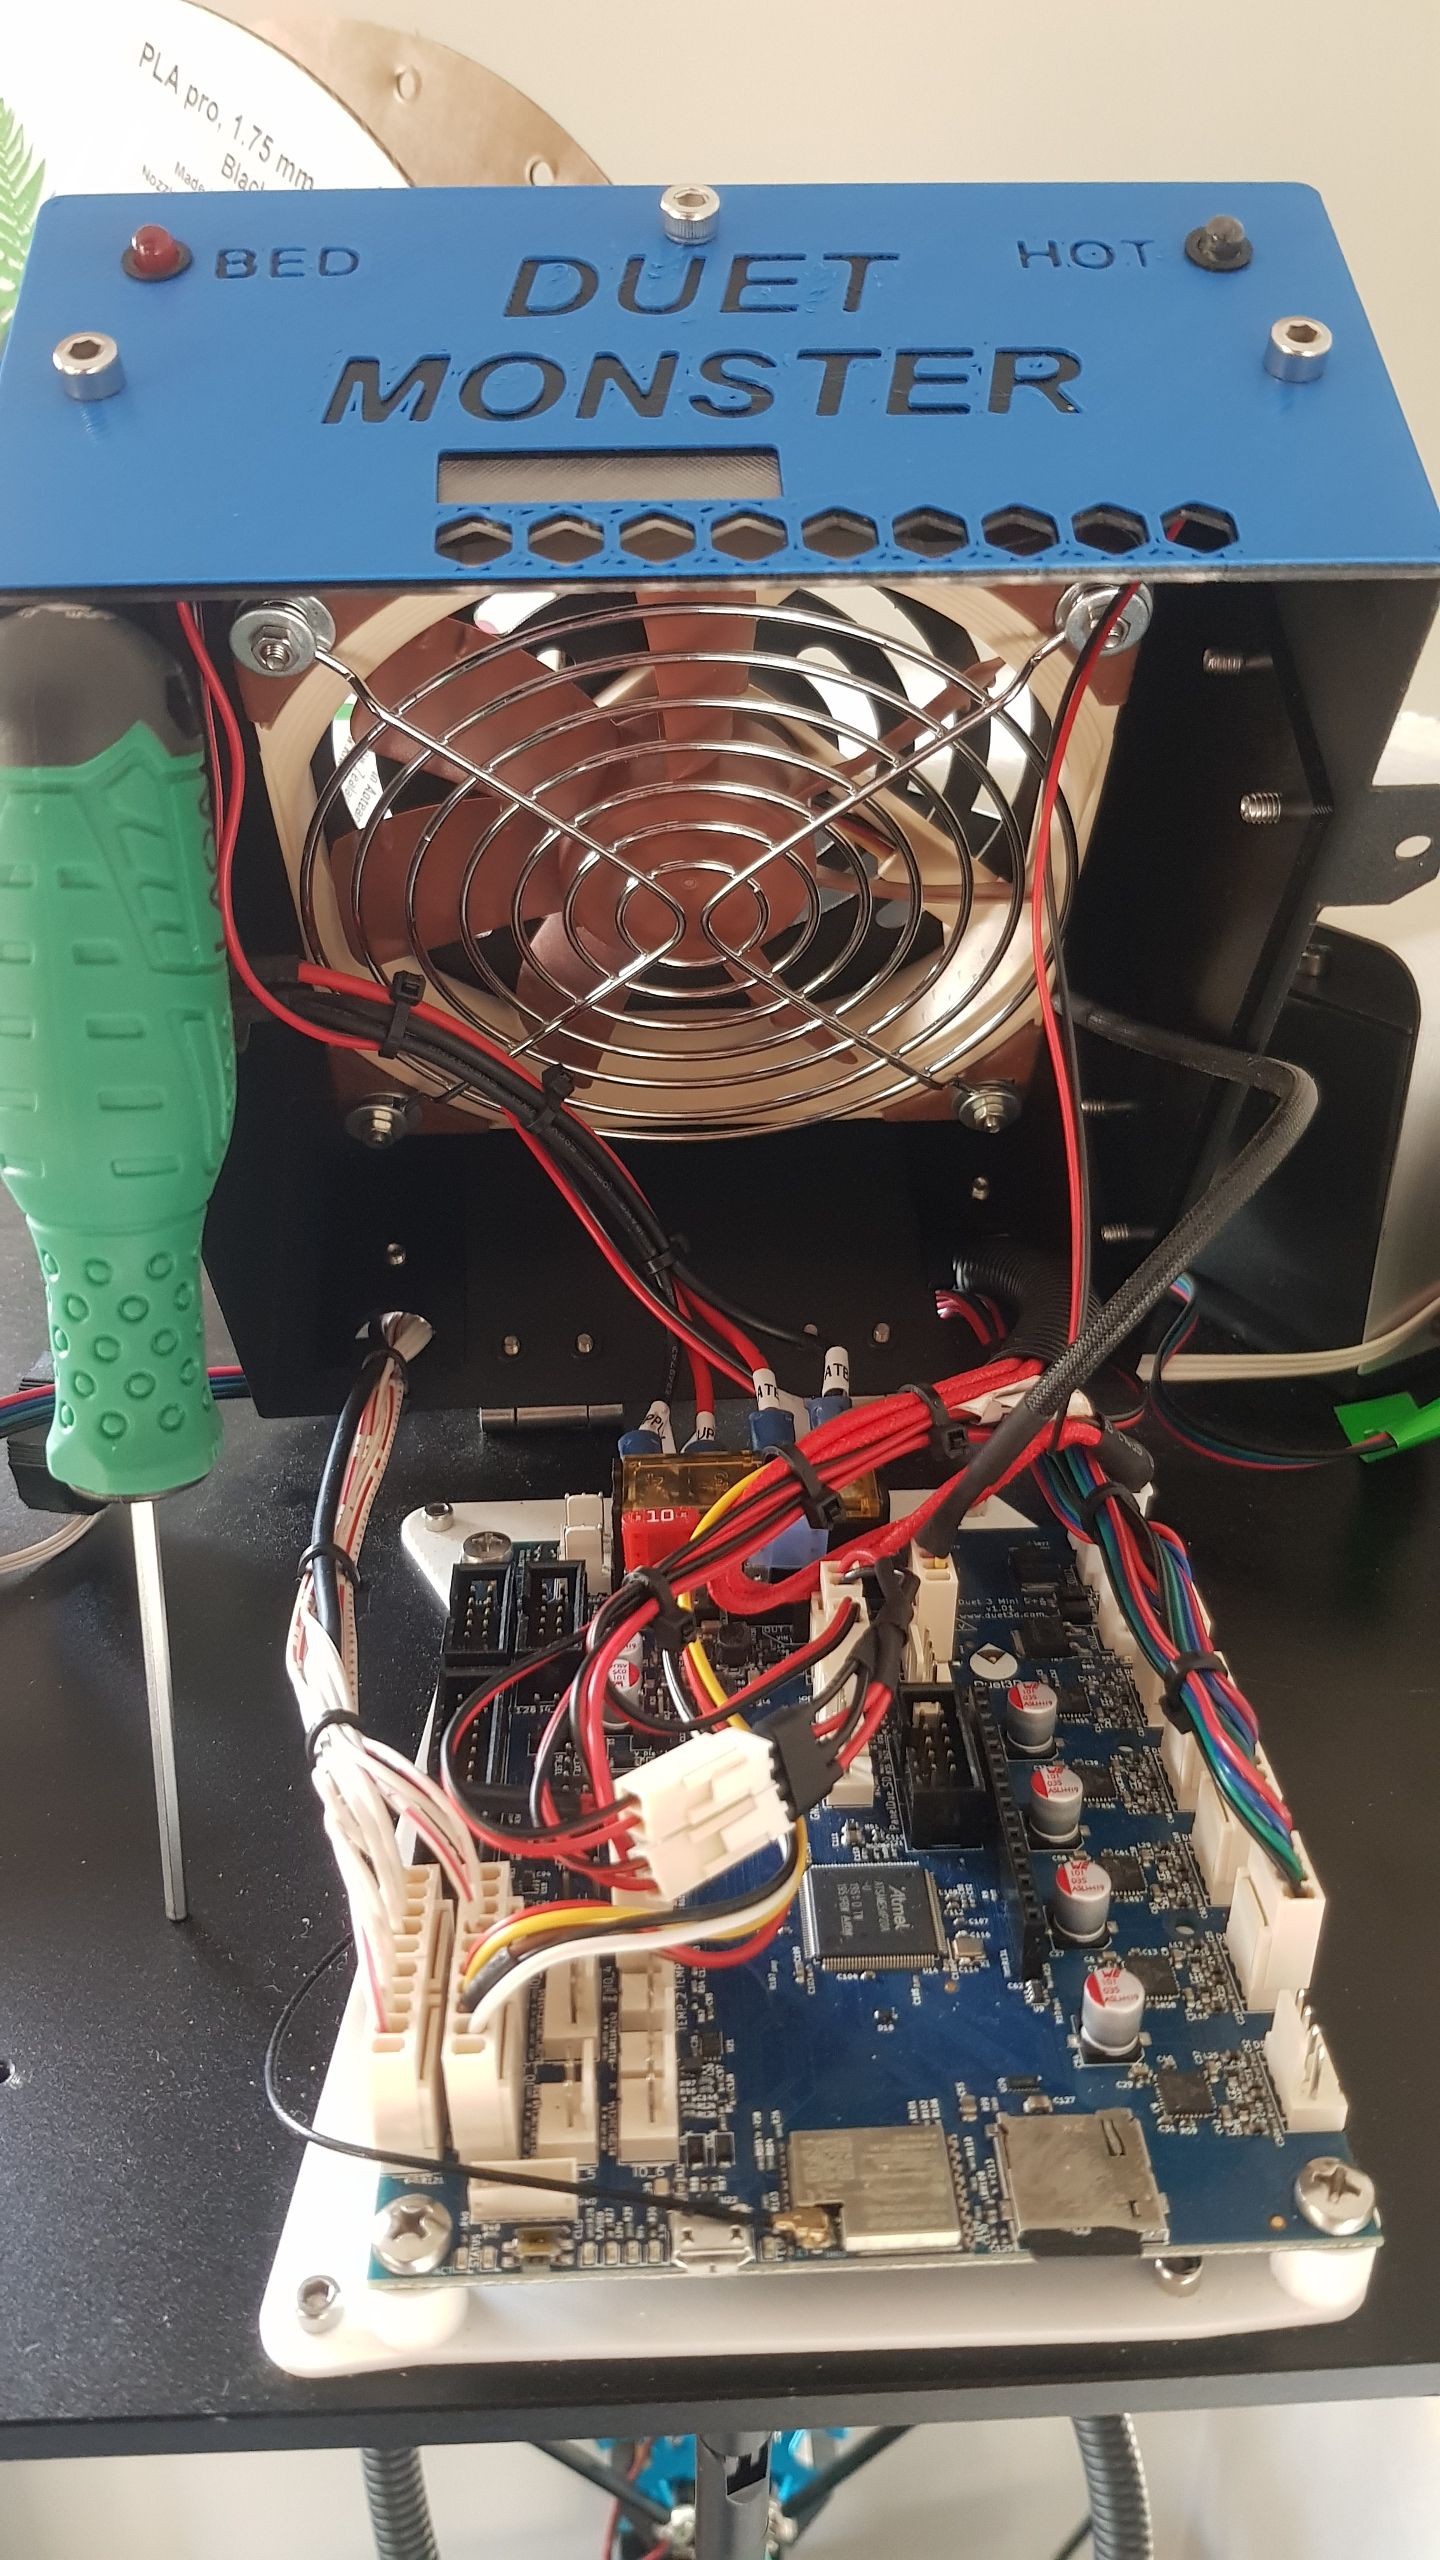
Under the hood... Trying to route cables, always a challenge. Every wire had to be re-crimped to the Molex KK Duet 3D seem to love. I'm very lucky to have access to a genuine crimper which makes a big difference in speed and quality.
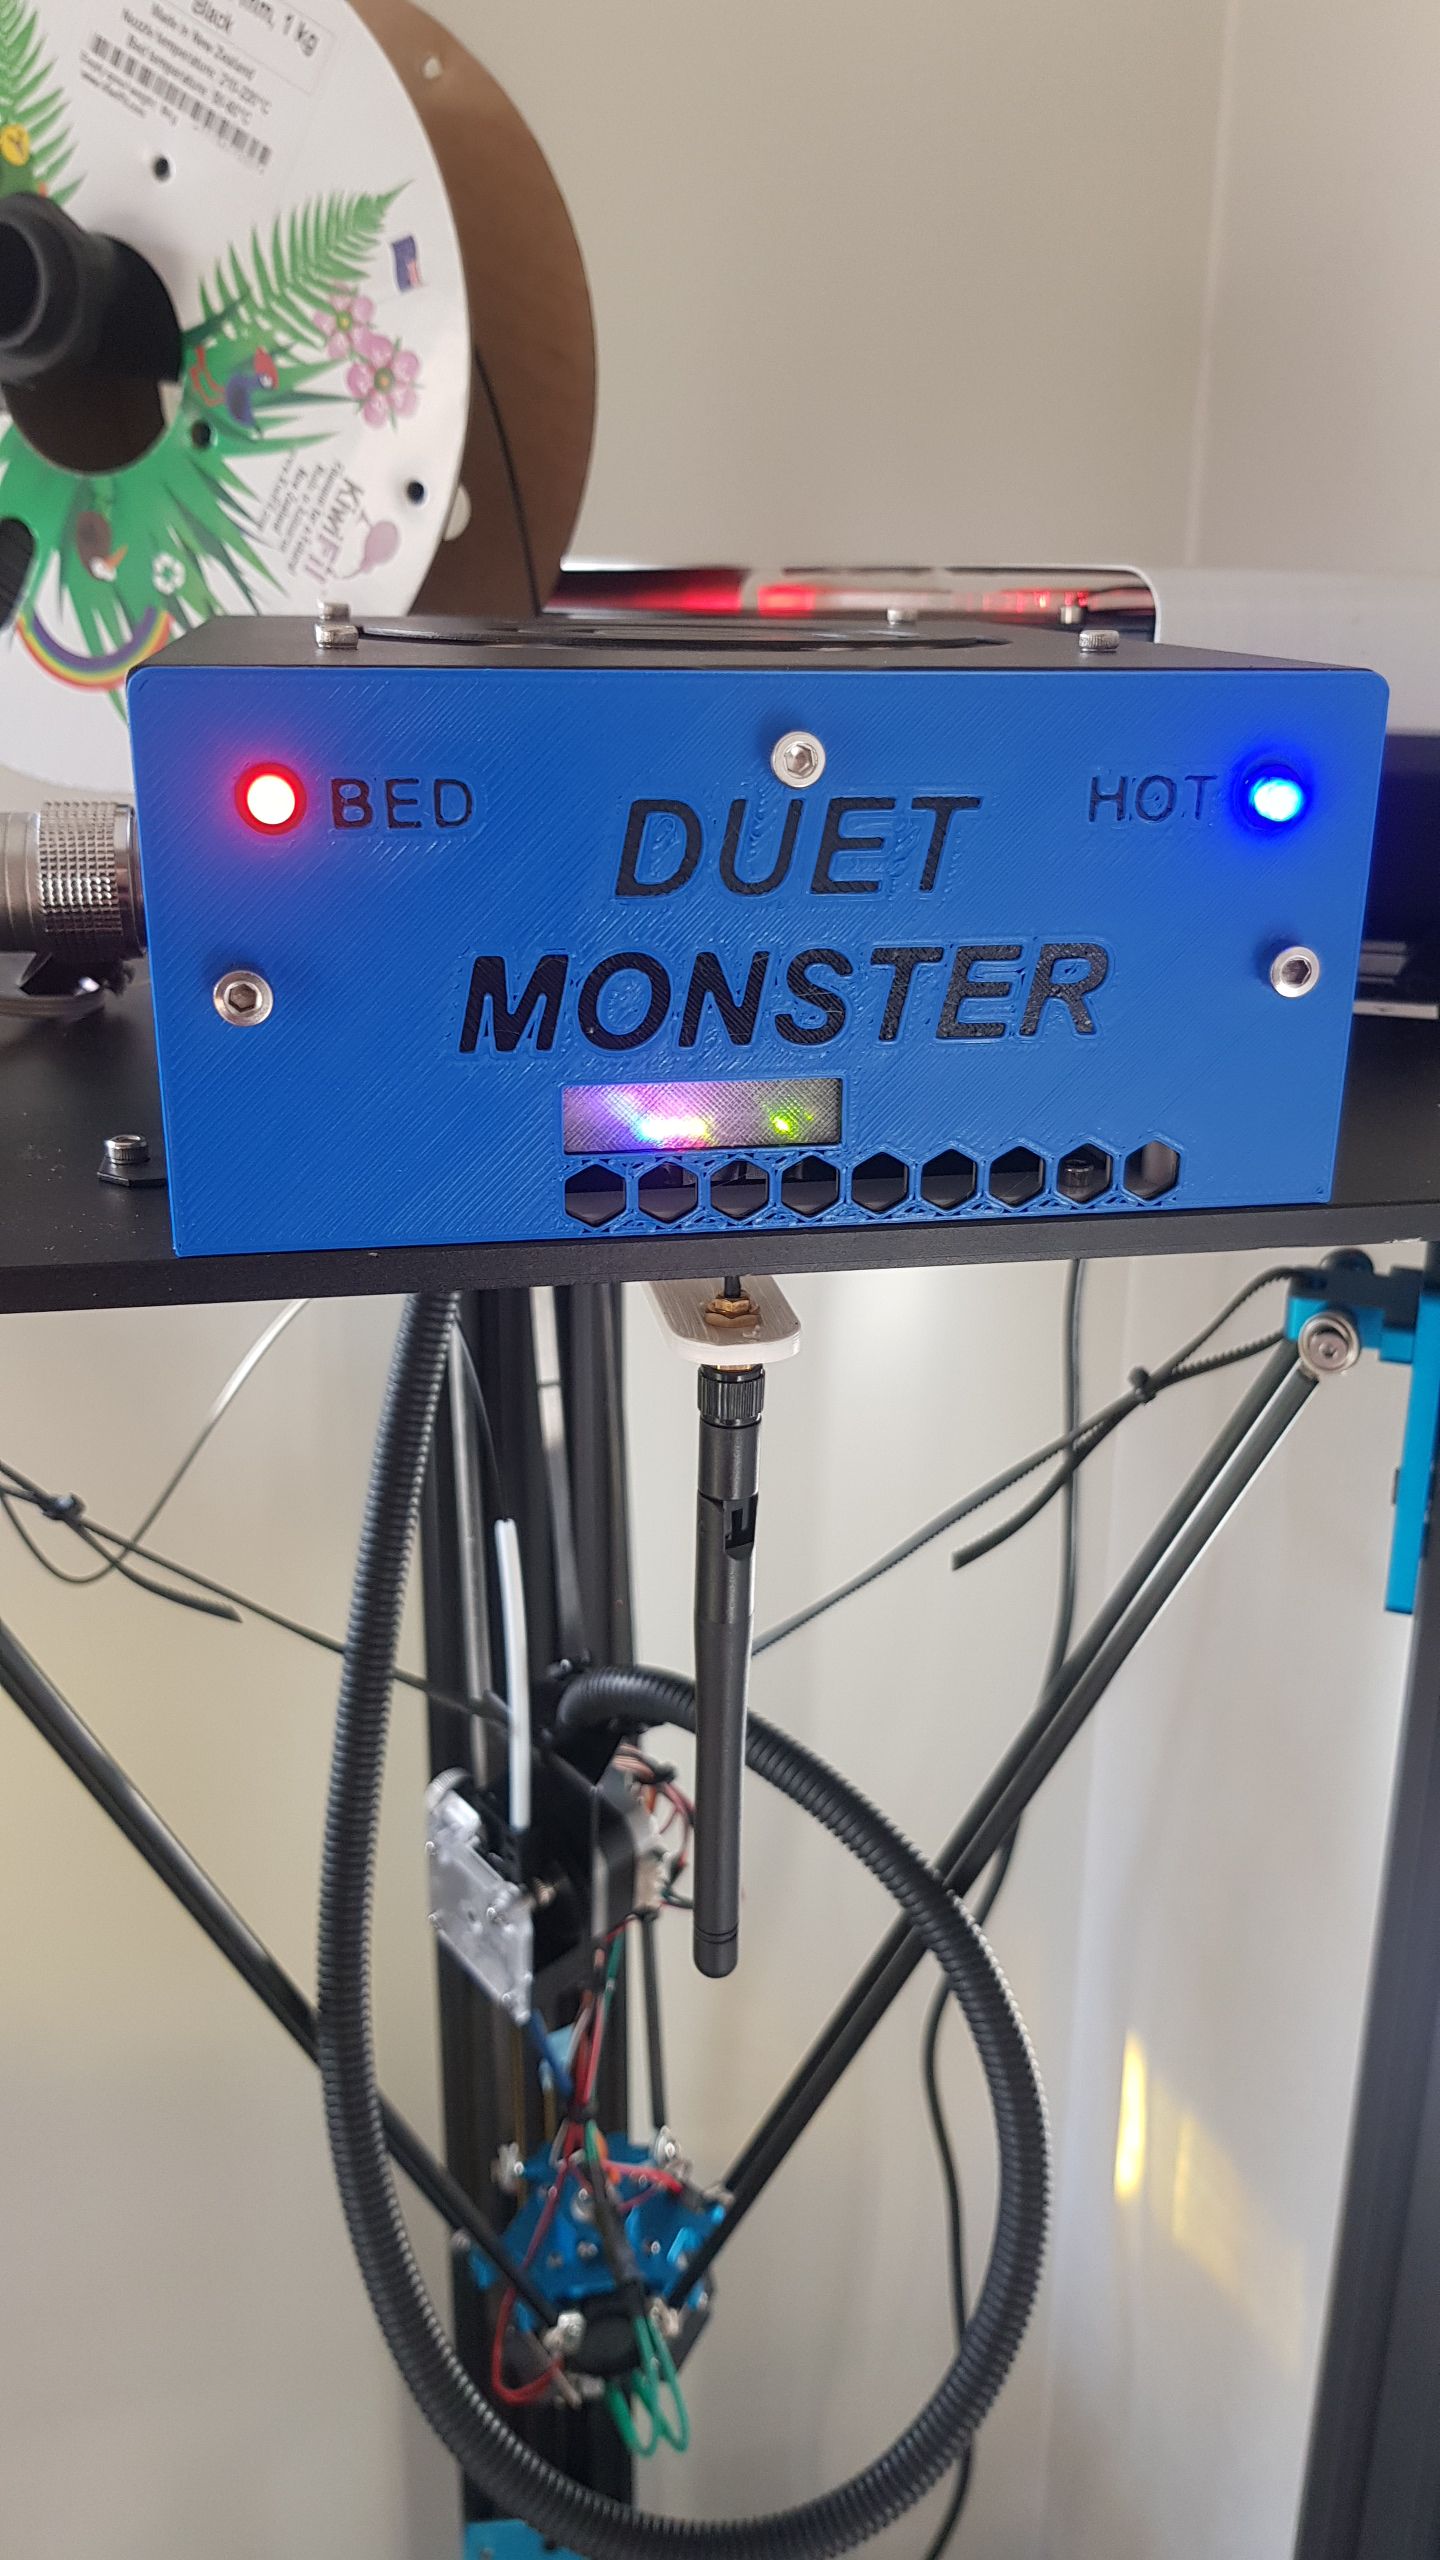
Front plate is a 3 layer print; transparent, black, then blue. Duet controller LEDs are visible without impeding air flow. WiFi aerial mounts off the old mount for the LCD display which is no longer used after the conversion.
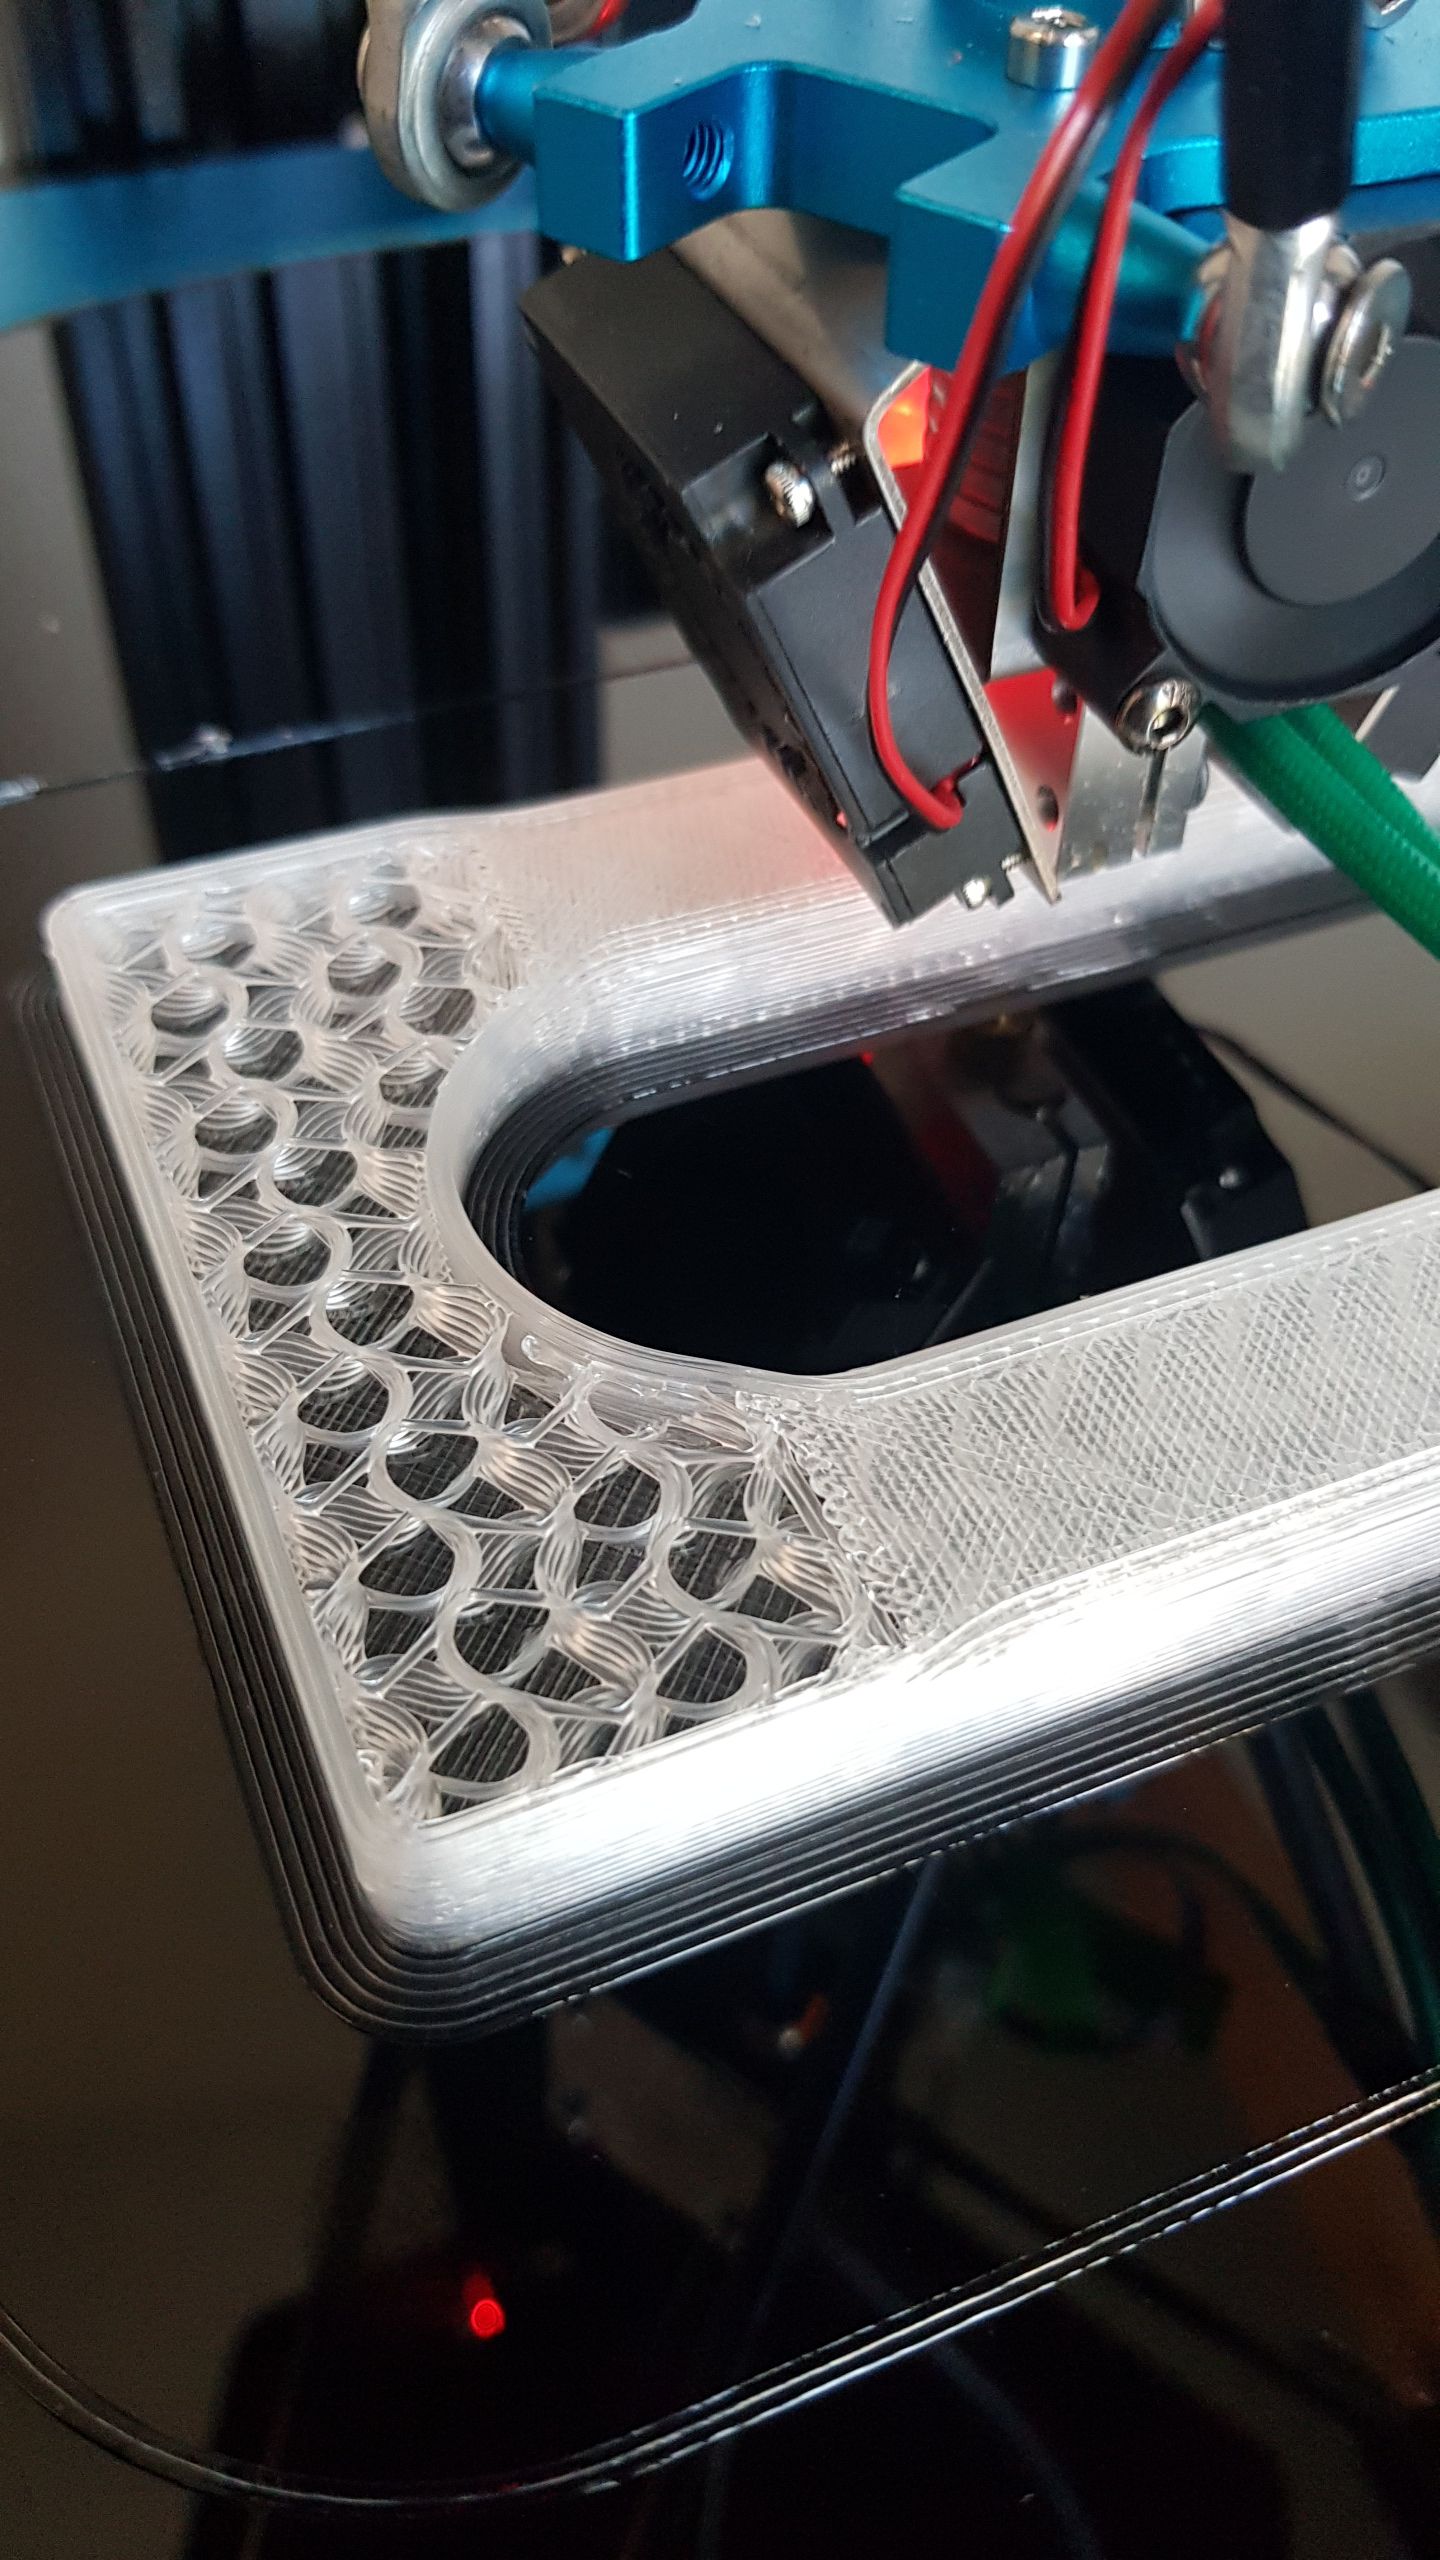
With 0.8mm nozzle infill becomes quite... thick.
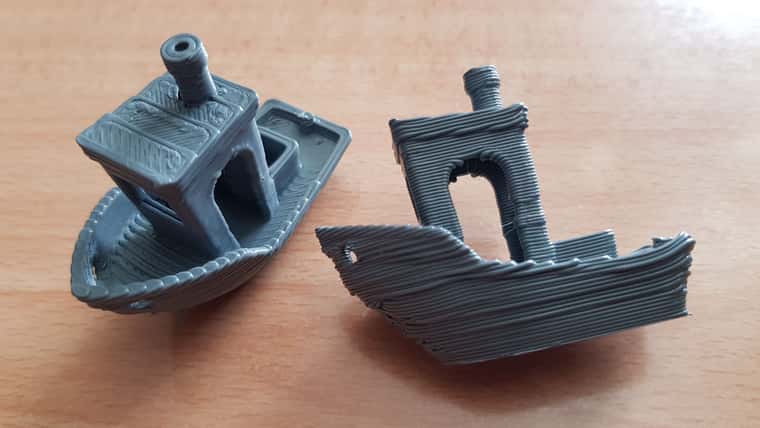
Boat on the left is about what I'm getting. One on the right I increased speed, too far...
Thoughts, questions and suggestions welcome.
-
I use an 0.6 nozzle on my very modified "Little Monster" which was relatively easy to dial in, looking at yours there could be some over extruding going on, have you calibrated your extruder?.
-
I calibrated the extruder as one of the first steps by measuring 100mm of filament extruding, measuring it, then tweaking the steps/mm value, now 398.62. It was slightly different to what I used with the original Tevo extruder which was 403 (which I just may have blindly copied from the Internet/elsewhere).
I know that individual filaments might require slight tweaking of this value, but I'm unsure how to tell the difference between slightly off extrusion multiplier and slightly off bed 'squish'. I'm thinking perhaps there is a test print that makes the over extrusion visible on a layer other than the first layer. Actually, if I just printed a block with two square towers separated by say 10mm maybe that would tell me. If the measured distance is less than 10mm then there is over extrusion. ... Or my scaling is off. Actually, now I remember, I did print a 50mm and 100mm test square and measured those and came to the conclusion that the extrusion is correct but I needed to scale the XY just slightly. I'm new to this so a bit to learn.
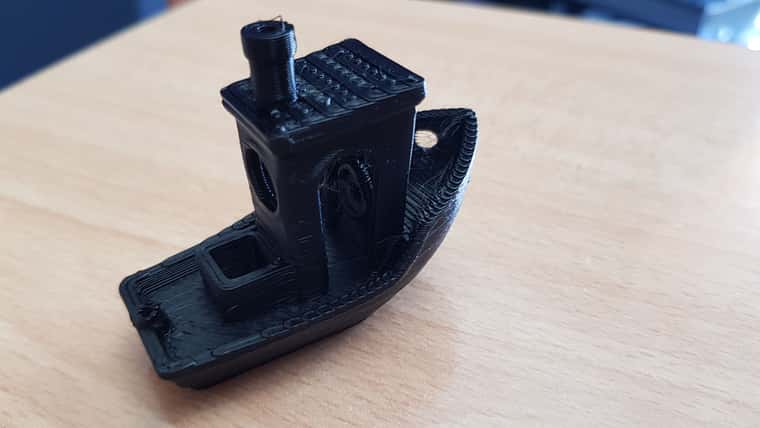
Here is a print I made yesterday. 0.8mm nozzle and 0.3mm layer height. Unfortunately it's different filament to before throwing an extra variable into the equation.
-
I see it looks like you made a cover (in yellow) for the mains wiring to the heater bed. Good idea!
-
@martinv This new print looks a lot better than your first one, I guess that different filament types play a role as well, have checked you Z axis for calibration and have you tried different filament temps?.
Yes I printed the bed wire covers in yellow to keep things neater and safer "240 mains" after all, along with a host of other mods. -
regarding your skewed prints, check out http://boim.com/DeltaUtil/CalDoc/Calibration.html for possible issues and https://forum.duet3d.com/topic/31083/skew-calibration-with-calibration-square-maths-help-needed/ for a discussion on skew correction
-
@oliof said in Duet 3 Mini 5+ Tevo Little Monster conversion:
https://forum.duet3d.com/topic/31083/skew-calibration-with-calibration-square-maths-help-needed/ for a discussion on skew correction
This is exactly what I need; M556. Thank you!
-
 undefined martinv referenced this topic
-
@martinv nice conversation very tidy
 ️
️ ,where did you find the software for the duet conversion for the TLM ?
My MKS SBASE board has died time for me to upgrade. -
@MitchMitch you can generate a basic configuration using the reprap configurator as a baseline, to be tuned to your machine's peculiars