CoreXY movement calibration
-
Maybe I missed it somewhere but how do your squares print. Have you printed some sort of calibration square both aligned with your axis and one at 45 degrees from x/y?
-
@antlestxp I printed an octagon with a diameter of 140mm. This gives me an object with 140mm in X, Y, A, and B. With the most recent ones that I have printed I got the following run-out / deviation over 140mm:
A (diagonal): +0.015
B (diagonal): +0.011
X: +0.121
Y: -0.177 -
can you scale it down to 50% to see if the deviation stay constant or scale down as well.
-
@Veti said in CoreXY movement calibration:
can you scale it down to 50% to see if the deviation stay constant or scale down as well.
I'll give it a try. I hope that I can get accurate measurements. The smallest deviation is 0.011mm. Differences on that scale would result in large jumps in percentages. I'll try, and report back.
-
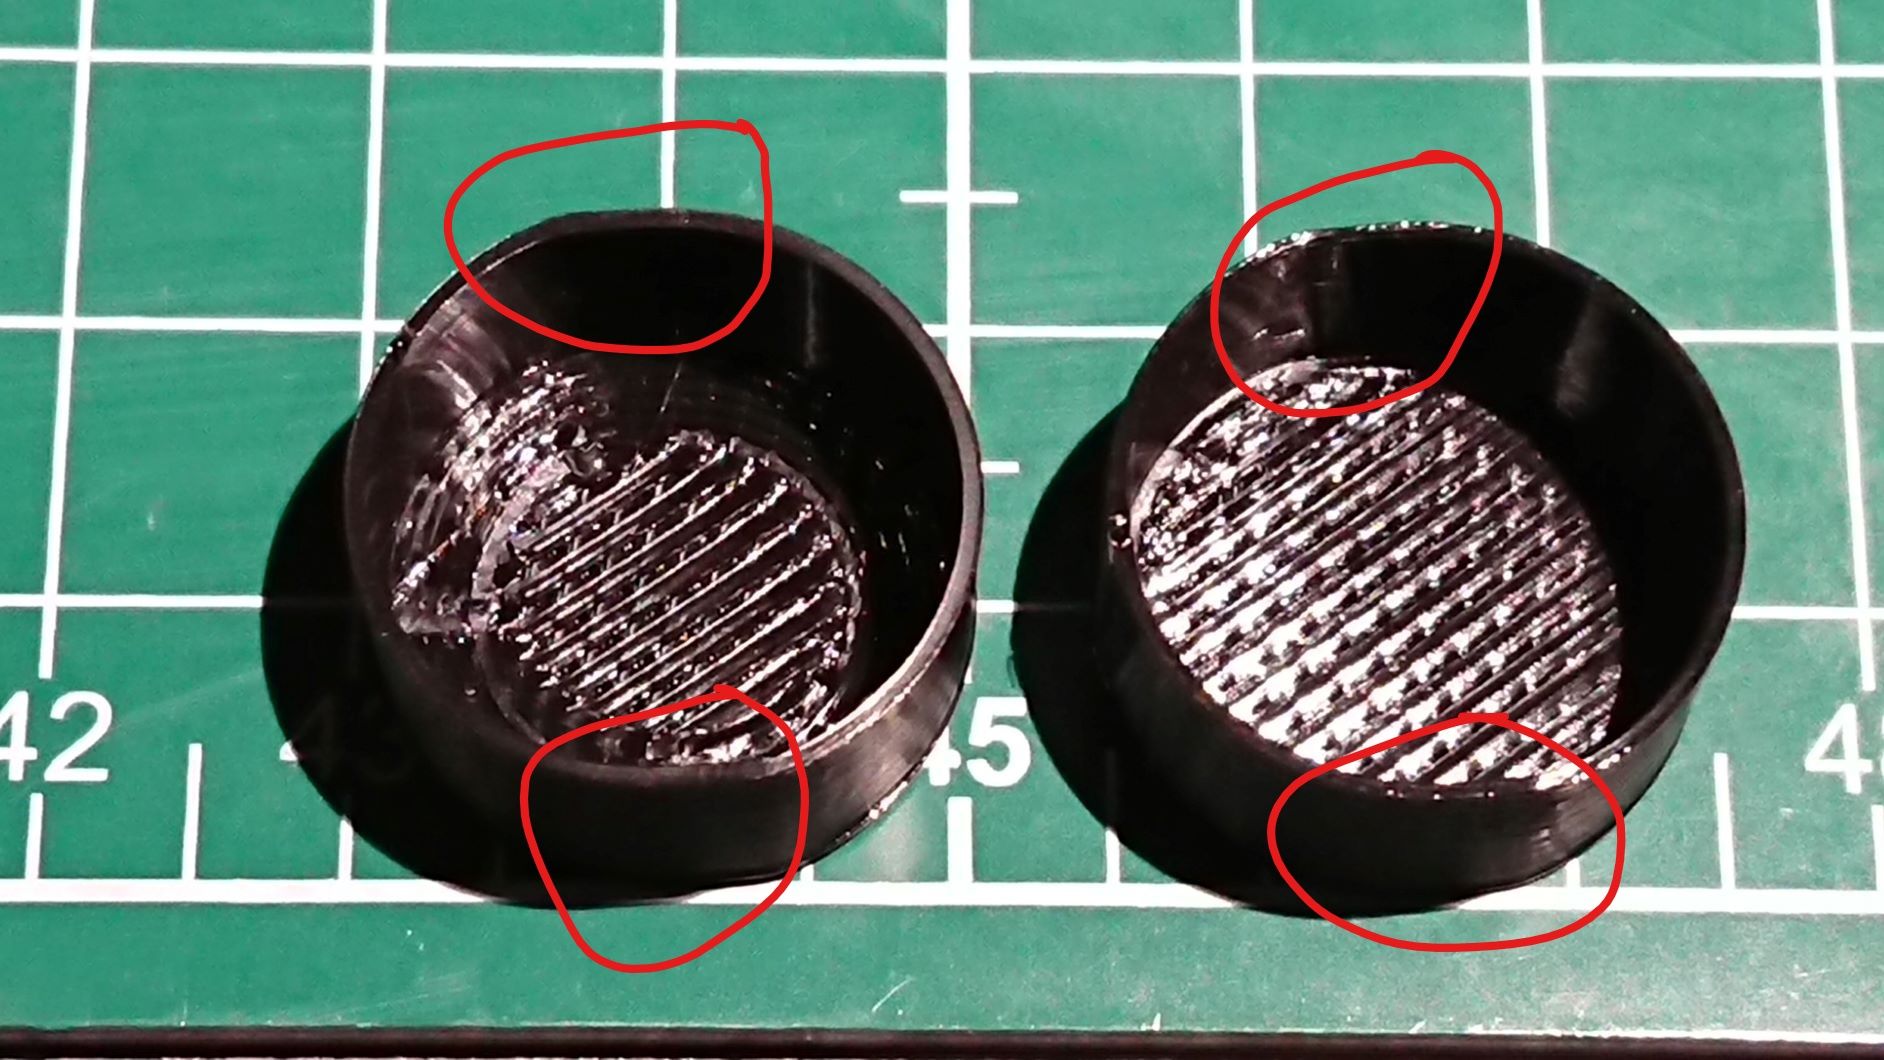
I am no photographer. Below are 2 of my own prints: 20mm diameter cylinders. Both printed in an anti-clockwise direction. On the left is the cylinder printed in vase mode (spiralized outer contour), and on the right is the cylinder printed in sequential 0.2mm layers. Unfortunately I cannot get a photo that looks like what I see. Hopefully you can see the flat spots and eliptical deformation that I'm referring to.
-
Hi,
Do those non-standard rails have any side-to-side play?
Frederick
-
@fcwilt said in CoreXY movement calibration:
Do those non-standard rails have any side-to-side play?
they must have otherwise they would not be able to slide as no ball bearings are involved.
-
@Veti said in CoreXY movement calibration:
@fcwilt said in CoreXY movement calibration:
Do those non-standard rails have any side-to-side play?
they must have otherwise they would not be able to slide as no ball bearings are involved.
Enough to create the apparent backlash that seems to be the source of the problem?
Frederick
-
that is the question.
i just want to see if the backlash stays the same on the smaller print.
0.1mm is a movement you will be hard time identifying by inspection.maybe disconnect the x carriage on one side and measure the angle you can twist the carriage in either direction.
-
Maybe put this in a gcode file:
G28 G90 G1 X100 Y100 Z1 F6000 G91 F30 G1 Y0.1 G1 Y-0.1 G1 Y0.1 G1 Y-0.1 (Repeat the above sequence many, many times) G1 Y0.1 G1 Y-0.1 M30 And watch everything mechanical carefully.
-
@fcwilt said in CoreXY movement calibration:
@Veti said in CoreXY movement calibration:
@fcwilt said in CoreXY movement calibration:
Do those non-standard rails have any side-to-side play?
they must have otherwise they would not be able to slide as no ball bearings are involved.
Enough to create the apparent backlash that seems to be the source of the problem?
Frederick
They do, by which I mean they must. But not noticeable. And then @Veti said in CoreXY movement calibration:
0.1mm is a movement you will be hard time identifying by inspection.
Do you think that play in the X direction would cause the defect and run-out / deviation in the Y direction? I would like to think that the CoreXY configuration would keep that kind of play in check. I printed my "calibration octagon" at 50% scale. I'll measure it and report back.
@DaBit said in CoreXY movement calibration:
Maybe put this in a gcode file:
.......@DaBit I'm going to try this, and also in the X direction to see what it does. See if there is as much noticeable play in the X direction.
-
@marnog said in CoreXY movement calibration:
... I would like to think that the CoreXY configuration would keep that kind of play in check.
There are several discussions of the pros and cons of CoreXY machines. You may want to search them out.
Frederick
-
@Veti said in CoreXY movement calibration:
can you scale it down to 50% to see if the deviation stay constant or scale down as well.
And here I have the (embarrassing) results:
Run-out / deviation over 140mm:
A (diagonal): +0.015
B (diagonal): +0.011
X: +0.121
Y: -0.177Run-out / deviation over 70mm (50% scale):
A (diagonal): -0.273 = (model scale: 49.800% / deviation scale: -1764.655%)
B (diagonal): +0.326 = (model scale: 50.229% / deviation scale: 2840.116%)
X: +0.071 = (model scale: 50.008% / deviation scale: 58.866%)
Y: -0.488 = (model scale: 49.715% / deviation scale: 275.546%)The same model (just scaled to 50%), the same print settings, and the same filament.
Next I'm clamping a dialgauge to the X axis measuring on the frame, and running @DaBit's GCode to see if I can measure any play/slop/backlash in the X axis that might be as a result of the Y axis linear guides.
(To be honest, at this stage I'm feeling like just throwing money at the problem and replacing the Igus rails with Hiwin rails. Up to now they are the only parts of the printer that I am not completely confident in, and I have no idea what else it could be.)
-
Measure twice, cut once. Also valid for these kind of issues; I would think twice before just replacing the rails and hoping for the best. I am not using that much Igus stuff so not an expert, but so far their stuff has been performing well.
If there is slop in the Igus rails you should be able to measure that, especially when you have a dial gauge at your disposal. Make moves that you understand using the console or by putting motion commands in a .gcode file, and use the dial gauge and a marker pen to verify that all the components of the stage are doing what they are supposed to do.You are probably overlooking one simple small issue, so do not be smart and cut corners, but structurally measure everything there is to measure, even if you know or can safely assume that it will not cause the problem. Take notes. And if you have a friend that knows vaguely how al this is supposed to work, ask him over. A different point of view helps with walking in circles too.
The beauty of engineering. All the complex things go well at first try, it is the simple issues that take ages to find and correct. Good luck!
-
It didn't occur to me at first, but just wanted to add that I also had this issue when originally trying to use igus Drylin LMXUU bearings. What you're seeing is the axes trying to overcome the standstill friction. From what I learned so far, CoreXY is very susceptible to this since play in X and Y carriages allows the axes to momentarily shear instead of moving in the desired direction.
If you grab the belts on both sides with motors de-energized you should feel equal amounts of resistance while moving the belts by hand in all combinations and there should be no noticeable standstill friction when changing direction. I found that one of the symptoms that stuff is too tight is that the print head may entirely or momentarily move straight instead of diagonal when moving just one motor by hand.
Needless to say, I switched to el cheapo Chinesium LMXUU and got instant results...
-
@DaBit said in CoreXY movement calibration:
The beauty of engineering. All the complex things go well at first try, it is the simple issues that take ages to find and correct. Good luck!
This I know all too well. Thank you very much for your input! I'm continuing to measure and compare and apply mathematics to try to understand this issue. I'm trying to overlook Occam's razor in order to understand the problem and to solve it, and not just try easy solutions hoping that it would work. Once I'm done measuring I'll report my findings.
@Edgars-Batna said in CoreXY movement calibration:
It didn't occur to me at first, but just wanted to add that I also had this issue when originally trying to use igus Drylin LMXUU bearings. What you're seeing is the axes trying to overcome the standstill friction. From what I learned so far, CoreXY is very susceptible to this since play in X and Y carriages allows the axes to momentarily shear instead of moving in the desired direction.
This is exactly what I was thinking, and what I meant by "binding". The standstill friction at the point where the linear guide changes direction, and the elastic response in the belts when the friction is overcome would explain the flat spots followed by a "sharper" change in direction which gives the circles the elliptical appearance. Just for sh!ts and giggles I'm going to apply a small amount of silicone oil to the Igus rails and slides, just to see what it does...
-
Be careful with oils. Not sure about the Iglidur materials, but oils often cause dimensional change. Swelling usualy, but shrinkage is not uncommon too. Engine oils are often formulated with different esters and glycols to result in a net 0% change in elastomers and rigid plastics.
Furthermore: the issue with silicones is that they are close to impossible to remove if you want to get rid of them.
Just plain water or a chemically compatible hydrocarbon is often sufficient for testing. You know, 'slippery when wet'.
-
@DaBit I've got WD40's Specialist Silicone spray (https://www.wd40.com/products/silicone-lubricant/) that I thought of using. I use it on my micrometers, and it claims to be "Safe on metal and non-metal surfaces including rubber, plastic, and vinyl." Otherwise I could try some KY. I might have some lying around the house somewhere...
-
Your rails, your choice. I just mention that it might turn out worse than you expect. The Igus stuff is not meant to be lubricated and I heard from a machine builder that many Igus sliders and bushings died prematurely due to maintenance personnel with a grease gun.
Water is safe to use on plastics, but we all know what it does to our filaments...But I totally understand your desire to try lubricating the rails. If your mindset is 'last thing I try, if it fails they have to go', then just do it. I think I would prefer a normal dead-dino based lubricating oil over silicone though; somewhat easier to remove when needed, better lubricating properties. Or just water to start. Should lubricate enough to make a difference and leaves no trace after it evaporates.
-
@DaBit I appreciate your input! I know that some oils in certain circumstances can cause more harm than good. Because the Igus stuff is not meant to be lubricated is exactly why I wanted to use it, to worry less about dust and particle ingress and maintenance.
These Igus rails are cheap in comparison to decent bearing linear rails. If I kill one, I kill one. They are not too bad to replace. (And I have a spare...)
And to be truthful, I already gave each slide a quick shot of the silicone spray... I repeated a print that has a bunch of holes in and I can't see any improvement. I didn't expect any improvement, but I was hoping. I'm going to leave it for a day, for the lube to either soak in or destroy the slide, and print a test print again tomorrow. I'm still going to test and measure all the possible suspected play/backlash areas that was mentioned and discussed previously, but I am less and less sure that I will be able to solve the problem (and not a short term solution) with what I have.