precision piezo on Ender5 ?
-
Hi
i have the Precision Piezo and i want to mount on my Ender5 with Micro Swiss all metall hotend is there any mount for print ?
thanks
-
I am going through the same process as you.
Here is a bottom mount for the microswiss / gulfcoast
https://www.thingiverse.com/thing:4258918
It works with this topend etc.
https://www.thingiverse.com/thing:3567608
I modified the top end a bit because I felt there was not enough "meat" to support the 3mm inserts I have - at least with my skill level .....
I also enlarged the holes for the tool fan and used 2mm nuts as "inserts" and made it a little more supportive.Here is my modification Orion_CR-10_Top v11.stl.
Same for the bottom end - basically I filled in some hollow sections (frankly not sure if that's good or bad just yet) and adjusted for easier use of 3mm inserts. 30mm panhead M3 screws fit nicely to clamp the microswiss / gulfcoast quite well.
I did not bother with the heatsink fan guard but did use the fan duct.
Hope this helps.
P.S. I found it somewhat fiddly to get the piezo working correctly - I think I am almost there with the digital option but may end up using the analog option (not sure yet).
The biggest thing I noticed is that it does require a fairly fast approach speed or else the bed just lifts the hotend without triggering. Mostly trial and error. I am seeing a few "pits" in my wham bam bed though

-
i will try it and report how it works
thanks a lot for share
-
can you post picture from your setup ?
-
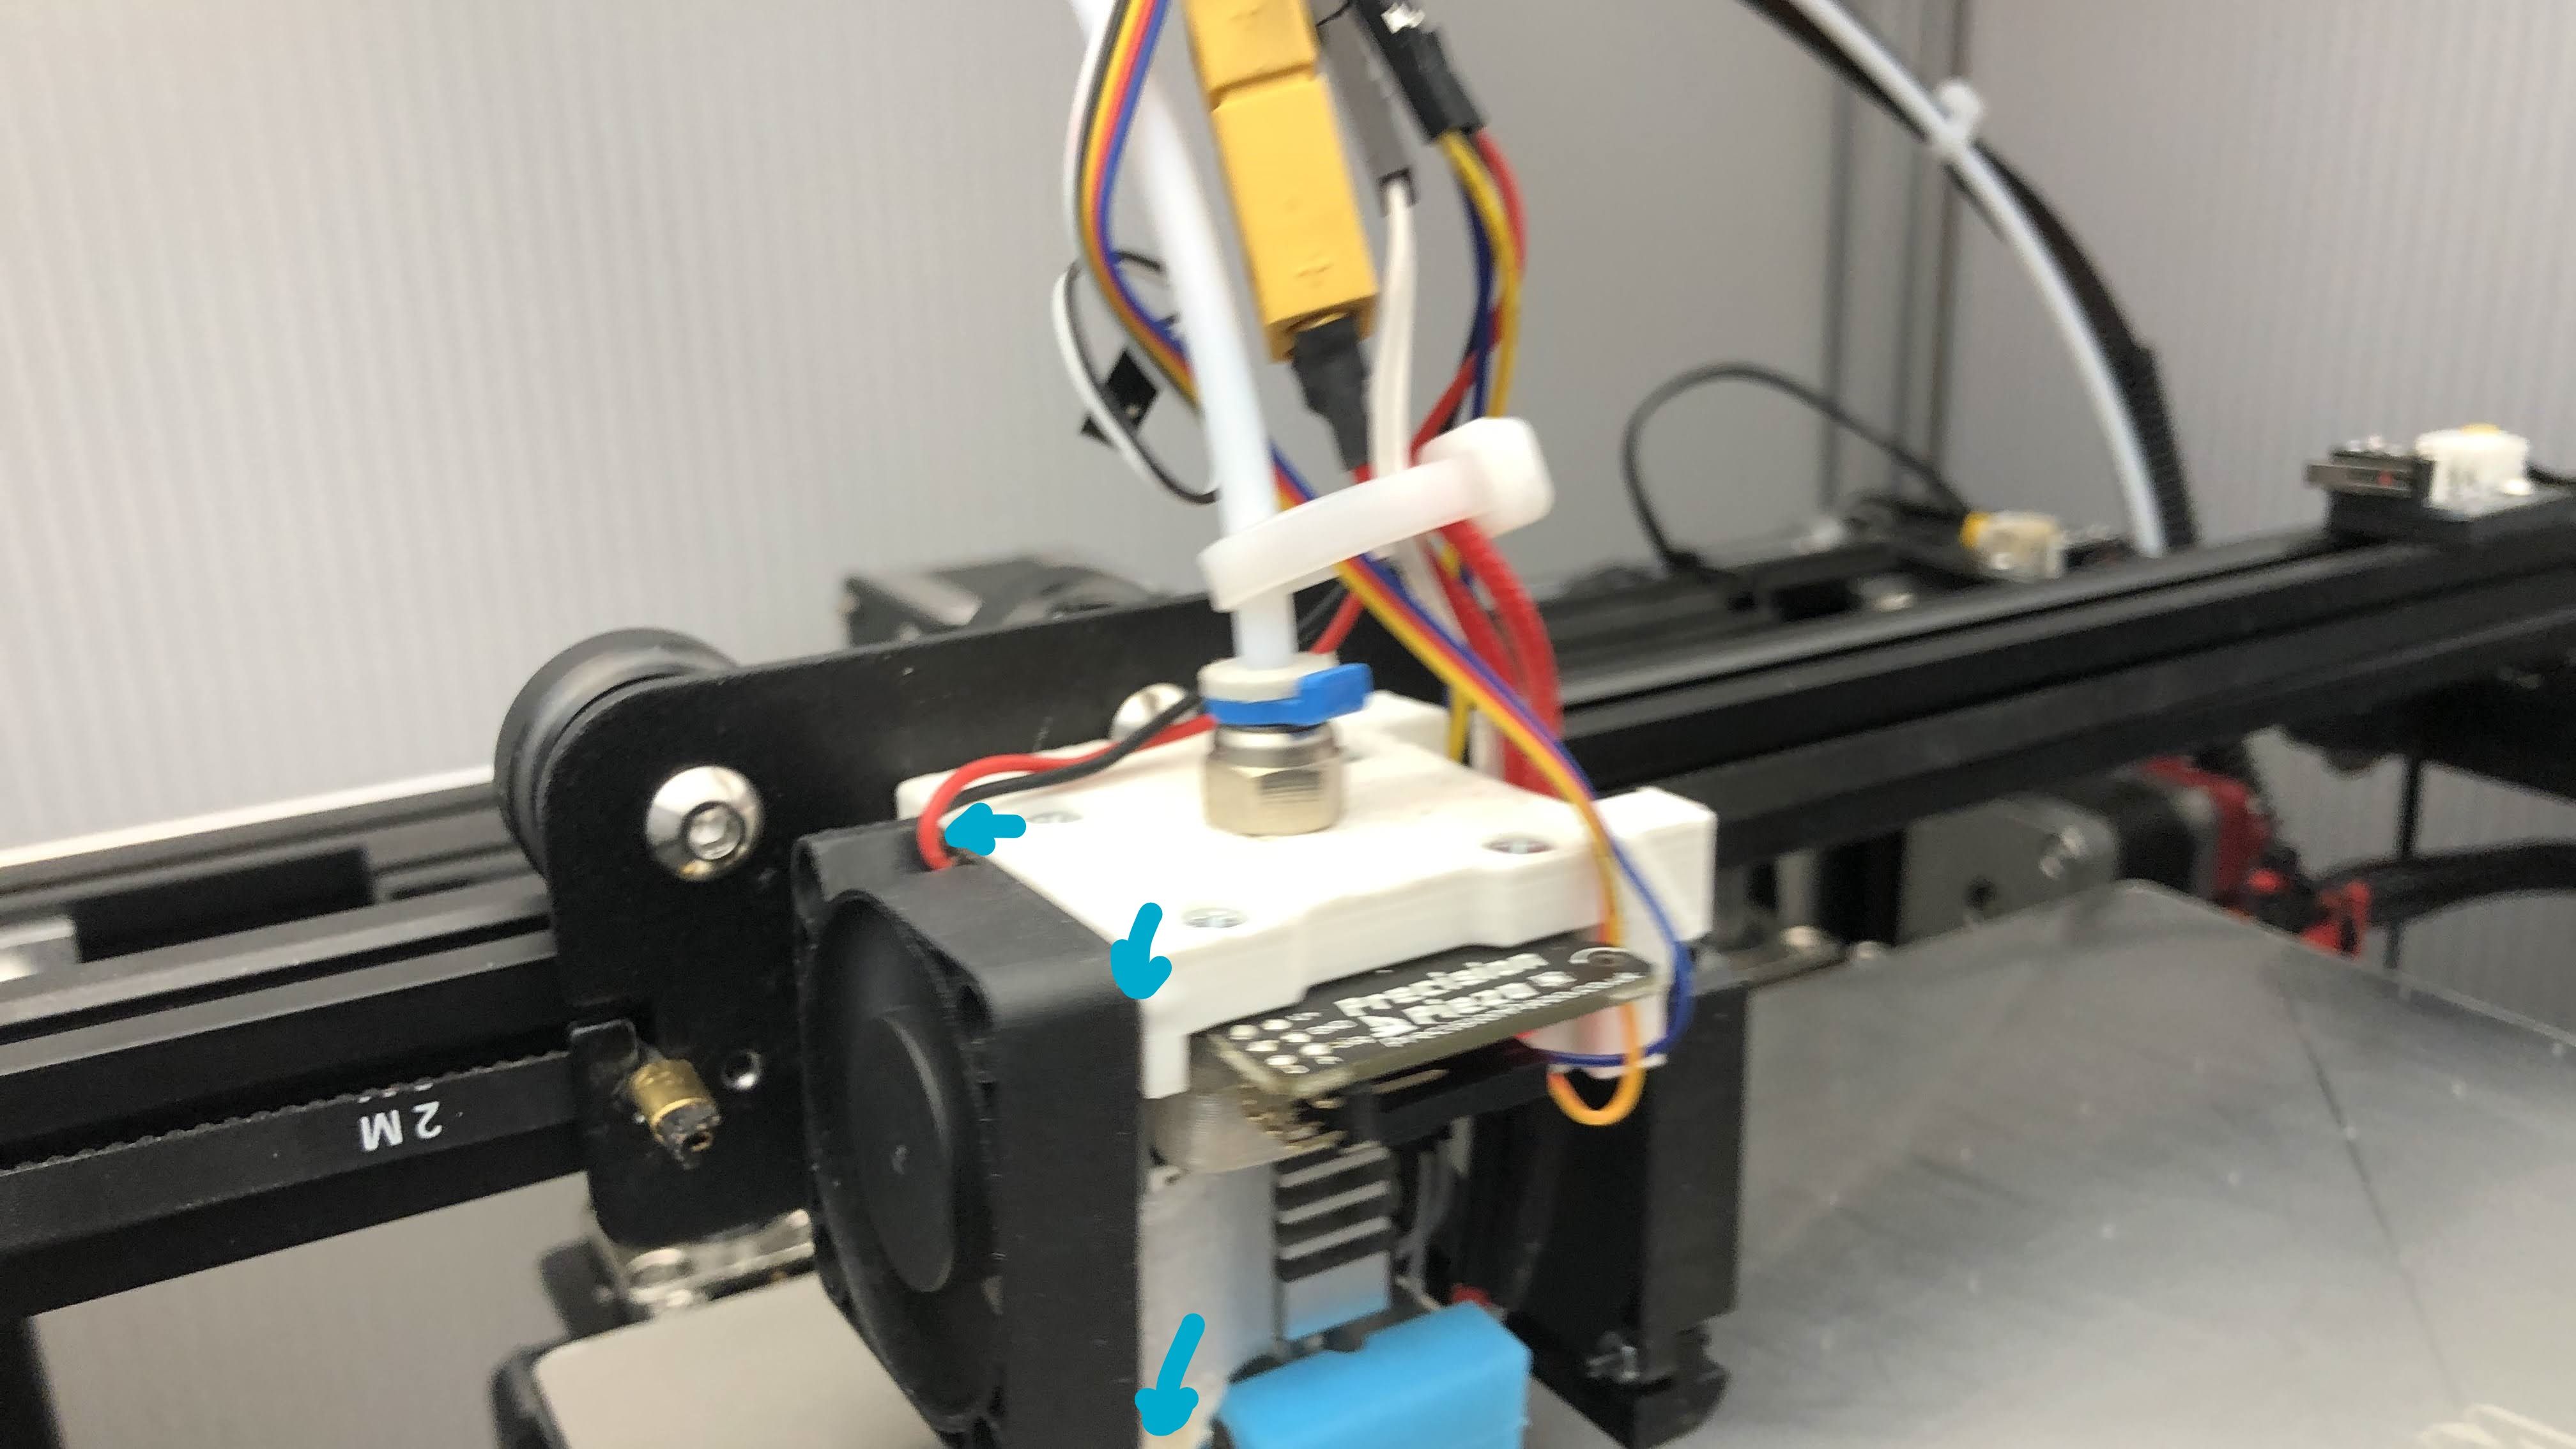
This shows the general layout. I printed the fan duct and bottom mount in PETG and the top mount in PLA (a bit more rigid and further from heat). I also drilled out the top hole a bit and used the screw in collet from the stock ender hotend.

This shows the position of the 3mm inserts for the heatsink fan (2 screws) and the fan duct (2 screws).

And this shows where I used the 2mm nuts as "inserts" (i.e. heated and pushed into the hole.

-
IMPORTANT FOLLOW UP.
Idris (from Precisionpiezo) has advised in another forum that:
"By filling in the hollow section you have made the bottom clamp too stiff. The compliance of the bottom part is vital to the correct functioning of the sensor."
So you should ignore my modified bottom mount. I am reprinting .
-
one hint, the potentiometer on the pp is pos
so I suggest using analog output and connecting to zprobe.in input on the duet, using rrf3 on the duet and configuring this analog input dynamically... it works awesome -
hi
thanks for sharing your pictures!
i have a problem the holes are to big for M3 screws anyone have the same problems ?
-
Not too big for me - quite snug. I needed to ease them out a little so they would not catch the thread on the screws.
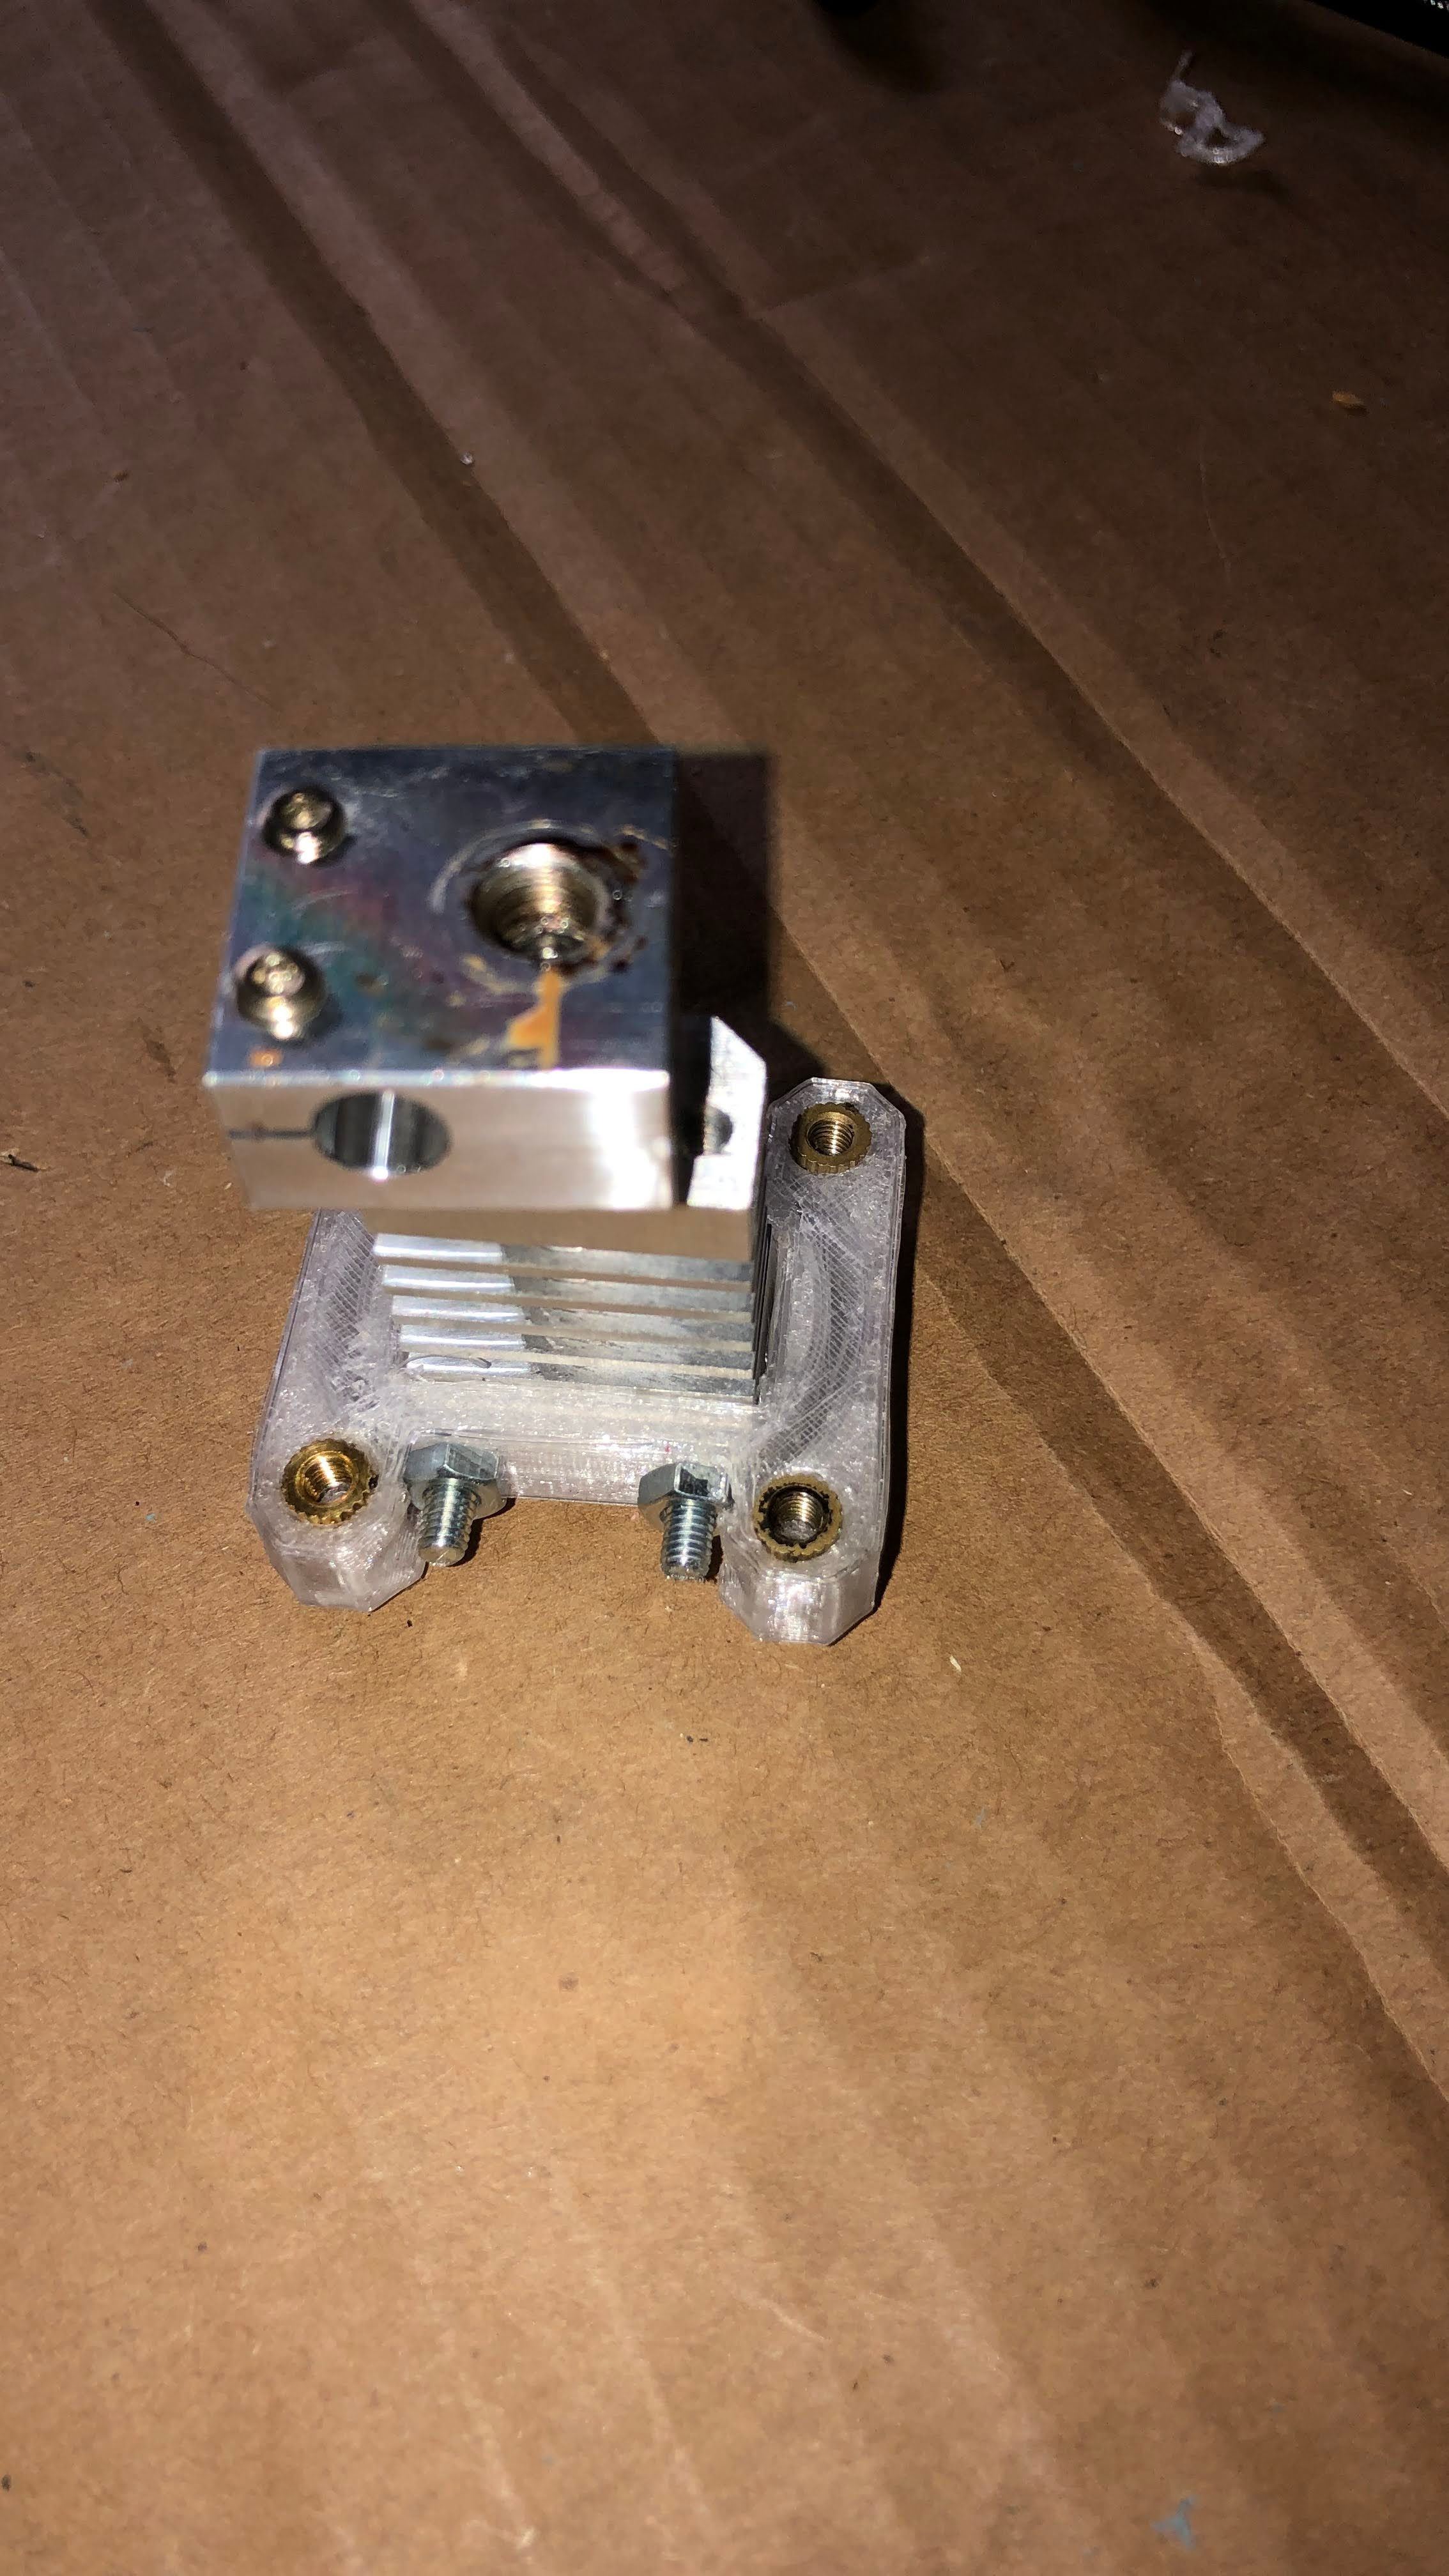
I've reprinted the bottom end per the original thingiverse model - here is what it looks like.

Temperature controlled soldering iron (about 300C) works well for slooowly easing in the brass inserts (pre-threaded on a screw). Did not cause the issues I had previously that led down the (garden) path of incorrect remixing. Also - I'm not sure what the original intent was for clamping the hotend, but nuts seemed like a better bet than inserts. A bit fiddly to get onto the screws but otherwise OK.
@arhi - I totally agree on the pot - too fiddly/jiggly. Will be trying analogue when I get this latest attempt back together and working.
-
Pulling my hair out a bit. I've started a post here that may be useful as you progress.
https://forum.duet3d.com/topic/18966/precisionpiezo-problems?_=1601500980292