• Tags
  • Documentation
  • Order
  • Register
  • Login
Duet3D Logo Duet3D
  • Tags
  • Documentation
  • Order
  • Register
  • Login

Magnetic sensor reads sensitivy wrong.

Scheduled Pinned Locked Moved
Filament Monitor
2
14
641
Loading More Posts
  • Oldest to Newest
  • Newest to Oldest
  • Most Votes
Reply
  • Reply as topic
Log in to reply
This topic has been deleted. Only users with topic management privileges can see it.
  • undefined
    Alucardi
    last edited by 14 Feb 2021, 11:08

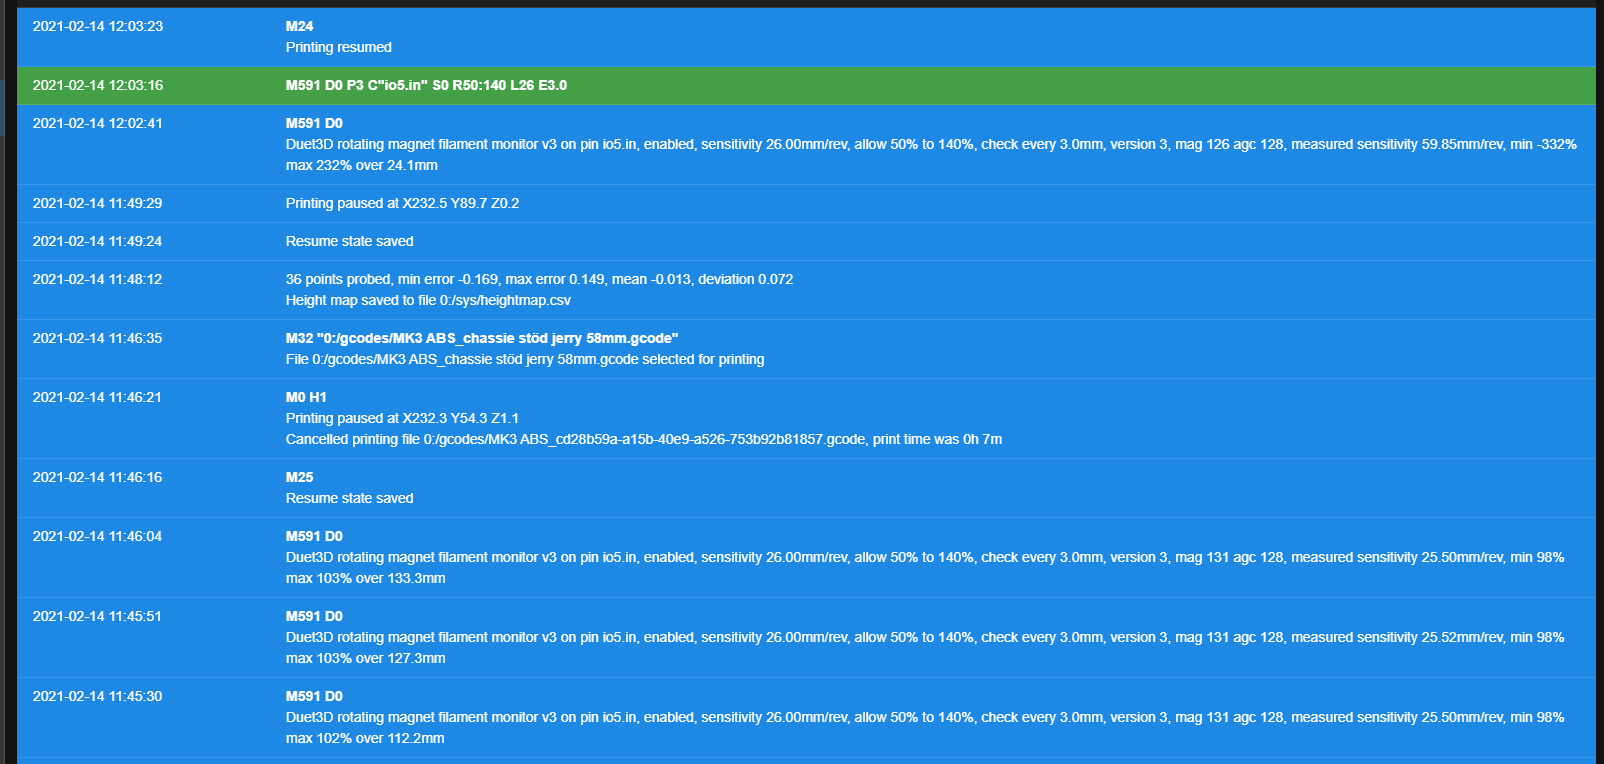
    I have some problems calibrating my magnetic sensor. During normal prints i have 25.5 but when it slows down it measures 59.85. Why is it that different?

    Skärmklipp.PNG
    1.jpg

    1 Reply Last reply Reply Quote 0
    • undefined
      alankilian
      last edited by 14 Feb 2021, 16:21

      Seeing that your AGC value is 128, I think your magnet is too far from the sensor.

      • Values for 'agc' of 85 to 105 are considered normal. If the value is higher, up to 128, the distance between the magnet and the sensor is likely to be too large (target is 0.25mm). Check that the screws holding the PCB down are not loose (caution: they are screwed into the plastic, so don't over-tighten them). If they are already tight, you could remove the 2 long screws to separate the two plastic parts and very slightly sand down the bottom surface of the top one (the one with the PCB attached) to move the sensor closer to the magnet.

      From: https://duet3d.dozuki.com/Wiki/Duet3dFilamentMonitor_RotatingMagnetVersion#Section_Calibration

      SeemeCNC Rostock Max V3 converted to V3.2 with a Duet2 Ethernet Firmware 3.2 and SE300

      undefined 1 Reply Last reply 14 Feb 2021, 16:54 Reply Quote 0
      • undefined
        Alucardi @alankilian
        last edited by 14 Feb 2021, 16:54

        @alankilian how can that be? I use the duet housing. It cannot get closer.

        1 Reply Last reply Reply Quote 0
        • undefined
          alankilian
          last edited by alankilian 14 Feb 2021, 16:55

          They do explain how to make sure the screws are tight, and if they ARE tight, how to disassemble the housing and make a change so the magnet is moved closer to the sensor:

          @alankilian said in Magnetic sensor reads sensitivy wrong.:

          If they are already tight, you could remove the 2 long screws to separate the two plastic parts and very slightly sand down the bottom surface of the top one (the one with the PCB attached) to move the sensor closer to the magnet.

          SeemeCNC Rostock Max V3 converted to V3.2 with a Duet2 Ethernet Firmware 3.2 and SE300

          undefined 2 Replies Last reply 14 Feb 2021, 19:47 Reply Quote 0
          • undefined
            Alucardi @alankilian
            last edited by Alucardi 14 Feb 2021, 19:47

            This post is deleted!
            1 Reply Last reply Reply Quote 0
            • undefined
              Alucardi @alankilian
              last edited by Alucardi 14 Feb 2021, 19:59

              @alankilian even if agc is correct it has no affect on my issue sadly.
              It seems like the magnet is hitting the pcb so it is not spinning now. So something is wrong. Since agc is correct could it be a defective sensor? It should not be hitting the sensor if agc is within spec right?

              Skärmklipp.PNG Skärmklipp2.PNG

              1 Reply Last reply Reply Quote 0
              • undefined
                alankilian
                last edited by 14 Feb 2021, 22:20

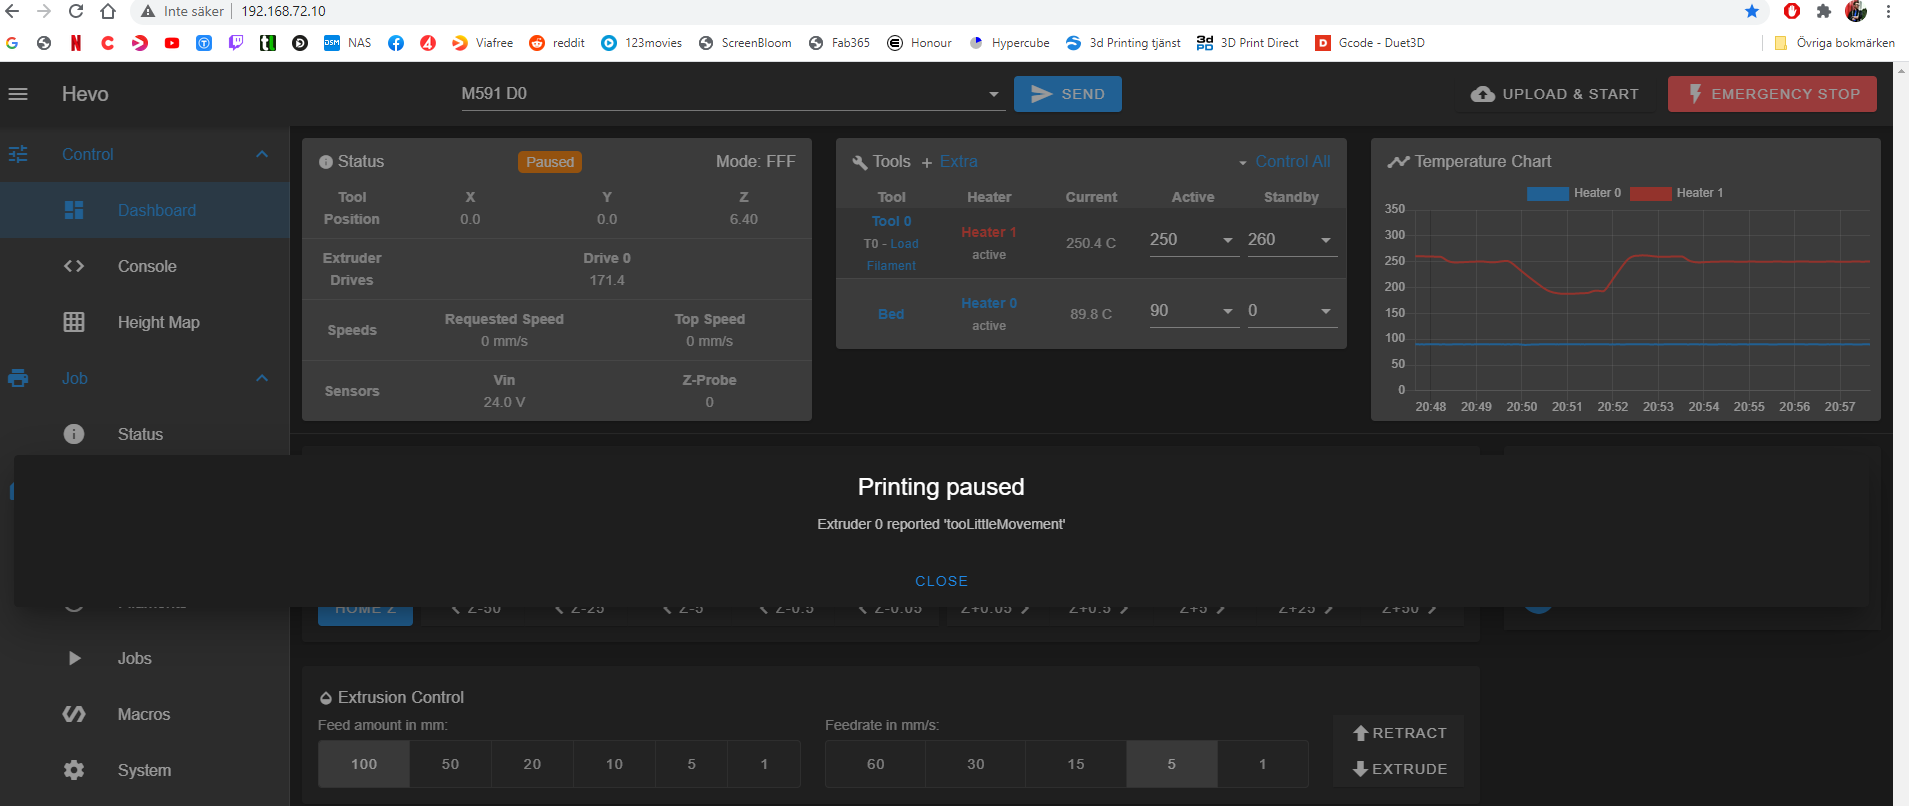
                @Alucardi said in Magnetic sensor reads sensitivy wrong.:

                the magnet is hitting the pcb

                Try adding small pieces of paper between the PCB and the case now to get the magnet a little farther away from the sensor.

                I think you ALMOST have it working.

                SeemeCNC Rostock Max V3 converted to V3.2 with a Duet2 Ethernet Firmware 3.2 and SE300

                undefined 1 Reply Last reply 15 Feb 2021, 15:03 Reply Quote 1
                • undefined
                  Alucardi @alankilian
                  last edited by 15 Feb 2021, 15:03

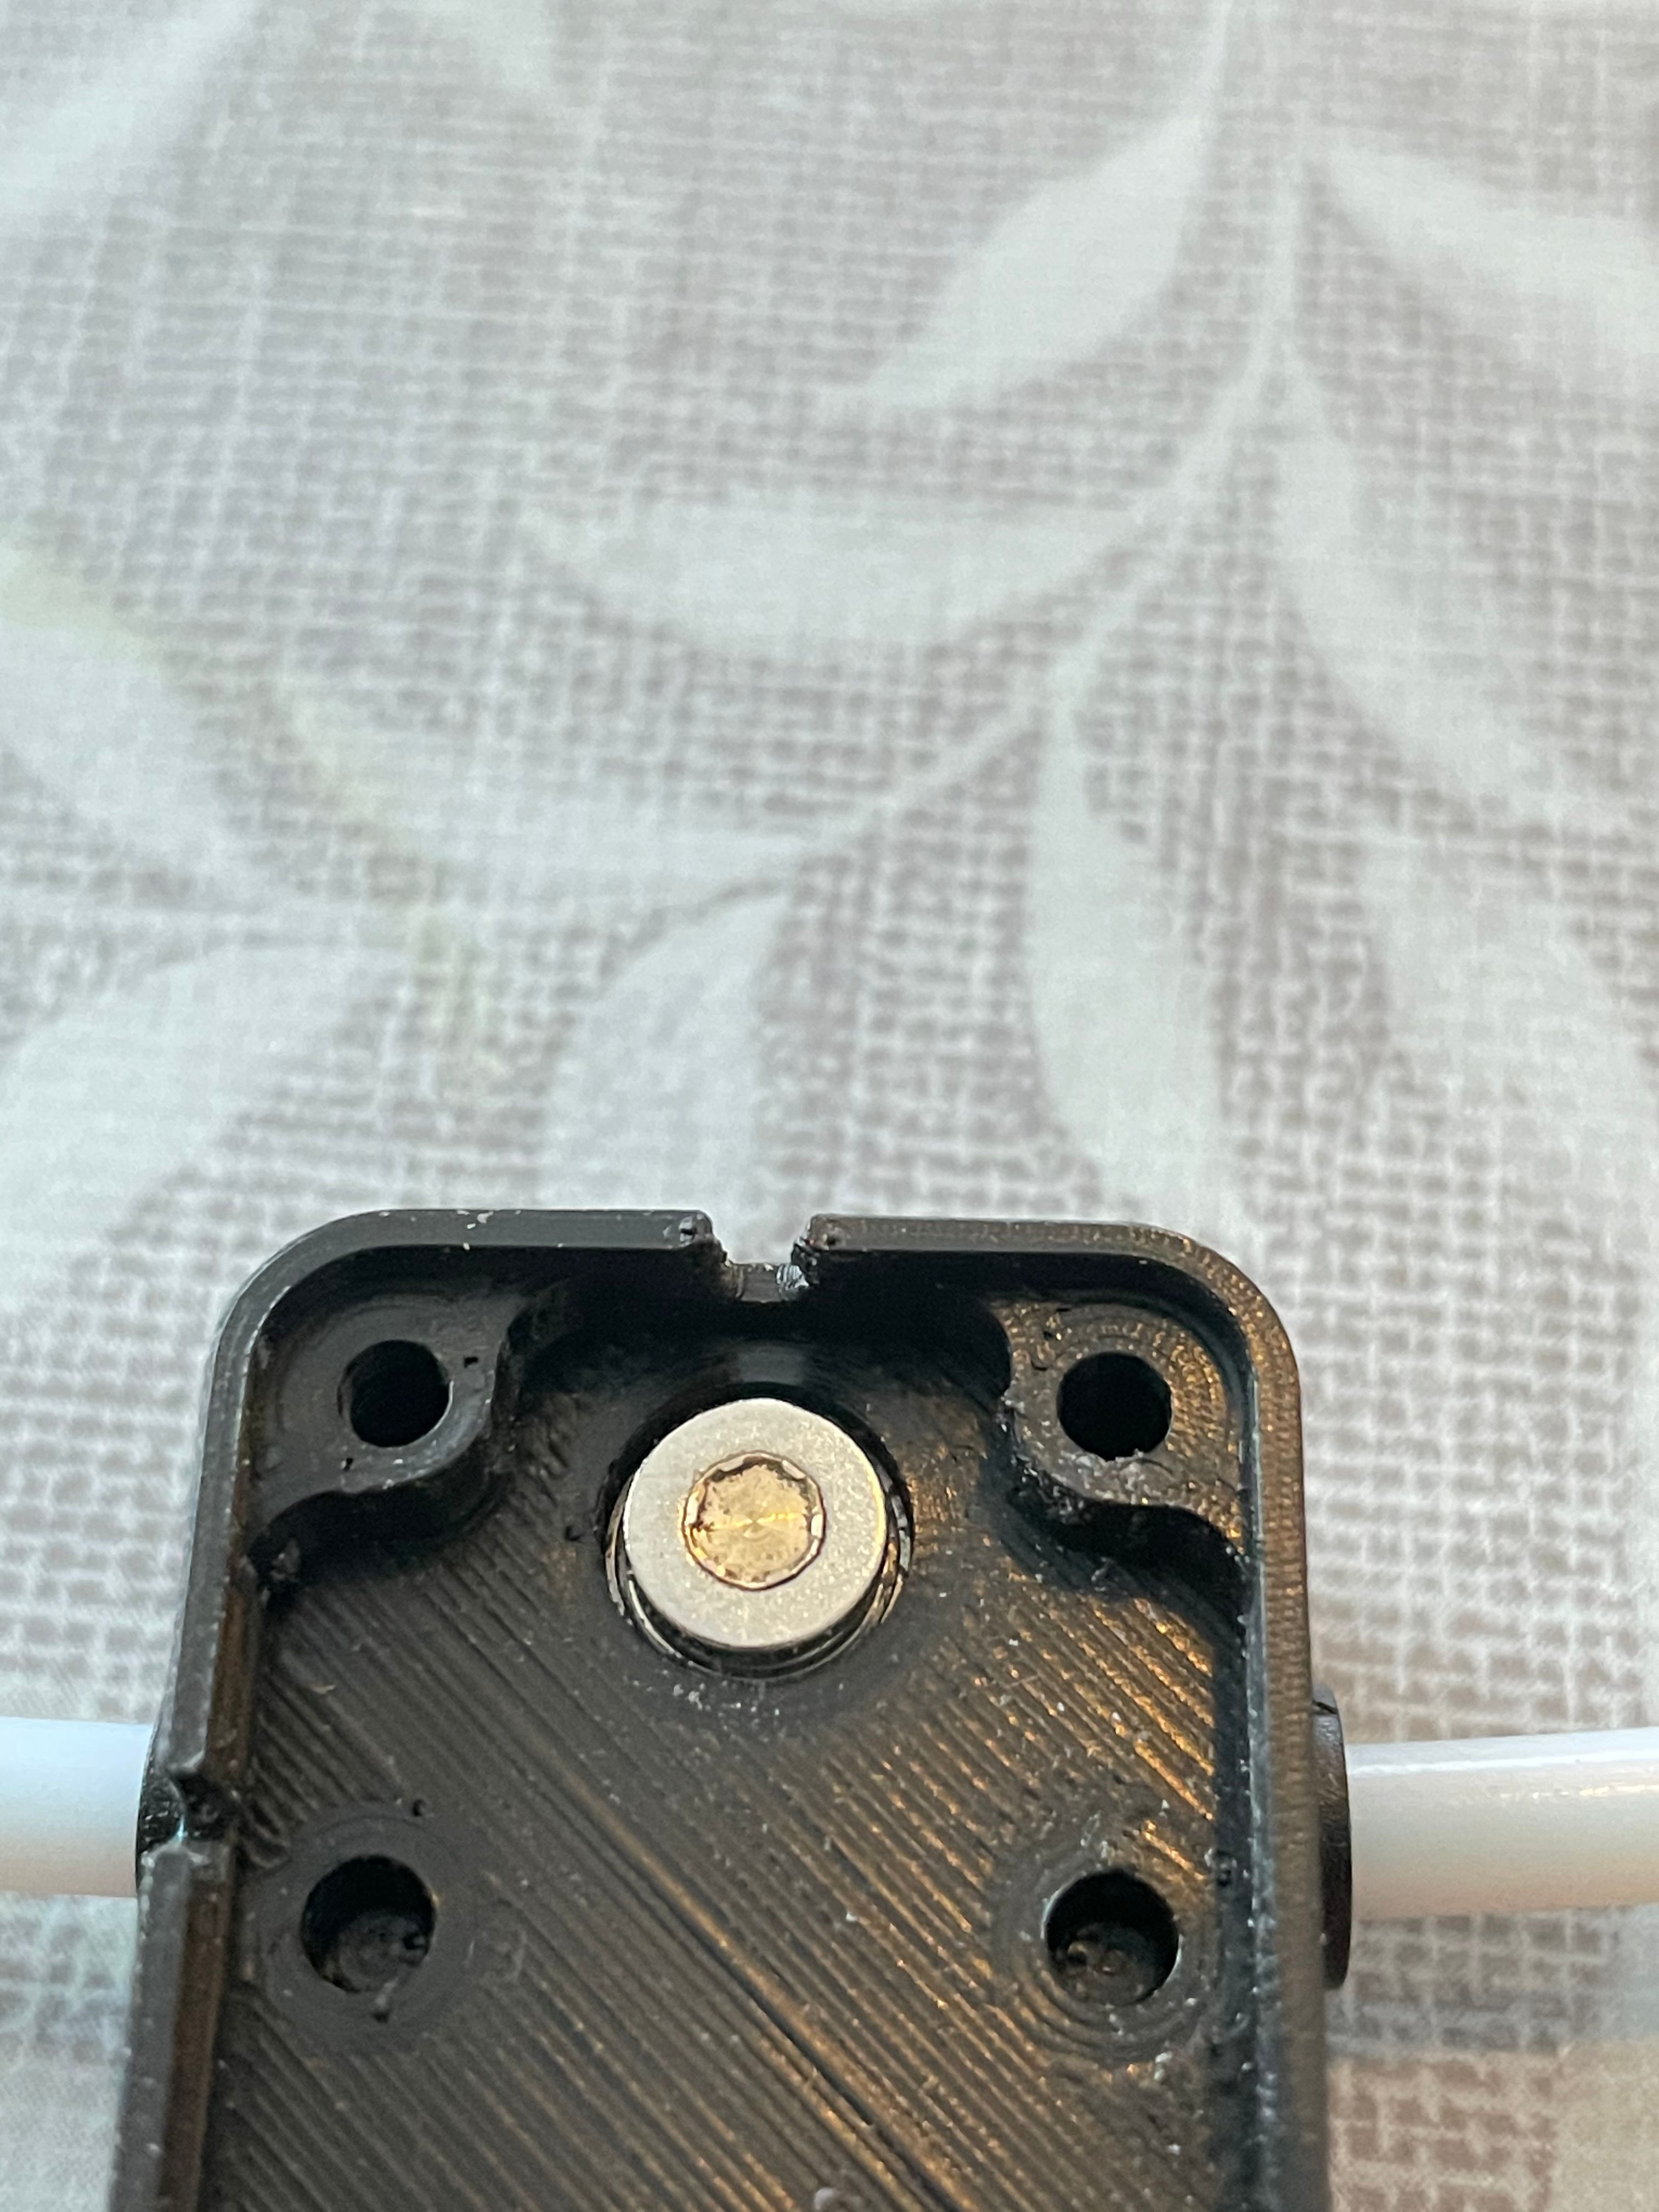
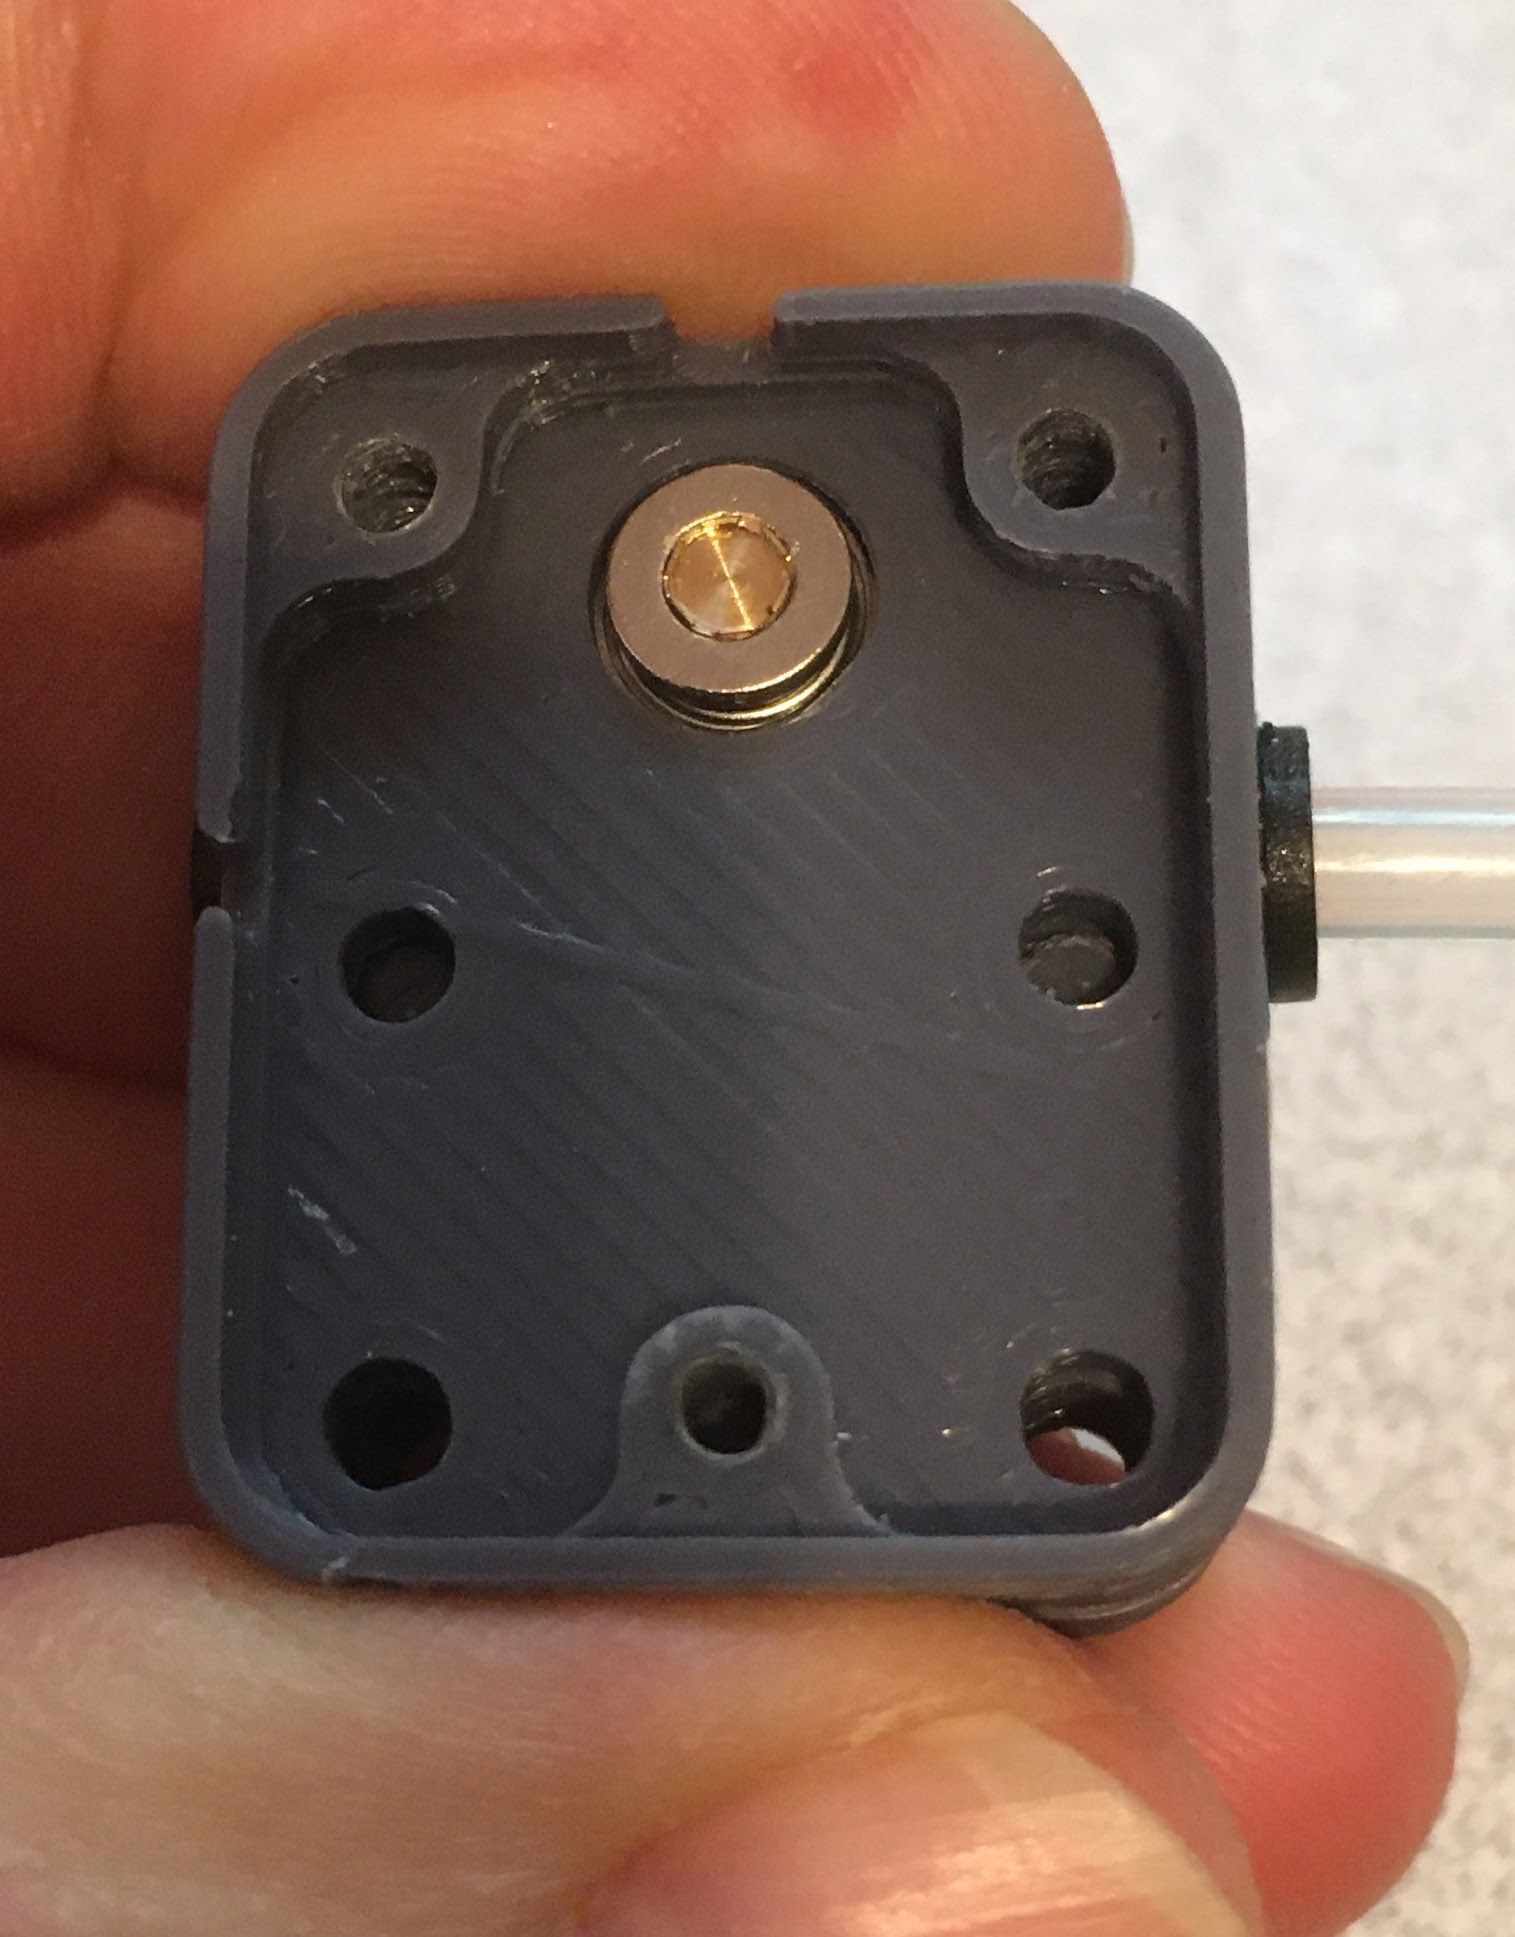
                  @alankilian i there is another issue with sensor. Look how it looks. This can’t be normal.
                  B8E59221-6CEB-4154-83D3-3BE929E3C607.jpeg

                  1 Reply Last reply Reply Quote 0
                  • undefined
                    alankilian
                    last edited by 15 Feb 2021, 15:31

                    What looks wrong to you?

                    It looks just like mine.

                    IMG_5965.JPG

                    SeemeCNC Rostock Max V3 converted to V3.2 with a Duet2 Ethernet Firmware 3.2 and SE300

                    undefined 1 Reply Last reply 15 Feb 2021, 15:32 Reply Quote 0
                    • undefined
                      Alucardi @alankilian
                      last edited by 15 Feb 2021, 15:32

                      @alankilian top of the axel looks rough but seems to be ok.

                      1 Reply Last reply Reply Quote 1
                      • undefined
                        alankilian
                        last edited by 15 Feb 2021, 15:39

                        You said it was grinding against the sensor a little bot. That probably make it look different from mine.

                        Just add some paper strips here until the magnet turns freely, reassemble it and see if it works.

                        IMG_5965.JPG

                        SeemeCNC Rostock Max V3 converted to V3.2 with a Duet2 Ethernet Firmware 3.2 and SE300

                        undefined 1 Reply Last reply 15 Feb 2021, 16:16 Reply Quote 0
                        • undefined
                          Alucardi @alankilian
                          last edited by Alucardi 15 Feb 2021, 16:16

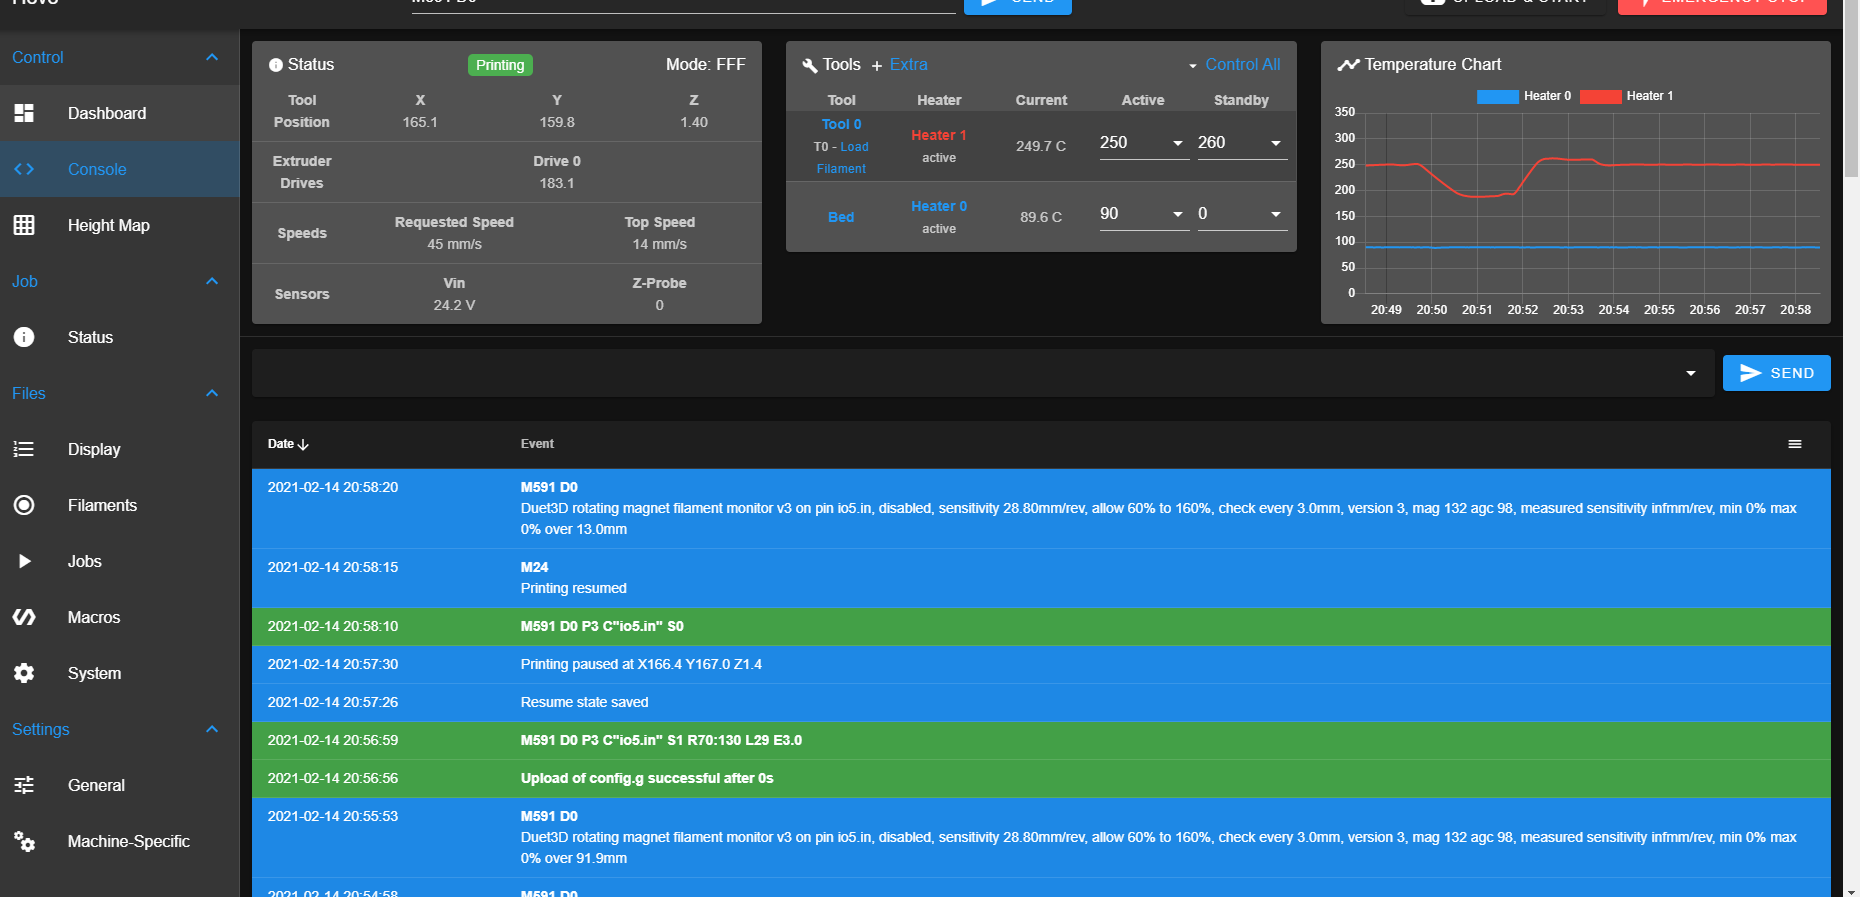
                          @alankilian added paper between the housings and that seem to have done the trick.

                          You happen to know if it is possible to calibrate e-steps with this?

                          1 Reply Last reply Reply Quote 1
                          • undefined
                            alankilian
                            last edited by 15 Feb 2021, 16:52

                            added paper between the housings and that seem to have done the trick

                            HEY! That's great news!

                            You happen to know if it is possible to calibrate e-steps with this?

                            Hmm.....

                            What are you thinking?
                            The sensor measures how many times the wheel goes around.
                            How would you go from the sensor output of mm/rev to total mm extruded?
                            Could you measure the diameter of the wheel and use that?

                            I calibrate eSteps using the "Measure 120mm, extrude 100mm, measure the leftovers and see how close to 10mm it is" and it's been fine for me.

                            SeemeCNC Rostock Max V3 converted to V3.2 with a Duet2 Ethernet Firmware 3.2 and SE300

                            undefined 1 Reply Last reply 15 Feb 2021, 19:16 Reply Quote 0
                            • undefined
                              Alucardi @alankilian
                              last edited by 15 Feb 2021, 19:16

                              @alankilian i do it like that to. but i thought this would be a more precise tool to use. It says "measured sensitivity 25.43mm/rev, min 97% max 103% over 410.6mm" i assume that means over 410.6mm of filament.

                              1 Reply Last reply Reply Quote 0
                              3 out of 14
                              • First post
                                3/14
                                Last post
                              Unless otherwise noted, all forum content is licensed under CC-BY-SA