How Do I Re-Probe Z Between Multiple Objects?
-
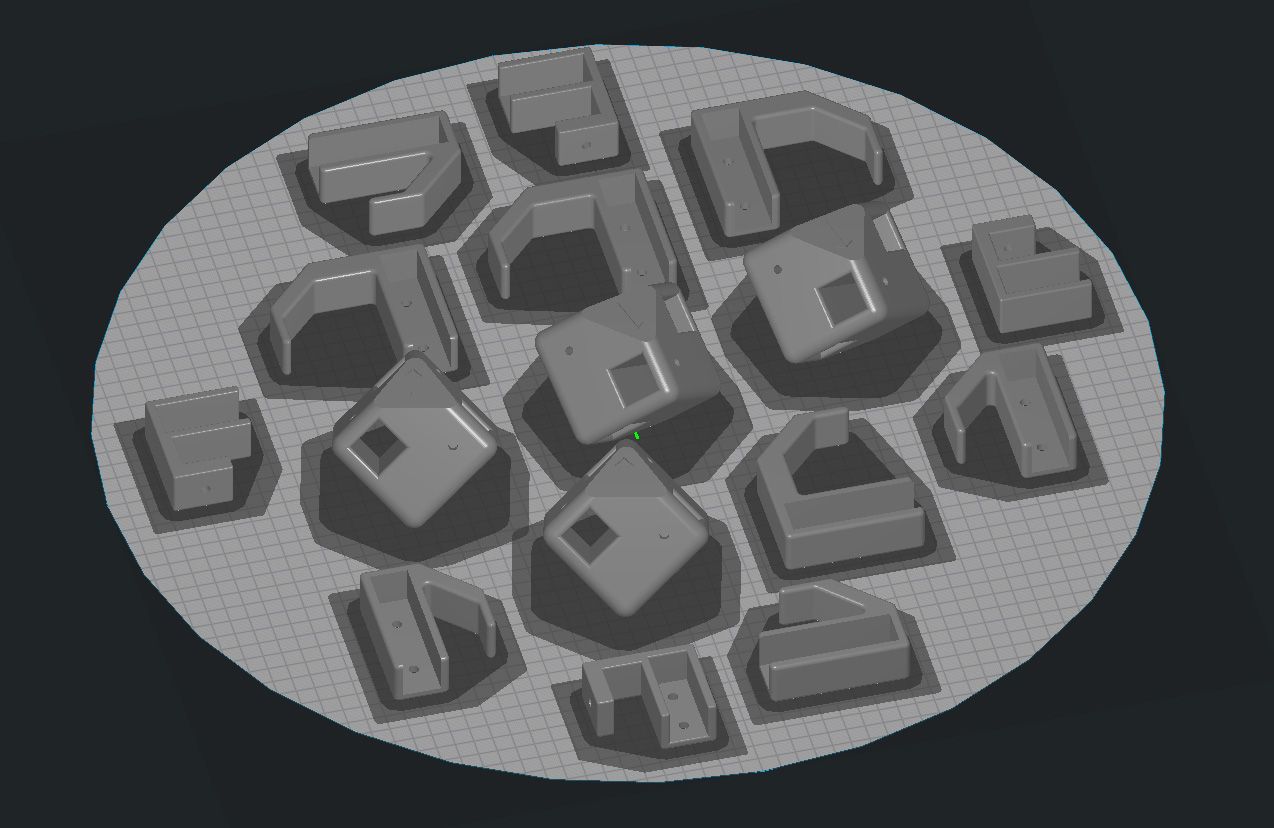
A couple months ago, I suffered from an issue where, when printing multiple objects "one at a time", every subsequent object after the first would have its first layer slightly too high, thereby often ruining the job: https://forum.duet3d.com/topic/21701/multiple-objects-printed-one-at-a-time-fail-after-the-first
There's a whole lot of discussion and conjecture in that thread, but ultimately I thought I solved it by disabling certain slicer features.
Except I didn't. It kept happening randomly, and I gave up and didn't bother trying to fix it anymore. I just stopped using "One at a time" mode. But that mode is so darn useful! Especially now when I have an actual commercial product I want to produce and sell that involves like 20 items per batch. Doing this as 20 different jobs is unbelievably tedious and slow.
I think I finally, truly, for real figured out why this is happening. I don't think it's the expansion of the heated bed, but rather the expansion of the frame and linear rails as they warm up throughout the print job. My printer is a very large Kossel delta with 24" horizontals and 56" uprights in 2040 aluminum. The linear rails are 1200mm long stainless steel MGN12. All this is enclosed with an enclosure heater. The rods for the Smart Effector are 600mm long. So it wouldn't take much expansion in any of these components for the Z axis to be affected enough to cause the issue I'm having. We're talking 0.1 to 0.2mm of offset here, not really noticeable in the finished print but devastating to that crucial first layer. Ultimately, none of this really matters. Short of pre-heating my printer for hours on end before starting a job, there is no solution for preventing it, and even that's debatable. It's simply a design issue.
However I think I could compensate for it by probing the bed between items in a single print job. If I added a snippet of gcode between each object in the file that:
- probes the bed
- compares the actual result with the expected result
- subtracts or adds the difference to the current Z offset
then each subsequent object would start with a more accurate first layer. Note that I'm not referring to a full auto-calibration or mesh bed probing, just a single probe in a specific spot. Preferably this probing would be right where the next object is about to be printed. That would give me the proper Z height for that object, and I could more easily find where to add it within the gcode file, basically whenever the nozzle returns to Z0.
Does anyone have any advice on how I'd accomplish this? I'm having a hard time figuring out the gcode snippet I need to make it happen.
-
@goremanx said in How Do I Re-Probe Z Between Multiple Objects?:
probes the bed
compares the actual result with the expected result
subtracts or adds the difference to the current Z offsetI think you're overthinking it. I don't think you'd need to compare or subtract anything. Just do a G30 at the point you are about to print the next part. That should set the new Z0 position. The previous Z0 position is irrelevant.
Some basic post processing could add a G30 in the area of the bed before the next part prints?
-
@phaedrux Bahaha! Yes, duh. That's often my failure, over-thinking

Having said that, what's a max safe probing temperature on a PEI build surface? I usually probe with the nozzle at 170c for auto-calibration and bed mesh probing. But I don't want to have to wait too long before probing otherwise the nozzle might ooze and the resulting probe will be inaccurate.
I was thinking of adding a couple of filament retractions before probing to help prevent oozing, but even with that, if I have to wait for dozens of seconds before I can probe, there might still be oozing.
-
@goremanx said in How Do I Re-Probe Z Between Multiple Objects?:
what's a max safe probing temperature on a PEI build surface?
Well the Print temp for PEI is 355+ so I'd think you could tap it with a hot nozzle without much worry.
But yes, nozzle ooze does complicate things. If there is crud on the nozzle it could give you just as bad results.
-
@phaedrux So that worked perfectly. I added:
G10
G10
G30
right before it starts printing every skirt. Now ever first layer is absolutely perfect and I've had zero failures from a very full build plate
