I could use some help
-
@fcwilt my master taught me to Always M119 first.
-
-
@mac said in I could use some help:
@fcwilt my master taught me to Always M119 first.
And what did it report?
Inquiring minds want to know!

Frederick
-
@mac said in I could use some help:
@fcwilt these motors are 42 X 42 X 37. The screw spacing is 33. I’m going to need the same size motors to fit this printer. But I want to get motors that are up to Duet’s abilities. My budget is up to a Hundred dollars for 4 motors.
So even the extra 2mm of the ones I linked to is too much?
Drat.
Frederick
-
@mac said in I could use some help:
@fcwilt @droftarts what do you think of this motor?
https://www.mybotonline.com/download/17HS15-1704S.pdf
https://www.mybotonline.com/download/17HS15-1704S_Torque_Curve.pdf
Mac
Well the specs are better in several ways.
And the price is right.
How long to get them?
Frederick
-
@fcwilt I’m trying to get them from stepper online
-
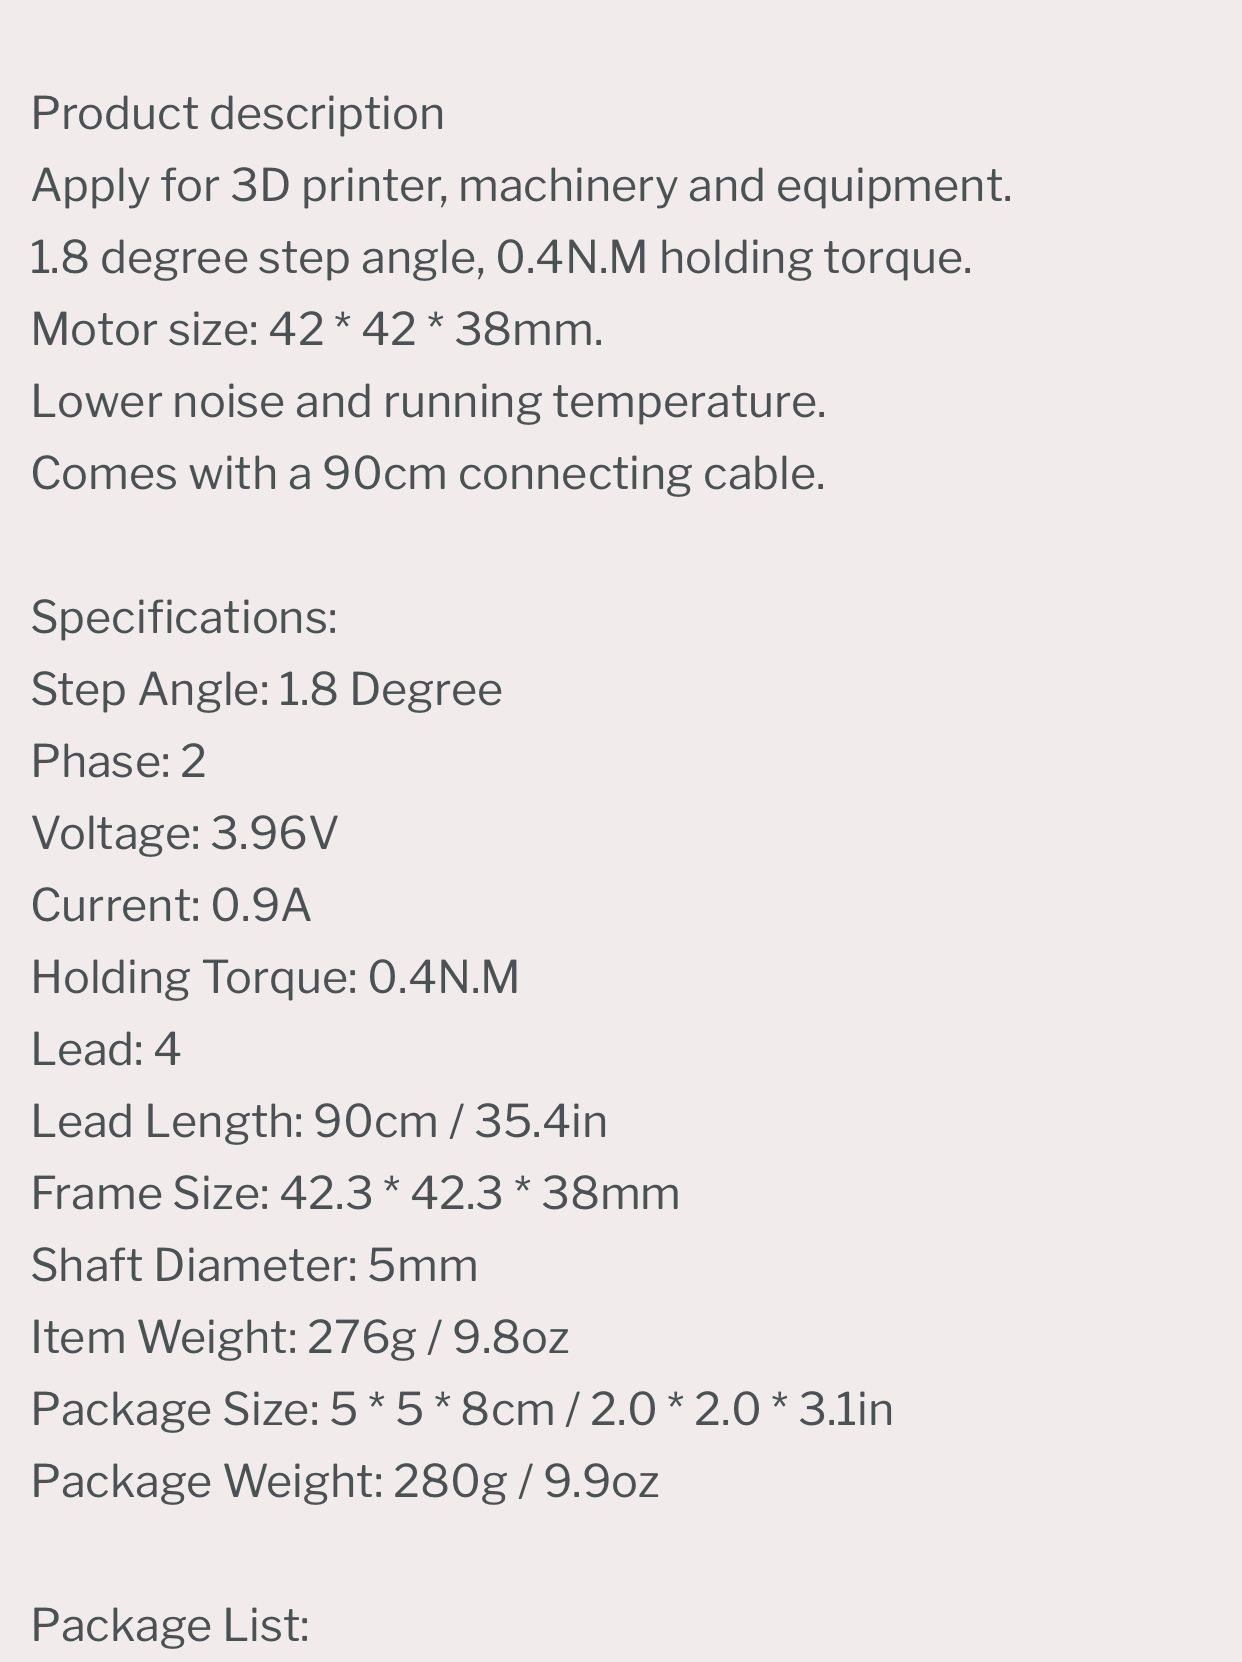
@fcwilt @droftarts I’d like to know what you think of the motor specs in the picture below. Would this motor play nice with the Duet3D Mini 5+? Would it be better than the motors in the XVico? It matches up perfectly with those motors.

-
-
@mac
No, those don't look good at all.
You really cannot fit the 39mm ones I linked to?
Frederick
-
@fcwilt the 42X39 for the X-motor works. It works for the Extruder also, and it will work for the Y-motor, but it will be super close to the bed’s back right adjustment wheel. The problem is the Z-motor. I’m going to have to raise the Z-screw 2mm’s. I’m just not looking forwards to that. But okay, here goes. I’ll order the motors right now.
Mac
-
@fcwilt end of July.
-
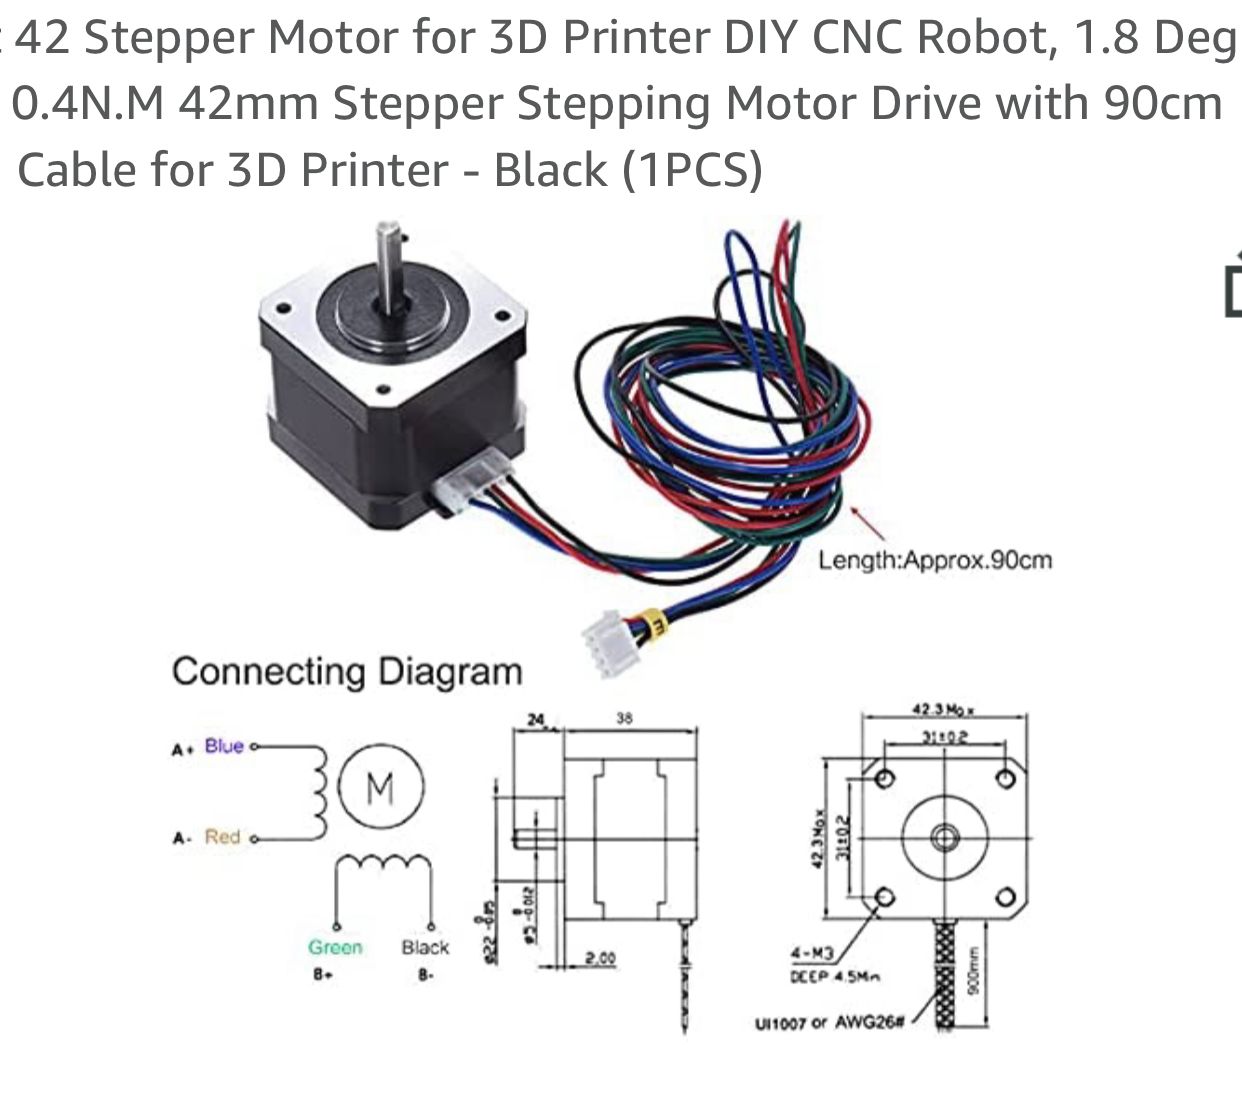
@fcwilt how am I going to deal with those Amazon motors being 24volts? Am I going to have to buy a 24 volt power supply?
-
-
This post is deleted! -
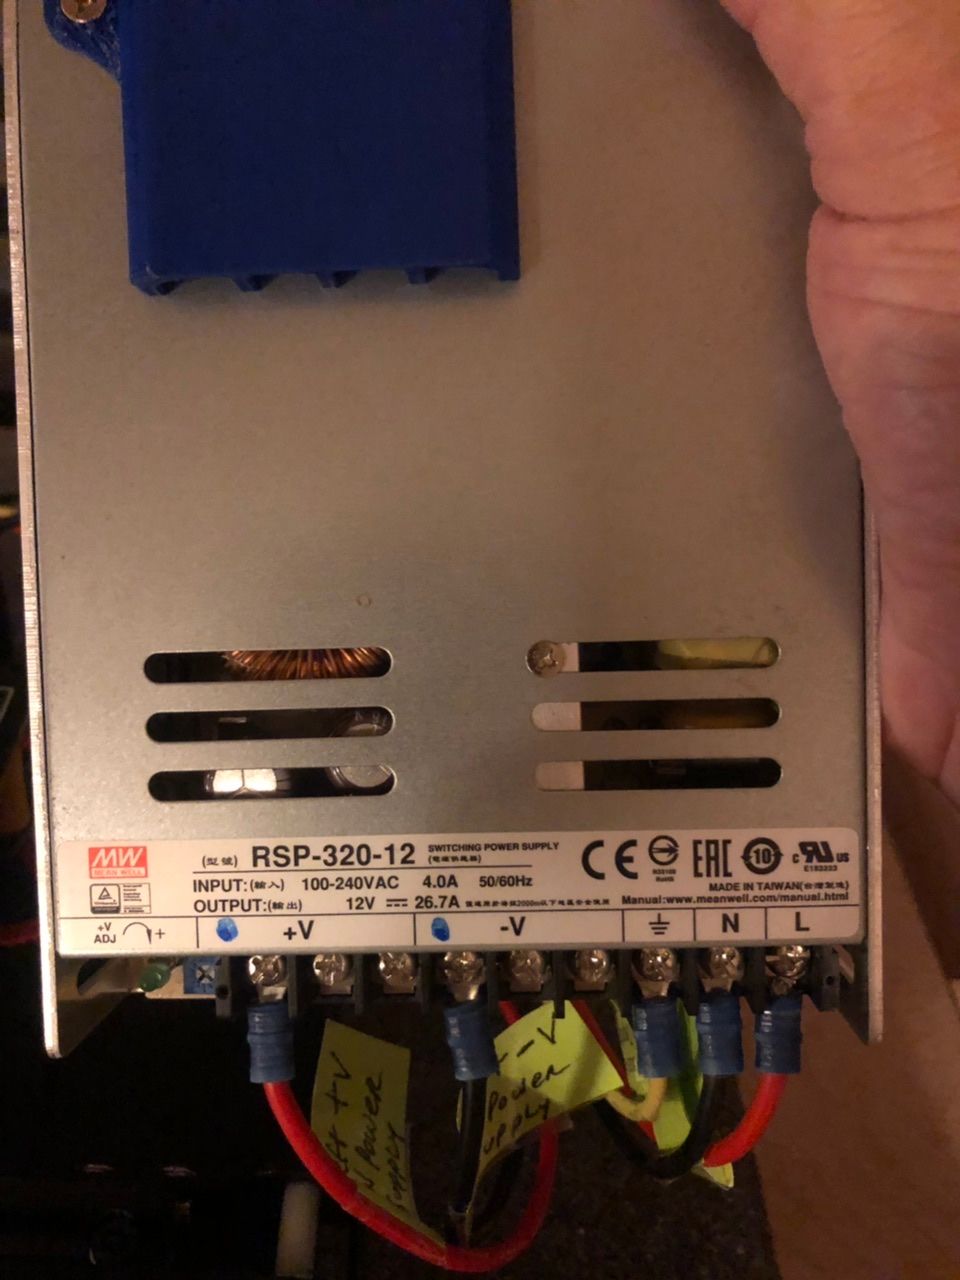
@fcwilt here's my power supply.

-
@mac 12V or 24V doesn’t matter too much. Motors work better with 24V, and can usually run faster (it’s like having more water in a dam; there’s more potential energy) but 12V is fine for most cases. If you switch to 24V you’ll have to change your bed and hot end heaters heaters too. 24V may or may not work better with your current motors and the Duet Mini 5+, I’m not sure.
Can you post a link for the actual motors you have purchased? I’m not quite sure which ones you got in the end.
One thing I’m still slightly concerned about is the quality of your crimping. Did you do all the motor crimps? Did you use the tool you posted a picture of, which is for ferrules rather than crimps? Poor connections could be causing some of the issues, too.
Lastly, it’s also possible that a lot of the problems is down to the endstops being wired NO. The endstop wires run next to the motor wires, and may well be picking up interference and registering false activations. I’d suggest running the endstop wires separately from the motor wires, or changing the connections on micro switches to NC.
Ian
-
@droftarts well, that’s a lot to think about. If I can find 12v motors maybe that’s a better solution. But then I’ll still have a problem with my bed not passing the pid tests. Thanks for the input.
-
@fcwilt the real problem here is the motors you like are 24volts. That means a new power supple and a new bed and a new heater for the hot end. Too many new parts. I need 12 volt motors.
-
@mac said in I could use some help:
@fcwilt you're not going to like this, but here goes:
G1 H1 Y-10 F3600 would NOT move the bed. I tried twice, and I clicked multiple times each time.
Then I changed H1 to H2.
The command sent the bed back to the endstop 10 mm's at a time. When it was at -220 I looked to see what's what. There was another 10mm's to go, so I clicked on the send button. The bed went back that 10mm's, and depressed the endstop.
Then I clicked on the Y+50 joy button at the far right of Home Y. Instead of going 50mm's, the bed went all the way to the front of the printer, and stopped without pounding on the adjustment cap.
This machine has a mind of it's own. My apologies for such bad news.
This is a marathon thread and I haven't read more than a small portion of it so I've likely missed much of what has gone before. But I'll take a stab at helping if I can.
The first thing I noticed is that the configuration file does not have a M669 command to define the kinematics. I'm not sure but I think the default setting is for Cartesian so it should be OK (if this is a Cartesian (bed slinger) printer. But it might be an idea to add M669 K0 to the start of config.g.
Is there a config_override.g file (check the .sys folder). If there is, comment out anything that is in it at this point in time (or delete the file completely). Config_override does just what it's name suggests and override any commands that are in config.g and we don't want that happening.
Secondly, (and I'm not trying to be condescending here) but do you understand the difference between absolute and relative positioning? In case you don't, relative positioning means make a move n mm from the current position. Absolute positioning is still relative but it's relative to the origin. To expand on that, if your x min and Y min are at say the left hand front corner of the bed, then that's the origin. So a relative G1 X10 move will move the head 10mm from wherever it is currently at. But an absolute G1 X 10 move will move the bed to a position which is 10mm from the edge of the bed (or wherever the origin is set to).
Obviously it follows that you can't make absolute moves when the printer is first turned on, because it won't have been homed. That is to say, the printer has no idea of whereabouts X0 Y0 is. So if you try to move to absolute position from an unknown position, strange things are going to happen. Now your config.g file has G90 at the beginning so when you first turn it on, it will be in absolute positioning mode.
Taking each line of the above quoted post at a time............
G1 H1 Y-10 F3600 would NOT move the bed. I tried twice, and I clicked multiple times each time.
This means that the end stop must have already been triggered so the machine "thinks it's already at Y min so won't go any further back. Now if the switch wasn't depressed, then you have a wiring or configuration issue with that end stop.
Then I changed H1 to H2.
That will ignore the end stop status.
The command sent the bed back to the ends top 10 mm's at a time.
Assuming you used the same G1 command and not the buttons on DWC, this means that the machine must have been in relative positioning mode. So at some point in time after it was powered up, it must have received a G91 command. Do you send it? If not what else did you do that might have sent that command?
Then I clicked on the Y+50 joy button at the far right of Home Y. Instead of going 50mm's, the bed went all the way to the front of the printer, and stopped without pounding on the adjustment cap.
This is where it gets really weird. It sounds like the machine was in absolute positioning mode and sent the bed to the absolute position of Y=50mm . Yet, as far as I'm aware, when you use the buttons on DWC it runs the sequence G91 (to put the machine into relative mode) then does the G1 move, then G90 (to put the machine back into absolute mode.
Can you repeat what you did to nudge the printer back 10mm at a time but instead of using the buttons on DWC to move it forward by 50mm, send G91, then G1 H2 Y50 F3600 and let us know what happens.
-
@mac said in I could use some help:
@fcwilt the real problem here is the motors you like are 24volts. That means a new power supple and a new bed and a new heater for the hot end. Too many new parts. I need 12 volt motors.
No you don't. Duet boards use constant current drivers - the stepper motor voltage is largely irrelevant.

