Duet 3 MB6HC Relay Control via OUT4-6 Pins
-
Running 3.4.6 on my Duet 3 MB6HC with 1LC toolboard. I'm trying to control this 5V 6-channel relay board with the OUT4-6 pins on my MB6HC. The VCC and GND of the relay board are wired to the 5V and GND for the 5V PWM for VFD/Laser while input signals use the tachio pins on OUT4-6. While the LED indicators light up (slightly dimly) for the relays being excited, they don't actually open/close. I confirmed this with a multimeter at the output end of the relay as well.
My M98 P"config.g" has no errors. I've also tried just the PWM pins on OUT4-6 and used the respective pin name too, but that didn't seem to excite them so I switched back to the .tach pins. What is the correct way to control this relay board with the OUT4-6? I've had success before using these outputs to control relays but am unsure what I'm missing this time around.
; Enable network G4 S5 ;wait for board to start if {network.interfaces[0].type = "ethernet"} M552 P192.168.1.14 S1 else M552 S1 ;Enable PanelDue ;M575 P1 S1 B57600 ;General Prefrences G90 ; send absolute coordinates... M83 ; ...but relative extruder moves M550 P"RL1 V3" ; set printer name M669 K1 ; switch to CoreXY mode ; Drives M569 P0.0 S1 ; X motor runs M569 P0.1 S0 ; Y motor runs M569 P0.2 S1 ; Z1 motor runs M569 P0.4 S1 ; Z2 motor runs M569 P0.5 S1 ; Z3 motor runs M569 P20.0 S0 ; E moves M569 P0.3 S0 ; U motor runs M207 S1.5 F7200 Z0.2 M584 X0.0 Y0.1 Z0.2:0.4:0.5 E20.0 U0.3 ; Set drive mapping M350 X16 Y16 Z16 E16 U16 I1 ; configure microstepping with interpolation M92 X80.00 Y80.00 Z400.00 E676.47059 U100 ; set steps per mm M566 X900.00 Y900.00 Z60.00 E300 U900.00 ; set maximum instantaneous speed changes (mm/min) M203 X6000.00 Y6000.00 Z180.00 E7200 U17000.0 ; set maximum speeds (mm/min) M201 X500.00 Y500.00 Z20.00 E3000 U500.0 ; set accelerations (mm/s^2) M906 X800 Y800 Z800 U3800 I30 ; set motor currents (mA) and motor idle factor in per cent M906 E1200 I10 ; extruder current and idle factor M572 D0 S0.02 ; pressure advance-to be calibrated M84 S30 ; Set idle timeout ; Axis Limits M208 X0 Y0 Z-1 U0 S1 ;set axis minima M208 X100 Y100 Z38.45 U330 S0 ;set axis maxima M671 X-67.2193:182.5338:182.5338 Y54.4915:-72.3045:181.2875 S2 ; position of leadscrew/bed pivot point at front left, rear middle and front right ; Endstops M574 X1 S1 P"io1.in" ; configure switch-type (e.g. microswitch) endstop for low end on X via pin io0.in M574 Y2 S1 P"io2.in" ; configure switch-type (e.g. microswitch) endstop for high end on Y via pin io1.in M574 Z2 S1 P"io3.in+io4.in+io5.in" ; configure switch-type (e.g. microswitch) endstop for high end on Z M574 U2 S1 P"io6.in" ; configure switch-type (e.g. microwswitch) endstop ; Z-Probe M950 S0 C"20.io0.out" ; create servo pin 0 for BLTouch (use IO_4/5/7 for 6HC) M558 P9 C"20.io0.in" H5 F120 T6000 ; set Z probe type to bltouch and the dive height + speeds G31 P500 X-19.14 Y0 Z2.555 ; set Z probe trigger value, offset and trigger height M557 X0:80 Y12:100 P3 ; define mesh grid ; Heaters M308 S0 P"temp0" Y"thermistor" T100000 B3950 ; configure sensor 0 as thermistor on pin temp0 M950 H0 C"0.out0" T0 ; create bed heater output on out0 and map it to sensor 0 M307 H0 R0.075 K0.178:0.000 D3.39 E1.35 S1.00 B0 M140 H0 ; map heated bed to heater 0 M308 S1 P"20.temp0" Y"thermistor" ; configure sensor 1 as thermistor on pin temp1 M950 H1 C"20.out0" T1 ; create nozzle heater output on out1 and map it to sensor 1 M307 H1 R4.766 K0.817:0.135 D4.61 E1.35 S1.00 B0 V24.4 ; disable bang-bang mode for heater and set PWM limit M143 H1 S280 ; set temperature limit for heater 1 to 280C ; Fans M950 F0 C"20.out1" Q500 ; create fan 0 on toolboard out1 and set its frequency M106 P0 S0 H-1 ; set fan 0 value. Thermostatic control is turned off M950 F1 C"20.out2" Q500 ; create fan 1 on toolboard out2 and set its frequency M106 P1 S1 H1 T45 ; set fan 2 value. Thermostatic control is turned on ;Relays M950 P2 C"0.io_7.out" ;Clamps FWD M42 P2 S0 ;Start in off position M950 P3 C"0.out4.tach" ;Clamps REV M42 P3 S0 ;Start in off position M950 P4 C"0.out5.tach" ;IPV DWN M42 P4 S0 ;Start in off position M950 P5 C"0.io8.out" ;IPV UP M42 P5 S0 ;Start in off position M950 P6 C"0.out9" ;Forming-element M42 P6 S0 ;Start in off position ;M950 P6 C"0.io_0.out" ;Release Valve ;M42 P6 S0 ;Start in closed position ;Tool Definitions M563 P0 D0 H1 F0 ; tool 0 uses extruder drive 0 and heater 1. Fan 0 and Fan 1 are mapped to tool 0 G10 P0 X0 Y0 Z0 ; set tool 0 axis offsets G10 P0 R0 S0 ; set initial tool 0 active and standby temperatures to 0C ; Epilogue M556 S100 X0 Y0 Z0 ; Put your axis compensation here M912 P0 S0 ; Put your CPU temperature sensor correction here M501 ; load saved parameters from non-volatile memory M911 S10 R11 P"M913 X0 Y0 G91 M83 G1 Z3 E-5 F1000" ; set voltage thresholds and actions to run on power loss T0 -
 undefined JRCL marked this topic as a question
-
@JRCL
Did you order the 5v version?
The link you gave says 12v coil
What does it say on top of the relays?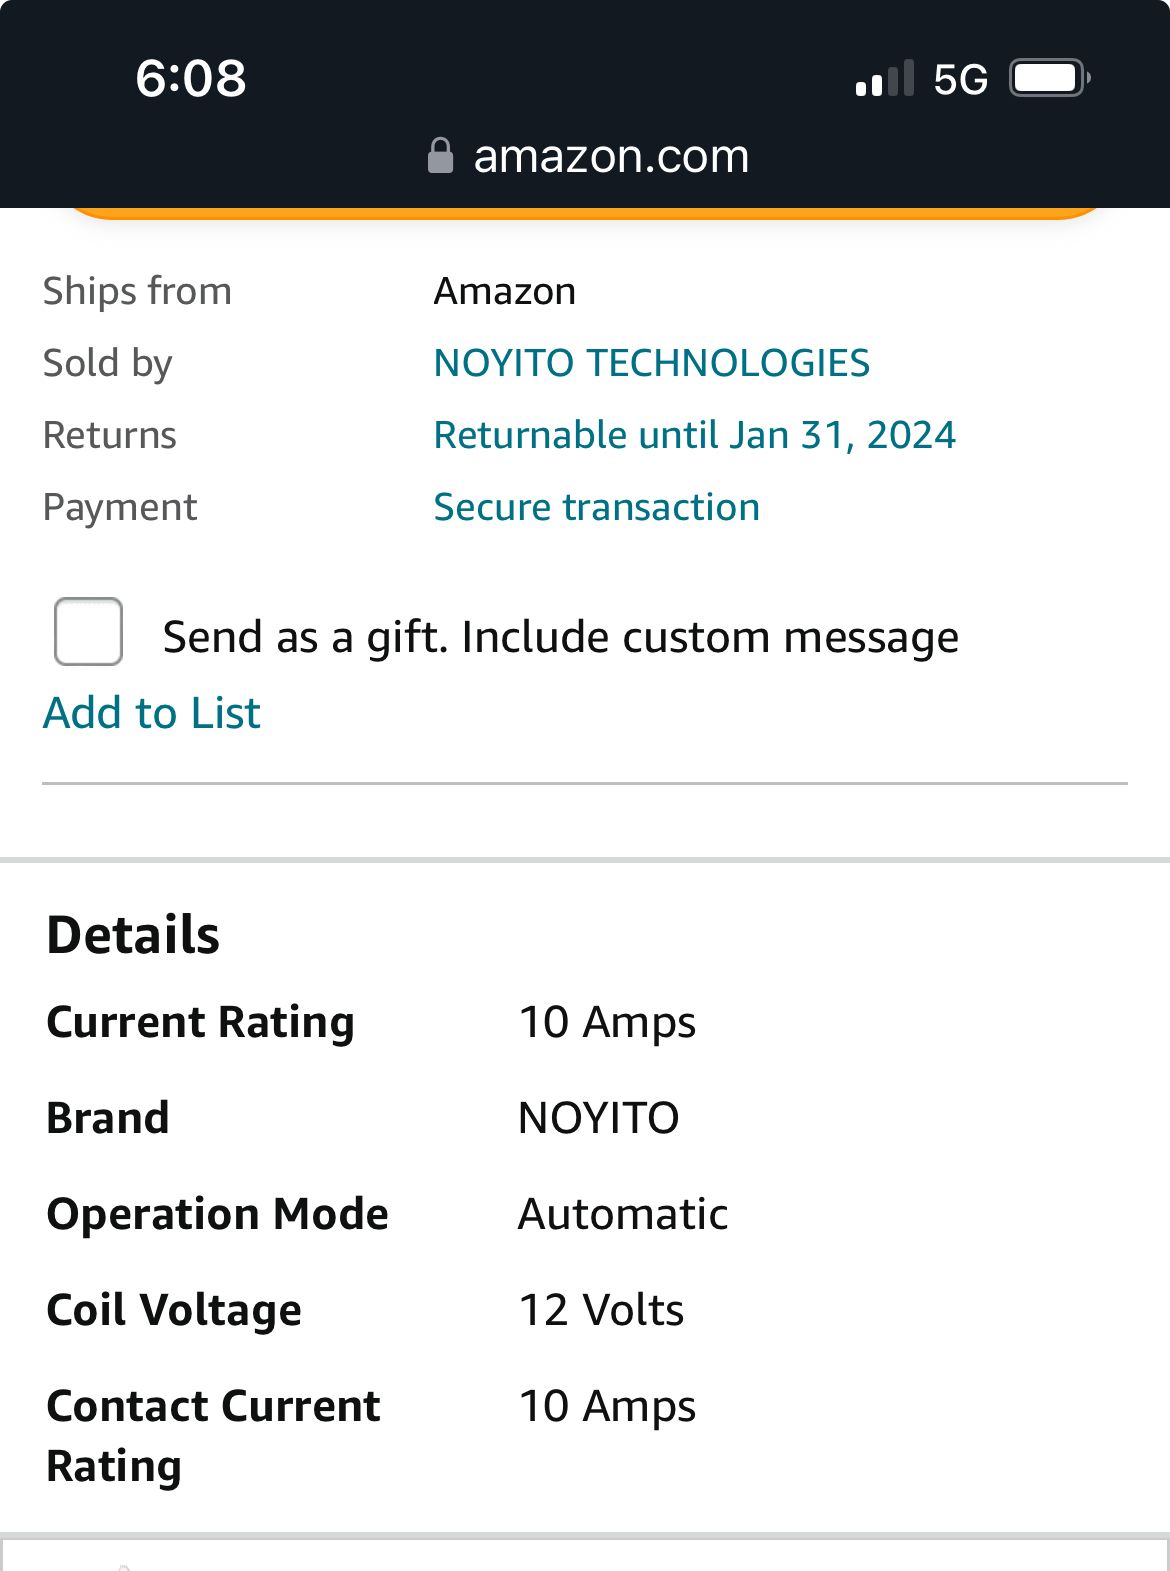
-
@OwenD It's the 5V relay board. Fixed the description in the post to include that info too
-
@JRCL
My understanding is that out_9 has 5v output level whereas the rest have 3.3v signal level which may not be enough to excite the relay (being 5v)Do you get the same results on all outputs?
-
@OwenD the I/O out.pin's have no problem getting them to function. Those use a 3.3V signal as well I believe so I figured the same would be true for the OUT pins
-
@JRCL
Isn't ".tach" only meant for fans speed reading pin?
Other than that the code seems ok.
So, on hardware level.
Where did you put the jumper? Vcc or 12V?
Because the out4~9 are NOT 5V (only out9 shares the pin with 5V laser, but that's a control signal, not power). -
-
@jumpedwithbothfeet
According to the listing 800mA should be more than enough. -
@Mr-Yod the listing only mentioned the trigger not what’s needed to power the board, as your using a bltouch that’s about 300ma needed to power that already, I’m just suggesting you try, if only to rule it out

-
@jumpedwithbothfeet
Oh, I missed the BLTouch part, but it's in board 20 (so, it seems, a Toolboard), while the relays are in board 0 (mainboard).Nevertheless, even not using .tach pins is woth a try since, IIRC, @dc42 himself said many times in the past they are not for output.
-
Originally I tried the actual outX pins on OUT4-6 to no avail so I tried the tach pins, but I'll switch back. The jumper for the OUT4-6 is on the 12V connection.
Just tried powering the relay board with an external 5V and used the out pins (instead of tach) and still didn't have any luck. Seems like it's a board issue then, I'll have to find a new one or use the remaining IO pins I was hoping to save.
Thanks for the help, hope everyone has had an enjoyable holiday.
-
undefined JRCL has marked this topic as solved
-
@JRCL the best option for driving relays from OUT pins would be to use 12V or 24V bare relays instead of a 5V relay board.