Z probe offset always prints in the air.
-
Hi. I've just set up my duet 2 wifi and can't get the z offset from my probe to work. The probe is triggering well I have it connected to the z probe and the power and negative is on the LCD port. It always seems to print 3mm above what is set? I have been using these instructions:
" Checking the trigger height
The Z probe trigger height must not vary significantly with XY position. Measure the trigger height of your Z probe at various XY positions and make sure it is consistent. To measure the trigger height:
Make sure there is no filament stuck to the nozzle (you may want to do this test with the nozzle hot)
Cancel any existing bed compensation by sending M561
Send M208 S1 Z-3 to temporarily allow Z moves down to Z=-3mm. This is to ensure that you can lower the nozzle all the way to the bed in step 5.
Command the print head to the coordinates you want to probe. To probe the centre, send G1 Z1.
Command the print head down in small steps until the nozzle just touches the bed or just grips a sheet of paper. You may need to send M564 S0 to allow movement lower than where the firmware thinks Z=0 is. You may also wish to create a macro to lower the head by e.g. 0.02mm to get greater accuracy (G91 followed by G1 Z-0.02).
Send G92 Z0 to define that height as Z=0
Command the nozzle up 5mm (G1 Z5)
Send G30 S-1 to probe the bed without resetting the Z=0 position
Read off the Z height from the web interface. That is the trigger height.
Repeat the previous two steps a couple of times to make sure you are getting a consistent result
Repeat steps 4-10 for the other XY positions you want to check.
On a delta printer, it can be quite hard to achieve a consistent trigger height. Z probes that are mounted on the effector are sensitive to any tilting of the effector, because it affects the relative heights of the Z probe and the nozzle. You can reduce this effect by mounting the probe as close to the nozzle as possible. Probing solutions that use the nozzle itself as the probe are usually not affected by effector tilt, but some types are sensitive to the XY position of the nozzle for other reasons.
Once you are satisfied with your trigger height result (should be between 0 and 1mm, depending on your printer), open your config.g file (this can be found in your DuetWebControl), find the G31 command and enter your trigger height as a negative value in the Z parameter (ex. G31 X0 Y0 Z-.43)."
my settings are :
; Configuration file for Duet WiFi (firmware version 1.21)
; executed by the firmware on start-up
;
; generated by RepRapFirmware Configuration Tool v2 on Sun Nov 18 2018 15:41:33 GMT+0000 (Greenwich Mean Time); General preferences
G90 ; Send absolute coordinates...
M83 ; ...but relative extruder moves; Network
M550 P"AM8" ; Set machine name
M552 S1 ; Enable network
M587 S"TP-LINK_F694" P"04121963" ; Configure access point. You can delete this line once connected
M586 P0 S1 ; Enable HTTP
M586 P1 S0 ; Disable FTP
M586 P2 S0 ; Disable Telnet; Drives
M569 P0 S1 ; Drive 0 goes forwards
M569 P1 S1 ; Drive 1 goes forwards
M569 P2 S0 ; Drive 2 goes backwards
M569 P3 S1 ; Drive 3 goes forwards
M350 X16 Y16 Z16 E16 I1 ; Configure microstepping with interpolation
M92 X100.00 Y100.00 Z400.00 E97.00 ; Set steps per mm
M566 X360.00 Y360.00 Z144.00 E180.00 ; Set maximum instantaneous speed changes (mm/min)
M203 X396000.00 Y396360.00 Z43200.00 E180000.00 ; Set maximum speeds (mm/min)
M201 X2000.00 Y2000.00 Z100.00 E10000.00 ; Set accelerations (mm/s^2)
M906 X500.00 Y500.00 Z500.00 E700.00 I30 ; Set motor currents (mA) and motor idle factor in per cent
M84 S30 ; Set idle timeout ; Set idle timeout; Axis Limits
M208 X0 Y0 Z0 S1 ; Set axis minima
M208 X235 Y210 Z230 S0 ; Set axis maxima; Endstops
M574 X1 Y1 S0 ; Set active low endstops; Z-Probe
M558 I1
M574 Z1 S2 ; Set endstops controlled by probe
M558 P5 H5 F120 T5000 I1 ; Set Z probe type to switch and the dive height + speeds
G31 P500 X0 Y51 Z-3.71 ; Set Z probe trigger value, offset and trigger height
M557 X30:200 Y55:150 S30 I1 ; Define mesh grid; Heaters
M305 P0 T100000 B4138 R4700 ; Set thermistor + ADC parameters for heater 0
M143 H0 S120 ; Set temperature limit for heater 0 to 120C
M305 P1 T100000 B4138 R4700 ; Set thermistor + ADC parameters for heater 1
M143 H1 S280 ; Set temperature limit for heater 1 to 280C; Fans
M106 P0 S0 I0 F500 H-1 ; Set fan 0 value, PWM signal inversion and frequency. Thermostatic control is turned off
M106 P1 S1 I1 F500 H1 T45 ; Set fan 1 value, PWM signal inversion and frequency. Thermostatic control is turned on; Tools
M563 P0 D0 H1 ; Define tool 0
G10 P0 X0 Y0 Z0 ; Set tool 0 axis offsets
G10 P0 R0 S0 ; Set initial tool 0 active and standby temperatures to 0C; Automatic power saving
M911 S10 R11 P"M913 X0 Y0 G91 M83 G1 Z3 E-5 F1000" ; Set voltage thresholds and actions to run on power loss; Custom settings are not configured
M572 D0 S0.2
; homeall.g
; called to home all axes
;
; generated by RepRapFirmware Configuration Tool v2 on Sun Nov 18 2018 15:41:33 GMT+0000 (Greenwich Mean Time)
G91 ; relative positioning
G1 Z5 F6000 S2 ; lift Z relative to current position
G1 S1 X-235 Y-215 F1800 ; move quickly to X and Y axis endstops and stop there (first pass)
G1 X5 Y5 F6000 ; go back a few mm
G1 S1 X-225 Y-215 F360 ; move slowly to X and Y axis endstops once more (second pass)
G1 S1 Z-230 F1800 ; move Z down stopping at the endstop
G90 ; absolute positioning
G92 Z-3.71 ; set Z to axis minimum (you may want to adjust this); Uncomment the following lines to lift Z after probing
;G91 ; relative positioning
;G1 S2 Z0 F100 ; lift Z relative to current position
;G90 ; absolute positioning; homez.g
; called to home the Z axis
;
; generated by RepRapFirmware Configuration Tool v2 on Sun Nov 18 2018 15:41:33 GMT+0000 (Greenwich Mean Time)
G91 ; relative positioning
G1 Z5 F6000 S2 ; lift Z relative to current position
G1 S1 Z-235 F1800 ; move Z down until the endstop is triggered
G92 Z-3.71 ; set Z position to axis minimum (you may want to adjust this); Uncomment the following lines to lift Z after probing
;G91 ; relative positioning
;G1 S2 Z5 F100 ; lift Z relative to current position
;G90 ; absolute positioningMany Thanks
Andy -
@andrewe said in Z probe offset always prints in the air.:
G31 P500 X0 Y51 Z-3.71 ; Set Z probe trigger value, offset and trigger height
The Z parameter in the G31 command is the nozzle height at which the Z probe triggers, so for most types of Z probe it should be positive. If you are coming from Marlin, this is the opposite of the sign of the M851 Z parameter in recent versions of Marlin.
-
It looks like you aren't using G30 in your homing files to actually probe the bed. You are using a G1 Z move to seek the endstop and then a G92 to set the Z position. You'll need to remove those and replace them with G30 to use the Z probe.
-
Thanks, I'm trying again now. So when I Send G30 S-1 to probe the bed without resetting the Z=0 position where am I taking the positive number from the top right in Machine status or from the gcode console.
Thanks
Andy -
@andrewe The G30 S-1 response will be in the console. Your process for measuring the trigger height is correct, but your homing files aren't making use of the results.
-
I've got this in my home files now.
; homeall.g
; called to home all axes
;
; generated by RepRapFirmware Configuration Tool v2 on Sun Nov 18 2018 15:41:33 GMT+0000 (Greenwich Mean Time)
G91 ; relative positioning
G1 Z5 F6000 S2 ; lift Z relative to current position
G1 S1 X-235 Y-215 F1800 ; move quickly to X and Y axis endstops and stop there (first pass)
G1 X5 Y5 F6000 ; go back a few mm
G1 S1 X-225 Y-215 F360 ; move slowly to X and Y axis endstops once more (second pass)
G1 S1 Z-230 F1800 ; move Z down stopping at the endstop
G90 ; absolute positioning
G30
; Uncomment the following lines to lift Z after probing
;G91 ; relative positioning
;G1 S2 Z0 F100 ; lift Z relative to current position
;G90 ; absolute positioning; homez.g
; called to home the Z axis
;
; generated by RepRapFirmware Configuration Tool v2 on Sun Nov 18 2018 15:41:33 GMT+0000 (Greenwich Mean Time)
G91 ; relative positioning
G1 Z5 F6000 S2 ; lift Z relative to current position
G1 S1 Z3.57 F1800 ; move Z down until the endstop is triggered
G92 Z3.8 ; set Z position to axis minimum (you may want to adjust this); Uncomment the following lines to lift Z after probing
;G91 ; relative positioning
;G1 S2 Z5 F100 ; lift Z relative to current position
;G90 ; absolute positioningMany thanks Andy
-
You should remove this from homeall:
G1 S1 Z-230 F1800 ; move Z down stopping at the endstopAnd add an X Y move to position the probe where you want the bed probed before you call G30
And remove this from homez:
G1 S1 Z3.57 F1800 ; move Z down until the endstop is triggered G92 Z3.8 ; set Z position to axis minimum (you may want to adjust this) And add the same X Y move and a G30.
-
@phaedrux said in Z probe offset always prints in the air.:
add an X Y move to position the probe where you want the bed probed before you call G30
Thanks for your help I've got a lot further and am actually printing on the bed now
") I don't understand how to do the X Y move to position the probe where you want the bed probed. If use the baby stepping and added 0.2mm do I need to add or subtract that from the hight I set in the config.g?
I don't understand how to do the X Y move to position the probe where you want the bed probed. If use the baby stepping and added 0.2mm do I need to add or subtract that from the hight I set in the config.g?I've got soo much to learn about RepRap.
Thanks Andy
-
Usually you want to probe the center of the bed. So you would move the print head to an x and y position that places the probe in the center.
You would need to add a line before the G30 that looks like
G90 ; absolute positioning G1 X150 Y150 ; move probe to center G30 ; probe the bed G1 X0 Y0 ; move back to home position You'll have to adjust the x and y values to get your probe to the center and whatever your home position is.
-
I'm not exactly sure what you are asking about baby stepping. Do you mean to say that you still need to make a baby stepping adjustment after measuring the trigger height?
If your measured value is 2mm, and you need to lower the nozzle by -0.2 then you would subtract that from your 2mm in config.g if you wanted to make that a permanent change. Is that what you mean?
-
Yes, I was 0.2mm too close to the bed so used the baby stepping to raise the nozzle.
-
@andrewe Before you change the trigger height, check to make sure that your e steps are calibrated. Over extrusion on the first layer can be mistaken for printing too close. The trigger height should be accurate, especially if you've measured it several times while the bed and nozzle are heated up and the result is consistent.
-
It's also possible that your bed isn't perfectly flat (few are) and so Z=0 is only really true at the position where the bed was probed. You would have to use mesh grid compensation to probe many points across the bed to create a heightmap, which is then compensated for in real time by adjusting the z height to keep the nozzle at a consistent distance from the bed.
-
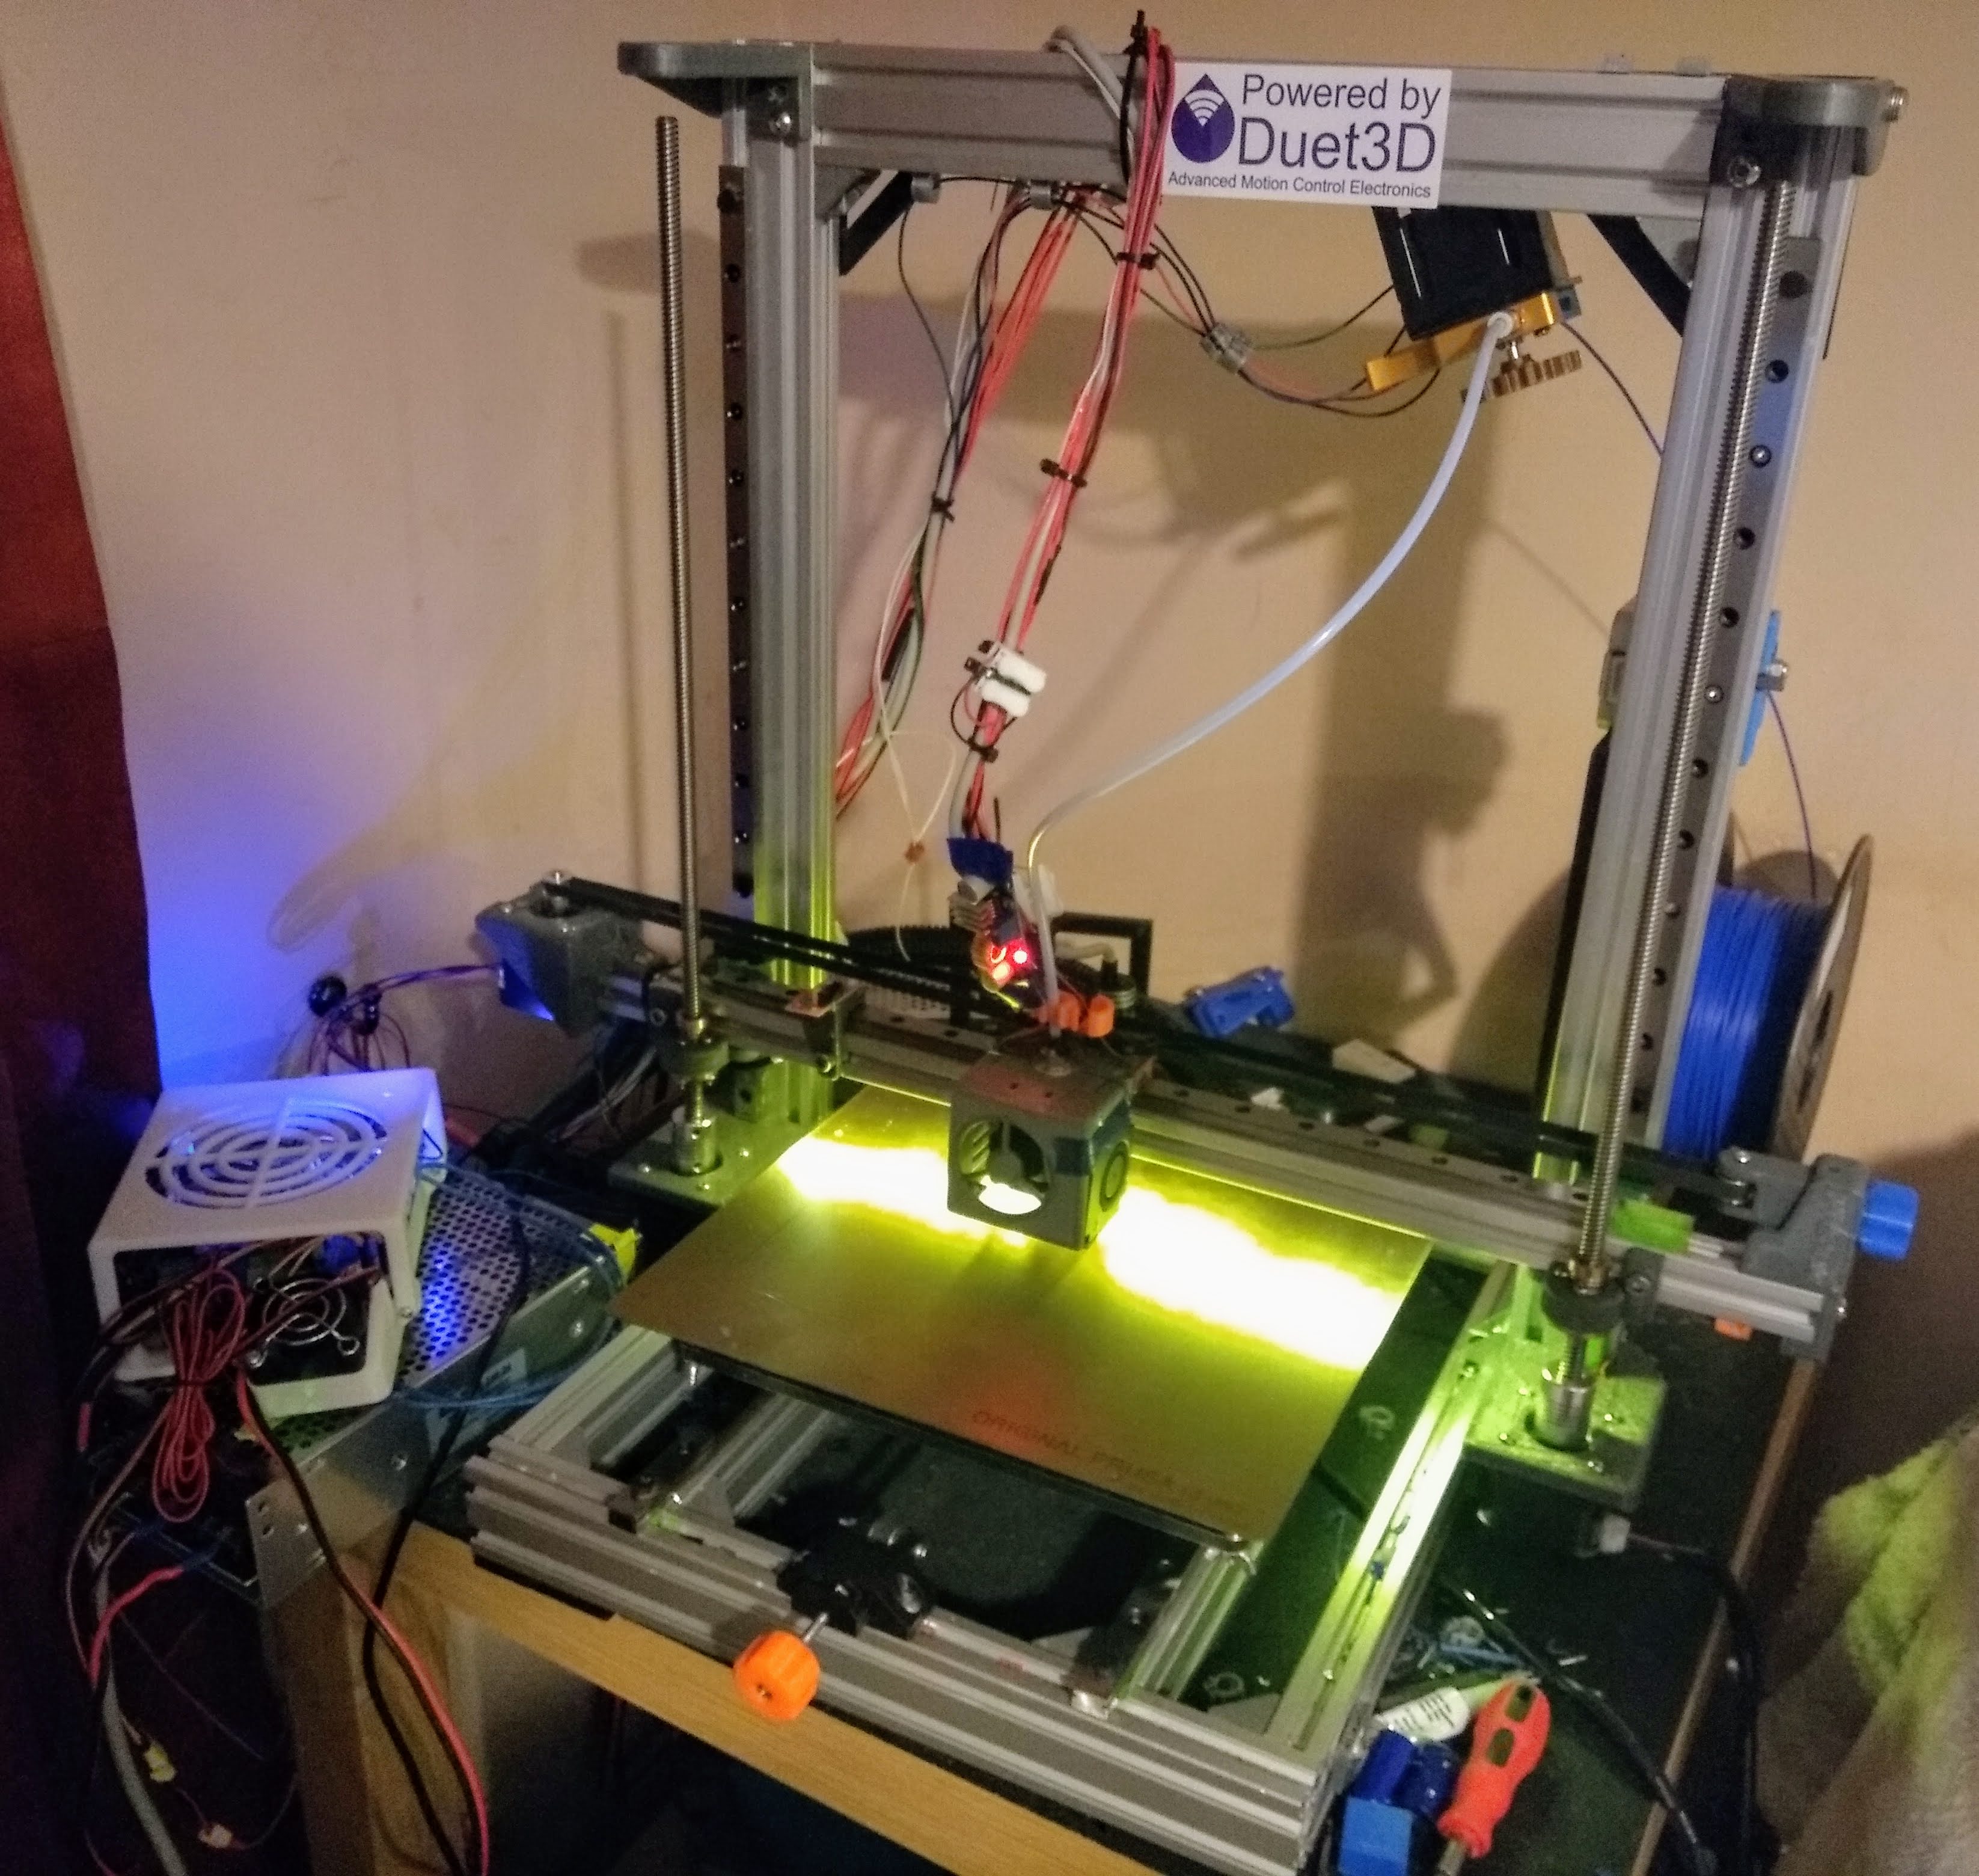
To be fair the bed is pretty shabby It was an Anet A8 and came bent from new. The bed, 1x end stop and the motors are all that's left now. I have a feeling its too out of true even for mesh compensation but I can see that working watching the z screws constantly moving.
I use a Prusa spring steel sheet with PEI on it, all held in place with magnets and bulldog clips.
I've got a new bed on its way in the post next week but I know how to set the probe up now thanks to yourselves. I think I'll look at different probes and try and get it as close to the nozzle as I can.
Thanks for all your help
All the best Andy