The Mean Machine
-
Well here another update on my printer , replaced the 6mm belt for the Z axis for some 12mm , and changed the pulley as well to 20 teeth from 60 and had to readjust my e-step seem i gain around 3X the step now , when machine is off my bed doesnt go down anymore with the switch to smaller pulley there enough torque now . next step is to finish the top once i get more extrusion and reprinting my motor mount making them beefier. then it should be fun printing time !

-
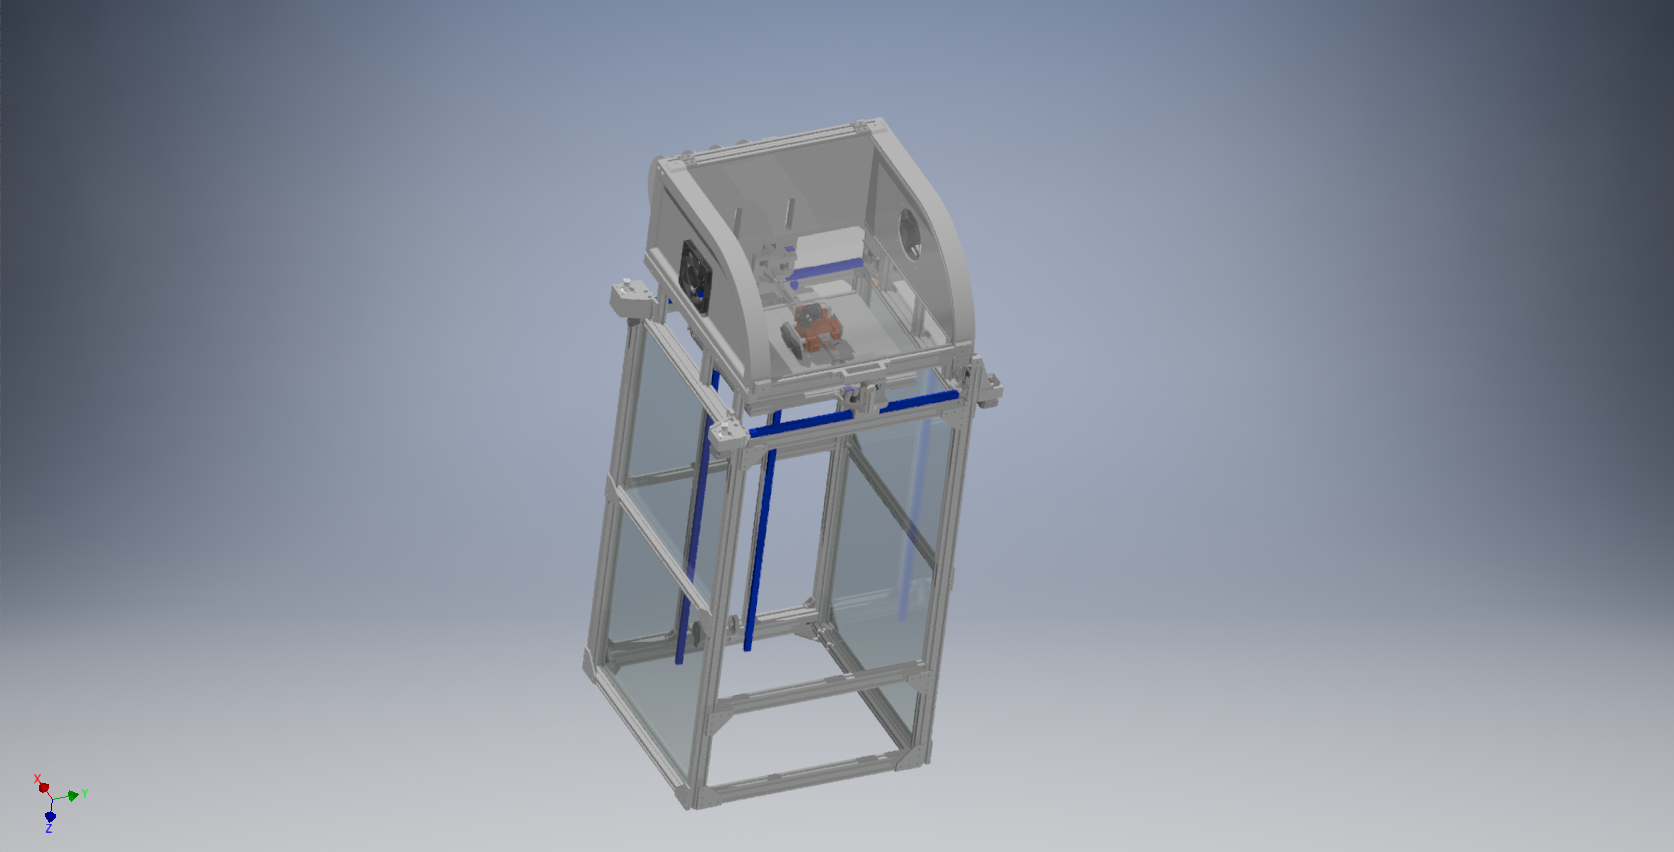
 So finally got the aluminum extrusion I was waiting for , next step is to redesign my spool holder and position , than rework my cable to tidy the whole things . Plus a few minor tweak here and there . I think overall no further major change and finishing my enclosure
 -
 !
!Got some time to work on the printer , partially completed my enclosure , moved my spool behind the machine now
-
Well haven't updated this thread in a long time , thinking of finally get rid of the double extruder and go to a single extruder , always seem to have issue with the double extruder lately as well , by getting rid of it i would cut the weight by more than half , seem like the consensus is the orbiter 2.0 is the best extruder for this next step with a mosquito .
ive been working on my top a bit lately still printing a bunch of part .
here a quick look at the next evolution of this project .
-
here a small update , got a few things printed and mounted has well , got more part to print still and waiting for part to come from the mail as well , had to change the spool setup since i decided i was going to install the double extruder in the back as a feeder magazine for the orbiter mosquito combo , just need to make Y filaments guide and a bit of tinkering so i can still have dual material abilities. Spool now sit vertically at the top in the back of the printer , with filaments switch udner it doing a nice curve to the dual extruder than to the orbiter .

-
early mount for orbiter/mosquito
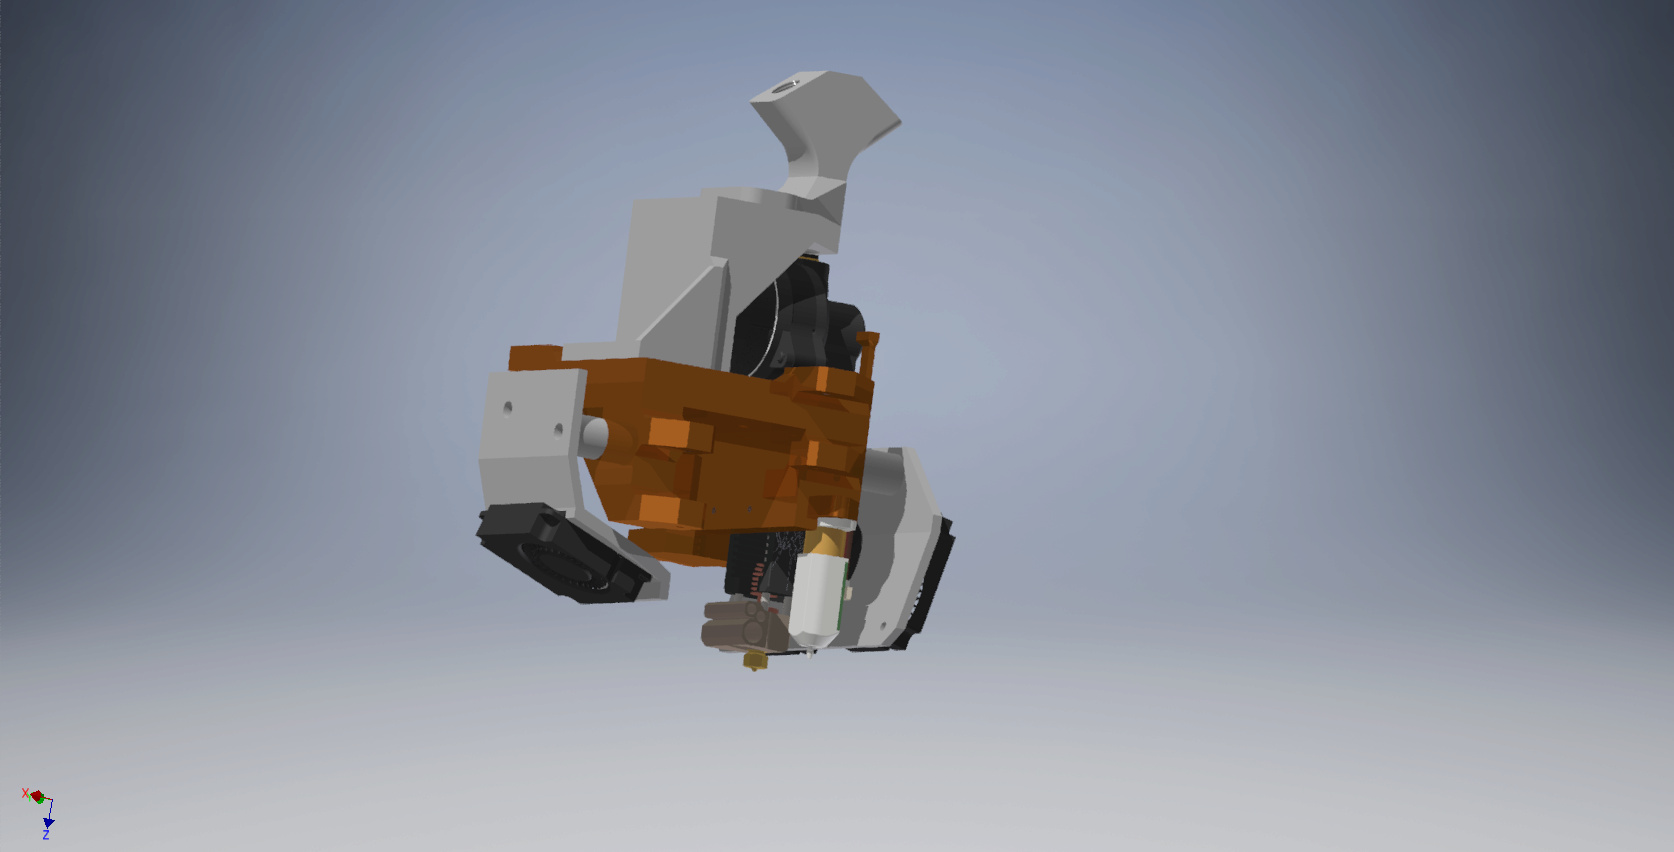
-
 undefined Dad003 referenced this topic
-
Did the swap over , using the bmgx2 has Feeder magazine heading to a y adapter , to the orbiter , only did a few test but everything seem to work as intended . I accidentally burn one of the fan mosfet , error in config , I just moved it to another pin my fault on that one . Just need to tweak and make some duck fory cooling fan.
I think I can call this v3 of my printer


-
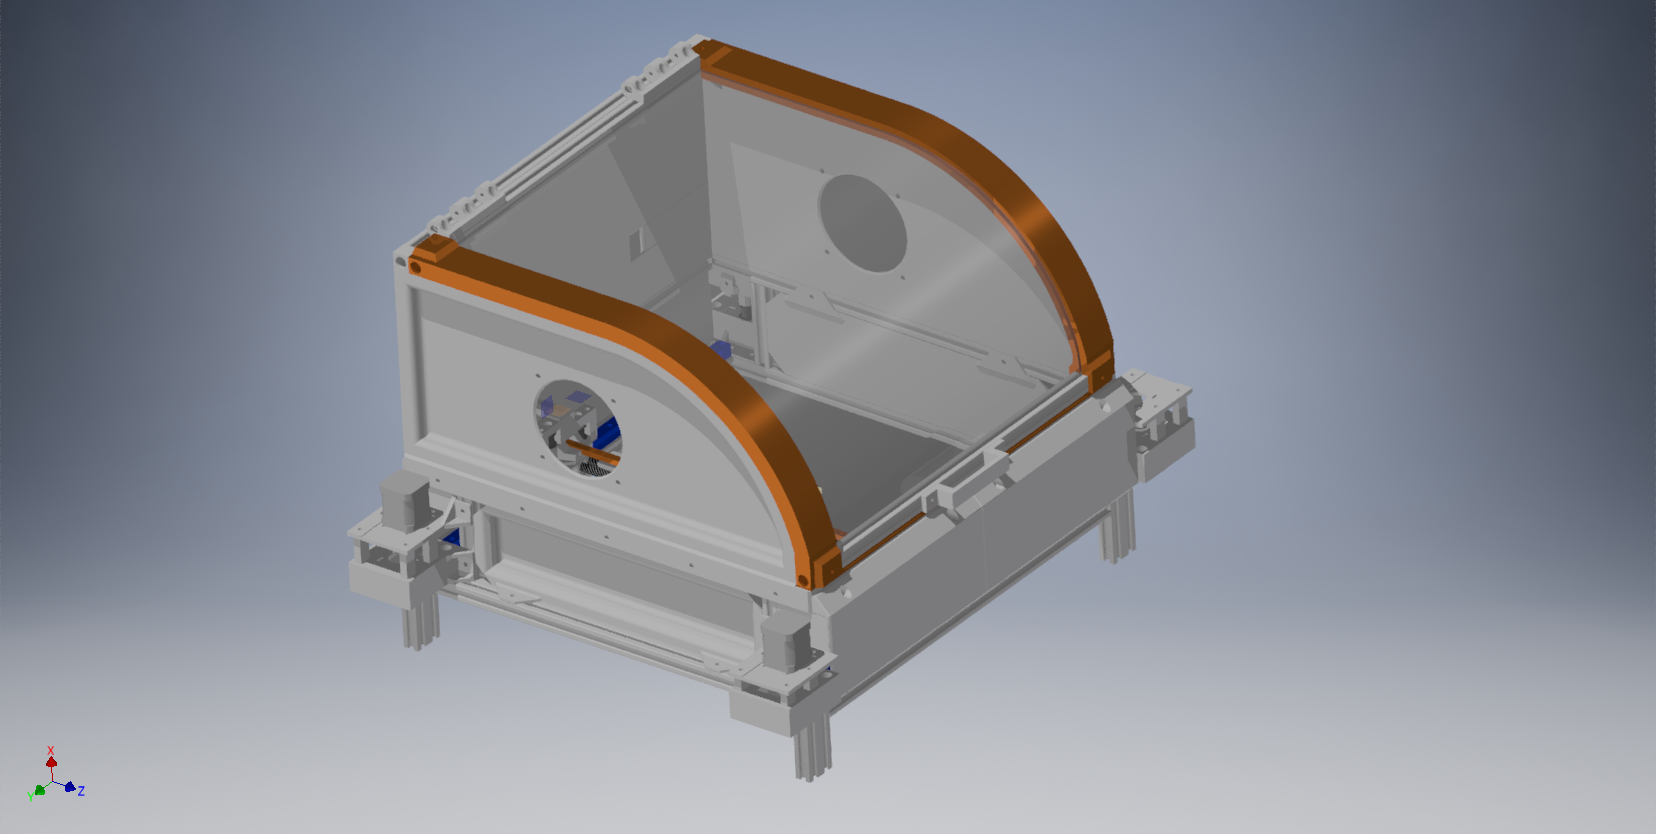
fully enclosed top once i swap the Y gantry for the lighter version . Need to work something better for my fan duct as well , i have an idea .
-
New fan duct and lift support installed for top


-
Well I have ordered the last few things I need to make the lighter y carriage going in , all the side panel to enclose the top have been printed as well , him now printing the new motor mount , so once I receive those carbon fiber tubing I can swap the whole things and test again . When with a hiwin mgn9 rail with short block . Decide to go with quality components over cheaper one
-
Well new y gantry and axis is nearly done building got a few more part to print to be able to swap over , everything is printed in nylon pa6 cf , overall weight savings on moving axis will be from 500g to 1000g at least , I shrinked a few part as well for more weight savings. Hgr 15 weight 750g for 500mm new mgn9 with rail, block and carbon fiber tubing is like 280g .


-
@Dad003 nice! hope you will have an accelerometer on the print head for testing.
-
@T3P3Tony i do , i just need to make a new connector for it
-
@Dad003 Well ive installed the new rail this week but found that i messed up the heigh of my motor mount unfortunately lol , had made a mistake on some part when i drawn then on my cad software so about 12mm too high, so i had to put some spacer to lift up the rail higher . so got the corrected motor mount reprinted and did a few tweak as well , waiting for more brass heat set insert to swap over again.
so far printing look very good on new motor mount , i think it an improvement from 1-1.5lbs lighter at least than last iteration , ordered 4 more stepper motor with different spec which i think will help me achieve the acceleration and speed him looking . him definitively getting closer to the end of this build i think . Speed an quality.
-
Here a few updates after I swapped my y axis , it working good , still need to modify my motor mount
 a
a