Smart Effector V3 an plastic nut
-
@fred-y I printed on in CF-ABS and it looks to work well. I'm waiting for some M2.5 bolts to mount it to the Dragon. I have a suggestion however: add an "arm" with a hole, so that it can be rigid mounted to the smart effector. One is enough. The it would fit nicely with my 40mm fan shroud as well. Or would you be willing to share .step files?
-
@velvia I was actually thinking to do it after having mounted everything, the hotend turns as I try to tight the nozzle - the advantage for me to install it was actually to don't have to use another tool.
Check this one https://www.thingiverse.com/thing:4947898/files it has 3 arms.
I found it after I published mine, I think that's what you are looking for, I'm not sure this the 2 heatsinks (TriangleLab vs Phaetus) have the same bolt pattern.I might load it in fusion to check, hopefully it works and I can still use the accelerator mount I made

-
@fred-y I tried that one, but it's designed for a PC4 M6 bowden coupler. Yours worked great.
Homegrown, grass fed and organically built 350mm delta
-
@velvia I'm working on it, I'm going to make a 2 and 3 arms version.
I'm pretty sire it can work with my accelerometer mount with no issue.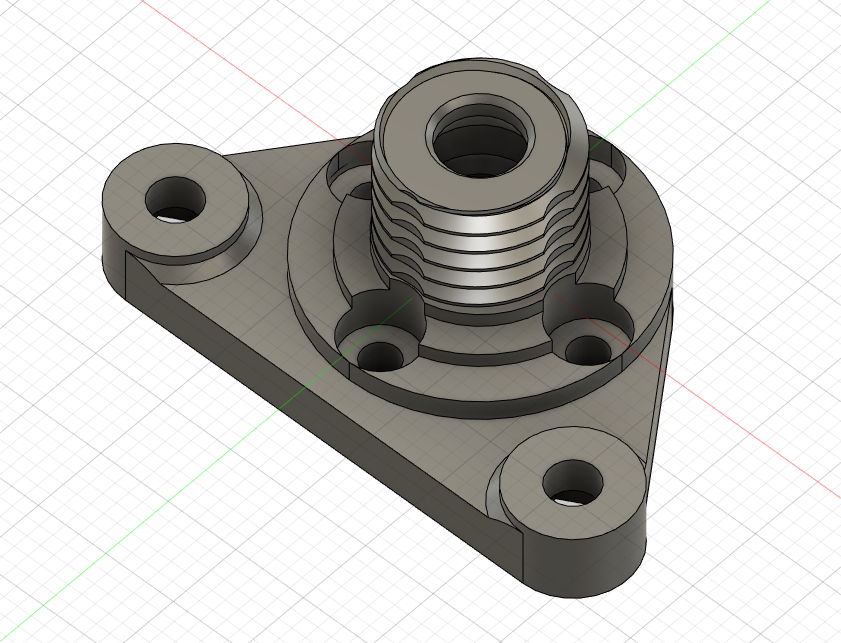
I will publish when I printed it, I need to check the tolerances for the nuts and make sure it's solid enough.
I hope it won't impact the sensibility of the effector.
-
@velvia I added the new version here: https://www.thingiverse.com/thing:4948025
I printed it but I haven't installed it so far, I will do it tomorrow it need to disassemble by Delta.
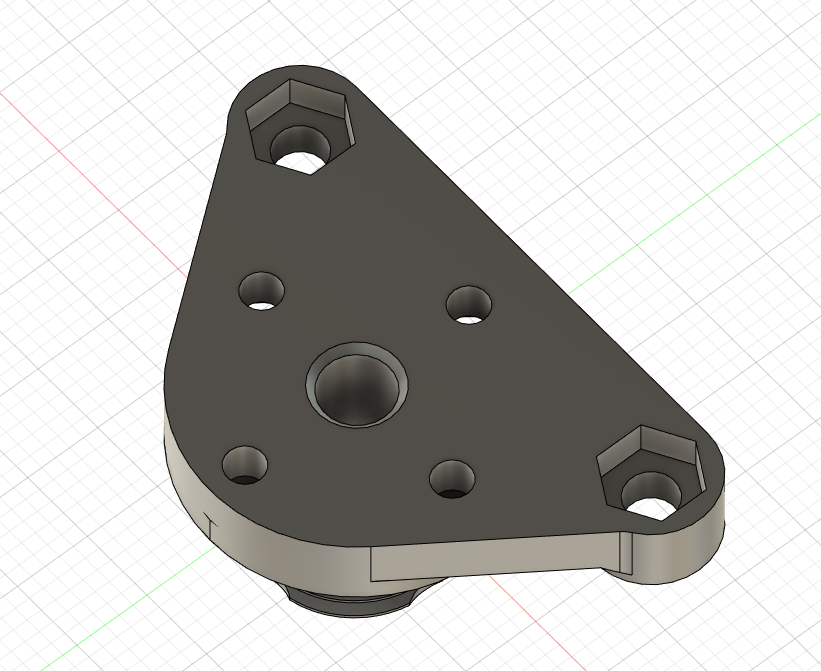
Support are not required not the nuts. -
@fred-y couls you share the .step ?
")
-
@fred-y I remixed that one to have one arm. Step file included: https://www.thingiverse.com/thing:4957839
It still uses M6 PC4 bowden connector though. Ordered one from aliexpress.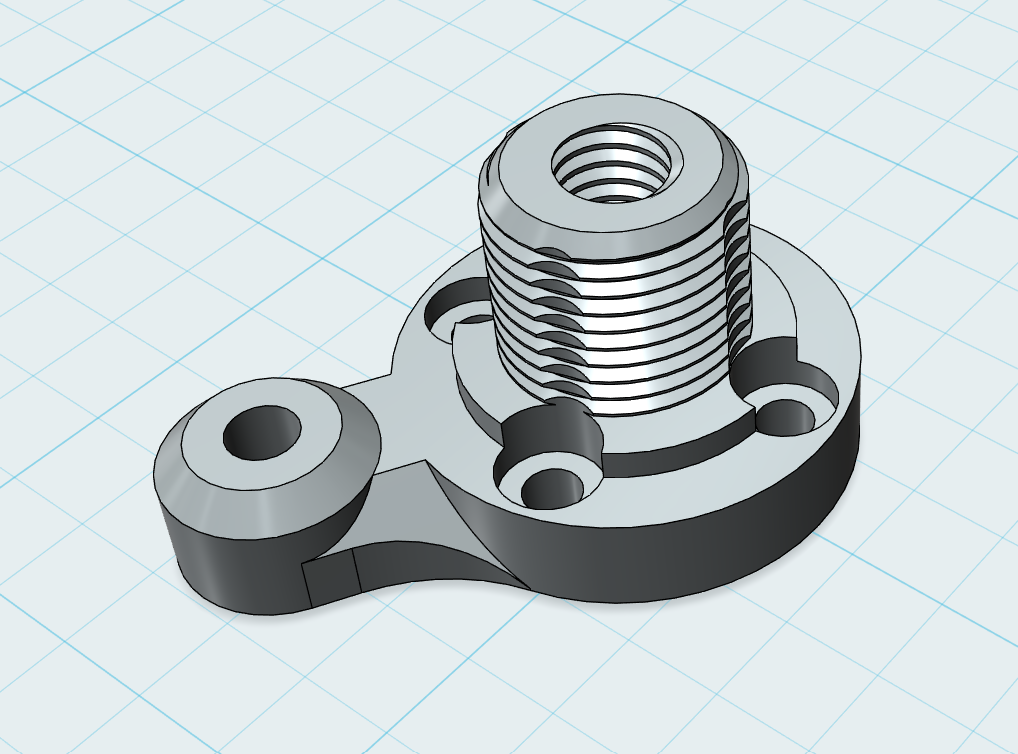
The reason I made it with only one arm is because of the 40mm fan shroud I made, which requires the other 2 holes. The model of it is a mess, but it prints without supports and seems to work.
-
@pcr STEP file has been added.
-
@gurusmi said in Smart Effector V3 an plastic nut:
the adapter i talked about ist that Thing. There i printed only the adapter named Dragon_Adapter_v3.stl, It is made for the full dragon hontend and also for the BMO. You will have to take off the BMO's groove adapter. One don't need the Groove Adapter any longer with this design.
I realize that this is an older post I'm replying to. However, this is the first I'm seeing it. As the author of that thing, I'm kind of amused that you are asking any questions about nuts. When I designed the adapter, I realized that there are two different threads being used for smart effectors, and to avoid any issues, I included a .STL file of a nut that works fine. I even mention it in the instructions:
After attaching the adapter to the hotend, simply put the M12 threads of the adapter through the 12mm hole in the smart effector, and attach the printed nut.
I'd suggest scaling the nut to 100.1% if printing at the original size doesn't work. The nut should be a tight fit (to prevent it loosening) but not impossible to thread on the adapter.
I actually prefer using the plastic printed nut to using a metal one for weight savings. I also feel that I can tweak the scaling of the nut in order to make a very tight fit on the threads (which avoids any issue of the nut loosening over time.)
I am happy to see remixes of the thing that add "arms" to prevent rotation of the hotend.
-
@garyd9 Thanks for making the original design and sharing the STEP file
