Cura vase mode settings for funnel
-
Hi all,
I am trying to print a funnel in vase mode, but I fail in setting the write values in Cura 5.1.0.
Attempt 1:
Funnel build in freecad (basically a pipe with a collar).

When trying to slice this version in vase mode, it will generate two walls, one inner, one outer wall.
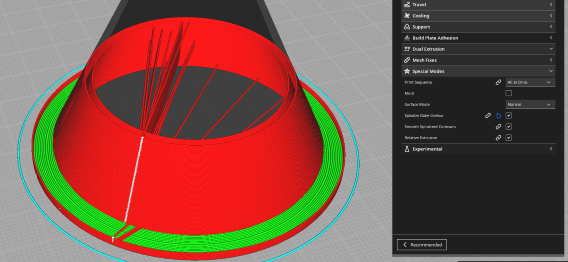
It seems logical to me, since there are "two" outer surfaces.Attempt 2:
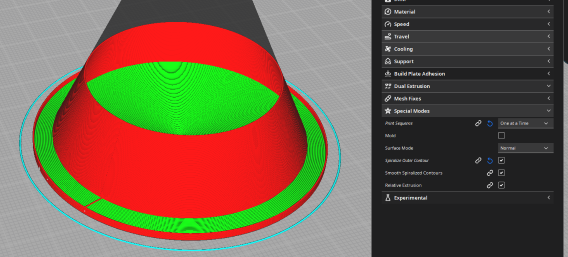
keep the funnel solid:
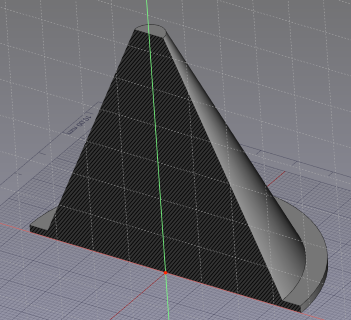
This will be fine except the bottom layer is closeing of the funnel
Is there a way to have the result from attempt 2, but with open bottom side?
Thank you
In Progress CoreXY:
- Duet3 6HC
- 1 Toolboard LC1
-
@marshal Eventually you can build 2 separate models. One which is only the collar (ring area) and the other is the funnel. Then you should be able to slice the two objects with different settings. For the funnel you have to disable the bottom and top layers.
Take care that the two models have the same origin. -
You're trying to design it as a vase. You have to make sure the wall thickness is 1 line wide, everywhere. That can be tricky. Cura will do that for you, automatically, if you let it. I would just design it as a solid cone, export the STL, and set Cura for vase mode with no top or bottom.
It would be really nice if the slicers could let you set a Z height where vase mode starts and ends so you could still have the lip around the base and have it switch to vase mode after it has finished printing those layers.
Do you have to have the lip around the edge? Every plastic funnel I've ever seen has it, but does it really need to be there? Why?
-
@mrehorstdmd said in Cura vase mode settings for funnel:
It would be really nice if the slicers could let you set a Z height where vase mode starts and ends so you could still have the lip around the base and have it switch to vase mode after it has finished printing those layers.
Doesn't it already allow this when you specify the number of bottom layers?
-
Okay, so it worked by using two parts.
I had to "merge" them first, to align them and after break the created group, to assign different settings.
Thanks @cosmowave
Needing the lip, I do not know

Its like you said, all you see is with a lip.Problem with bottom layers is, that it would either have them all the way, so closed funnel, or if set to 0 remove them, there would be no bottom layer for the lip either.
-
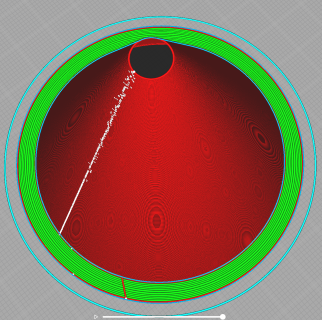
I suppose to punch a hole in the bottom layers you could have a second modifier mesh in the shape of a cylinder and set the number of bottom layers for that mesh to 0.
-
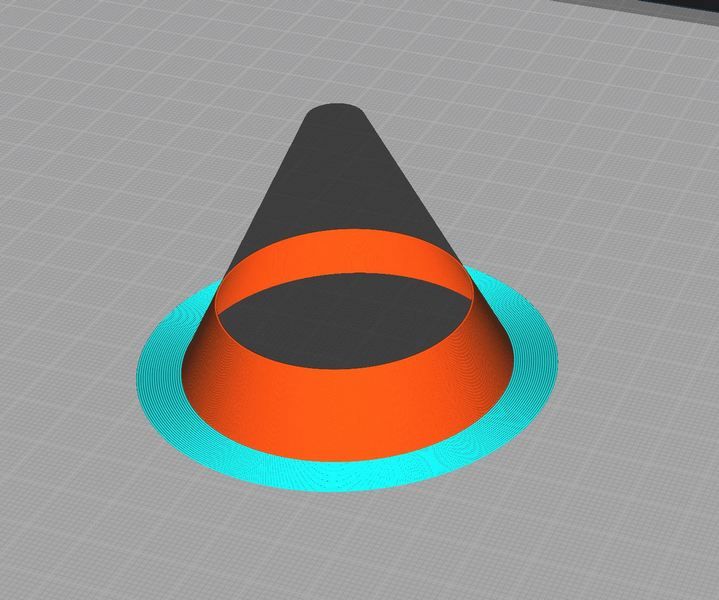
With Cura:
Create an STL file with a CAD program (It has to be a full cone, so don't draw a funnel).
Load into Cura.
Activate the vase mode under "Experimental".
Under "Bottom and Top" set the top layers and the bottom layers to 0.
Activate a skirt.
Printing.
With PrusaSlicer:
Right click on the empty print area.
Click on "Add shape" in the pop-up menu and then select the gallery.
Select the cone from the gallery.
The cone is now on the print surface and can be adjusted to the desired size.
Activate vase mode.
Set top layers and bottom layers to 0.
Select skirt.
Printing.
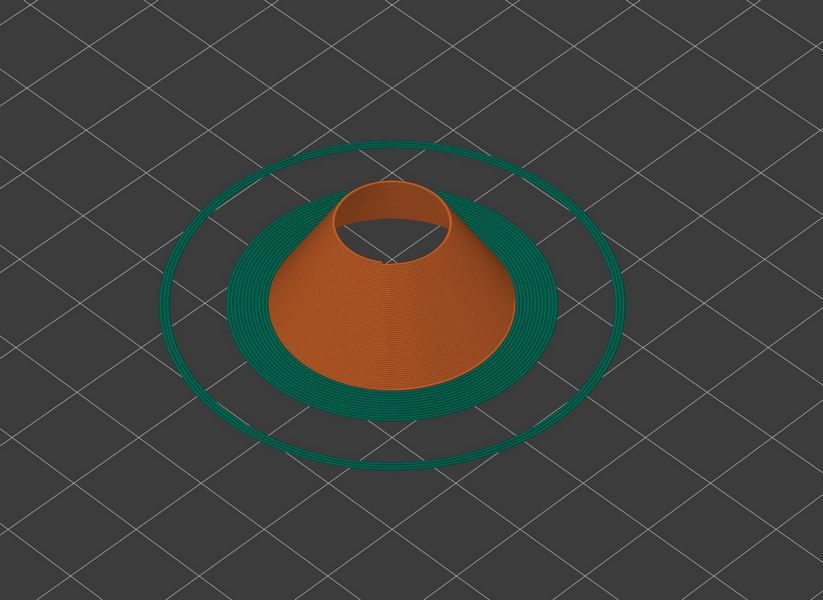
Advantage of PrusaSlicer, the cone shape is already present in a gallery and does not need to be constructed separately.
Disadvantage... the angle of the cone cannot be determined exactly.
But you can change it by stretching the cone.Google Translate
--- Original Text ---Mit Cura:
STL Datei mit einem CAD Programm erstellen (Es muss ein Voll-Kegel sein, also keinen Trichter zeichnen).
In Cura laden.
Unter Experimentell den Vasenmodus aktivieren.
Unter "Unten und Oben" die oberen Schichten und die unteren Schichten auf 0 stellen.
Ein Skirt aktivieren.
Print. (Screenshot siehe oben)Mit PrusaSlicer:
Rechten Mausklick auf die leere Druckfläche.
In dem PopUp Menü "Form hinzufügen" anklicken und dann die Galerie auswählen.
Aus der Galerie den Kegel auswählen.
Der Kegel steht jetzt auf der Druckoberfläche und kann der gewünschten Größe angepasst werden.
Vasenmodus aktivieren.
Obere Schichten und untere Schichten auf 0 setzen.
Skirt auswählen.
Print. (Screenshot siehe oben)Vorteil von PrusaSlicer, die Kegelform ist bereits in einer Galerie vorhanden und muss nicht extra konstruiert werden.
Nachteil... der Winkel des Kegels kann nicht genau bestimmt werden.
Man kann ihn aber verändern indem man den Kegel in die Länge zieht.DDA5X... 0.9° Stepper... Linearrails... Duet 2 Wifi... PT100 Board... Duet IR-Probe... Dyze Pro Kit up to 500°C.. etc
Thingiverse -
@marshal Cura 5 has issues with vase mode, have you tried slicing the original model using Cura 4?
-
@norder Prusa slicer has had broken vase mode for years. It used to work fine, but at some point, changes made caused the vase mode to create a seam in the prints. If you don't want a visible seam, Prusa slicer isn't the one to use.