Vertical groove in print?
-
I have been trying to solve the issue of the vertical grove.

From reading posts on this forum and others, I initaly thought it was something to do with pressure advance.Adjusting the pressure advance has made a postive differance to my prints but not solved the issue with the corner.
So I think it has something to do with my instantaneous speed changes, maximum speeds and maximum accelerations here is my config file. Or maybe its something else?
What i would like to do is create a couple of macros to see and compare the changes intantaniously but being new to 3d printing and duet this has raised even more questions.
So as I understand it I can enter the
M556(andM203, M201) but does it have to beXnn Ynn Znn Ennor can it be justXnnor one parameter at a time?If
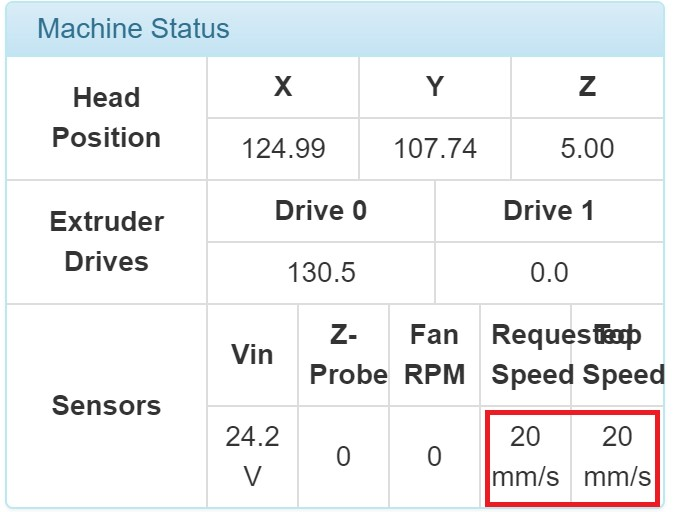
M556is entered via DWC or Paneldue how quickly is this applied to the print and where is that figure stored?Is there a way of reporting the current speeds, as towards the top of the print in the picture something is right in the settings and that would be good to know\discover?
I am running a P3steel printer with a bowden tube of approxamatley 470mm
Duet 2 Wifi
RepRapFirmware 2.0
webserver 1.21
DWC 1.21.1Hope that all makes sense
-
@milesy said in Vertical groove in print?:
So as I understand it I can enter the M556 (and M203, M201) but does it have to be Xnn Ynn Znn Enn or can it be just Xnn or one parameter at a time?
You can enter one value at a time. The new values will take effect once the current buffer of commands has been cleared. Usually a few seconds. Often you'll be able to hear or see the change.
You can view the current print speed in the latest DWC version in the top right info panel. Or if you mean the values of the commands, you can issue the command with no parameters and it will echo back the current values.
It looks like you have some significant bulging on certain edges. It might help you to narrow down the cause by looking at the Gcode in a visualizer. Such as: http://gcode.ws/ That way you can see what part of the print move is happening when the defect occurs.
Looking at your config file I would say that a likely cause might be a too high XY jerk value.
Try changing
M566 X1200 Y1200toM566 X600 Y600and see if that has an improvement. -
Assuming that the GCode specifies that it should be flat in that area, it looks to me like ringing, because it continues at reduced amplitude but the same period to the right.
Try this:
-
Measure the distance between peaks in mm. If the bed background is 10mm squares then it looks to me to be around 2.5mm.
-
Divide that distance by the speed in mm/sec at which you are printing the perimeters. This will give you the ringing period in seconds. For example, if the perimeter print speed is 50mm/sec and the ringing distance is 2.5mm, that's (2.5/50) = 0.05 seconds.
-
Set the XY acceleration during printing (M204 P parameter) according to this formula:
a = (perimeter_speed - XY_jerk) / ringing_period
where perimeter_speed and XY_jerk are measure in mm/sec. For example, using the above figures and assuming jerk is 10mm/sec (e.g. X600 Y600 in M566), then a = (50 - 10)/0.05 = 800 mm/sec^2.
Alternatively, set the XY acceleration to one half, one third or one quarter of this figure.
-
-
-
-
@milesy said in Vertical groove in print?:
post
To get the speed display in the DWC you would need to be running a custom version of the firmware which you can get here: https://forum.duet3d.com/topic/5485/duet-web-control-wishlist-notes-and-priorities/25
At this point though it may be best to wait for the next official firmware release.
