Trium Duet3d Upgrade
-
Just wanted to say thanks for the awesome Duet wifi you guys designed and built ! ( I bought last year but only managed to find time now)
My Trium started life as a kickstarter with an 8 bit arduino heart but I could never get it to work reliably . LCD display corruption and prints that just stopped we’re my two biggest peeves . The design of the chassis I could not fault , even the sliders which look fragile actually work ok with some custom tweaks .
When the on board regulator for the arduino packed it in along with hours spent trying to kill the garbled display via google I finally threw in the towel and decided to go 32 bit .
DC42 your hours spent responding to emails on problems didn't go unnoticed in
my google searches similar to mine and countless other problems. That is what made me decide to go with Duet .My build
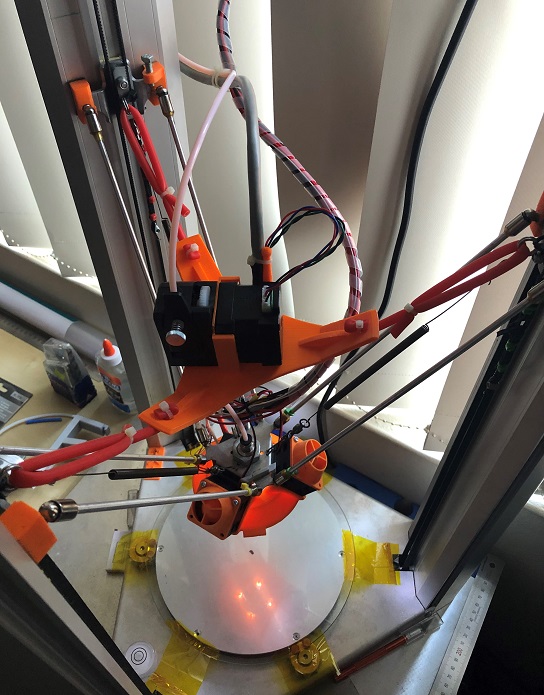
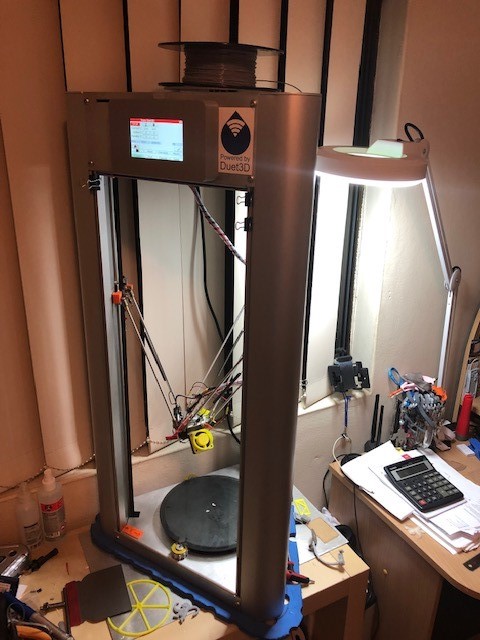
Besides the Duet wifi and 5.5PanelDueAll the parts save the frame and effector have been replaced . Metal inductive proximity sensors , blue kind, 3 wire 5-36volt, 3 for $12 type (surprisingly accurate and repeatable), a 24 volt power supply that manages to power everything nicely so far , new hot end and bed , and .9 degree steppers from steppersonline.com ( nicely packed and shipped in foam, $11USD each !) I also built an optoisolater board to isolate the inductive sensor voltages for the end stops and bed sensor. A 12v buck regulator ($4) is used to power some of the 12volt fans
Printed the box for the Due front panel display and the layers look great . With the motors and controller I can go way faster than before , motor noise is also way less ( I can hear it sing now) the only real loud thing is the 24v power supply fan . It takes 4-5 min to warm up from cold ( use to stand around for 8-10)
hooking all of the above up together just works , there is still some testing and tweaking to do but I am way happier now than I was then
Nice work!!
-
-
Looks good! Thanks for your kind words.
-
Hi DigiD
Sound great. I'm also right now in the process of ripping out the innards of my trusty old Trium3D (was never really happy with its performance), to replace it with a Duet 2 Ethernet.
You wouldn't by any chance have the configs you used handy so I don't have to reinvent the wheel?
Cheers
Remo
-
0,02 mm layer height.... I am seeing for that...
-
Hi Remo
Its a work in progress . Still experimenting a bit with it , the sled especially
But it is actually dead simple to set up, so simple you think your missing something and you get a bit paranoid and spend hours more reading . ( surely that is not all the info required there must be more! )
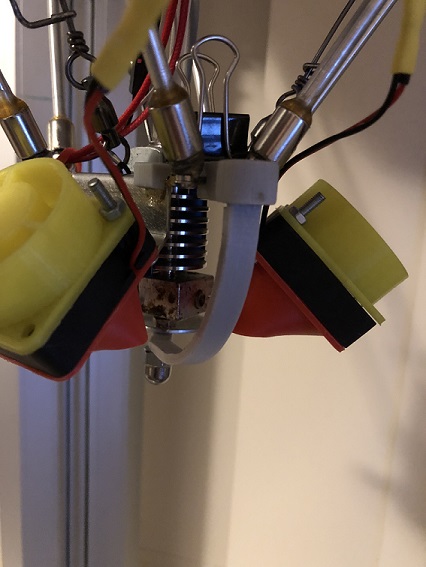
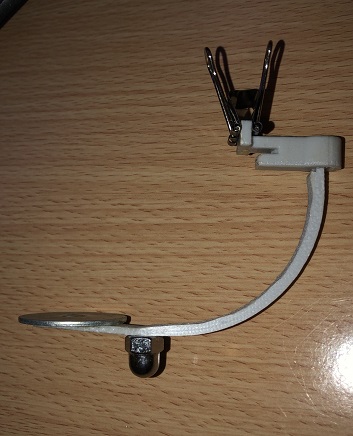
I attach it for reference and any questions . My motors are now .9 degree @ 2 amp , so current is set to 1600 , steps are now double for movement , I used inductive sensors for end stop ( normally low ), 24volt power supply , hot end and bed , so tuning values are for those. The Z sensor is still original but I printed a sled that clips on the effector . See the attached pic . My z probe is pretty close or close enough to zero and works on glass . In config you can see I use a value of around 16mm as my probe offset
-
thats a nice idea.
as an alternative have a look at https://www.reprap.me/auto-leveling-sensor-module-film-pressure-probe-type-with-signal-cable-for-3d-printer-e3d-v6.html
the bonus with that is that you can reduce the mass of the effector since the probe is gone. -
@digid Nice! I got it working fine with Duet (see other thread about bed leveling), but like you, I noticed that print quality of the Trium is pretty low. Looking at what you did with the rails, I'm seriously considering going full linear rails (MGW12 or similar). Not sure it's worth it to pour all that money into that printer though, might be better off buying a CR10 or so and porting the duet over...
-
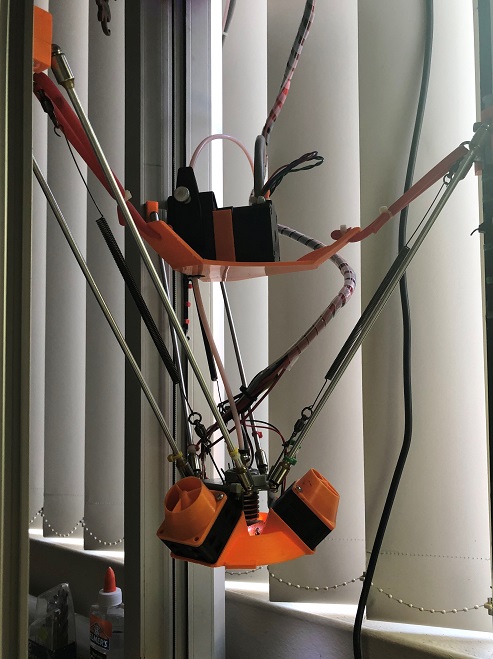
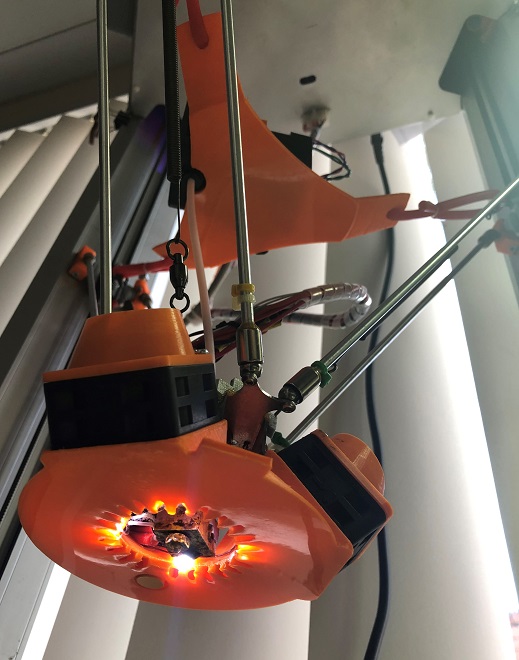
I think it is always going to be a work in progress , but for now I have a flying extruder , a new cooling fan duct and improved the supports for the sliders.
Fan duct has 4 white LEDs wired daisy chain ( 4 x3v =12V) and powered along with the 12volt heat break fan that now comes on at 60 degrees
Replaced the 24 volt power supply fan , it was driving me a bit mad every time it started and would howl like a banshee for 30 or 40 seconds before settling down . Looking at the fan inside could see oil was visible all over it indicating the bearings had failed , the fan was rated for 14 volts which I have never seen before . Replaced it with a Sunon 60 x 25 mm 24 volt fan . Has to be mounted on the outside not enough room on the inside , old fan size was 60mm x 15mm . Runs much quieter even under load. Did the same with the enclosure fan replace the 12volt 80mm fan with a Sunon 24volt fan runs slower and quieter than the previous 12v fan still more than enough air flow over the duet.

The Flyingstruder uses a bondtech clone it seems to work pretty good it doesn't skip like my last one did at 5mm/sec through the .3mm nozzle