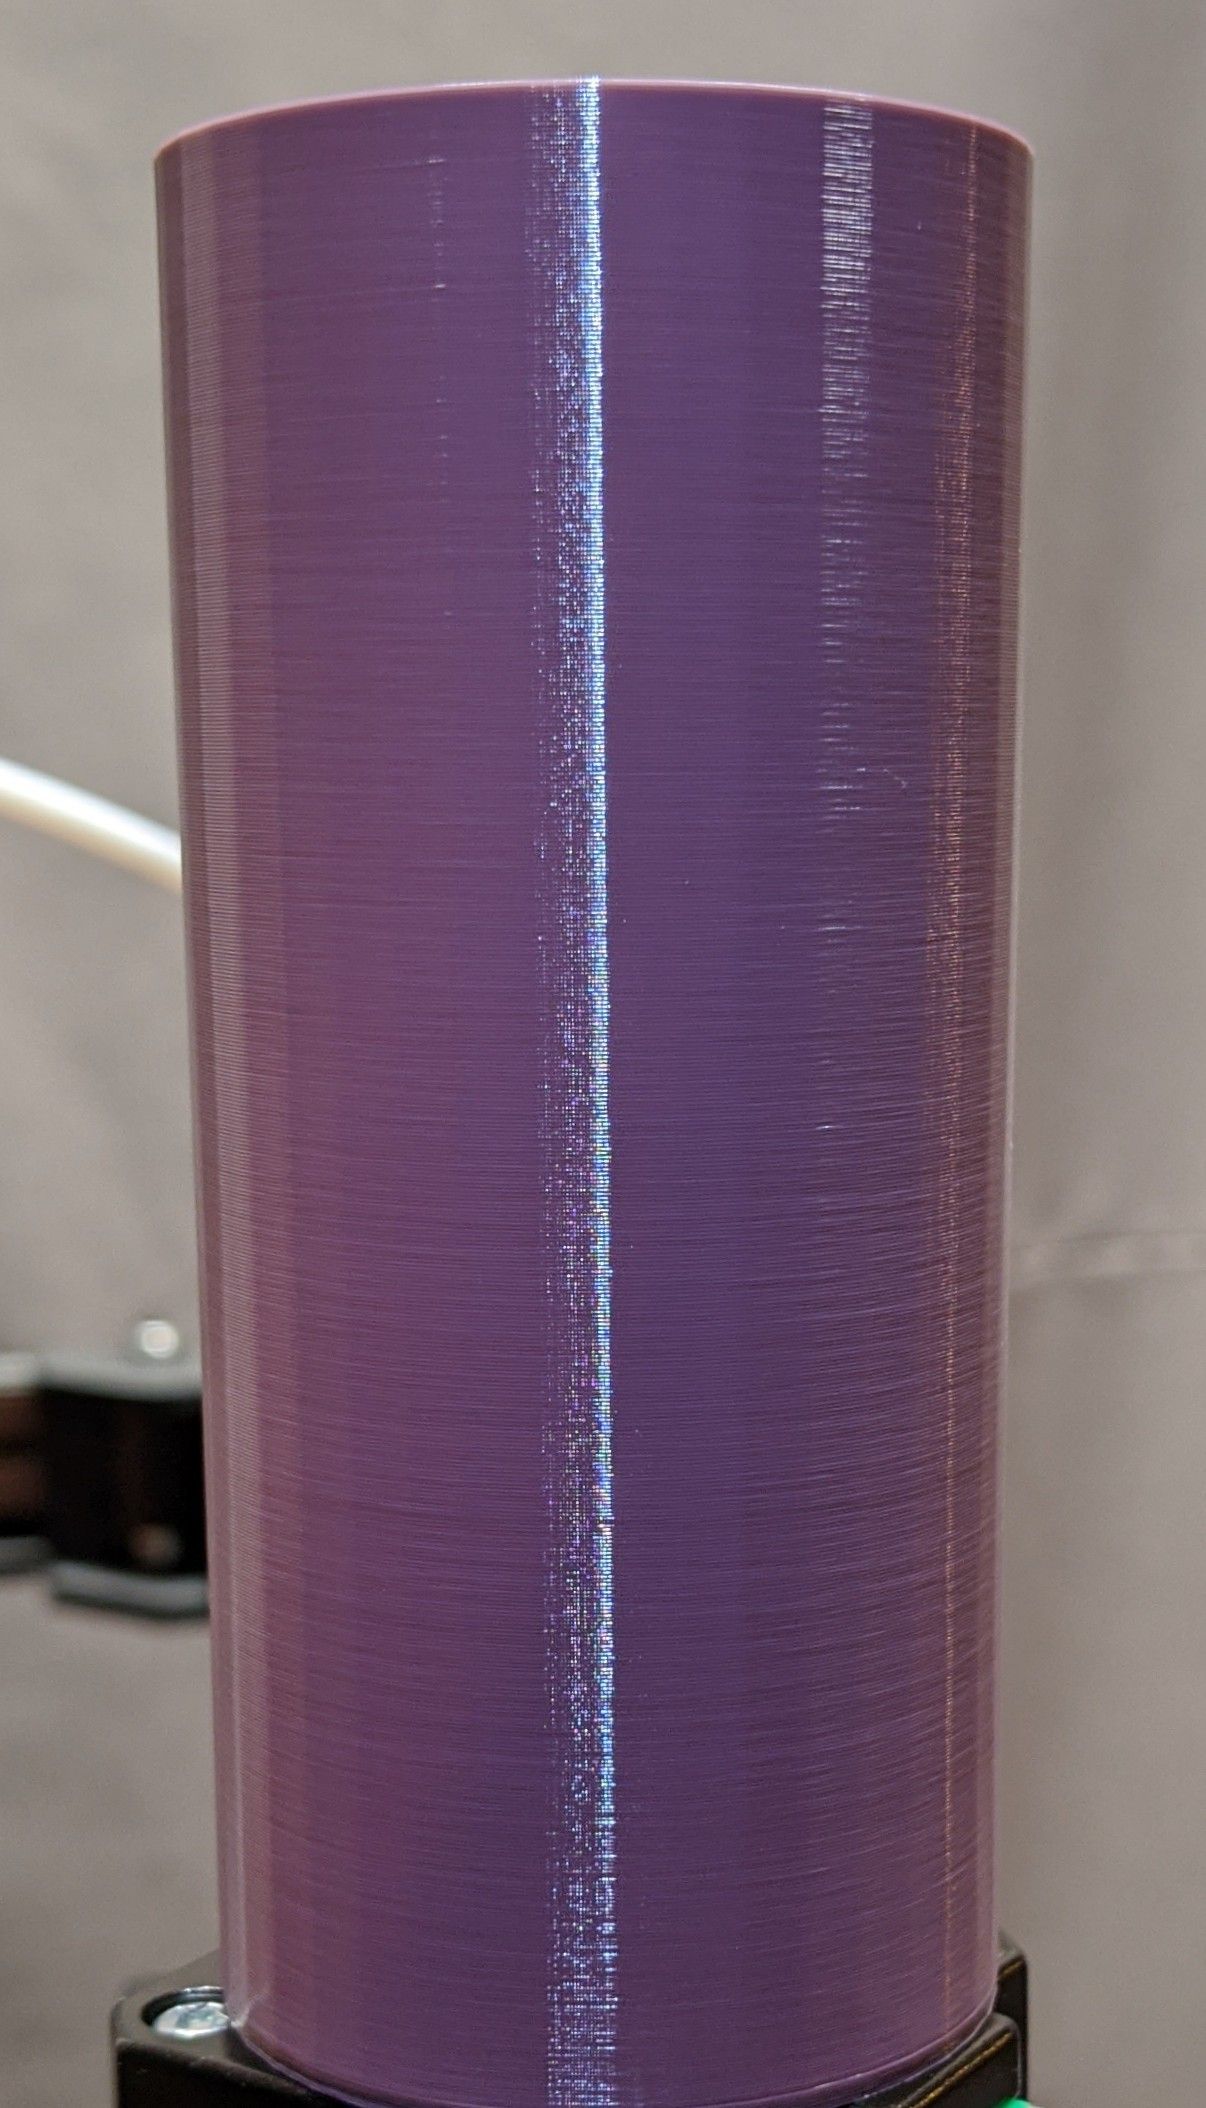
Issues with print quality, wall surface rough.
-
@Corexy I completely understand, and you are right! I can't wait to get this dialed in.
-
@CorvoDewittV2 said in Issues with print quality, wall surface rough.:
@Corexy I completely understand, and you are right! I can't wait to get this dialed in.
Deep breath...slow down...step by step (in the right order) is the key.
-
-
This is the most frustrating part. This is a print off the ender 3 pro I have. I've spent less that half on that printer that I have on the v core.
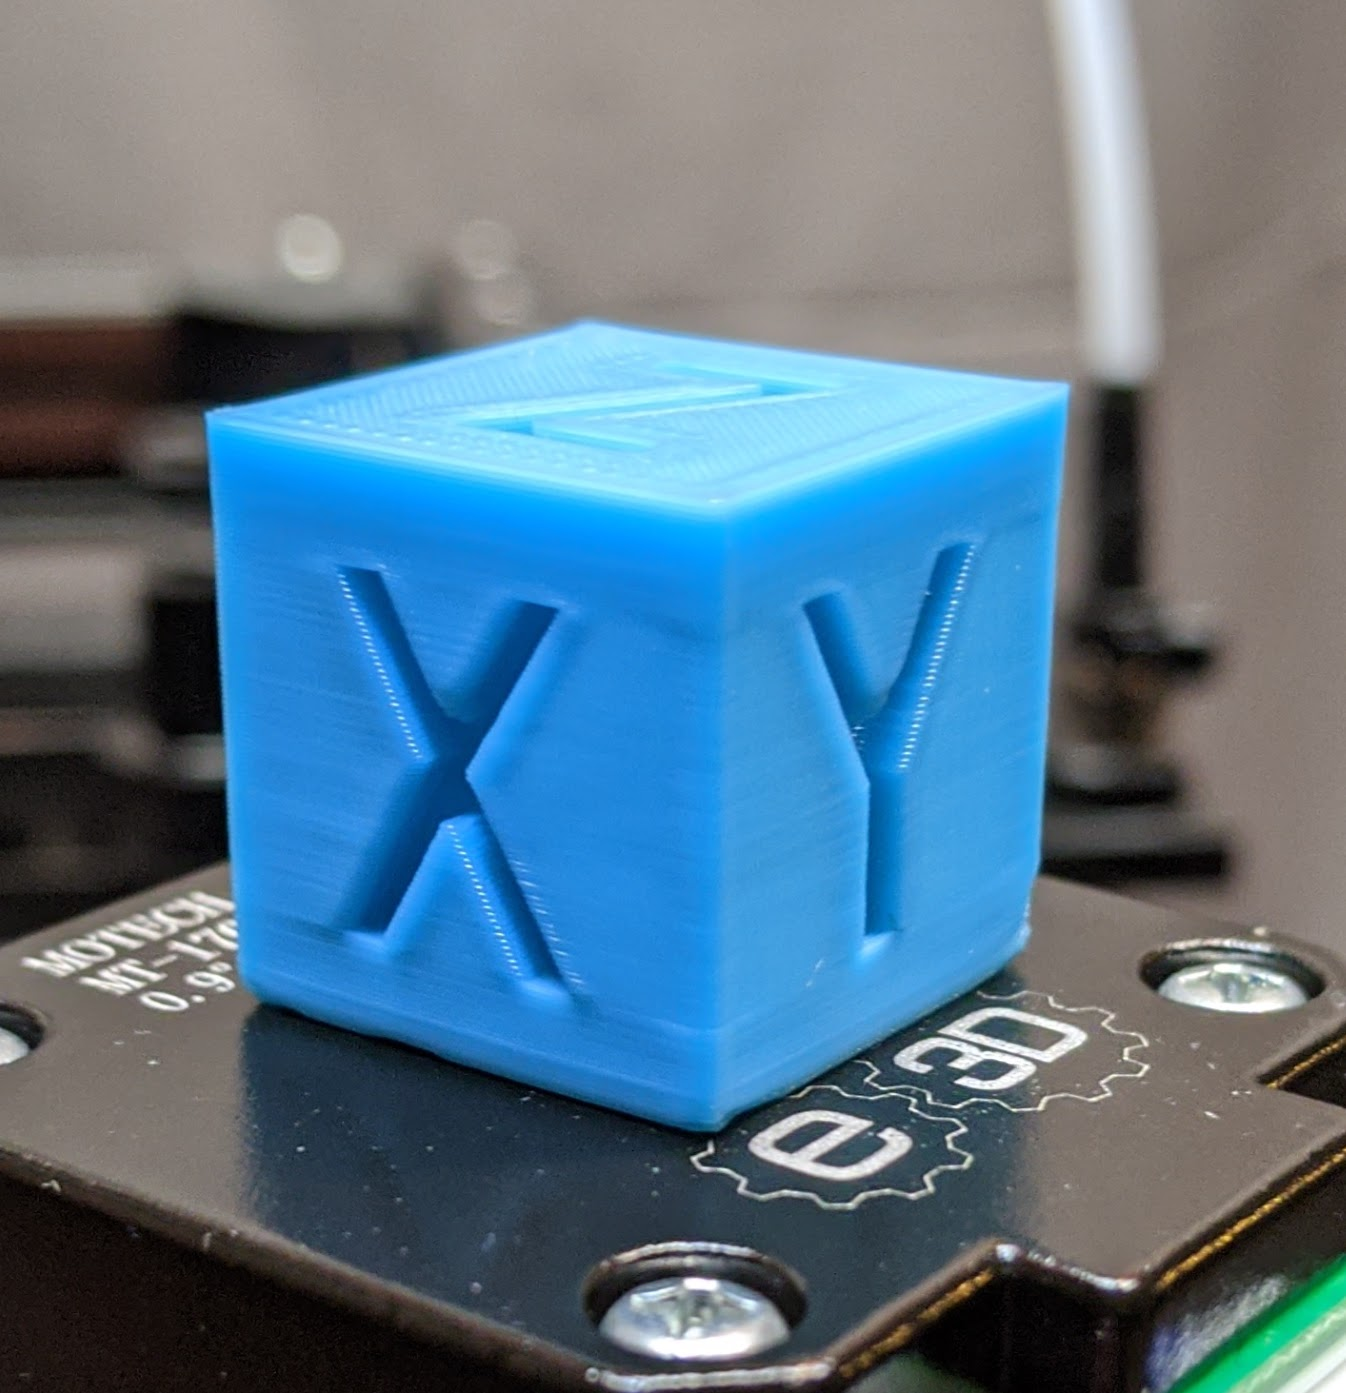
-
Please take pictures of the final layer of the extrusion multiplier cube, the complete retraction test and the single walled cylinder in vase mode (full height 100-150x300 tall, you could do that in 0.3mm layer height to save time if you like.
Clearly this is getting a lot better. Are you using bang bang temp control on the bed? AFTER you've done the setup prints it might be worth asking Phaedrux how to use PID control there. No use asking me about that.
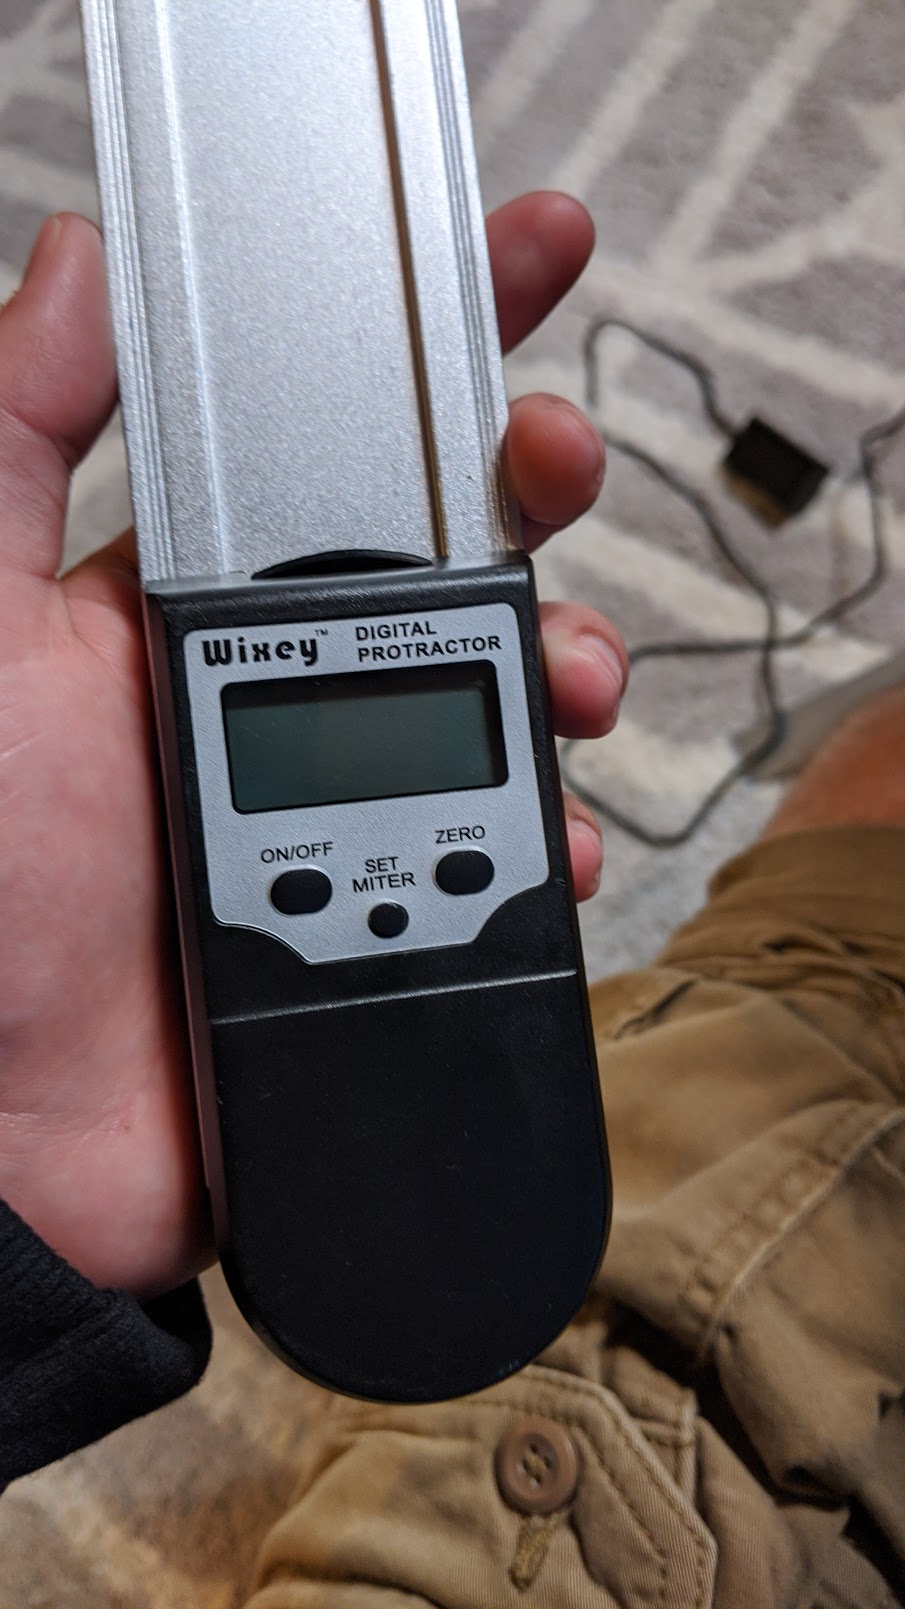
What was this digital protractor jigger you used to set up your frame? Are they expensive and do you have a link to one?
-
No sense retyping the wheel
https://duet3d.dozuki.com/Guide/Ender+3+Pro+and+Duet+Maestro+Guide+Part+4:+Calibration/40
-
@Phaedrux said in Issues with print quality, wall surface rough.:
No sense retyping the wheel
https://duet3d.dozuki.com/Guide/Ender+3+Pro+and+Duet+Maestro+Guide+Part+4:+Calibration/40
You know I've used bang bang on the bed of my Duet/Zortrax for 4 years...it's just got the built in thermistor that came with the Keenovo mat.
Would I benefit from PID? I certainly see some minor Z banding there. I always chased it mechanically.
-
@CorvoDewittV2 said in Issues with print quality, wall surface rough.:
This is the most frustrating part. This is a print off the ender 3 pro I have. I've spent less that half on that printer that I have on the v core.

I've got bad news for you...that's a bit ordinary for an E3 Pro. I've got one too with BMG extruder, Capricorn tube/fittings and a stock hot end/fans with a printed fan shroud, and it knocks out the best prints I've ever done or even seen...regularly.
When you've done tweaking this one, you need to go and do the 3 steps on that one too.
If you don't mind paying for Simplify 3D, they have a built in profile that works pretty well for that model too.
-
@Corexy I did the 2/3 steps. 96 is the extrusion multiplier and 190 is the temp. It looks no different. There is a mechanical issue. My guess is the lead screws. But honestly do I really want to throw more money at this printer? If I was able to tune in the ender 3 with much less fiddling, then why would I keep fiddling with this one? I'm sorry im just upset. I've spent every day for 2 months and over 2k on this printer.
-
Also just noticed that sometimes when I start a print it will not set the extrusion multiplayer. So got to figure that out now. Must be something with the start gcode. I sometimes get an error that no tool is selected but it it heats up the only one I have so IDK.
-
@CorvoDewittV2 said in Issues with print quality, wall surface rough.:
@Corexy I did the 2/3 steps. 96 is the extrusion multiplier and 190 is the temp. It looks no different. There is a mechanical issue. My guess is the lead screws. But honestly do I really want to throw more money at this printer? If I was able to tune in the ender 3 with much less fiddling, then why would I keep fiddling with this one? I'm sorry im just upset. I've spent every day for 2 months and over 2k on this printer.
OK, so those temp/EM numbers sound quite reasonable. Run with those. Have you done the retraction test yet?
So where's the pics of the 100x300 single walled vase mode cylinder? Do that please next.
The other cylinder you posted above looked much better, why be upset? You're moving in the right direction.
You're not going to get better prints from this printer, you get much larger prints due to the build volume.
You haven't eliminated the bed temp causing the banding yet, but just do the cylinder next and put the picture up here so people can help you.
And please tell me about this electronic protractor...I might use one.
No use flipping out mate. You've got to keep your shirt on, take the curlers out and move through the steps. It's frustrating but victory is sweet in the end. If you want to see frustration, go back through my posts to when I first converted a Zortrax to Duet...I drove everyone mad. Now I've used it for 4 years and it's pounded out tonnes of top prints. It's a total work horse.
Cylinder pic next please!
-
@Corexy Its a Wixey Digital Protractor, about $60 US.
I have the 8 inch one from woodworking, but for printer building I would prob get a smaller one. I'll pick this back up tomorrow. Maybe I need to lower my expectations a bit too.
-
@CorvoDewittV2 said in Issues with print quality, wall surface rough.:
Also just noticed that sometimes when I start a print it will not set the extrusion multiplayer. So got to figure that out now. Must be something with the start gcode. I sometimes get an error that no tool is selected but it it heats up the only one I have so IDK.
Extrusion multiplier is set in the slicer, at least that's how I do it. I'll save a profile in the slicer for a specific roll/material, which has all my preferred settings for that material. The only thing I have in the config file is Esteps, which I'll check and change as required when I change rolls.
My understanding is that Duet will always start a print at 100% flow, but that will be 100% of the flow/EM setting you entered in the slicer.
-
Is the titan running free (without filament if you spin the gear 360). I often had issues with them. But to be honest, this rather looks like a loose pulley somewhere on the XY axis. Or maybe the extruder is loose. The lack of accel dependency is maybe an indicator.
-
@dgrat Well I kinda agree with you on the pulley front. They are tight and do not wiggle, but they are all smooth pulleys. I am wondering if i should change the ones that run on the tooth side to ones with teeth. I'm just not confident it will fix much of anything. I check the titan tonight.
-
On a semi related note, what current should I be running to these steppers? They are the e3d ones.
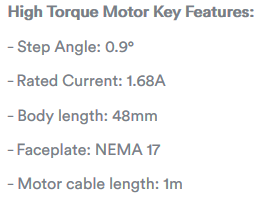
-
60 to 85% of rated
-
@Phaedrux Thank you !
-
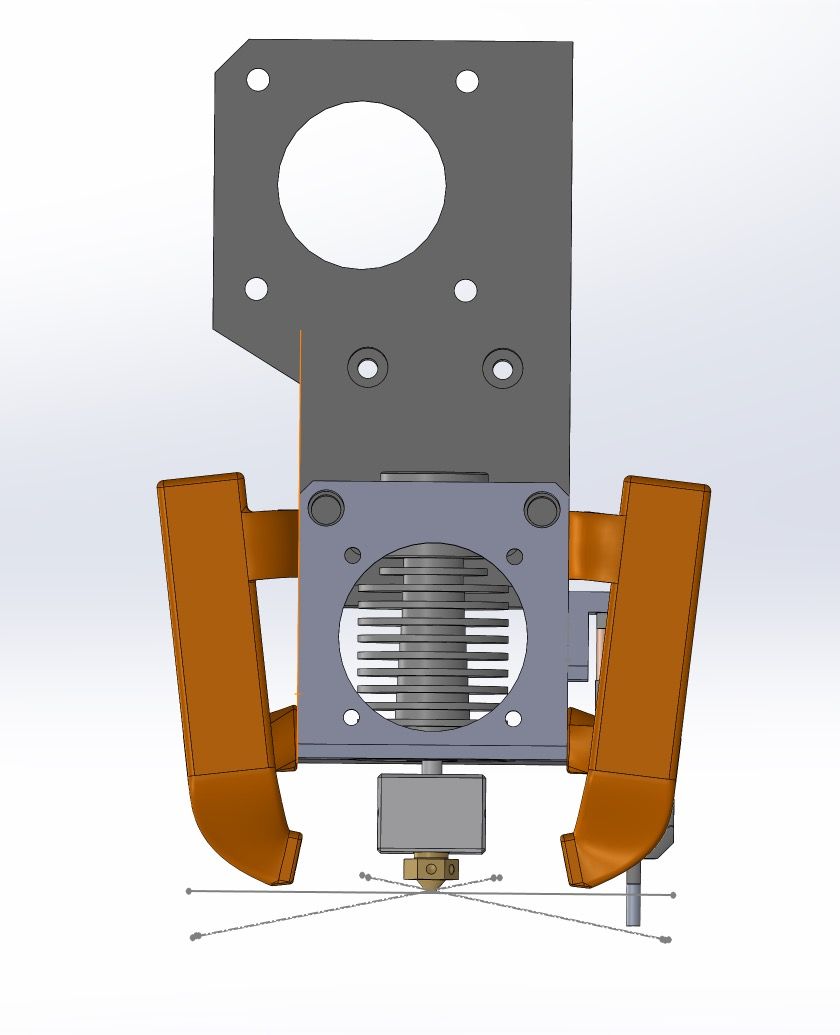
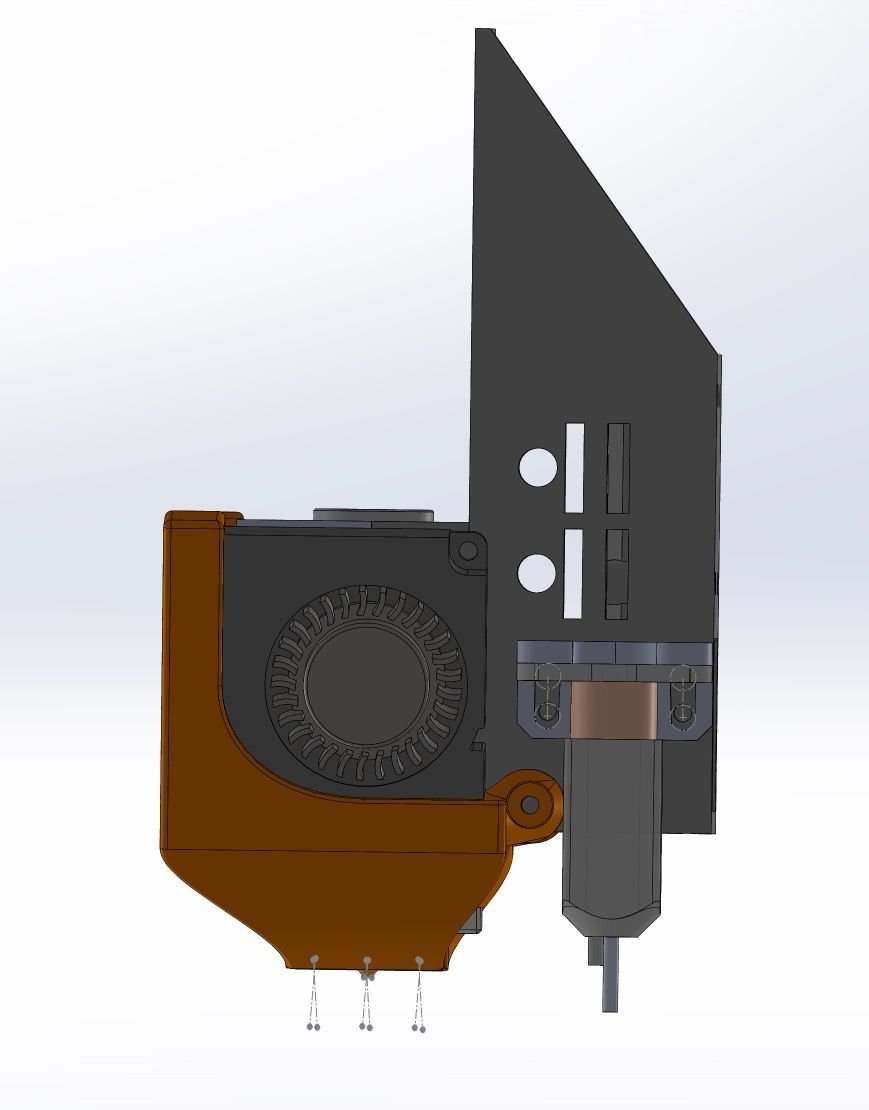
@CorvoDewittV2 Sorry for it taking so long! Started by working with an existing design and ended up totally recreating them to work within the constraints. They should clear everything including the BLTouch but the fans will be a little difficult to install due to the upper mounting bracket.
Printing and Preparation
This design is very similar to a duct I used in the past and it printed properly with supports. You might have to be a little creative with how it's positioned on the build plate. The fan screw holes will need to be opened up with a drill bit after printing. I purposely undersized them so the screws have a good amount of plastic to grip.Mounting
Start by mount the duct to the hotend with upper screw only, rotate the duct around so the fan can be inserted from the front of the hotend. Put in all the fan screws, then rotate the duct around and insert the bottom screw. It should fit M3 screws if enlarge the holes a little.Let me know how they work and if you need any changes!
-
@mwolter Oh I am so excited man!! Thank you so much! I will print as soon as i get home report back. You are awesome.
