Duet 2 Wifi Bad Drivers
-
Hi all,
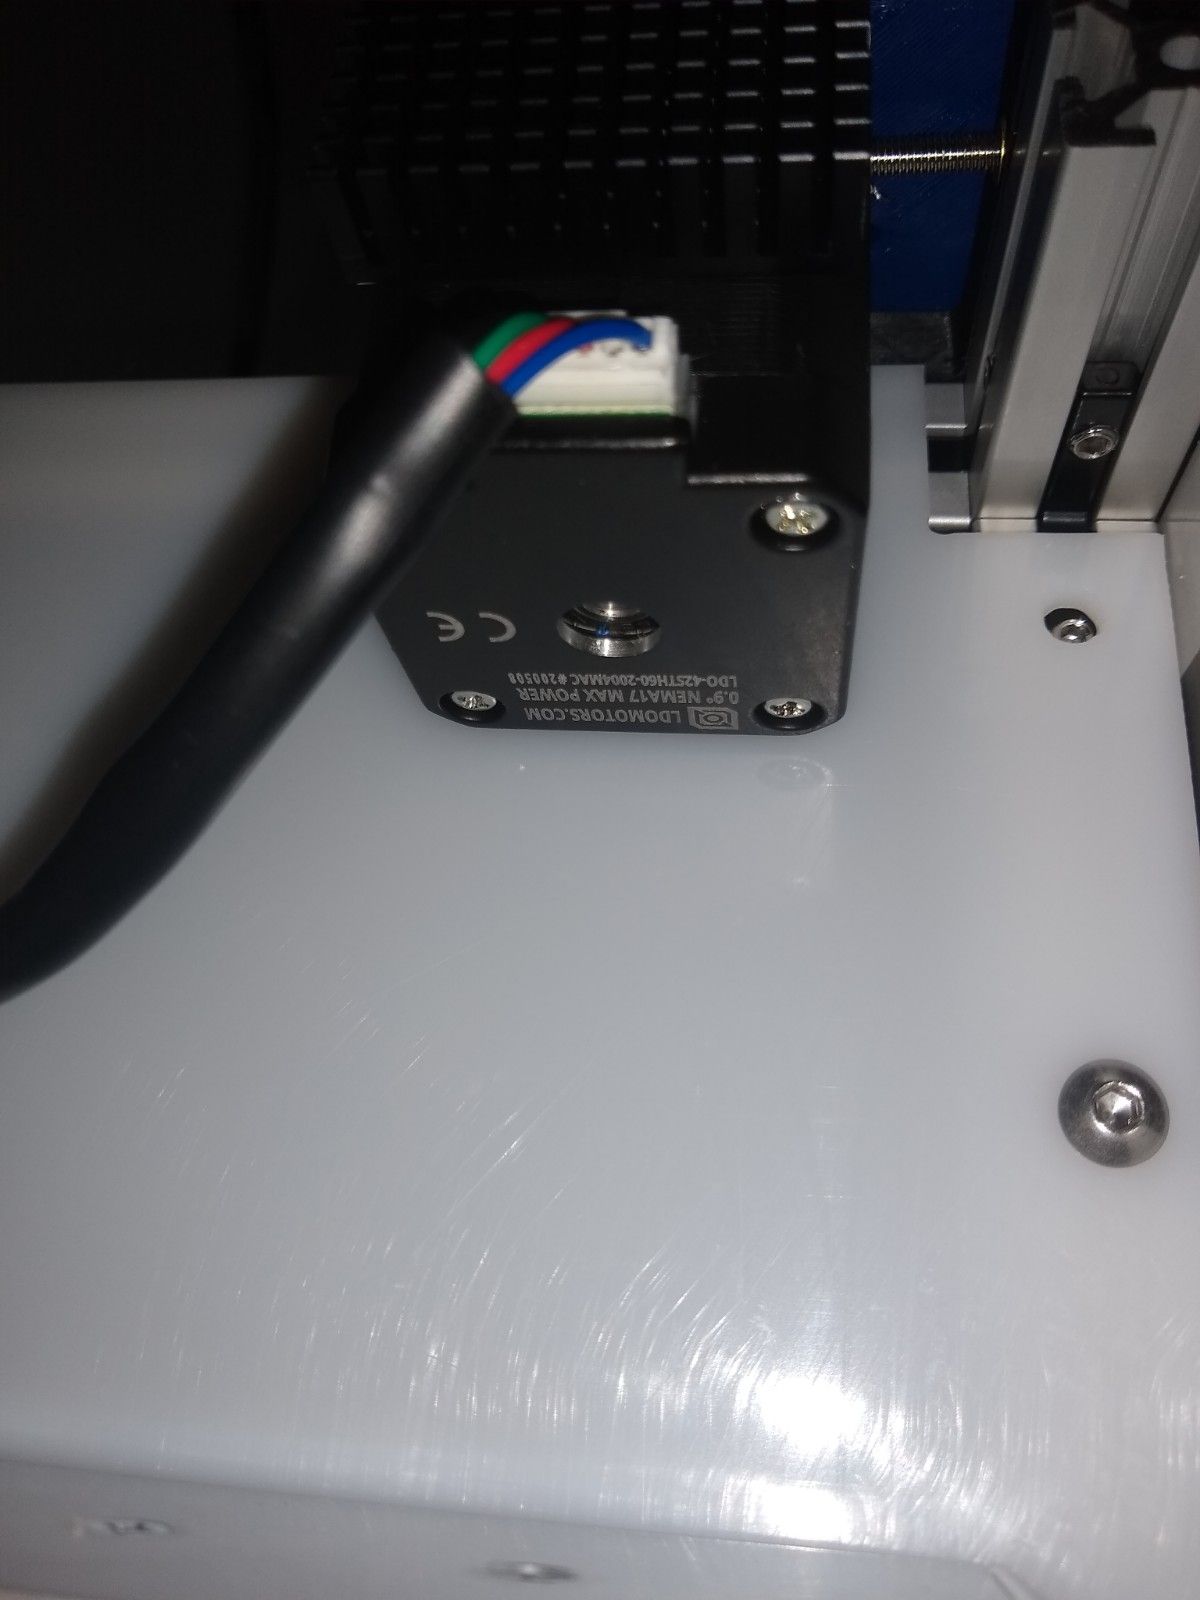
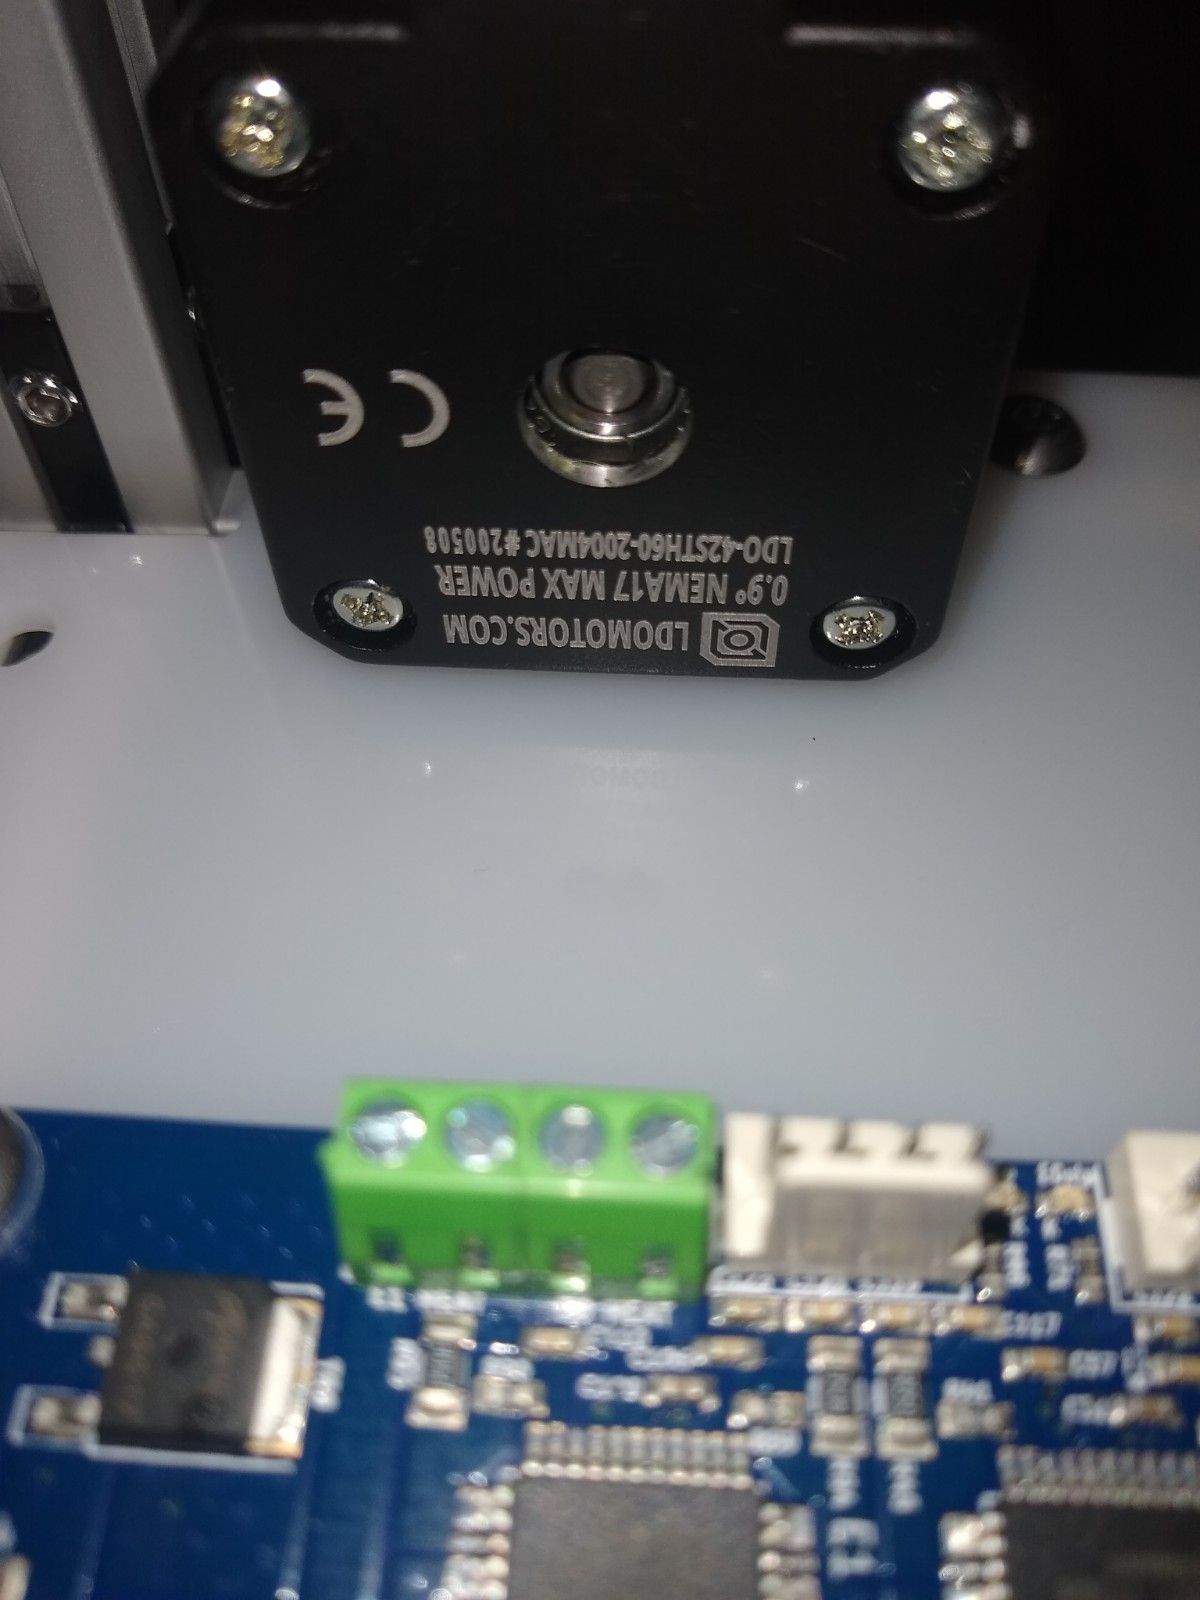
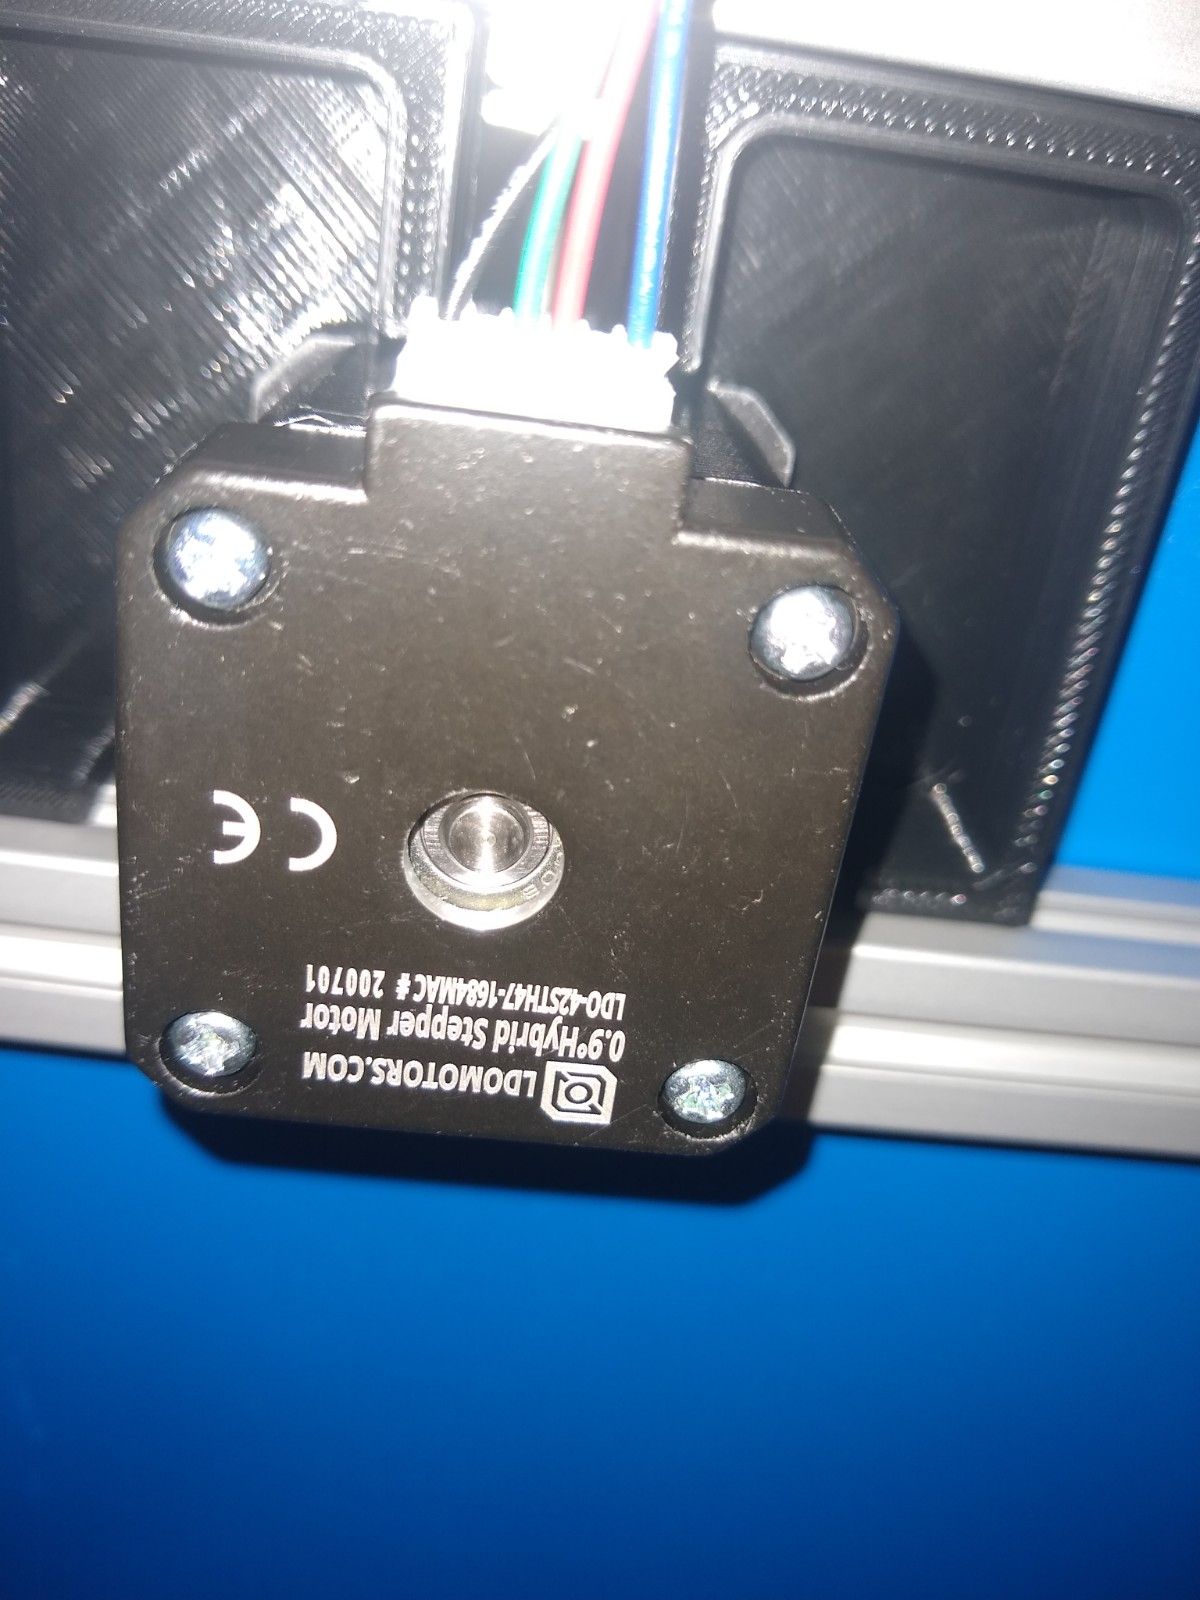
I just recently installed a Duet 2 Wifi and Duex5 board on my Jubilee build. Both were purchased from Filastruder. The LDO motors initially had the incorrect coil pairing, (1+3, 2+4) but was corrected prior to install. Logging into the web control, the U motor moved just fine but no success on X or Y. Repeatedly got:
Warning: motor phase A may be disconnected reported by driver(s) 0 1
Warning: motor phase B may be disconnected reported by driver(s) 0 1I then turned off the machine, double checked all of the wiring, and plugged the X motor into the Z driver. Motor turned just fine. This was repeated with the Y motor and it also functioned as expected.
I think the drivers 0 and 1 are bad. My board was just purchased, and should still be under warranty I believe? How can I get it replaced? Is this the problem? Z.jpg
-
M122
=== Diagnostics ===
RepRapFirmware for Duet 2 WiFi/Ethernet version 2.05.1 running on Duet WiFi 1.02 or later + DueX5
Board ID: 08DLM-996RU-N8PS4-7JKDD-3SD6R-KVAZN
Used output buffers: 3 of 24 (16 max)
=== RTOS ===
Static ram: 25712
Dynamic ram: 93980 of which 108 recycled
Exception stack ram used: 352
Never used ram: 10920
Tasks: NETWORK(ready,756) HEAT(blocked,1232) DUEX(suspended,160) MAIN(running,3760) IDLE(ready,160)
Owned mutexes:
=== Platform ===
Last reset 00:01:56 ago, cause: power up
Last software reset at 2020-08-13 16:15, reason: User, spinning module GCodes, available RAM 11000 bytes (slot 3)
Software reset code 0x0003 HFSR 0x00000000 CFSR 0x00000000 ICSR 0x0441f000 BFAR 0xe000ed38 SP 0xffffffff Task 0x4e49414d
Error status: 0
Free file entries: 9
SD card 0 detected, interface speed: 20.0MBytes/sec
SD card longest block write time: 0.0ms, max retries 0
MCU temperature: min 25.4, current 26.3, max 26.5
Supply voltage: min 24.4, current 24.6, max 24.7, under voltage events: 0, over voltage events: 0, power good: yes
Driver 0: standstill, SG min/max 25/372
Driver 1: standstill, SG min/max 25/173
Driver 2: standstill, SG min/max 0/0
Driver 3: standstill, SG min/max not available
Driver 4: standstill, SG min/max not available
Driver 5: standstill, SG min/max not available
Driver 6: standstill, SG min/max 0/119
Driver 7: standstill, SG min/max 0/122
Driver 8: standstill, SG min/max 0/146
Driver 9: standstill, SG min/max not available
Date/time: 2020-08-13 16:26:58
Cache data hit count 344821897
Slowest loop: 2.07ms; fastest: 0.07ms
I2C nak errors 0, send timeouts 0, receive timeouts 0, finishTimeouts 0, resets 0
=== Move ===
Hiccups: 0, FreeDm: 160, MinFreeDm: 158, MaxWait: 85668ms
Bed compensation in use: none, comp offset 0.000
=== DDARing ===
Scheduled moves: 4, completed moves: 4, StepErrors: 0, LaErrors: 0, Underruns: 0, 0
=== Heat ===
Bed heaters = 0 -1 -1 -1, chamberHeaters = -1 -1
=== GCodes ===
Segments left: 0
Stack records: 1 allocated, 0 in use
Movement lock held by null
http is idle in state(s) 0
telnet is idle in state(s) 0
file is idle in state(s) 0
serial is idle in state(s) 0
aux is idle in state(s) 0
daemon is idle in state(s) 0
queue is idle in state(s) 0
autopause is idle in state(s) 0
Code queue is empty.
=== Network ===
Slowest loop: 201.16ms; fastest: 0.08ms
Responder states: HTTP(0) HTTP(0) HTTP(0) HTTP(0) FTP(0) Telnet(0) Telnet(0)
HTTP sessions: 1 of 8- WiFi -
Network state is running
WiFi module is connected to access point
Failed messages: pending 0, notready 0, noresp 2
WiFi firmware version 1.23
WiFi MAC address dc:4f:22:6e:6c:35
WiFi Vcc 3.33, reset reason Turned on by main processor
WiFi flash size 4194304, free heap 22816
WiFi IP address 192.168.1.26
WiFi signal strength -44dBm, reconnections 0, sleep mode modem
Socket states: 0 0 0 0 0 0 0 0
- WiFi -
-
For the sake of completeness can you post your config.g?
-
Of course
; Jubilee 2.0 Config File
; drawing inspiration from the Railcore 300ZL config file; Name and Identification
M550 P"Jubilee" ; Machine name and Netbios name; Networking
M552 S1 ; Start Wifi
M552 P192.168.1.26 ; Use Ethernet with a static IP
M554 192.168.1.3 ; Gateway
M553 P255.255.255.0 ; Netmask
M586 P2 S1 ; Enable Telnet; Debugging
M111 S0 ; Debug off
M929 P"eventlog.txt" S1 ; Start logging to file eventlog.txt; General Preferences
M555 P2 ; Set Marlin-style output
G21 ; Set dimensions to millimetres
G90 ; Send absolute coordinates...
M83 ; ...but relative extruder moves; Joints
M584 X0 Y1 Z6:7:8 E3:4:5:9 U2 ; Map Z to drivers 6, 7, 8. Map extruders to 3 and 4. Create Toolchanger Lock axis.M569 P0 S0 ; Drive 0 direction | X stepper
M569 P1 S0 ; Drive 1 direction | Y StepperM569 P6 S0 ; Drive 6 direction | Front Left Z
M569 P7 S0 ; Drive 7 direction | Front Right Z
M569 P8 S1 ; Drive 8 direction | Back ZM569 P2 S0 ; Drive 2 direction | Toolchanger Actuator
M569 P3 S0 ; Drive 3 direction | Extruder 0
M569 P4 S0 ; Drive 4 direction | Extruder 1; Joint Kinematics
M669 K1 ; CoreXY mode; Kinematic bed ball locations.
; Locations are extracted from CAD model assuming lower left build plate corner is (0, 0) on a 305x305mm plate.
;M671 X300:5:152.5 Y354:354:24 S10 ; Front Left: (300, 354) | Front Right: (5, 354) | Back: (152.5, 24)
M671 X297:2.5:150 Y313.5:313.5:-16.5 S10 ; Front Left: (297.5, 313.5) | Front Right: (2.5, 313.5) | Back: (150, -16.5); XYZ Motor Settings
M350 X16 Y16 Z16 E16 I1 ; Set 16x microstepping for xyz axes & extruder. Use interpolation.
M574 X1 Y1 Z1 S1 ; Set homing switch configuration x low-end, y low-end, z low-end, all active-high (NC)
M574 U1 S1 ; Set homing switch configuration for toolchange lock. Both switches should be wired NC and in series.
M906 X1950 Y1950 Z1750 E1250 ; Motor currents (mA)
M201 X1000 Y1000 Z20 E1300 U800 ; Accelerations (mm/s^2). Conservative. 1500+ may be possible.
M203 X13000 Y13000 Z800 E8000 U9000 ; Maximum speeds (mm/min). Conservative. Up to 20000 may be possible.
M566 X1000 Y1000 Z500 E3000 U50 ; Maximum jerk speeds mm/minute
M92 X200 Y200 ; Steps/mm for X,Y
M92 Z3200 ; Steps/mm for Z for a 2mm pitch leadscrew, 0.9mm stepper. (16 * 400)/2
M92 E830 ; Extruder - 0.9 deg/step; LDO Toolchanger Motor Settings
M350 U4 I1 ; Set 4x microstepping. Use interpolation.
M906 U670 I60 ; current and idle motor percentage.
M92 U30.578 ; Steps/deg for U from (200 * 4 * 13.76)/360; StepperOnline Toolchanger Motor Settings
;M350 U2 I1 ; Set 2x microstepping. Use interpolation.
;M906 U1000 I70 ; current and idle motor percentage
;M92 U5.7575 ; Steps/deg for U from (200 * 4 * 5.18181)/360; Set axis software limits and min/max switch-triggering positions.
; Adjusted such that (0,0) lies at the lower left corner of a 300x300mm square in the 305mmx305mm build plate.
M208 X-13.75:313.75 Y-44:341 Z-0.2:305
M208 U0:200 ; Set Elastic Lock (U axis) max rotation angle; Thermistors
M305 P0 S"Bed" R4700 T100000 B3950 ; USER set bed thermistor parameters
;M305 P0 S"Bed" T10000 B3435 H0 ; BOM-specified Terminal Lug Thermistor values.
;M305 P0 S"Bed" T10000 B3984 H0 L160 ; BOM-specified Terminal Lug Thermistor values.
;M305 P0 S"Bed" T100000 B3950 R4700 H0 L0 ; Built-in Keenovo Bed Thermistor values.
M305 P1 R4700 T100000 S"Extruder" B4725 C7.06e-8 ; Map Extruder 0 sensor to PT100 Channel 0
;M305 P2 X201 ; Map Extruder 1 sensor to PT100 Channel 1;Heaters
M570 S30 ; Print will be terminated if a heater fault is not reset within 30 minutes.
M143 H0 S100 ; Maximum H0 (Bed) heater temperature
;M143 H1 S260 ; Maximum H1 (Extruder) heater temperature; Default heater model
M307 H0 A270.7 C90.4 D6.7 B0 S1.0 ; Default Bed Heater Parameters, before tuning / if config-override.g is missing; Tool definitions
M563 P0 S"Extruder 0" D0 H1 F0 ; Define tool 0
G10 P0 X-4.5 Y44.02 Z-2.25 ; Set tool 0 offset from the bed
G10 P0 S190 R170 ; Set tool 0 operating and standby temperatures(-273 = "off")
M572 D0 S0.1 ; Set pressure advance on Extruder Drive 0M563 P1 S"Extruder 1" D1 H2 F2 ; Define tool 1
G10 P1 X-4.15 Y44.62 Z-2.45 ; Set tool 1 offset from the bed with tool-0 as a reference.
G10 P1 S190 R170 ; Set tool 1 operating and standby temperatures(-273 = "off")
M572 D1 S0.1 ; Set pressure advance on Extruder Drive 1; Fans
M106 P0 S0 ; Turn off fan 0
M106 P1 S0 ; Turn off fan 1;Mesh Bed Leveling Settings:
M557 X10:290 Y10:290 P6; Z probing settings
M558 P4 C2 H5 A1 T10000 S0.02
; P4 --> probe type: switch
; C2 --> endstop number
; H5 --> dive height
; A1 --> max number of times to probe
; T100000 --> travel speed between probe points
; S0.02 --> tolerance when probing multiple timesM98 P"config-user.g" ; Load custom user config
M501 ; Load saved parameters from non-volatile memory
-
I don't suppose you could provide a photo of the back side of the board showing the driver socket pin soldering?
-
@Chris2010 there are glitches in your config, eg you use drive 5 and 9 for the extruder, but dont have a M569 definition for it. U uses 4 microstepping, but Duet doesnt support interpolation for it, only for 16.
Datasheet says 2.0 A maximum for the xy steppers 42sth60, so current setting is too high, should be 50-85% of it. At z position the current was set lower, this may explain why they work there.
-
I could if its necessary, but that would require removing the whole board from the machine. Would you like me to do that?
-
Well if the drivers are damaged you'll have to remove it from the machine to exchange it, so...
-
@JoergS5 Im planning on installing another extruder shortly. I can lower the current on the steppers but as its not moving at all, that seems like its not the issue? That should be a factor for overheating but as far as I can tell they aren't. Is that correct?
-
@Chris2010 i had too high current once at a stepper, they dont move then and heat up. its worth a try.
-
@Phaedrux Great point lol. And Ill give lowering the current a try. Thanks for the suggestion!
-
I don't think there is any extreme error in the config. At least none that should generate the problem observed.
Mainly you're missing M584 to create the U axis.
The current is high for X and Y, so worth a try reducing it, but I don't think it would generate the issue seen.
-
I might also suggest getting a fresh config from the web tool with just the basics. No Duex connected. Just the default drivers defined and test that.
-
@Phaedrux Thats a good Idea as well. Guess Ill try that next.
-
So XY currents were dropped to 1560 mA and retested. No luck. Still no movement. On to the new config test...
-
Ok, retested with fresh config, Z moves (connect to tool lock) X and Y do not. It looks like the drivers to me. Any other ideas?
-
Please contact filastruder and initiate a warranty exchange for the Duet Wifi. Link to this thread as authorization.
I'd still be curious to see photos front and back when you get it out.
-
When RRF reports both phases of a driver may be disconnected, it's rarely a driver issue.
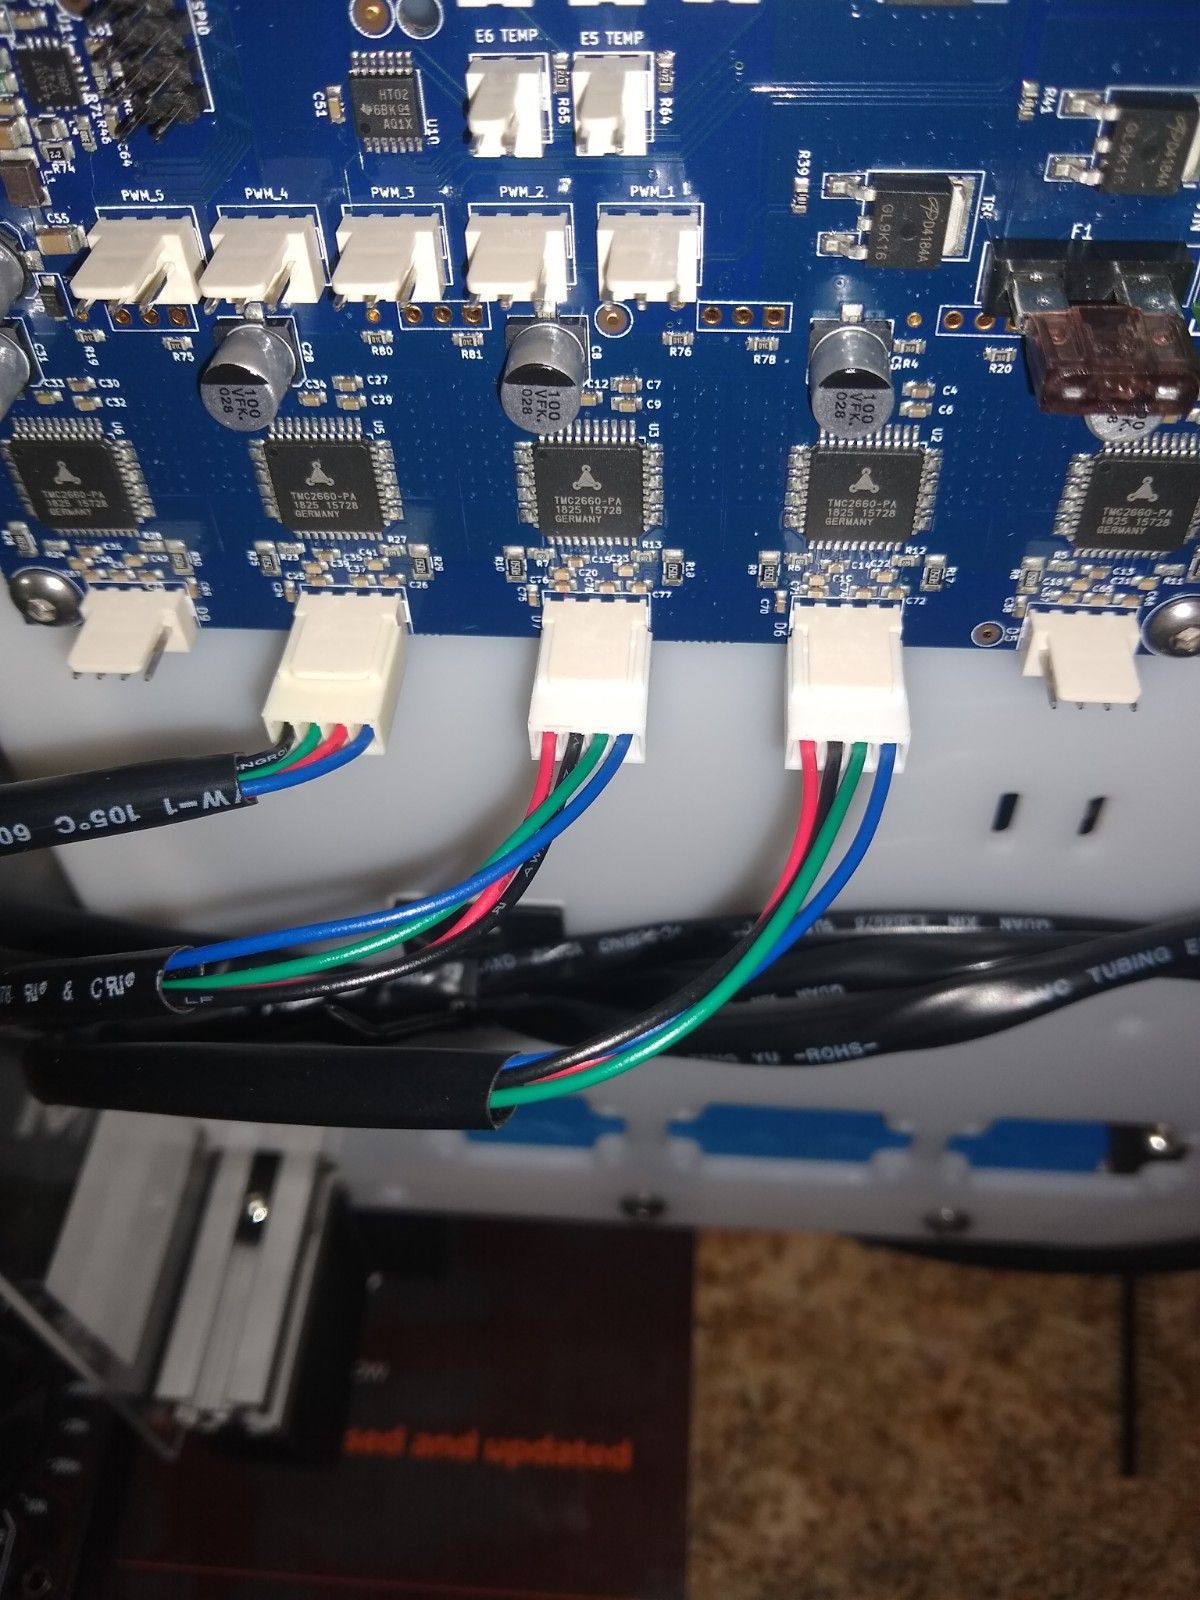
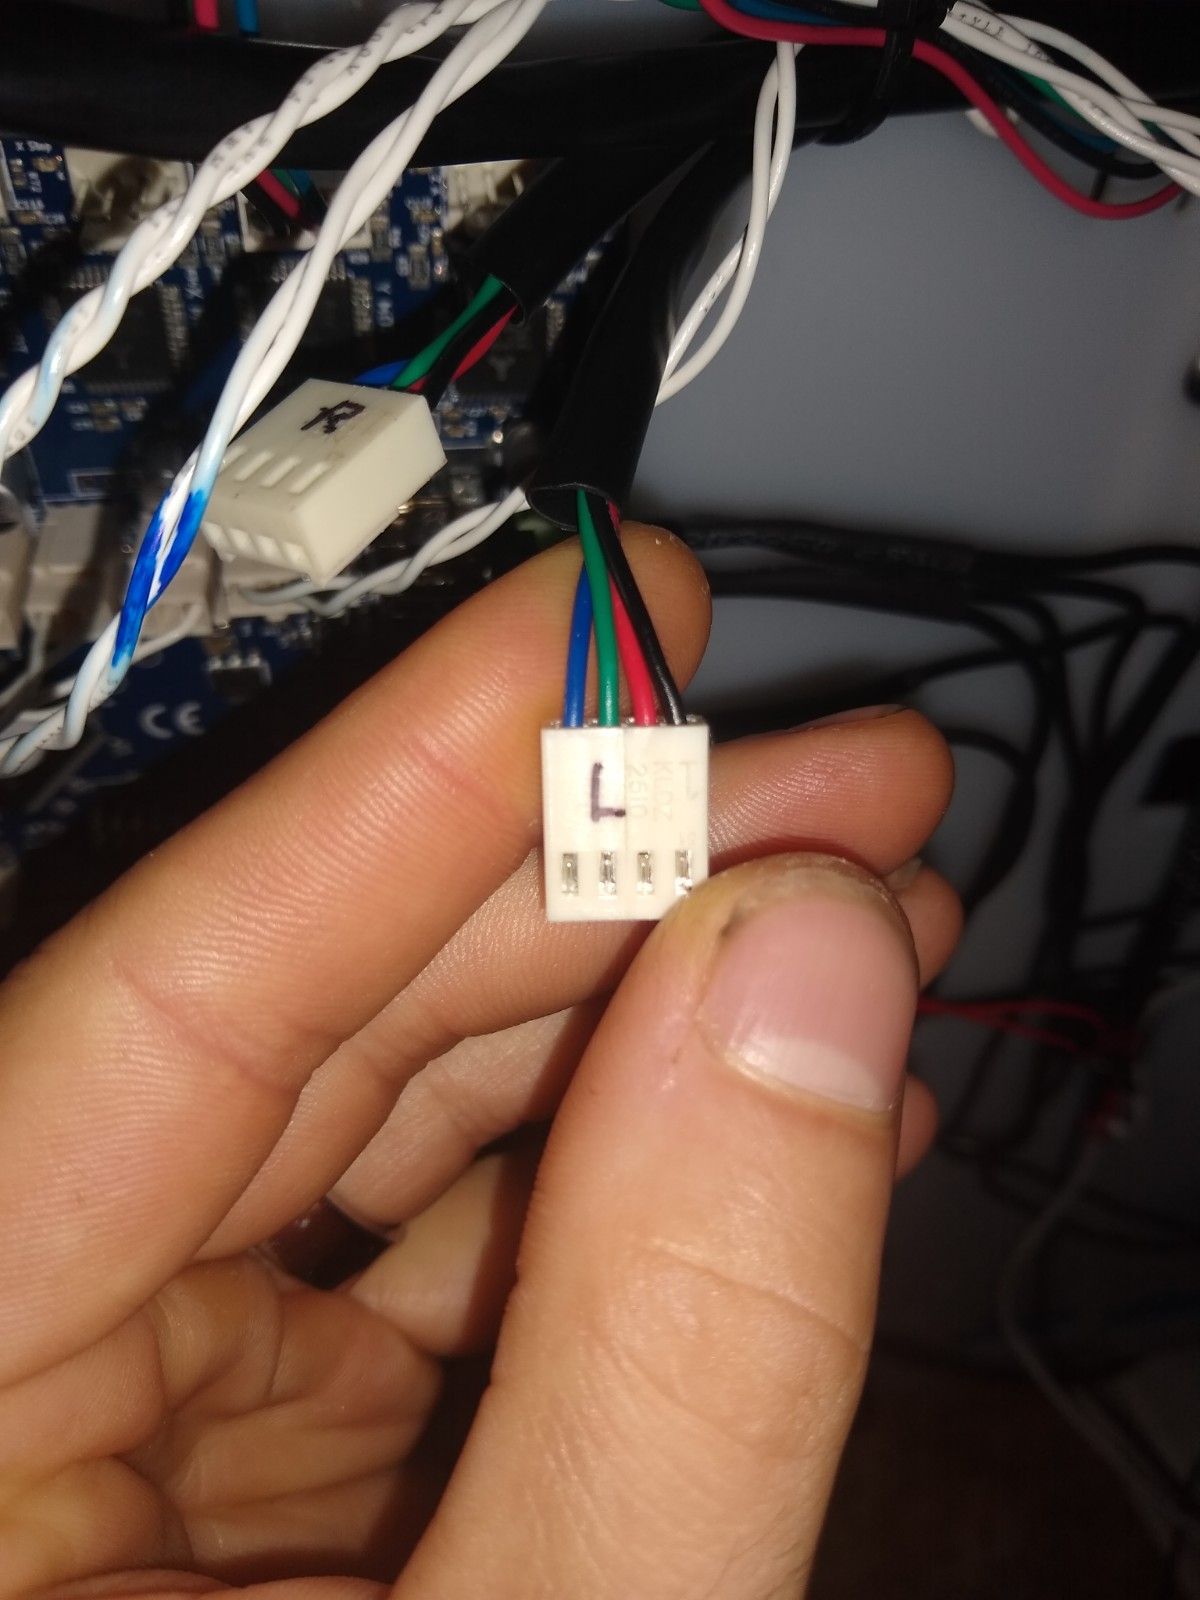
Are you sure you have identified the driver numbers correctly? Your photo of the Duet WiFi shows a motor connected to the Z driver, which is driver 2, and nothing connected to driver 0 or driver 1.
-
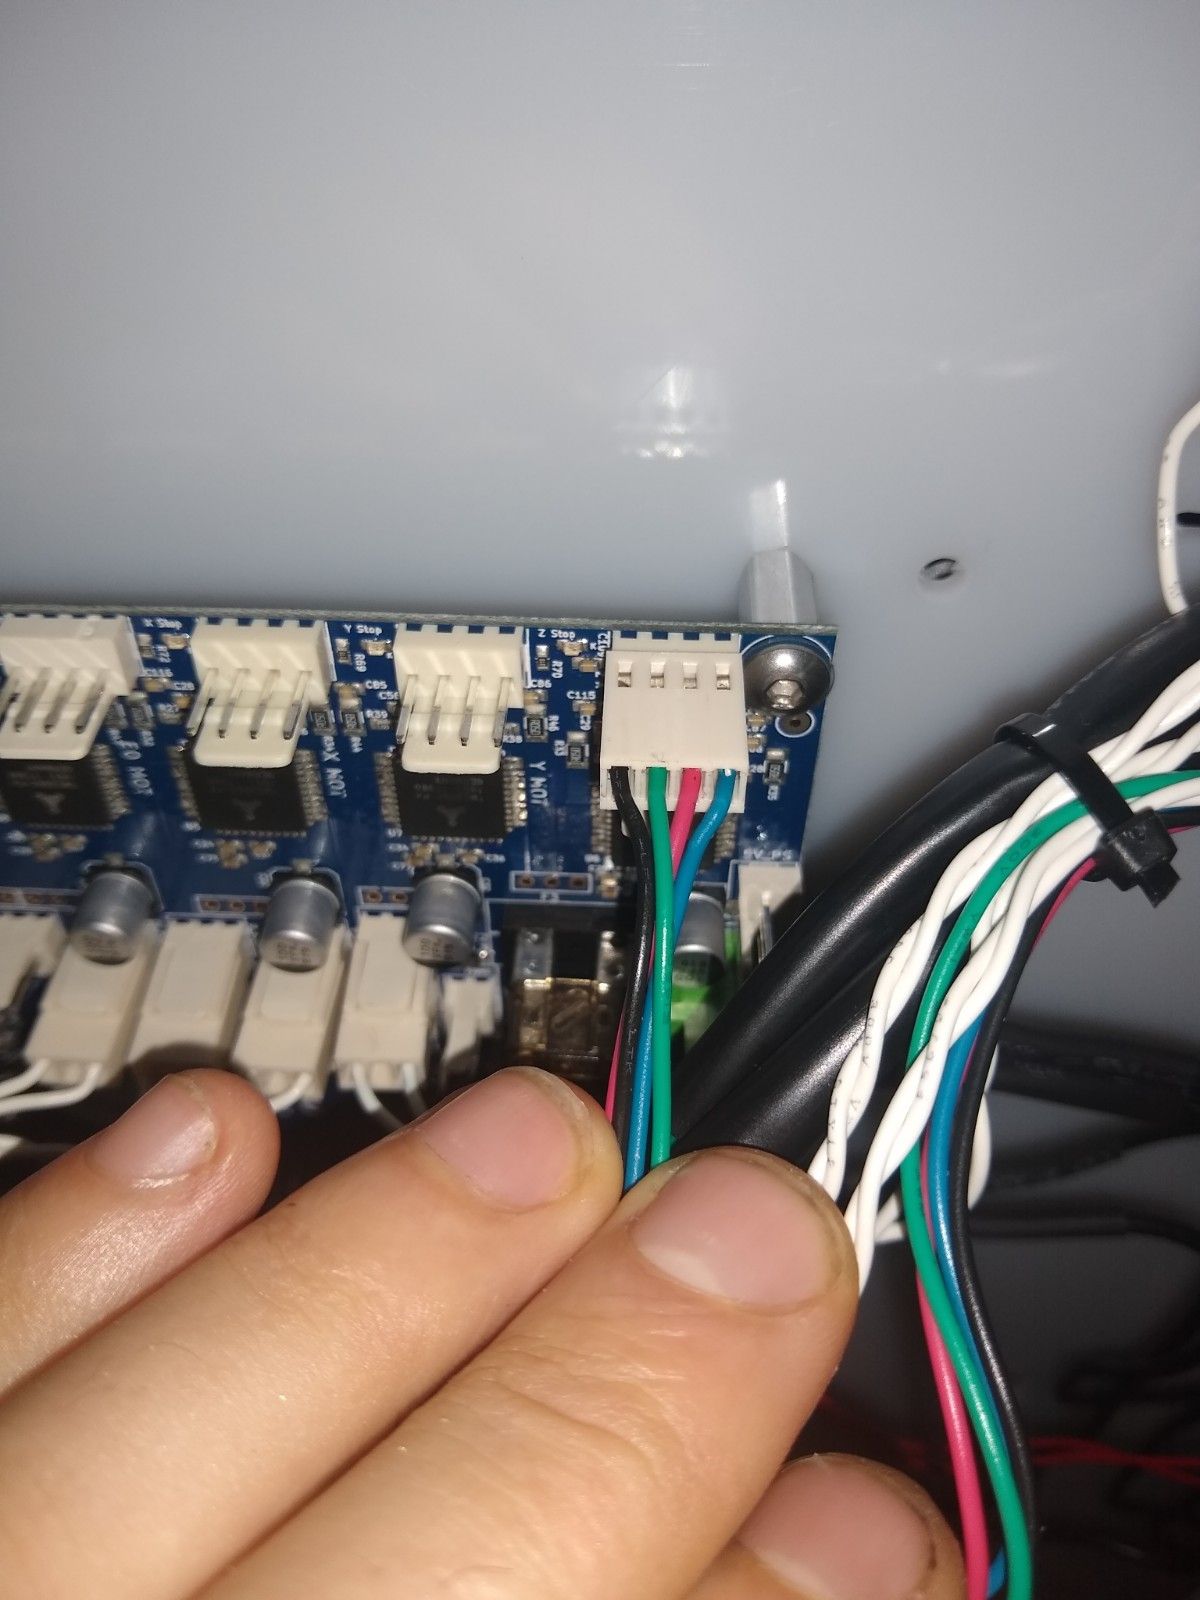
You are correct it seems odd to me about the drivers as well, but the pictures posted didnt show the 0 and 1 drivers. Here is a pic of that. Again, the motors for X and Y worked when plugged into Z but not on their respective spots.

-
Ok so here is the removed board front and back. As far as I can tell there are no bad solders or visible damage.
