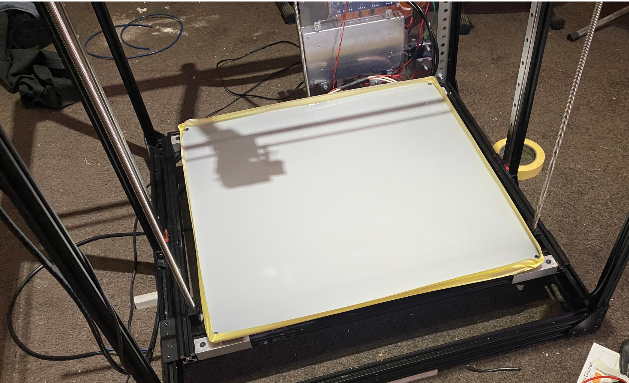
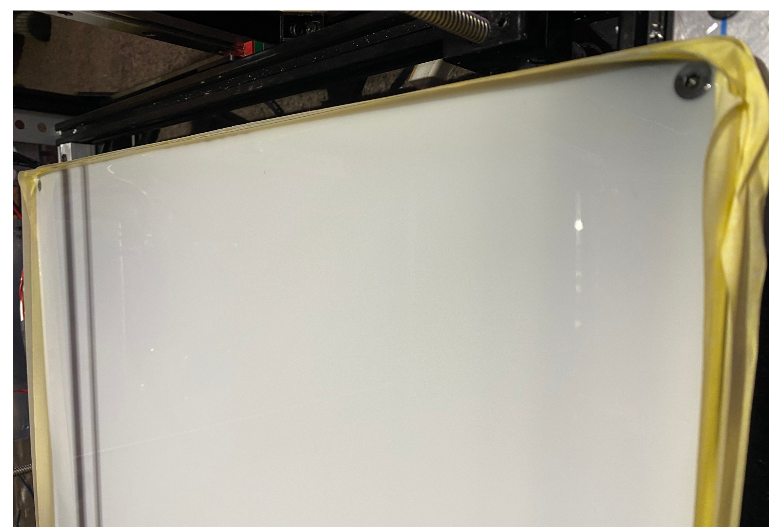
500x500x6mm glass plate - How to interpret height map
-
@theruttmeister said in 500x500x6mm glass plate - How to interpret height map:
Aluminium base, with magnets, steel flex plate with the polymer top-coat of your choice.
Might be getting off topic here, but how is your base arranged? I'm thinking of implementing a magnetic-attached steel sheet, but my current bed arrangement is an aluminium plate with silicone bed heater heater bonded on the bottom and I'm not sure how to work the magnetic into that.
One option is an adhesive magnetic sheet on the top of the aluminium, but I basically don't trust they will stay magnetic long at 90C (or hotter - I occasionally print ASA).
-
@achrn
Before the heater was attached, 25 ~6mm holes were drilled through the plate (which is 305x305x6mm).
25 6mm (or it could have been 1/4", I don't recall) neodymium magnets were inserted into the plate (which was on a flat surface, so the magnets ended up flush). 2 part epoxy was added to the holes (this is the hardest part, as you need the right kind of epoxy and it needs to get between the magnet and the walls of the hole)... Although I last did this a couple of years ago, so it might have been superglue... There were certainly issues getting the glue right.
And the hole must be bigger than the magnets, neodymium magnets are brittle and cannot be press-fitted.The holes are in a grid, the outer edges being about ~12mm in from the edge. The magnets are D6mm L5mm
The steel plate is from a buildtac flexplate system (their magnet base kept melting).I don't print in anything too crazy these days, but the curie temp of a good neodymium magnet should be well over 200C, at least according to wikipedia. So you should be good even if you need to print in unreasonable materials.
Full credit to Nophead, who I just copied.
-
@theruttmeister @achrn I've ended up ripping off the stick on magnetic layer that was applied to my 4mm plate. I had originally intended to have a magnetic PEI sheet. So this whole hassle of the warped 4mm plate is having some big knock on effects.
I tried to put glass straight on top of the 4mm plate, but it rocks around when the aluminium is heated so I think I'm going to use a variation of the silicon idea, whilst I also source a 7mm / 8mm replacement plate.
My idea for the silicon is I have some Liquid Silicon Rubber which is intended for casting moulds. So I hope that what I can do is skim a layer of that over the aluminium and it will fill out the voids. I'm still anxious that it will deform when heated though.
On the whole I think it's gonna cost me a new aluminium bad and a new bed heater as I don't know if I have any chance of getting the heater off of the 4mm plate.
-
Well here goes nothing - laid a layer of LSR over it, spread it like you would if you were applying tile cement to a wall, i.e. with a grooved/slotted flat spreader, seems to have run out pretty flat and to the tops of the levelling screws. Will give it the rest of the day to cure then put the glass back on top and see what happens.
-
I wouldn't have gone down that route myself... silicone rubber is a good insulator, so great for filling those gaps and absorbing any expansion, but its going to take an age for the glass to heat up (although to be fair, the glass is already a good insulator, so the difference might not be that big).
I used to think glass was the best possible bed surface, but I learnt:
- VERY VERY flat glass isn't that expensive or hard to get your hands on (if you are an OEM at least). BUT, its very fragile. PET tends to eat chunks out of it.
- Toughened glass is NEVER flat. Not even close.
- If you are heating it, you need to use borofloat anyway... and that is still fragile and is also not very flat.
I got sick of the cost of replacing broken glass. Hence the aluminium and steel. Well, that and at the time the best self leveling option was an inductive sensor. You don't want to know how much magnetic glass costs...
And provided you only have a very thin layer of silicone, it won't be that hard to remove. Just use a very thin steel wire to cut it from the side. Trying to lever the two pieces apart will just smash the glass.
-
@theruttmeister said in 500x500x6mm glass plate - How to interpret height map:
silicone rubber is a good insulator
Yes, but better than air. Would need to know if there are more air gaps than contact spots to see how it comes out in the wash, but a thin layer may not be too bad really.
-
@Phaedrux said in 500x500x6mm glass plate - How to interpret height map:
@theruttmeister said in 500x500x6mm glass plate - How to interpret height map:
silicone rubber is a good insulator
Yes, but better than air.
ahem
yes, but a better conductor than air.

True.
And you could use copper filled silicone. I seem to recall that being a thing. Marginally better thermal conduction iirc. -
@theruttmeister said in 500x500x6mm glass plate - How to interpret height map:
copper filled silicone
Now you're talking. I used something similar to this to bond my heater to the aluminum plate.
-
That's the thingy!
Hmm... all this talk makes me want to revisit granite beds!
Well, not really. But for about 3 seconds I thought about it.
-
There are also thermal gap fillers intended for exactly this purpose - fill a variable gap, normally interfacing a whole region of variable-sized components on a circuit board to a heatsink.
They tend to be ceramic filled silicone, I believe, but there are other flavours (both of filler and of matrix). The example (below) is about a hundred times better conductivity than air, so it would be an mprovement if your air gap is anything over 0.01mm, I guess.
Quite expensive on a moderate size bed though (this is a cheap one): https://uk.farnell.com/electrolube/gp300sl/thermal-gap-pad-200mm-x-200mm/dp/2777028 -
Well it was an exciting adventure guys - something that I had to do just to satisfy my curiosity and was a real Hail Mary. I certainly learned some things about LSR, which I'd had in my garage a short while but never done anything with.
Just out of interest to tell you what happened and what I learned...
I applied the glass before the silicone cured. It occurred to me, this way, I could limit the thickness. Applying the glass and then sliding it around, meant that the silicon mostly occupied the voids between the crappy 4mm aluminium and glass.
Then, was I gonna wait several hours for it to cure? Nope! I heated the bed to 60C and it cured in about 20 minutes!

This was all a botch job of course, but for interest I then meshed the bed and could see it was sloped, so the idea was a right off. But I could clearly see the voids between the corners and centre filled with 1mm or more depth of silicone.
It was pretty easy to remove the silicone after the experiment and now my printer has produced it's first useful item - a silicone sheet
 Mmmmm maybe good for future making activities
Outcome - called an engineering and ordered a 10mm piece of aluminium machined down to a flat surface ~9mm. They checked out their 8mm stock and said it was shocking and no where near flat. So we decided to go thick, and skim it back on bother sides to get the final product.
Unfortunately, I can't find cast plate in Perth. Maybe it's available in Sydney, but shipping costs are killers over here.
Hopefully will have the new plate end of week.
-
Sorry to drag this old thread up, but I'd like to ask for some advice from users that have tinkered making there own magnetic cast tool plate. Tinkered is probably not the correct word to use considering the costs involved.
Anyway I've just bought an 8mm 400 x 400mm cast tool plate. I'm planning on getting a machine shop to mill out some blind holes for magnets (neodymium N42SH 6 x 6mm).
I plan on setting these out 10mm in from all sides and have them in a 6 by 6 fashion = 36 magnets.
Each magnet I'm planning on using has a pulling force of 1.4kg, buried flush to the bottom, so there will be 2mm left on top of the cast tool plate.Do you think these magnets will be sufficient enough to hold a spring steel/pei sheet while printing?
Can you remember what adhesive you used, or can someone recommend some?
I think the likes of araldite will be to brittle.
-
@Dizzwold It would be a good idea to look at the options out there from companies like https://mandalaroseworks.com/
@brendon had machines magnetic beds on show at ERRF on his custom printers that AFAIK he designed himself so he may have some good input.
-
Remember that magnetic force decreases with the (IIRC) square of the distance, so the blind holes are cool, but decrease the force a little.
The beds I built I just used through holes and superglue, 305x305mm and 25 magnets of similar size to the ones you are thinking of using (the ones by the edge are set back ~12mm). The critical thing for any glue is getting the surfaces really clean.The only issues were if the glue failed, but those ( a couple IIRC pulled out) I just scraped out the old glue and re-glued.
The beds are now several years old and still work just fine.

