massive overextrusion, E-Steps are calibrated
-
@Veti said in massive overextrusion, E-Steps are calibrated:
https://duet3d.dozuki.com/Wiki/Gcode#Section_M592_Configure_nonlinear_extrusion
No M592 in config or Gcode of 3D printed file found.
-
@Enpixa Just to rule out something changing the config.g values, send the following after resetting the Duet:
M92 M350 M221
which should respond with something like (my settings):Steps/mm: X: 80.000, Y: 80.000, Z: 800.000, E: 612.000 Microstepping - X:16(on), Y:16(on), Z:16(on), E:16(on) Extrusion factor(s) for current tool: 100.0%Then send again once you have started a file printing. If there's a gcode somewhere changing these settings, the firmware should report it.
Just as a sense check, I looked at the snippet of gcode you posted. It shows a 12.5mm move with a 0.75mm extrusion move (roughly). For 1.75mm filament this is:
π(1.75/2)^2 x 0.75 = 1.8mm^2For a 0.4mm nozzle (0.4mm extrusion width; yours may be bigger) with a layer height of 0.3mm, for this distance you should be extruding (again, roughly):
0.4 x 0.3 x 12.5 = 1.5mm^2 of filamentSo it looks (from this tiny fragment of gcode) that the extrusion commanded is in the right ballpark; I'd guess you have an extrusion width of 0.5mm, which gives 1.875mm^2 of filament. However, check the settings in your slicer for the first layer, as they are often different from other layers.
Ian
Bed-slinger - Mini5+ WiFi/1LC | RRP Fisher v1 - D2 WiFi | Polargraph - D2 WiFi | TronXY X5S - 6HC/Roto | CNC router - 6HC | Tractus3D T1250 - D2 Eth
-
@droftarts said in massive overextrusion, E-Steps are calibrated:
M92 M350 M221
Hello Droftarts, thx alot. Always the same result.directly after starting, after homing, while printing, after printing/aborting:
27.1.2021, 19:23:00 M92 M350 M221 Steps/mm: X: 80.040, Y: 80.040, Z: 800.960, E: 415.800 Microstepping - X:16(on), Y:16(on), Z:16(on), E:16(on) Extrusion factor(s) for current tool: 100.0% -
Little Update: Meanwhile i replaced the Duet Wifi mainboard with another one i had here in my shelf. Rewired everything.
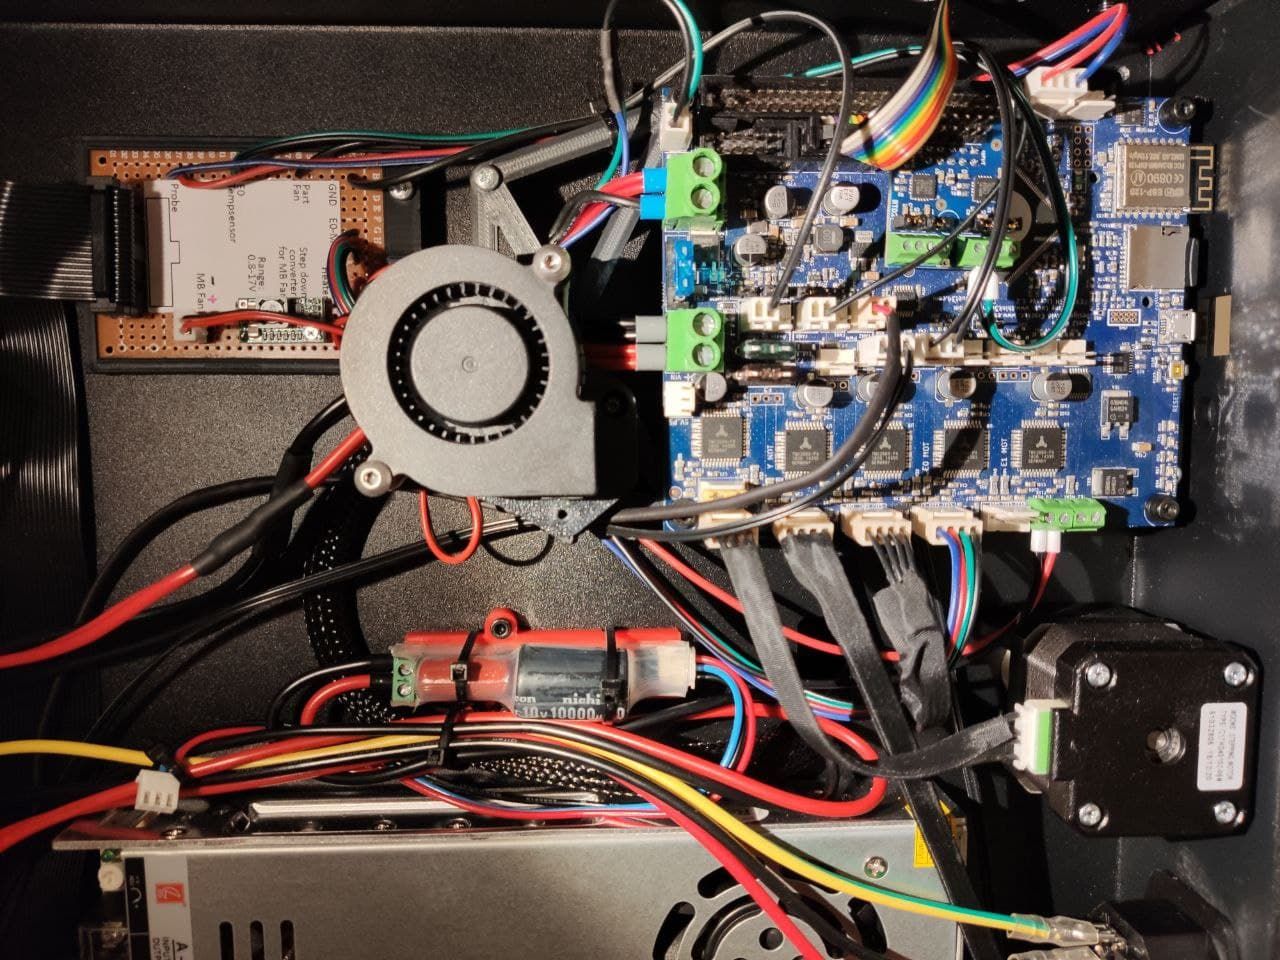
The whole story again. Reinstalled Firmware 3.2 completely new. ( Also DWC 3.2 etc. ) Also used another SD-Card. deleted all folders before. The only thing i copied was the config-files to sys folder from the "old" board.
Did new PID for heater.
Checked again, 100mm is moved when doing the G1 E100.
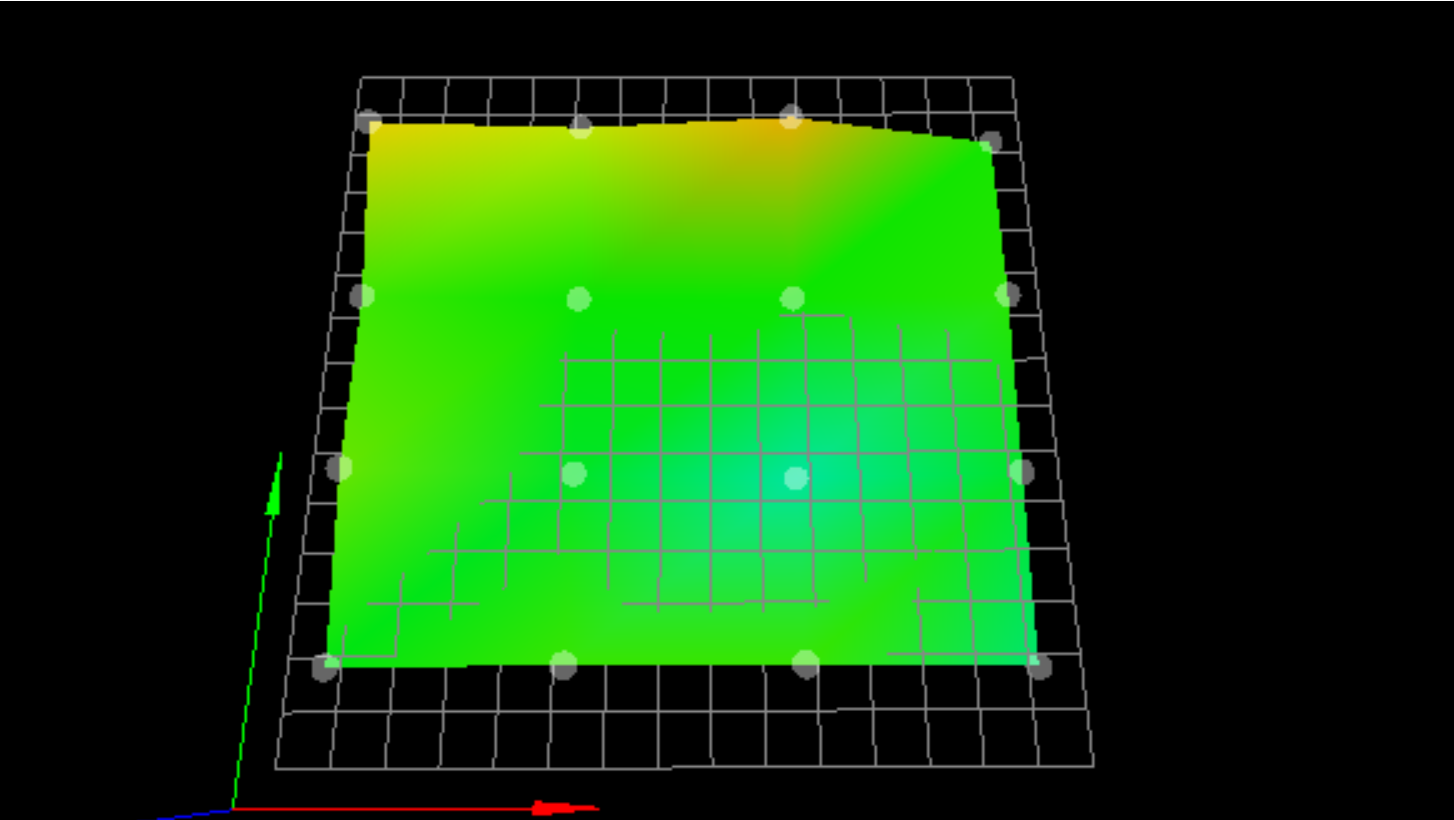
Heightmap doesnt look too bad:
Checked nozzle distance to bed again with the good old "paper-method" using standard 80g paper. Nozzle is barely touching the paper. Really only slightly, it doesnt bend nor really scratches it. just a little feel of.. there could be paper
")
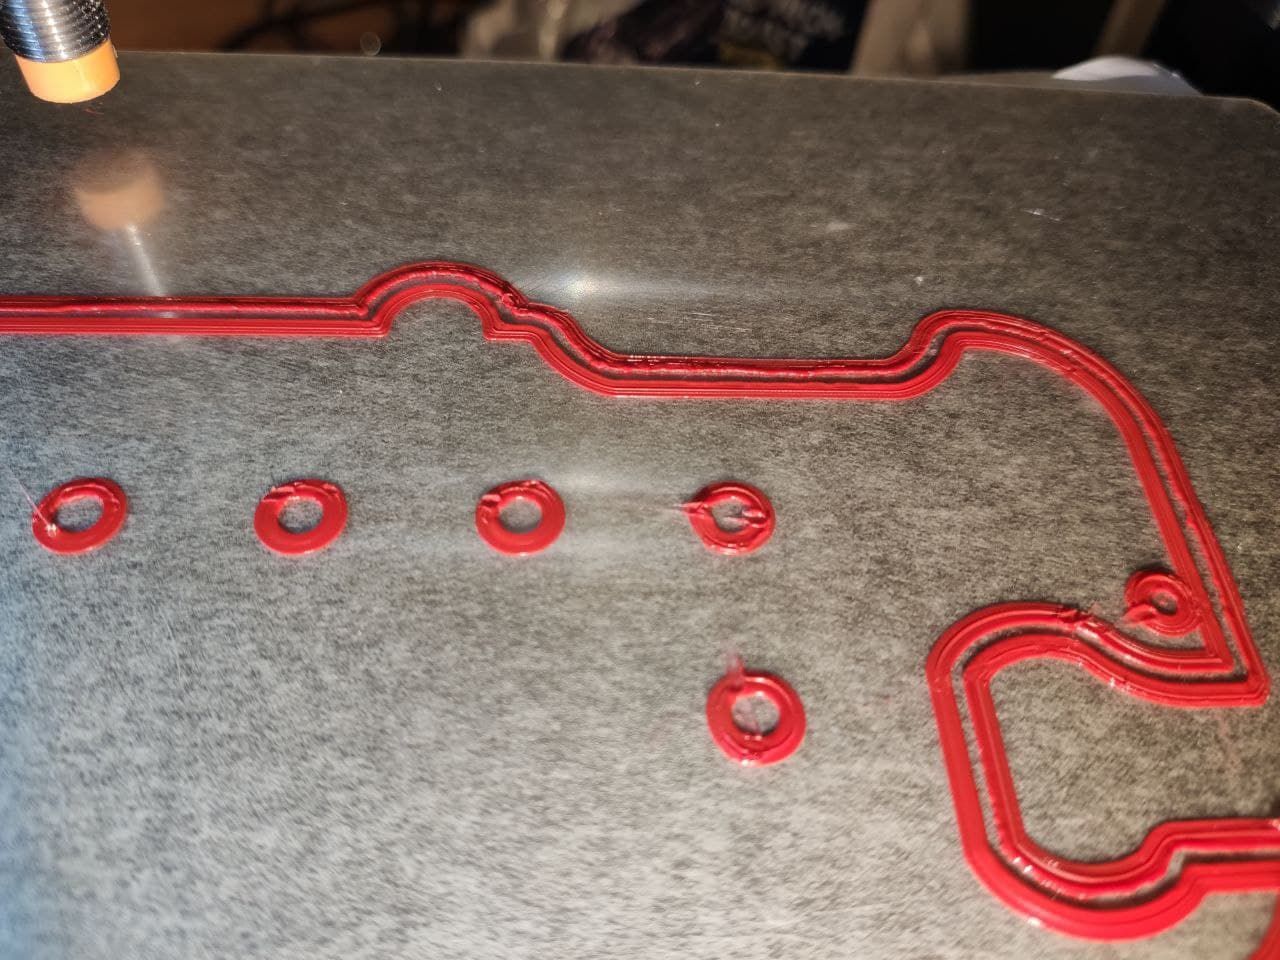
Print result at 100% Flow: same old story.
i am going crazy !
")
-
Try a fresh config from the configurator.
-
Some more checking:

Now disconnected the stepper from the printers daughter-board on top of the extruder Carriage and connected the stepper directly to the Duet Wifi to double check that there is no issue with the connections or daughtboard. Checked. Seems to perform the same. So connected back to daughterboard again.
Also send some "G1 E7.7" ( trial and error for a full 360° revolution value) which gives a full revolution at the bare stepper. Sent via console, working. fine.
Then wrote a little gcode file for execution:
M83; relative extrusion
M302 P1 ;allow cold extrusion

G92 E0 ;extruder 0

G1 E7.7 F200
M118 S"Round 1"
G4 P4000

G1 E7.7 F200
M118 S"Round 2"
G4 P4000

G1 E7.7 F200
M118 S"Round 3"
G4 P4000
printed via DWC:
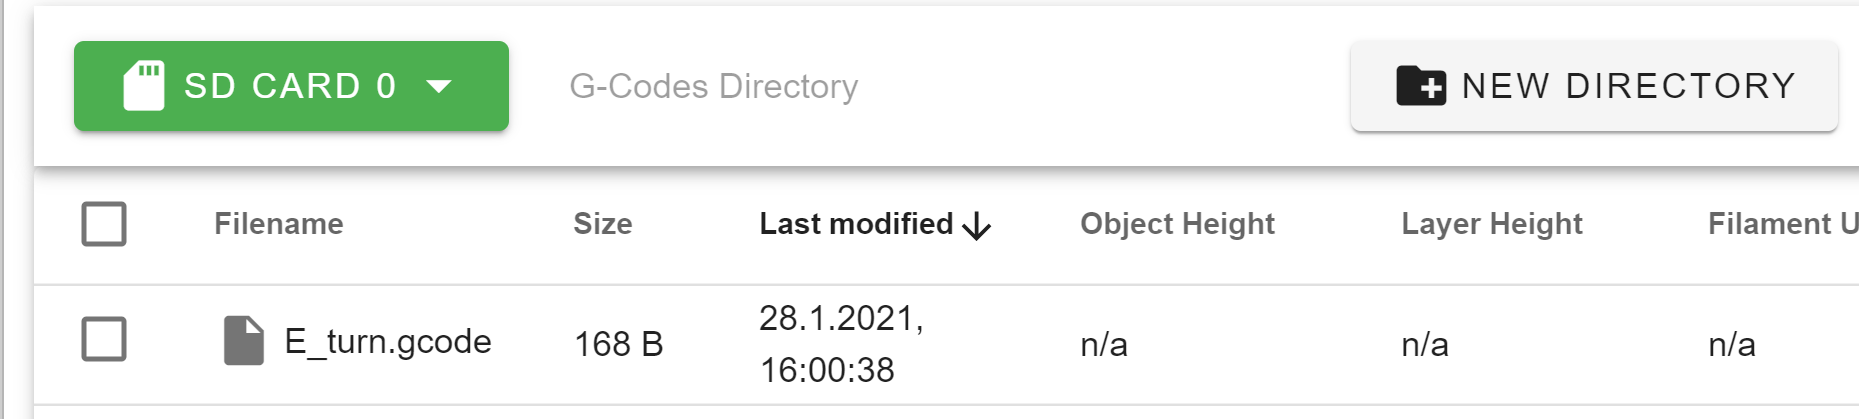
Works fine:
Video of executing that file: video_2021-01-28_15-52-49.mp4Performs like it should. No "over-extrusion" or double revolution seen here. Maybe this helps to get a step closer to the origin of the
over-extrusion problem. -
maybe we could send you a known good sliced g code and you can print that to rule out any misconfiguration in the slicer
-
@Veti said in massive overextrusion, E-Steps are calibrated:
maybe we could send you a known good sliced g code and you can print that to rule out any misconfiguration in the slicer
Hello Veti, that would be very nice !
Here is a link to the file i am doing all my tests with atm:
iphone_halterung_V26.stlIf someone could slice that proper for further testing. Would be great ! thx alot.
-
1611847978080-iphone_halterung_v26.txt
rename to zip and extract.
-
@Veti said in massive overextrusion, E-Steps are calibrated:
1611847978080-iphone_halterung_v26.txt
rename to zip and extract.
Veti, thx alot. Here comes the result of your gcode printed:

-
@Enpixa said in massive overextrusion, E-Steps are calibrated:
Checked nozzle distance to bed again with the good old "paper-method" using standard 80g paper. Nozzle is barely touching the paper. Really only slightly, it doesnt bend nor really scratches it. just a little feel of.. there could be paper
Did you measure the paper thickness with calipers or a micrometer? What do you set Z to when it's just brushing the paper? 0? 0.1? If the printer thinks it's at Z 0, and it's just brushing a piece of paper that's 0.1mm thick, then your first layer should look UNDER extruded (because your distance is too great.)
As an alternative to standard paper, I buy cigarette rolling papers. They are usually about 0.02mm thick, and tear VERY easily. If I put that paper under my nozzle and move to Z0, it should tear the paper. If I move to Z0.02, I should be able to slide the paper out without tearing (but still feel resistance.)
At Z0.01, I can slide it out if I'm very careful and go slow, but it feels like it really wants to tear.
(I realize that the above info likely isn't going to help you solve your issue, and might even result in it appearing worse. I've just noticed that people very frequently associate a piece of paper with "z = 0" when it's not.)
i am going crazy !
That depends: Were you crazy before you started having this issue?
-
Some random ideas based on likely far-fetched things, but that haven't been asked yet:
I've noticed all your pictures are using red filament. I'm guessing it's the same spool? What is the brand and type of filament? Is it 1.75mm?
Have you tried a different spool of filament?
Have you measured the filament thickness to validate it's really 1.75 (or within 0.05mm)? It's not unheard of for people to get filament that's way off.
When measuring, use calipers to measure the thickness of the filament in multiple directions. For example, it might be 1.73 measured one way, and 1.77 measured at a 90 degree angle.
-
In Germany we have a saying: "It is the same in green"..... fits perfect to my print result
Meanwhile tried it with 4 different filaments. ( All from "high quality" filament companies.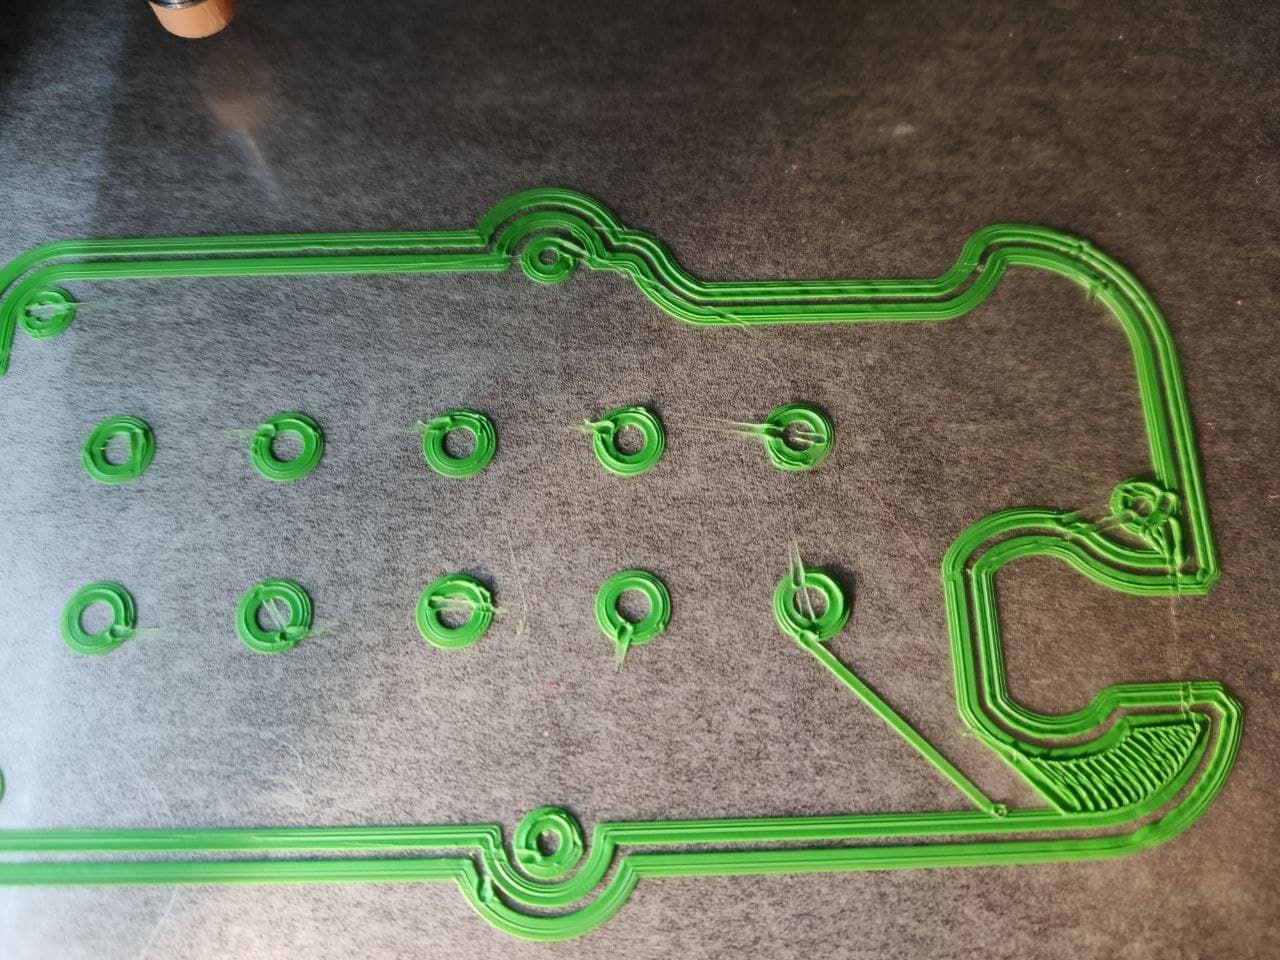
Will measure tomorrow, have my calipers in office. But the filaments work on my other printers fine.
-
Taking more guesses (and they really are guesses at this point.)
The shape that it's starting to print in your tests: are the X and Y dimensions of the outline accurate? In other words, if the shape is supposed to be 100mm wide and 50mm long, it the outline on the build plate 100mm wide and 50mm long? (Just validating that your X and Y steps/mm are accurate. If they are set too low, the shape would be smaller than it's supposed to be, and it would appear over-extruded.)
What is the height of that first layer? 0.2mm?
Try reversing the order of M92 and M350 in your config.g (so that M350 appears BEFORE the M92.) That way, you define what "a step" is before you define how many steps are in a millimeter. (I don't think this will solve your problem, but it's good practice anyway.) Also, "I1" in your M350 turns interpolation on (the comment in your config.g says "without interpolation", but the command is enabling it.)
-
I've seen filament leaving the nozzle and it was foamed up from 0.4mm to 1mm or more.
Can't remember which settings where wrong.Maybe others can confirm that and tell what to change?
The red testprint looks pretty normal to me, except this hole to the right, that didn't stick to the bed and messed up the infill around.
The green test was too close to the bed, you can see the nozzle has scratched through the print.
Maybe you just have to improve the stickiness of your bed and raise the nozzle.
The first layer isn't perfect most of the time, that's not unusual. -
Do you have calipers?
can you raise your head and extrude (manually) some amount of filament in the air and then measure the diameter of the string that is going out of the nozzle? -
Next Update:
measured the Filament, it is ~1.75
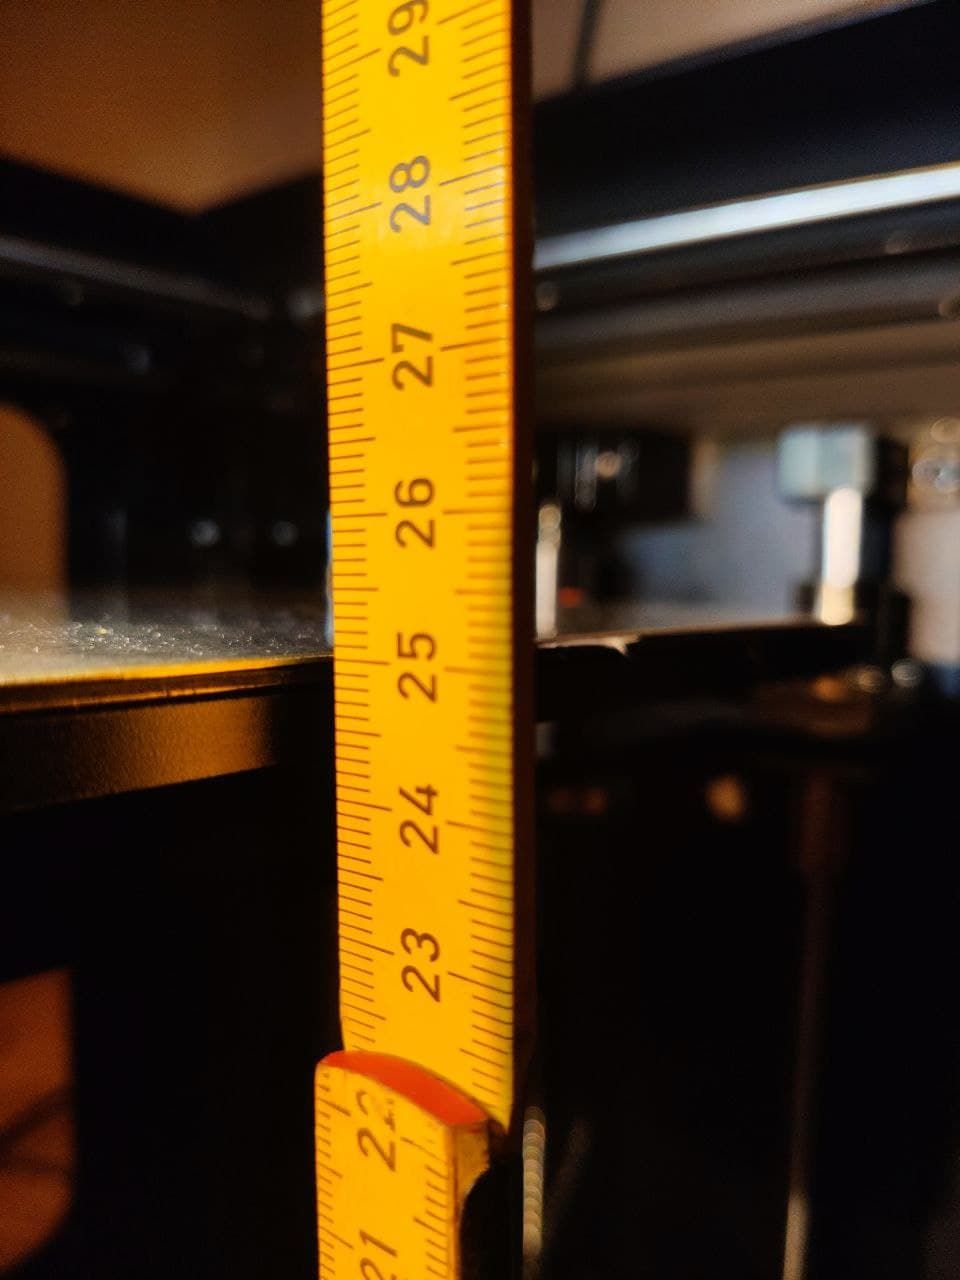
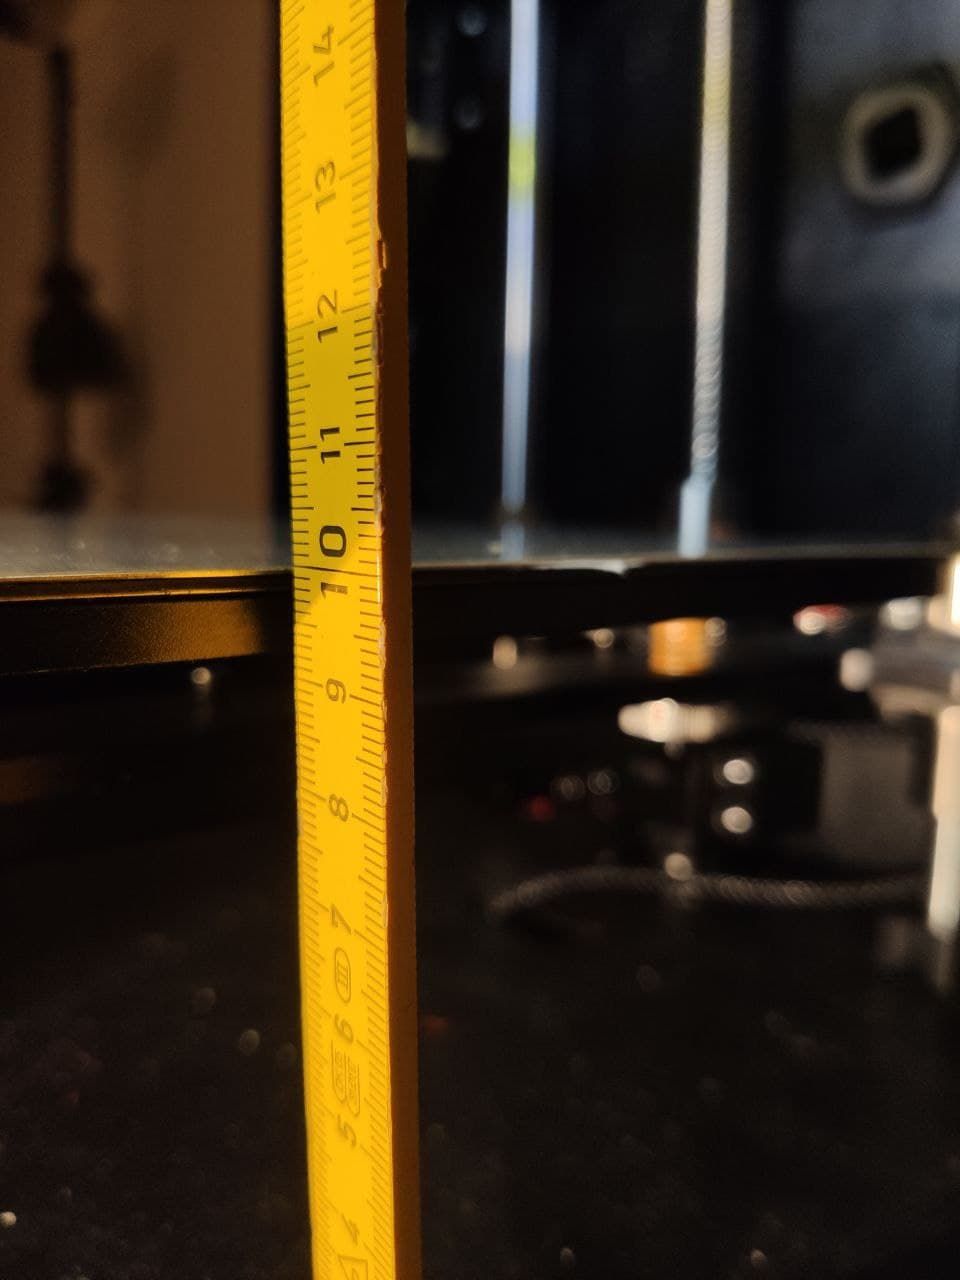
Checked Z-Movement: G92 Z0 & G1 Z150 :
Started at 25cm on ruler and it ended at exactly 10cm.Starting-Point:
End-Point of G1 Z150:
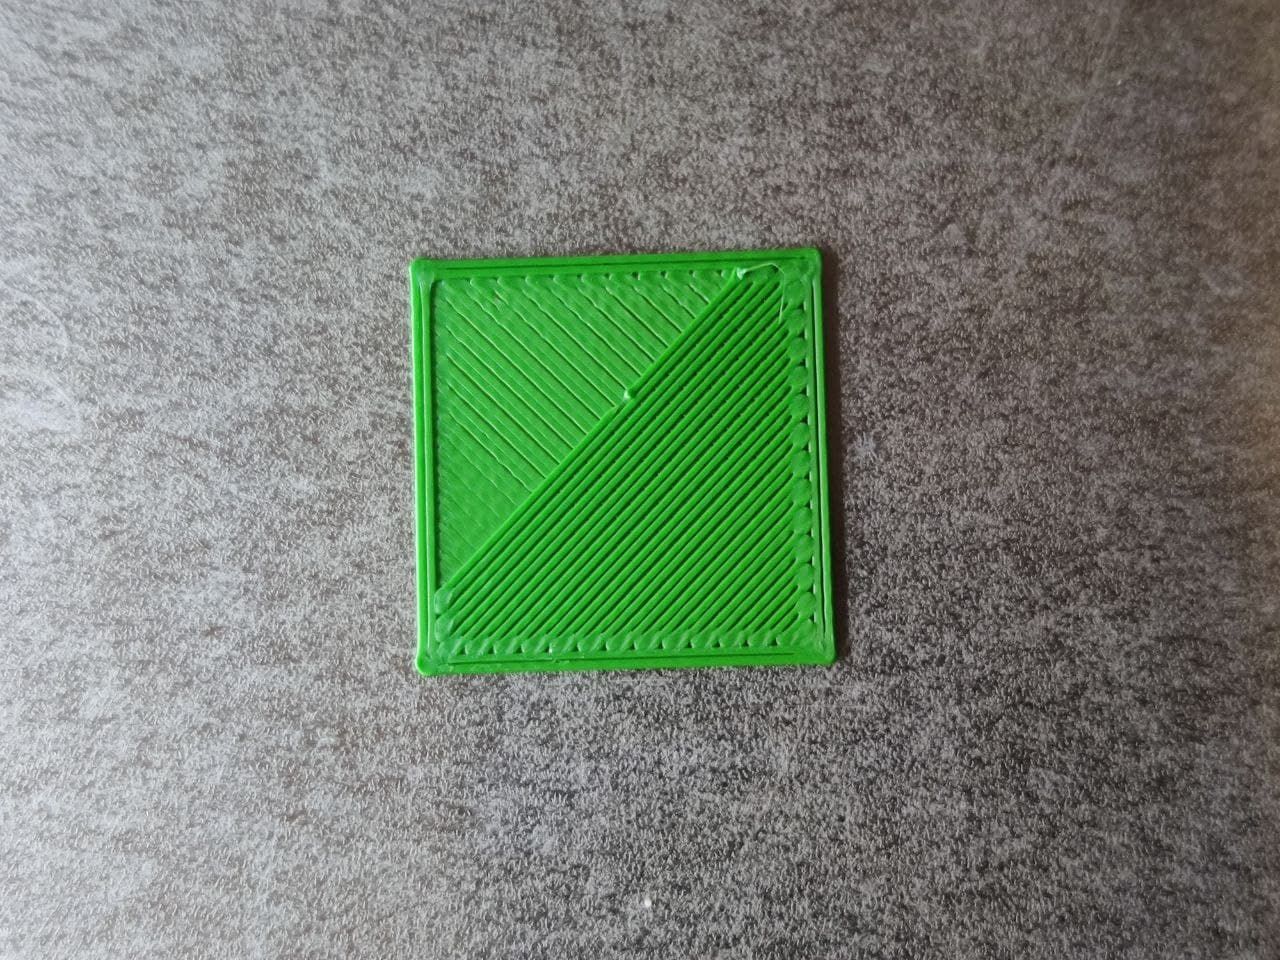
Next printed the Calibration Cube several times. Layer Height 0.16.
1st layer completely, 2nd Layer to the half to show nicely :Offset 0.15 ( Babysteps ), Extrusion Factor in DWC 70%
Offset 0.20 ( Babysteps ), Extrusion Factor in DWC 85%
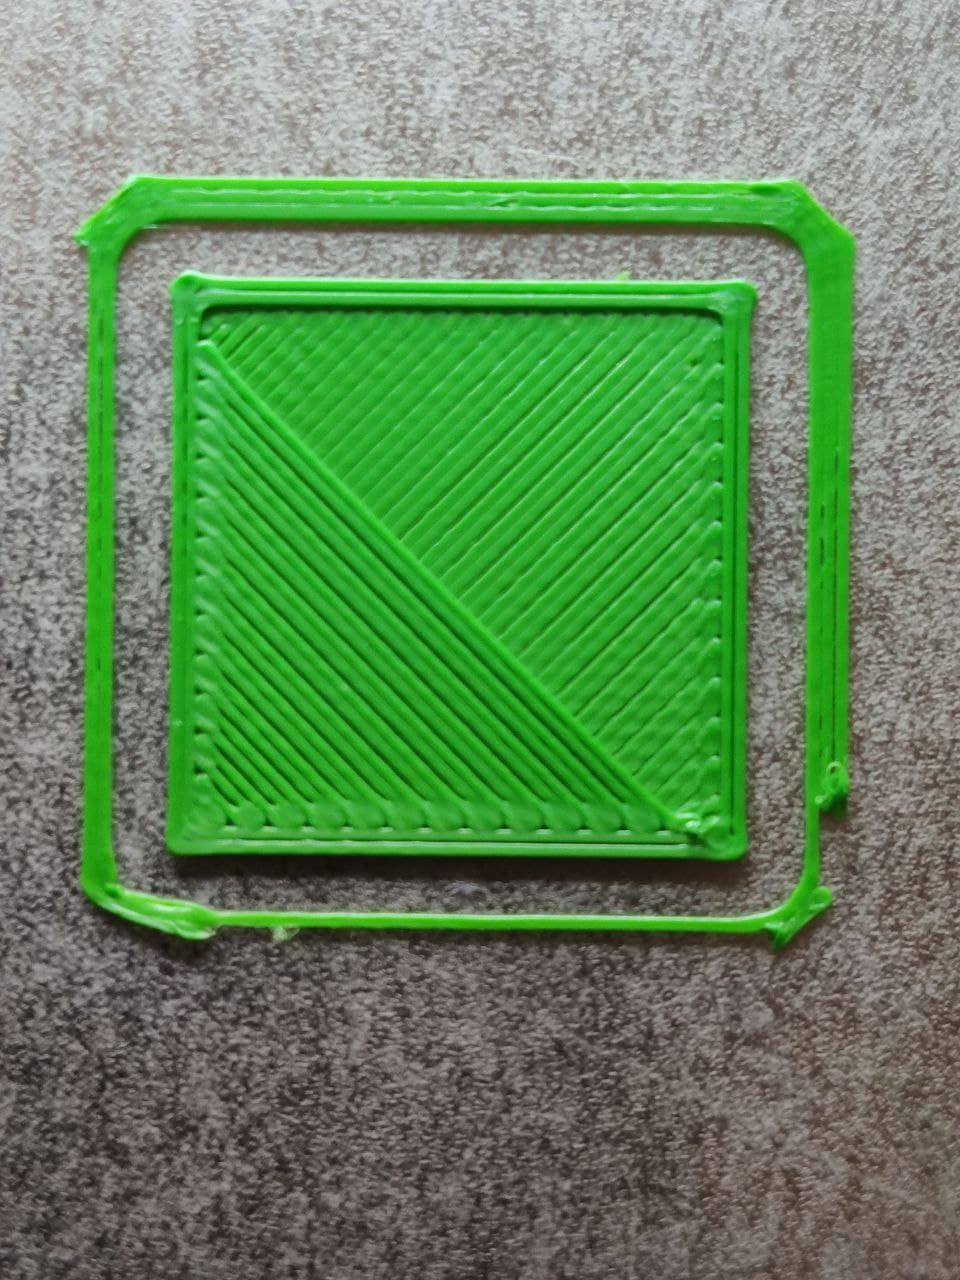
Offset 0.20 ( Babysteps ), Extrusion Factor in DWC 90%
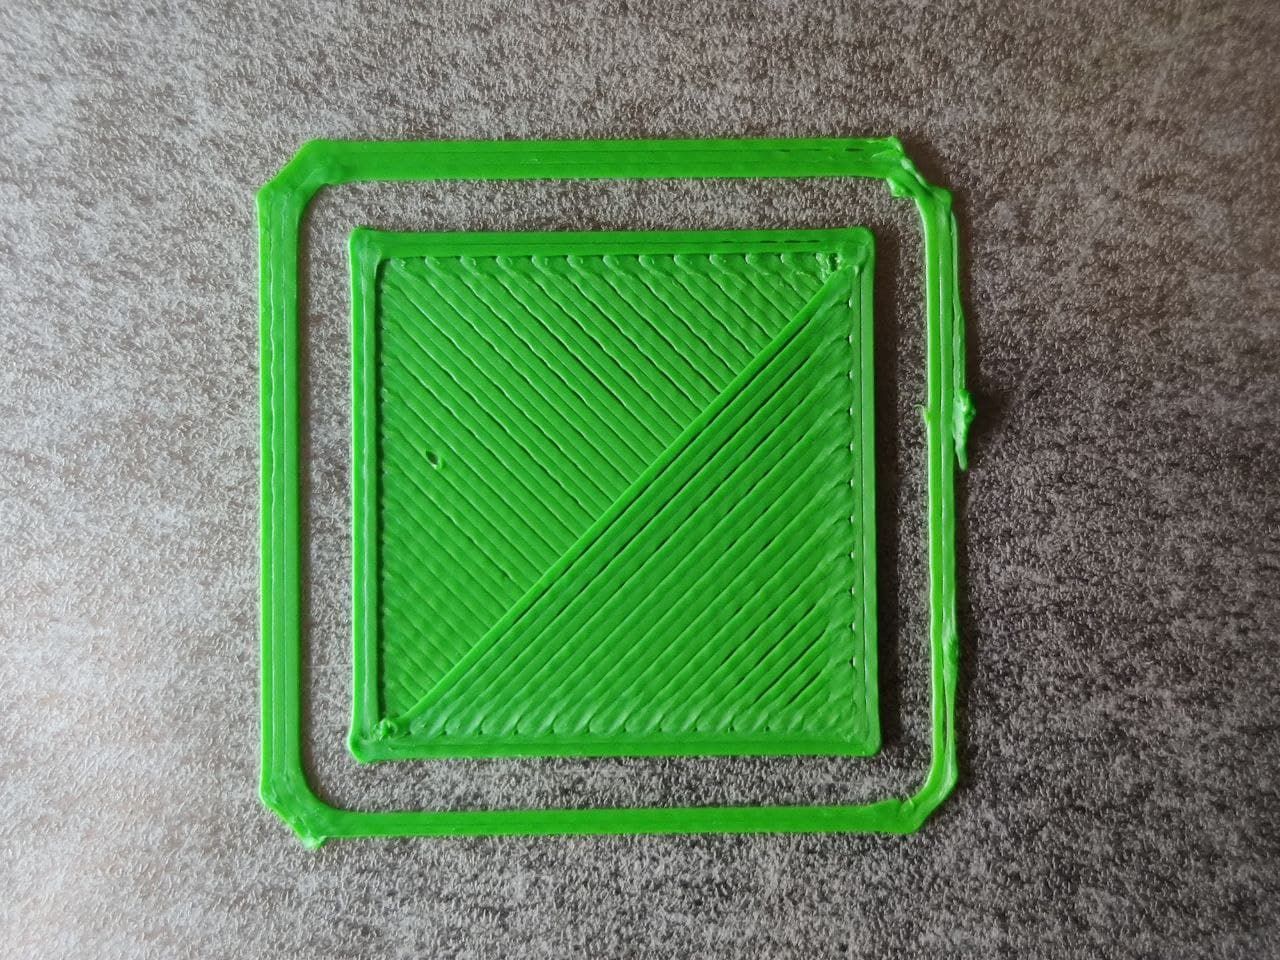
Offset 0.2 ( Babysteps ), Extrusion Factor in DWC 95%
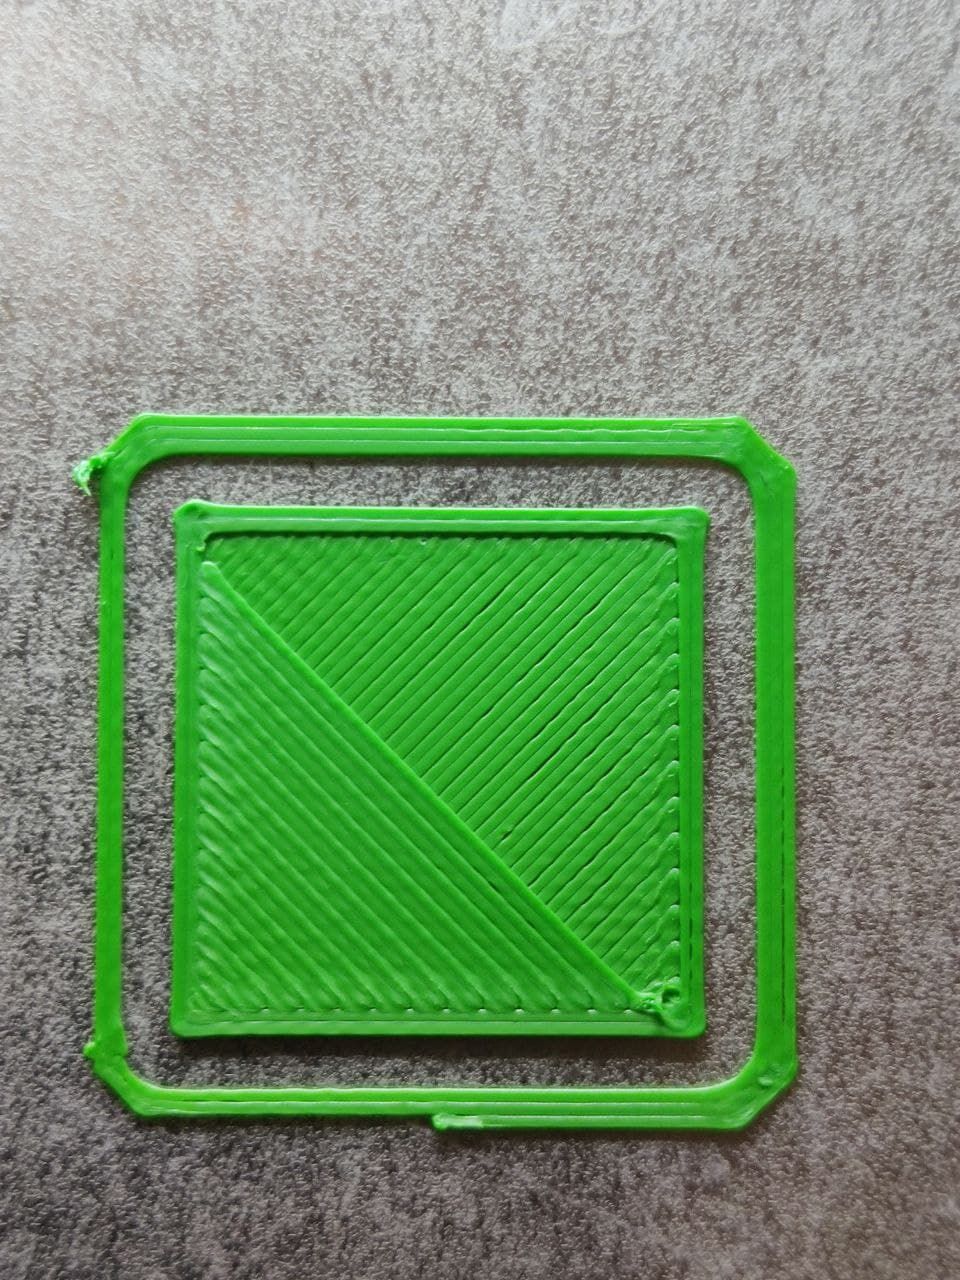
Offset 0.2 ( Babysteps ), Extrusion Factor in DWC 100%
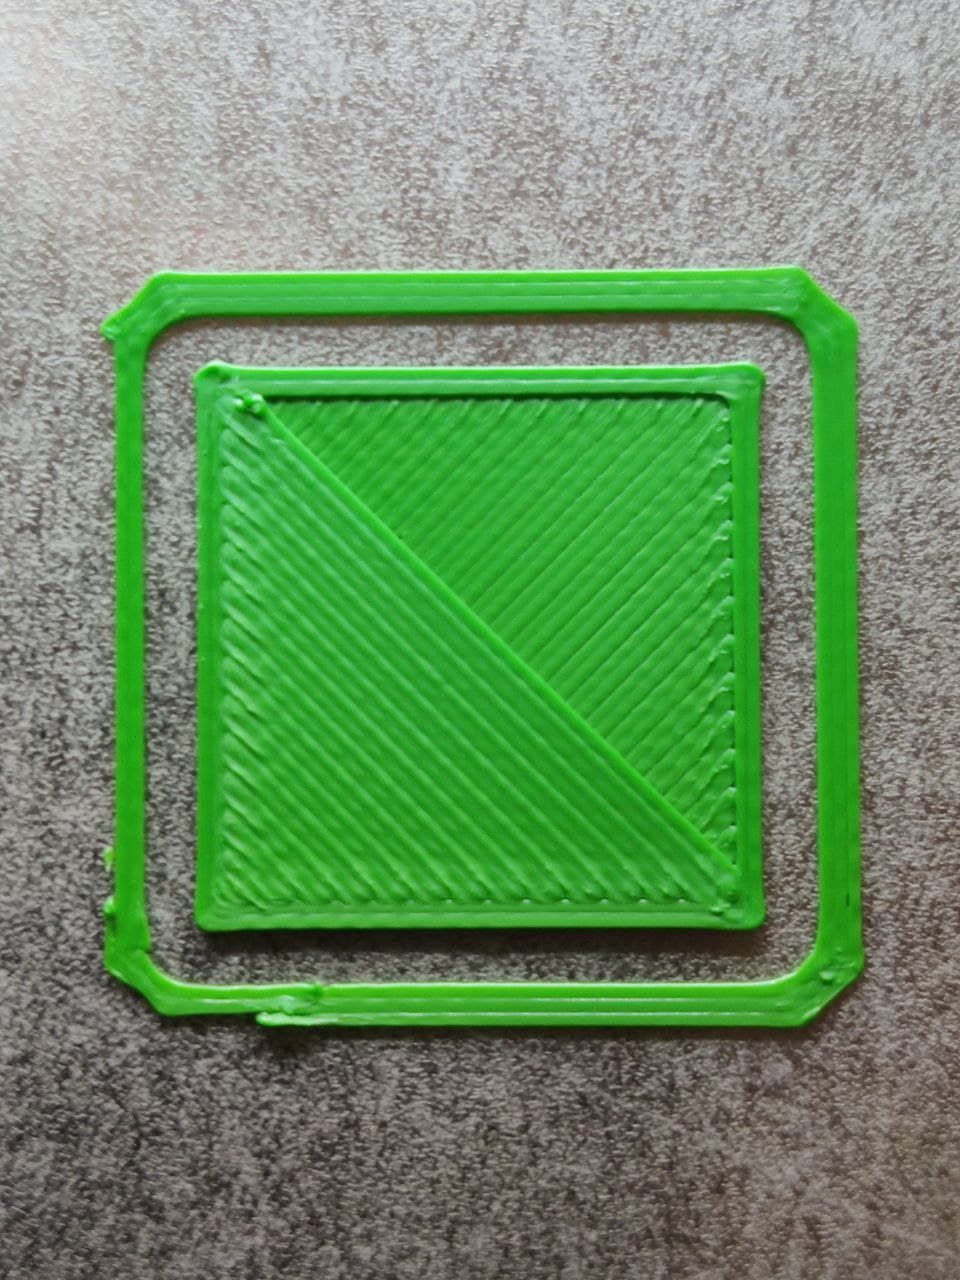
Offset 0.25 ( Babysteps ), Extrusion Factor in DWC 100%

Thought, Offset 0.2 and EF 100% didnt look too bad. so went for it
to print it:View to Infill at about 50% Printtime
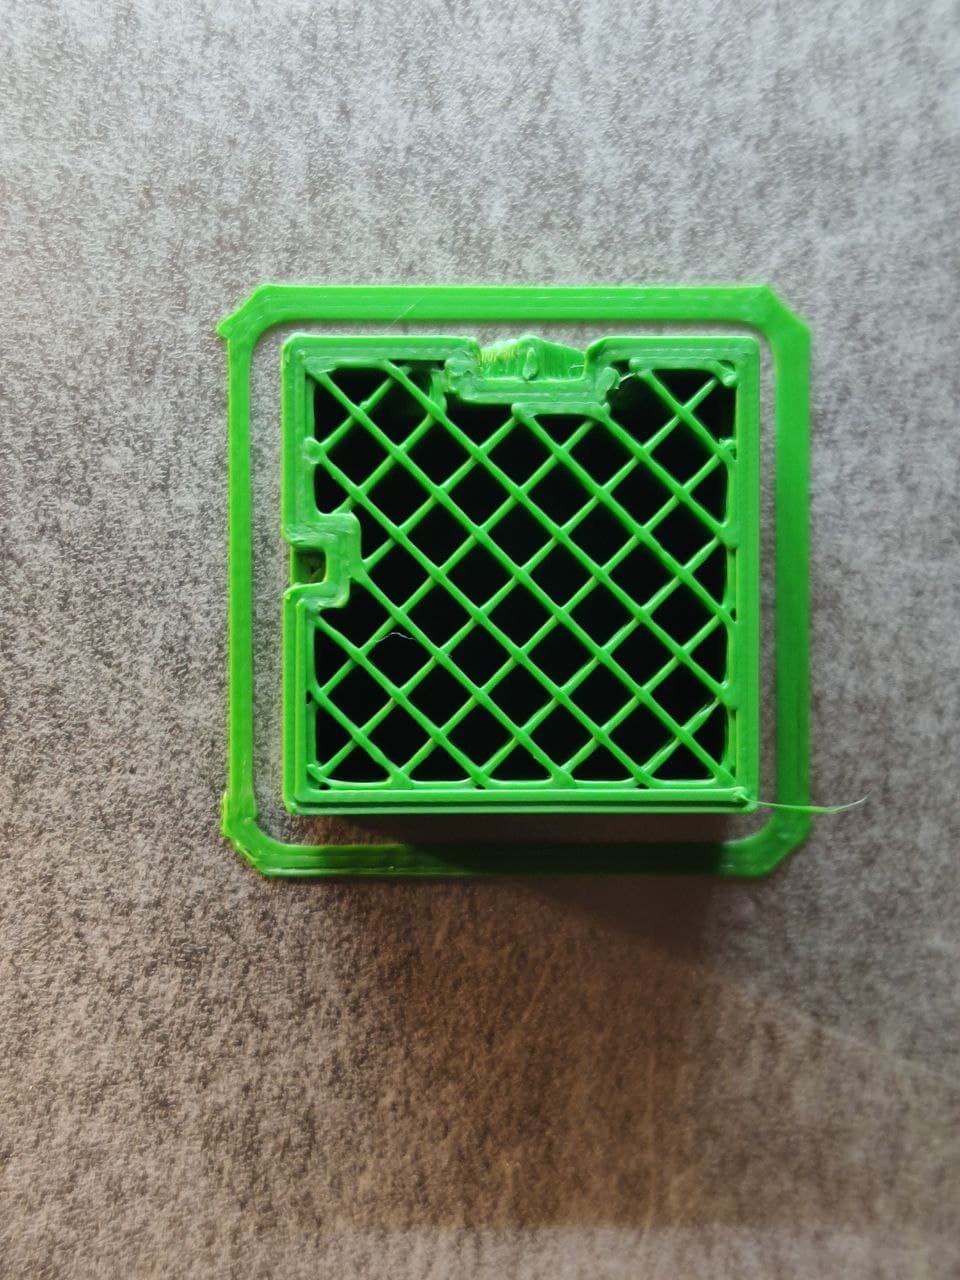
Photos of Calibration Cube. It is the same cube, just rotated it for the Photos, Printed with 0.16 Layer-Height:
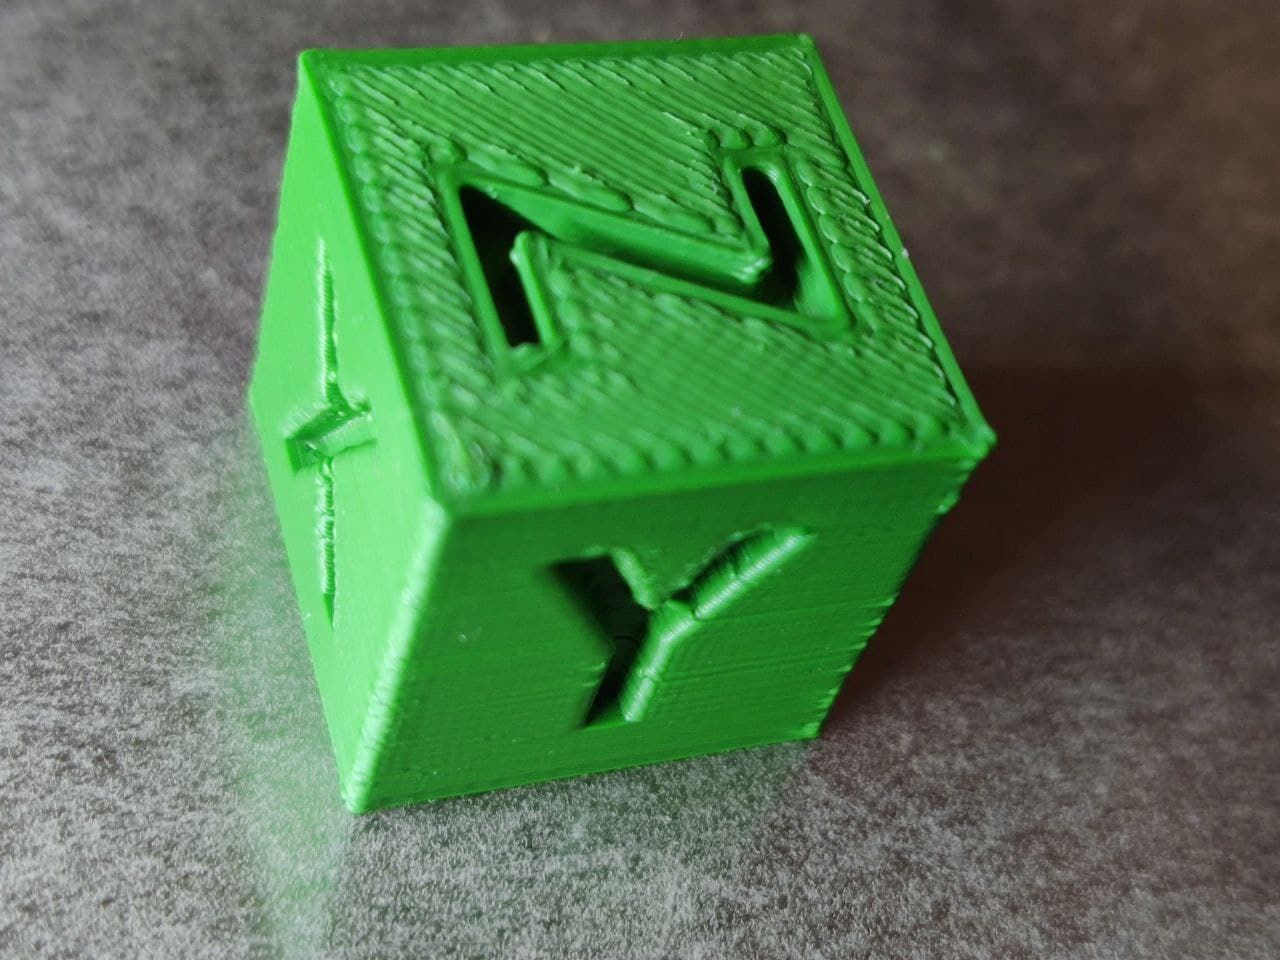
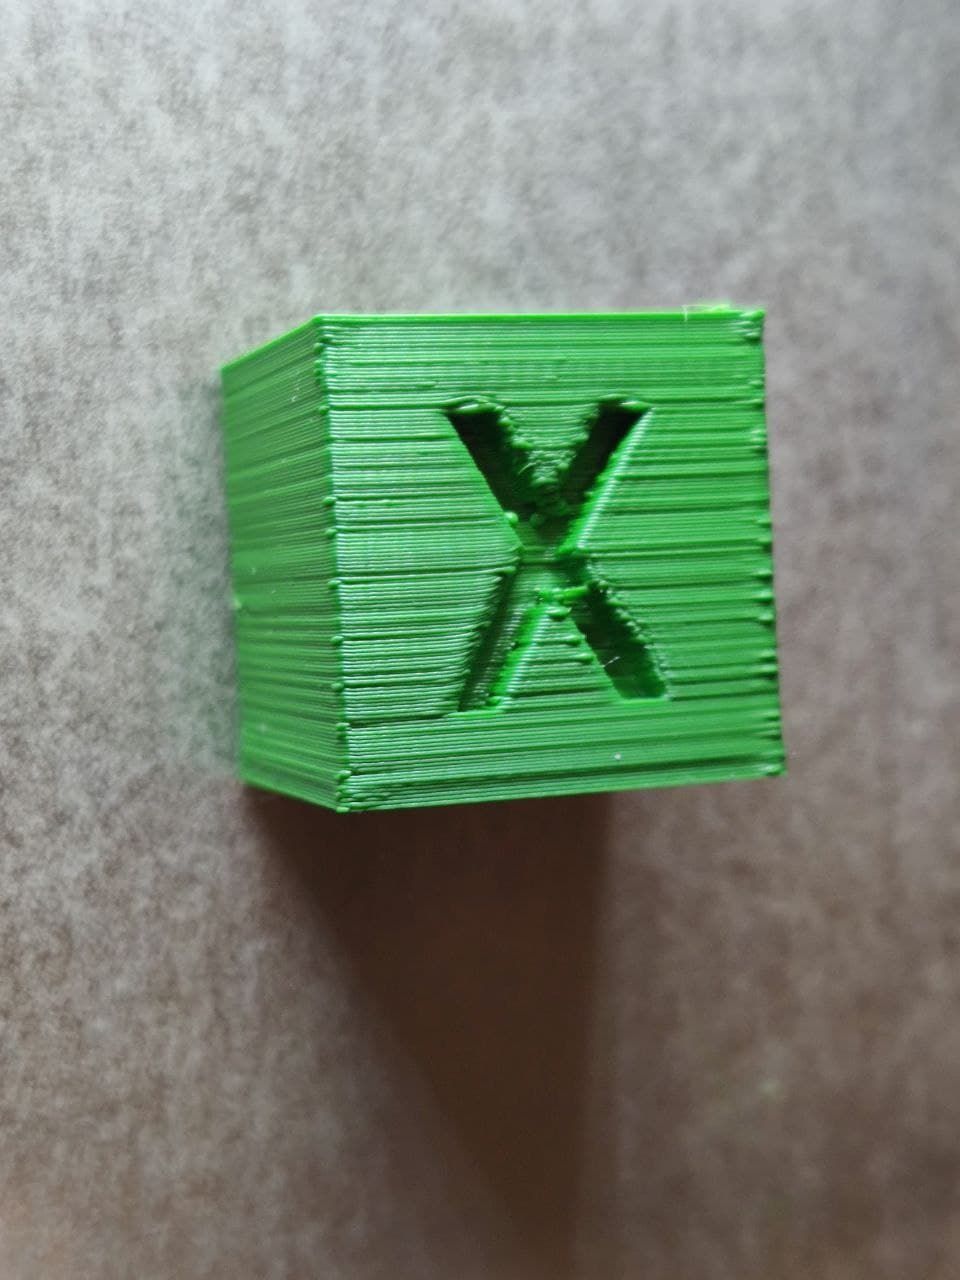
Any ideas, how i could proceed to get a good print result ?
-
i am confused. the one with 100% extrusion looks like its supposed to.
-
It's not uncommon to set the extrusion factor in the slicer to 90-95% to get clean prints. I'd say your first layer just needed to be a bit higher. The layers afterwards look ok.
-
what temperature are you printing at?
also make sure your retraction settings are working
print this
https://www.thingiverse.com/thing:2766430
and check with differernt retraction distances