My Version Of The Hypercube Evolution
-
Evening All.
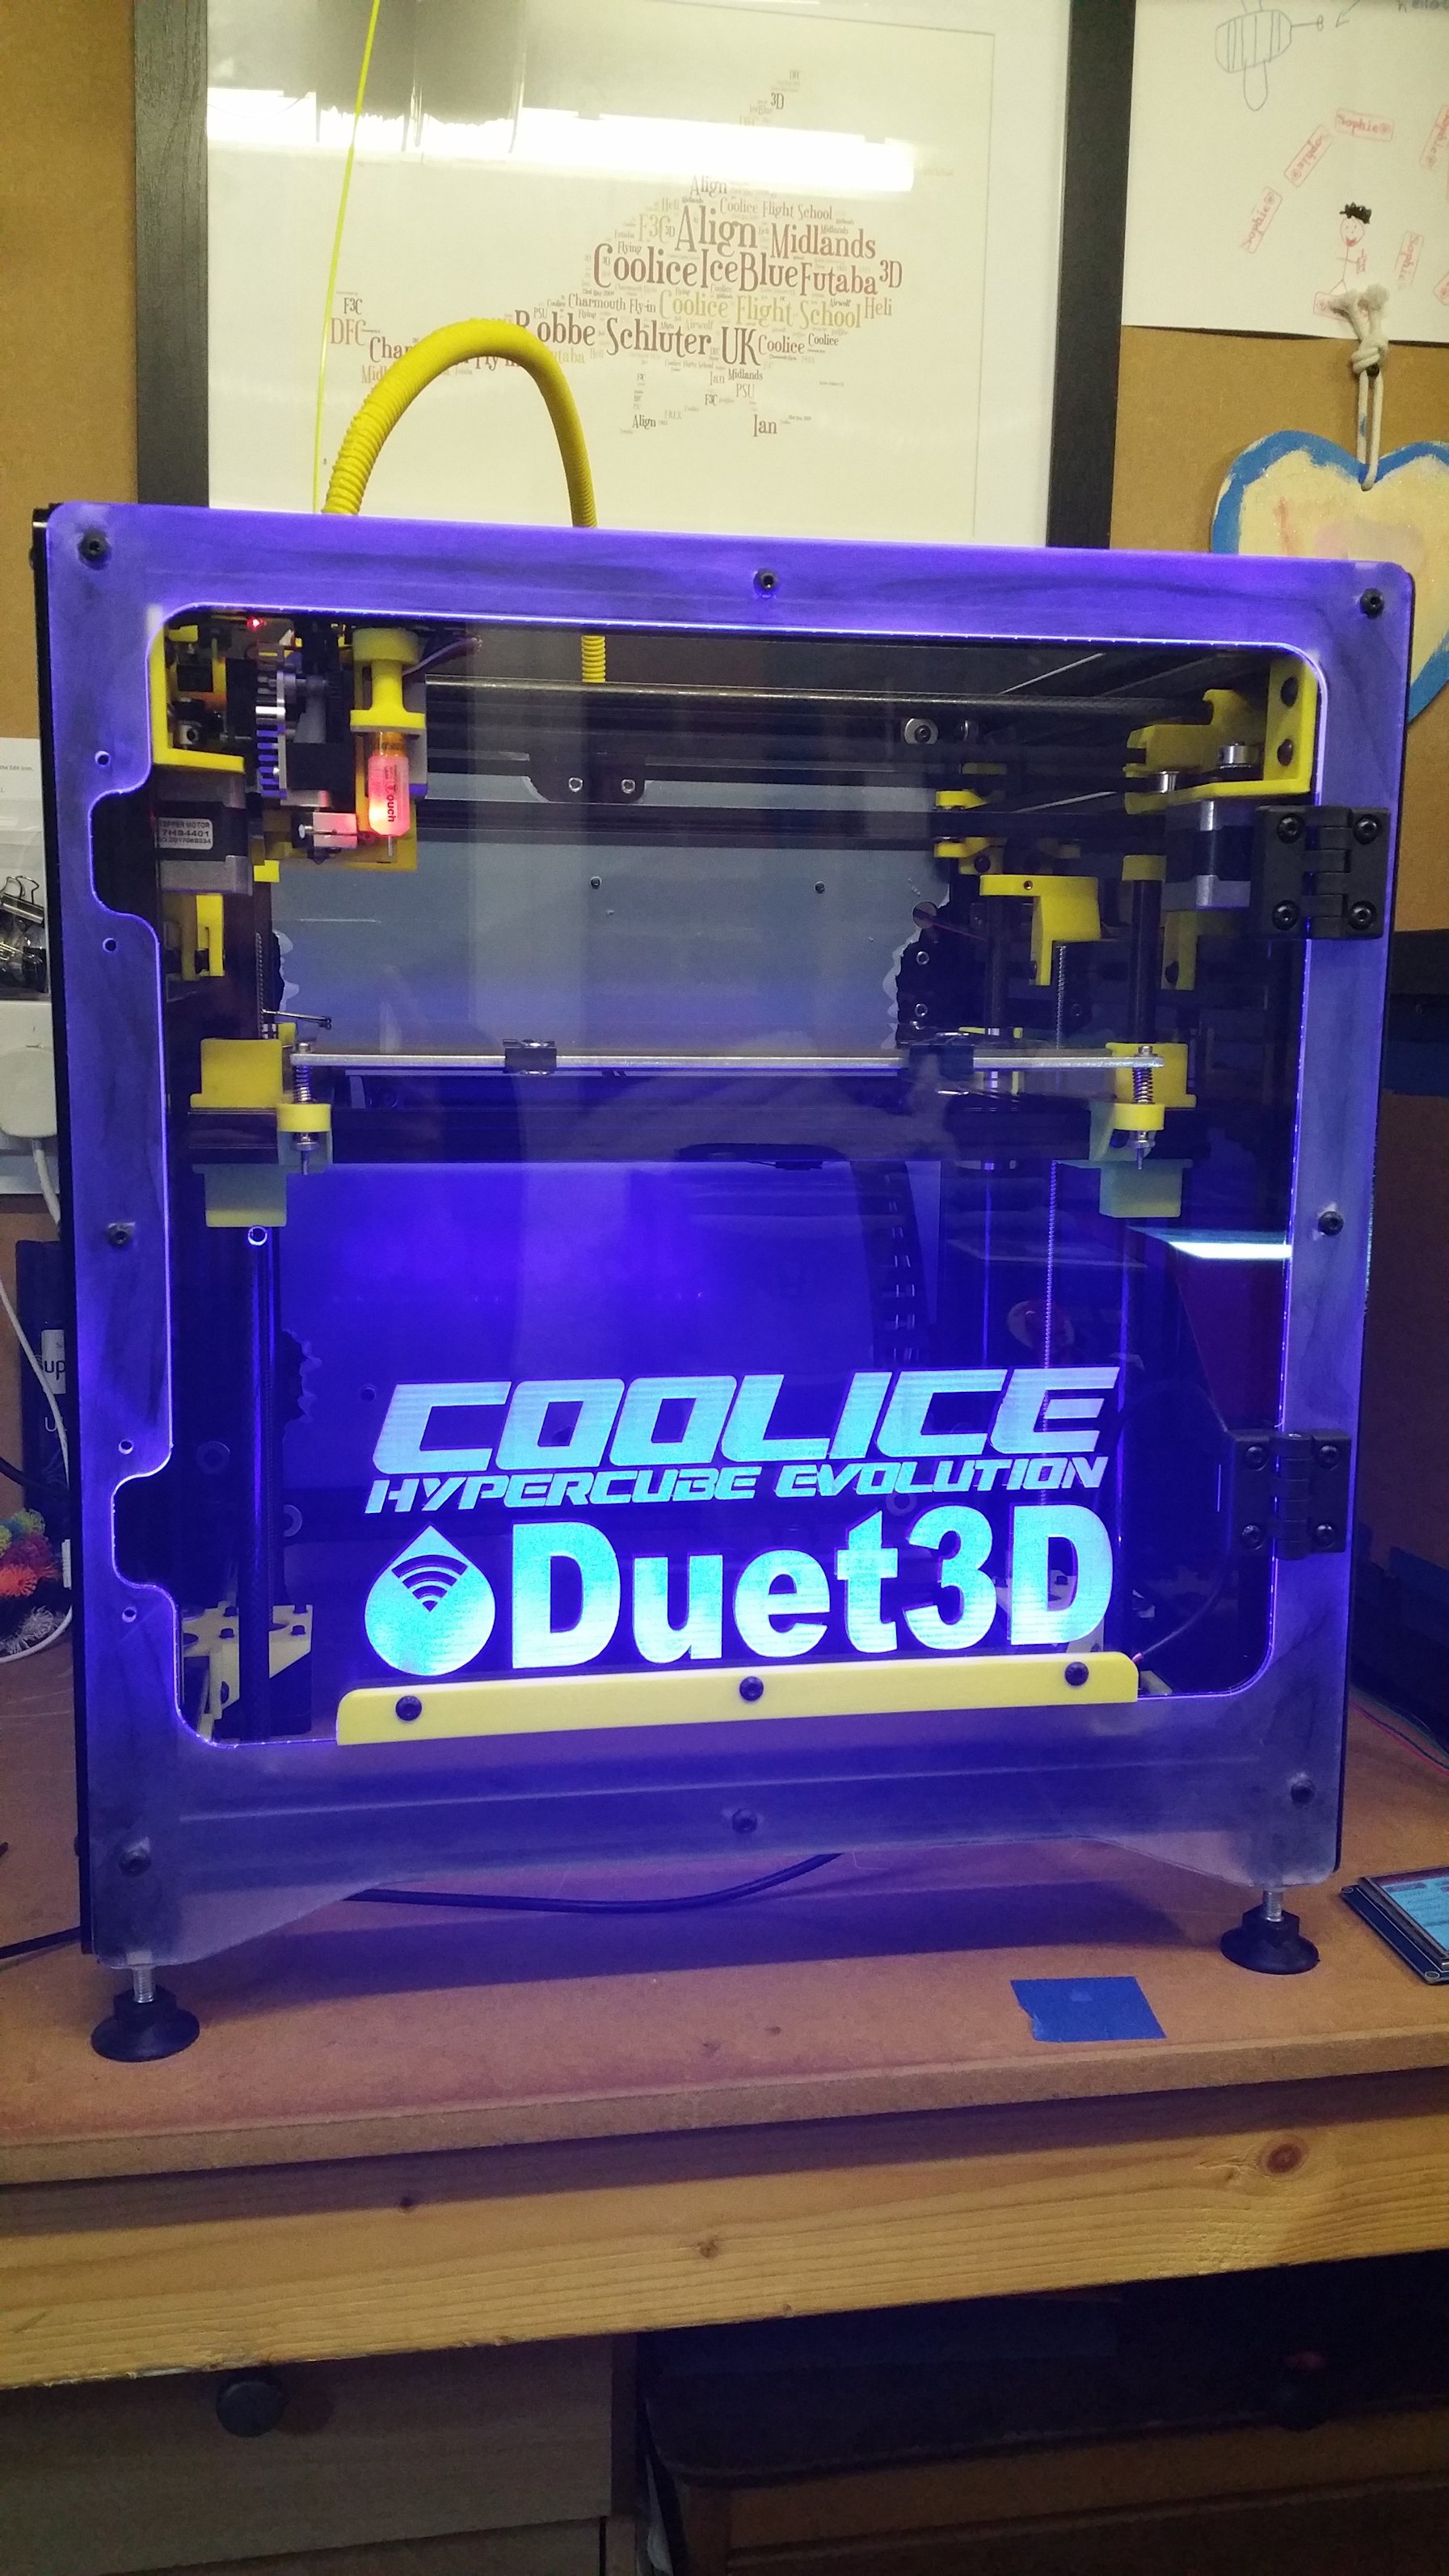
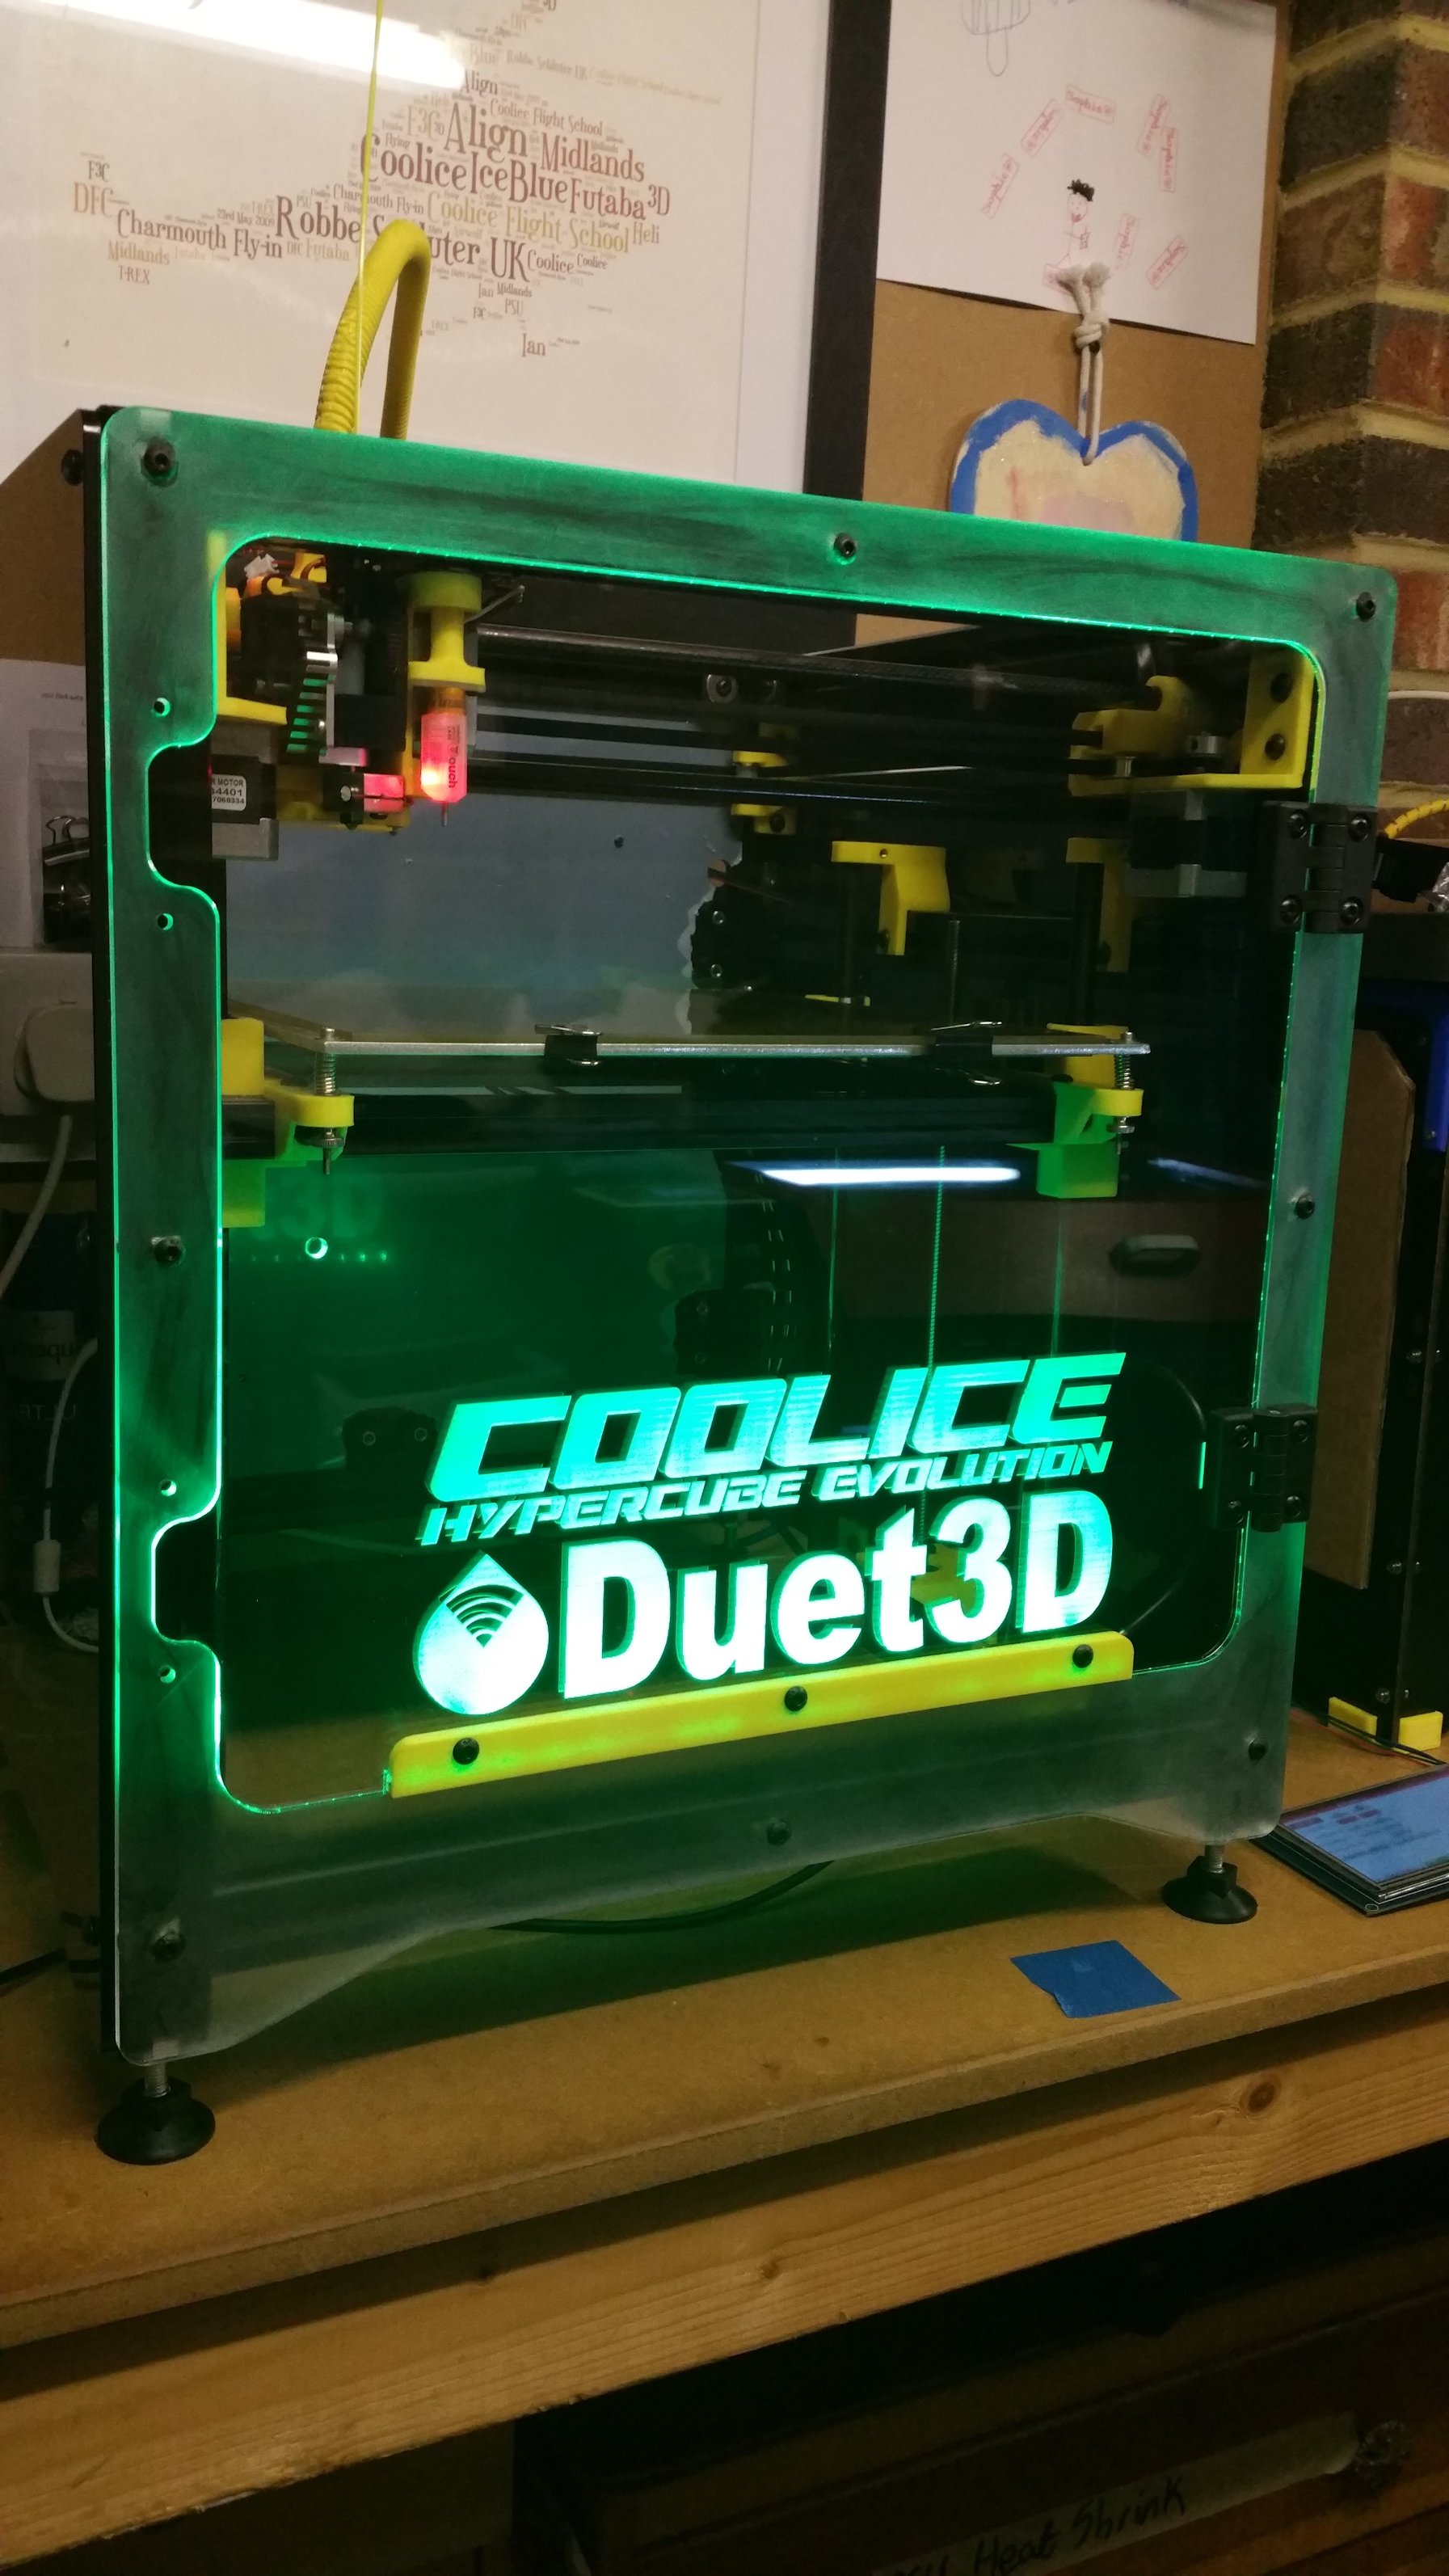
Thought you might be interested in seeing what my HEVO is looking like currently.
It's not 100% finished yet and I'm hoping that the Duet may allow me to do something with the RGB led's which would be cool, such as a status display with the different colours.As I have a laser cutter it makes things easier to cut acrylic panels accurately and as this HEVO is so nice compared to my old CTC, I knew this was the printer to add panels to.
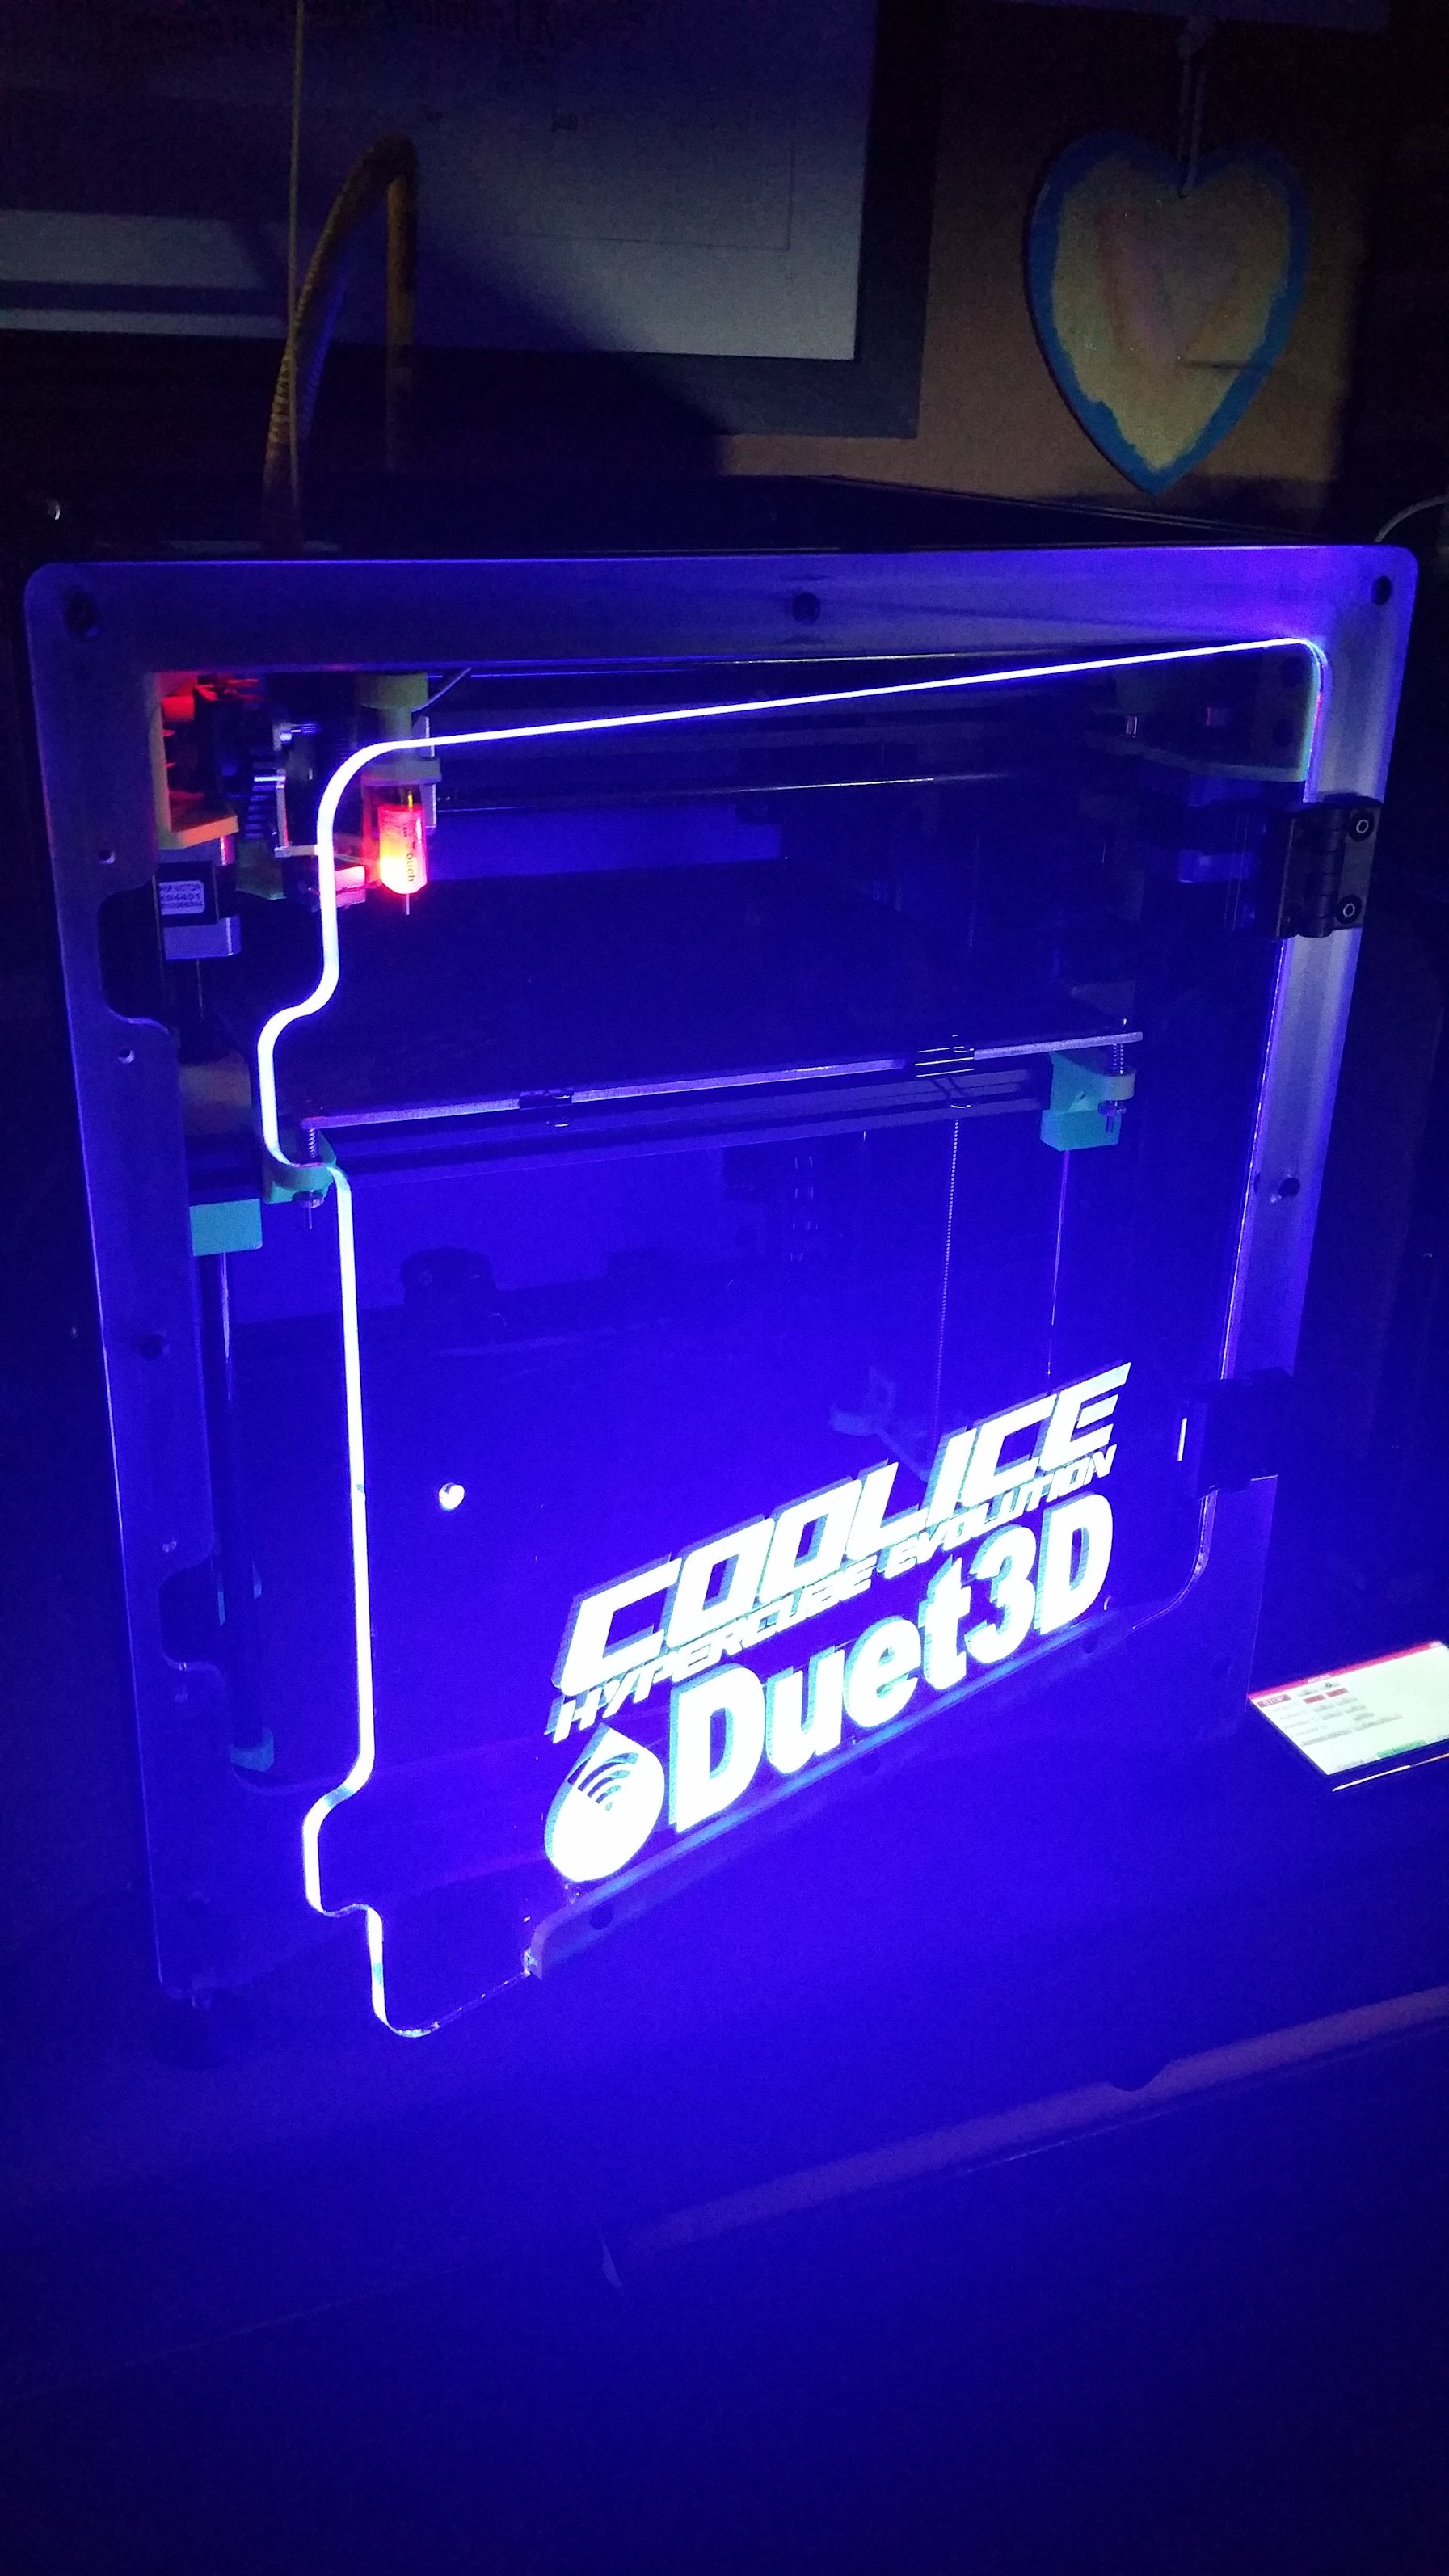
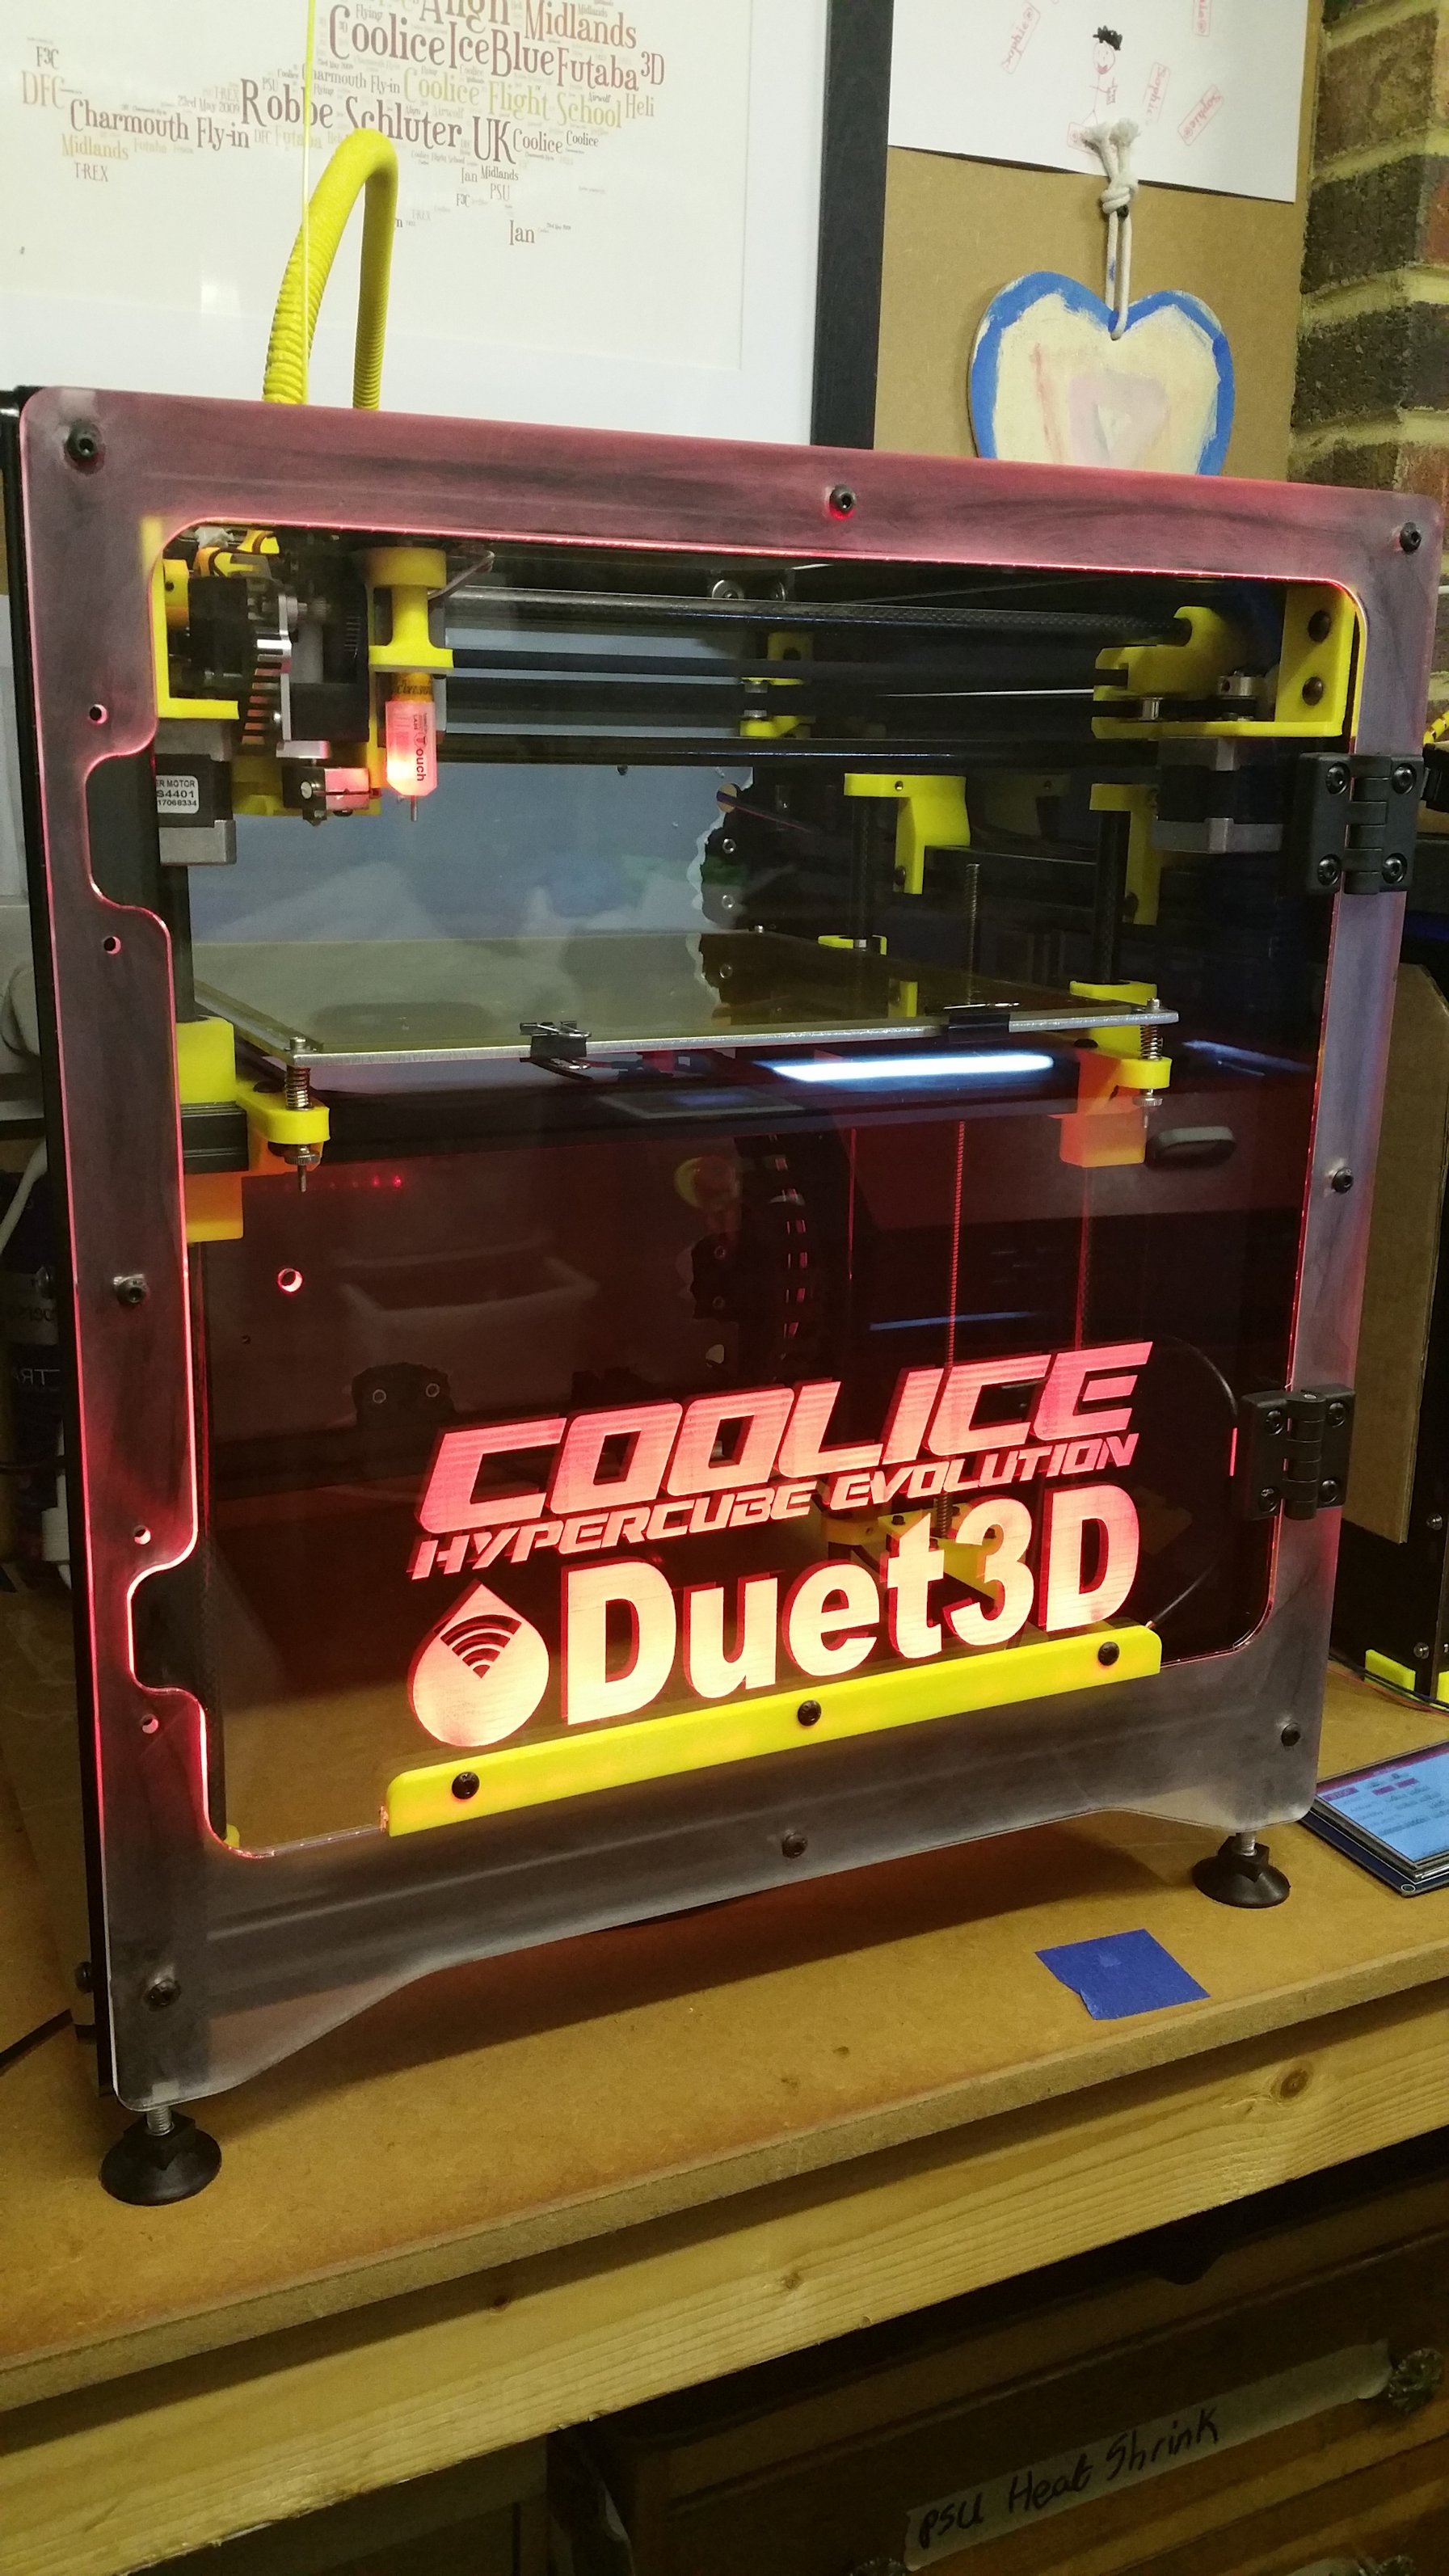
So on the rear, sides and maybe the bottom if I do it, I have dark tinted 5mm acrylic.
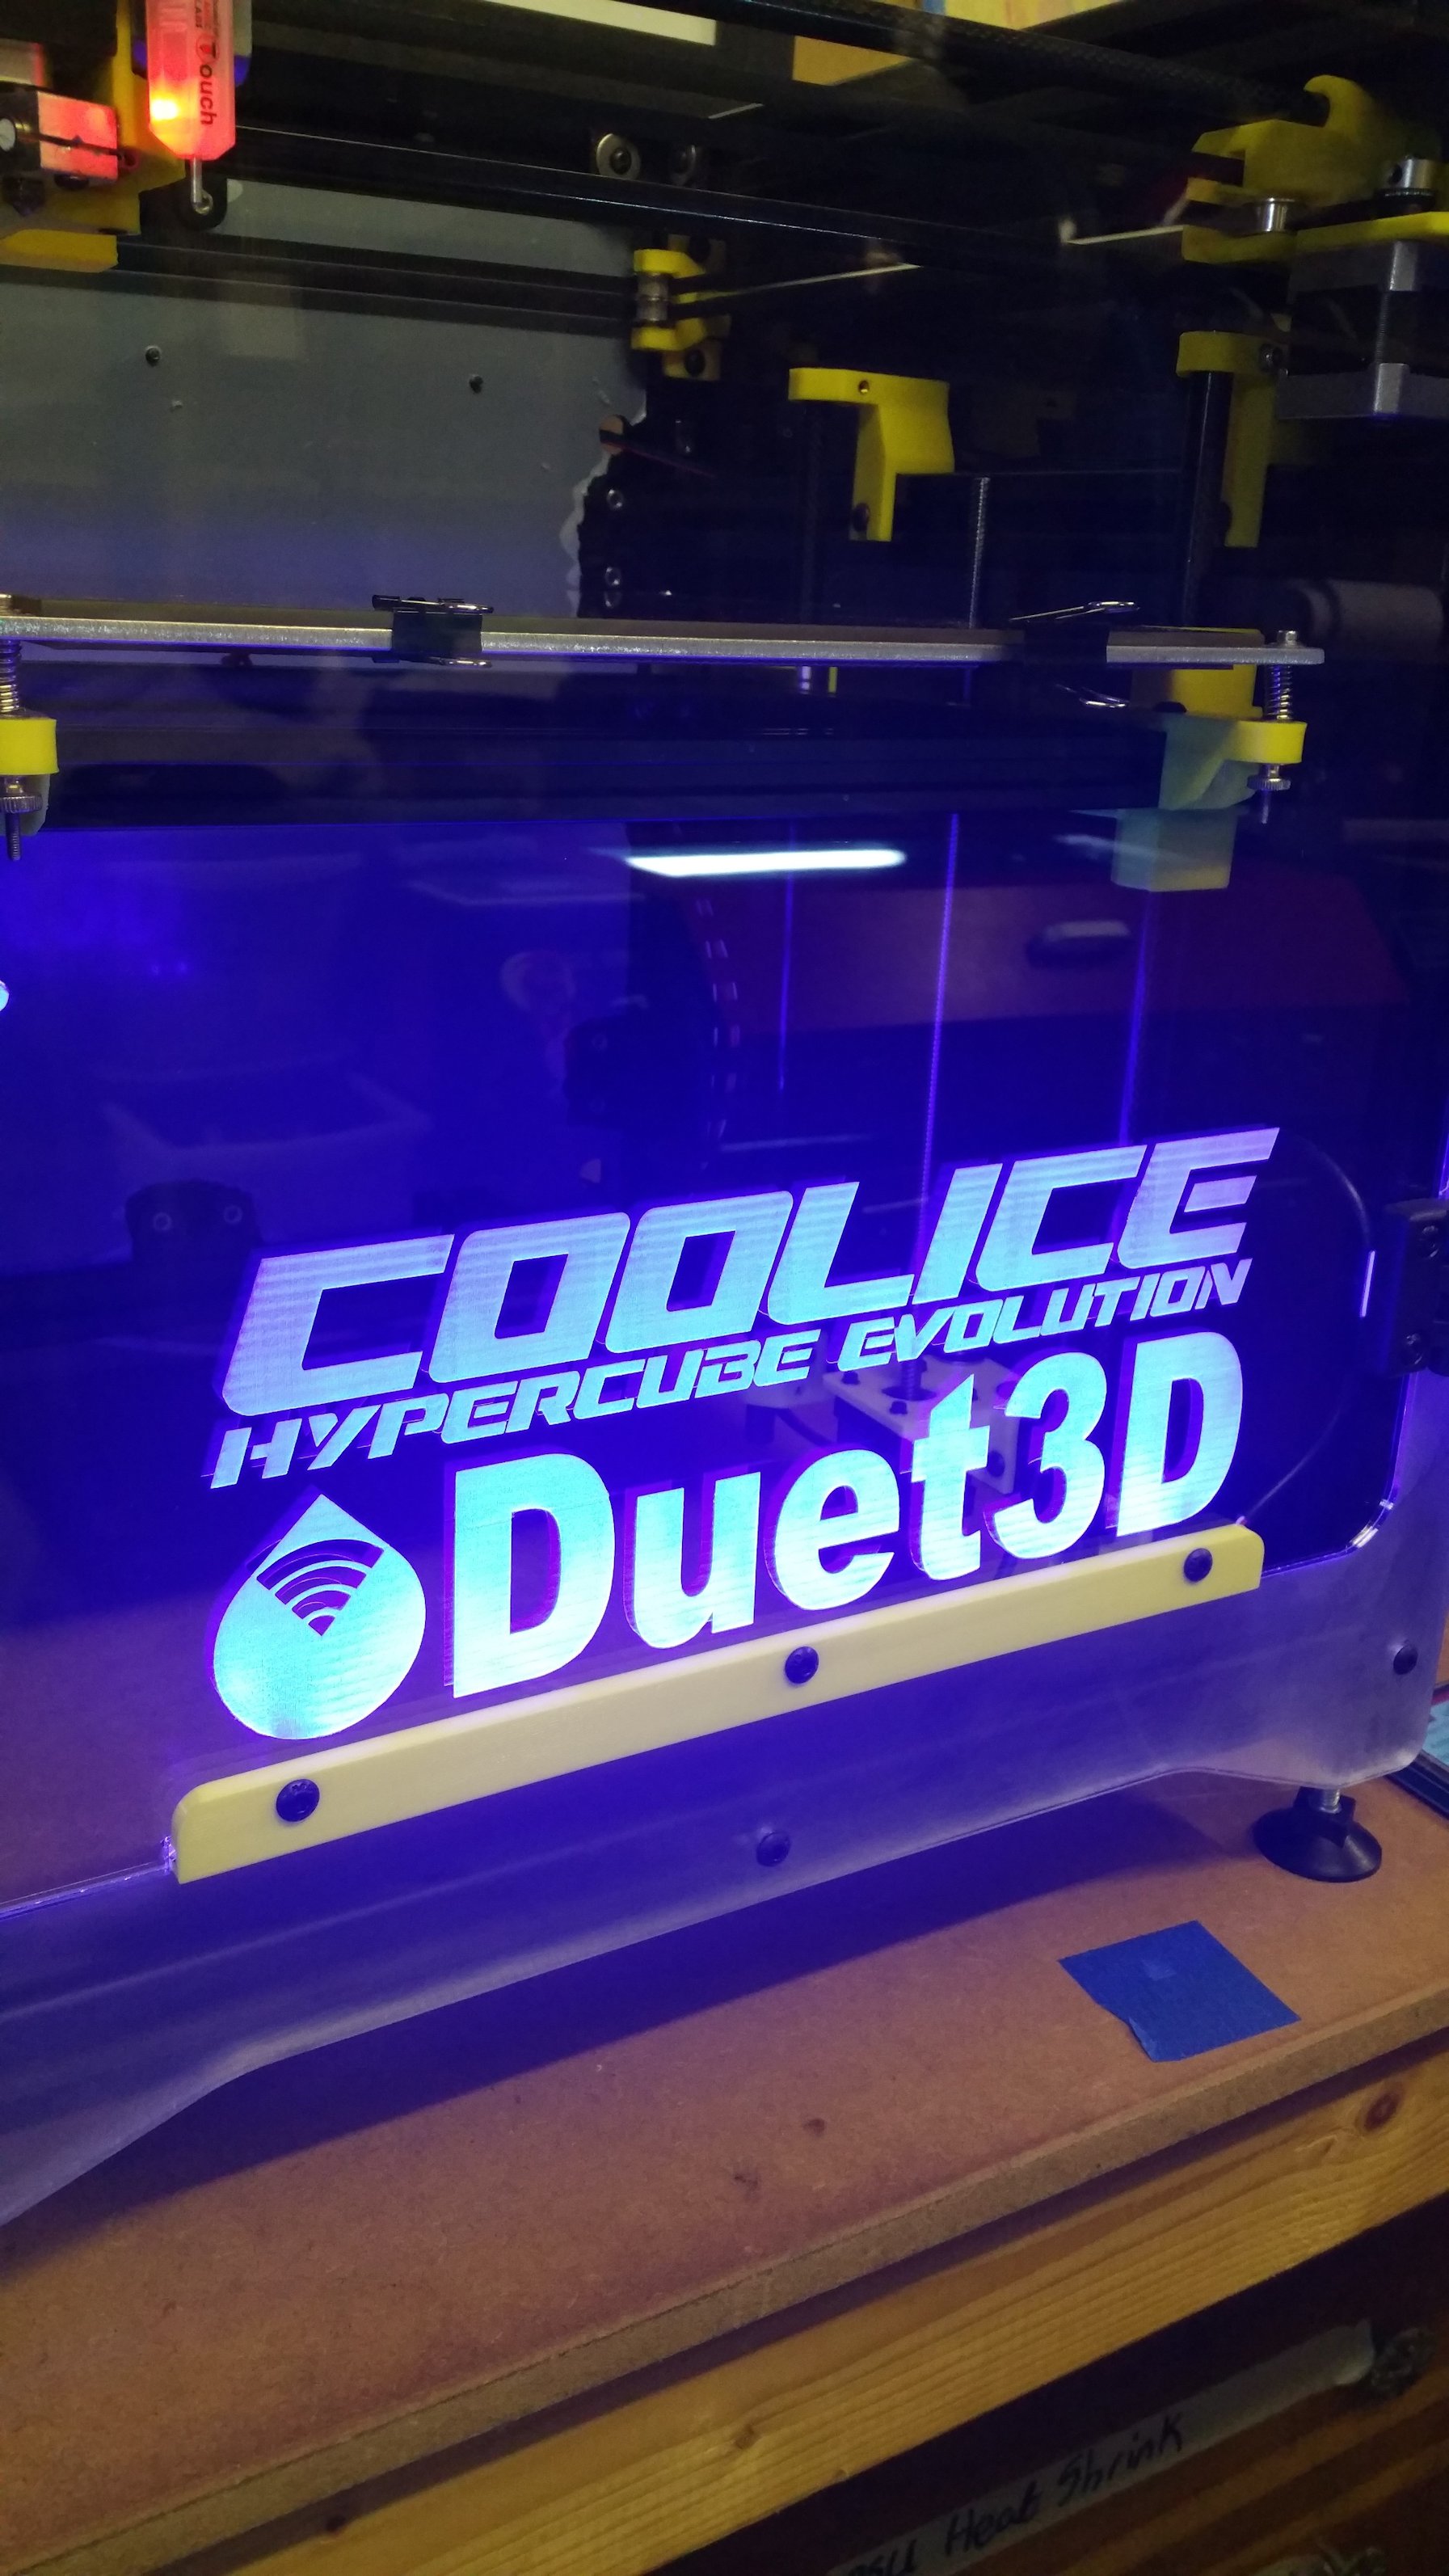
I love this dark tinted look, as it allows you to barely see inside and once the internal lighting is done, the effect will be even better.For the front I wanted to maintain a visual to the build platform, but at the same time do something a little different than just have a plain see through door.
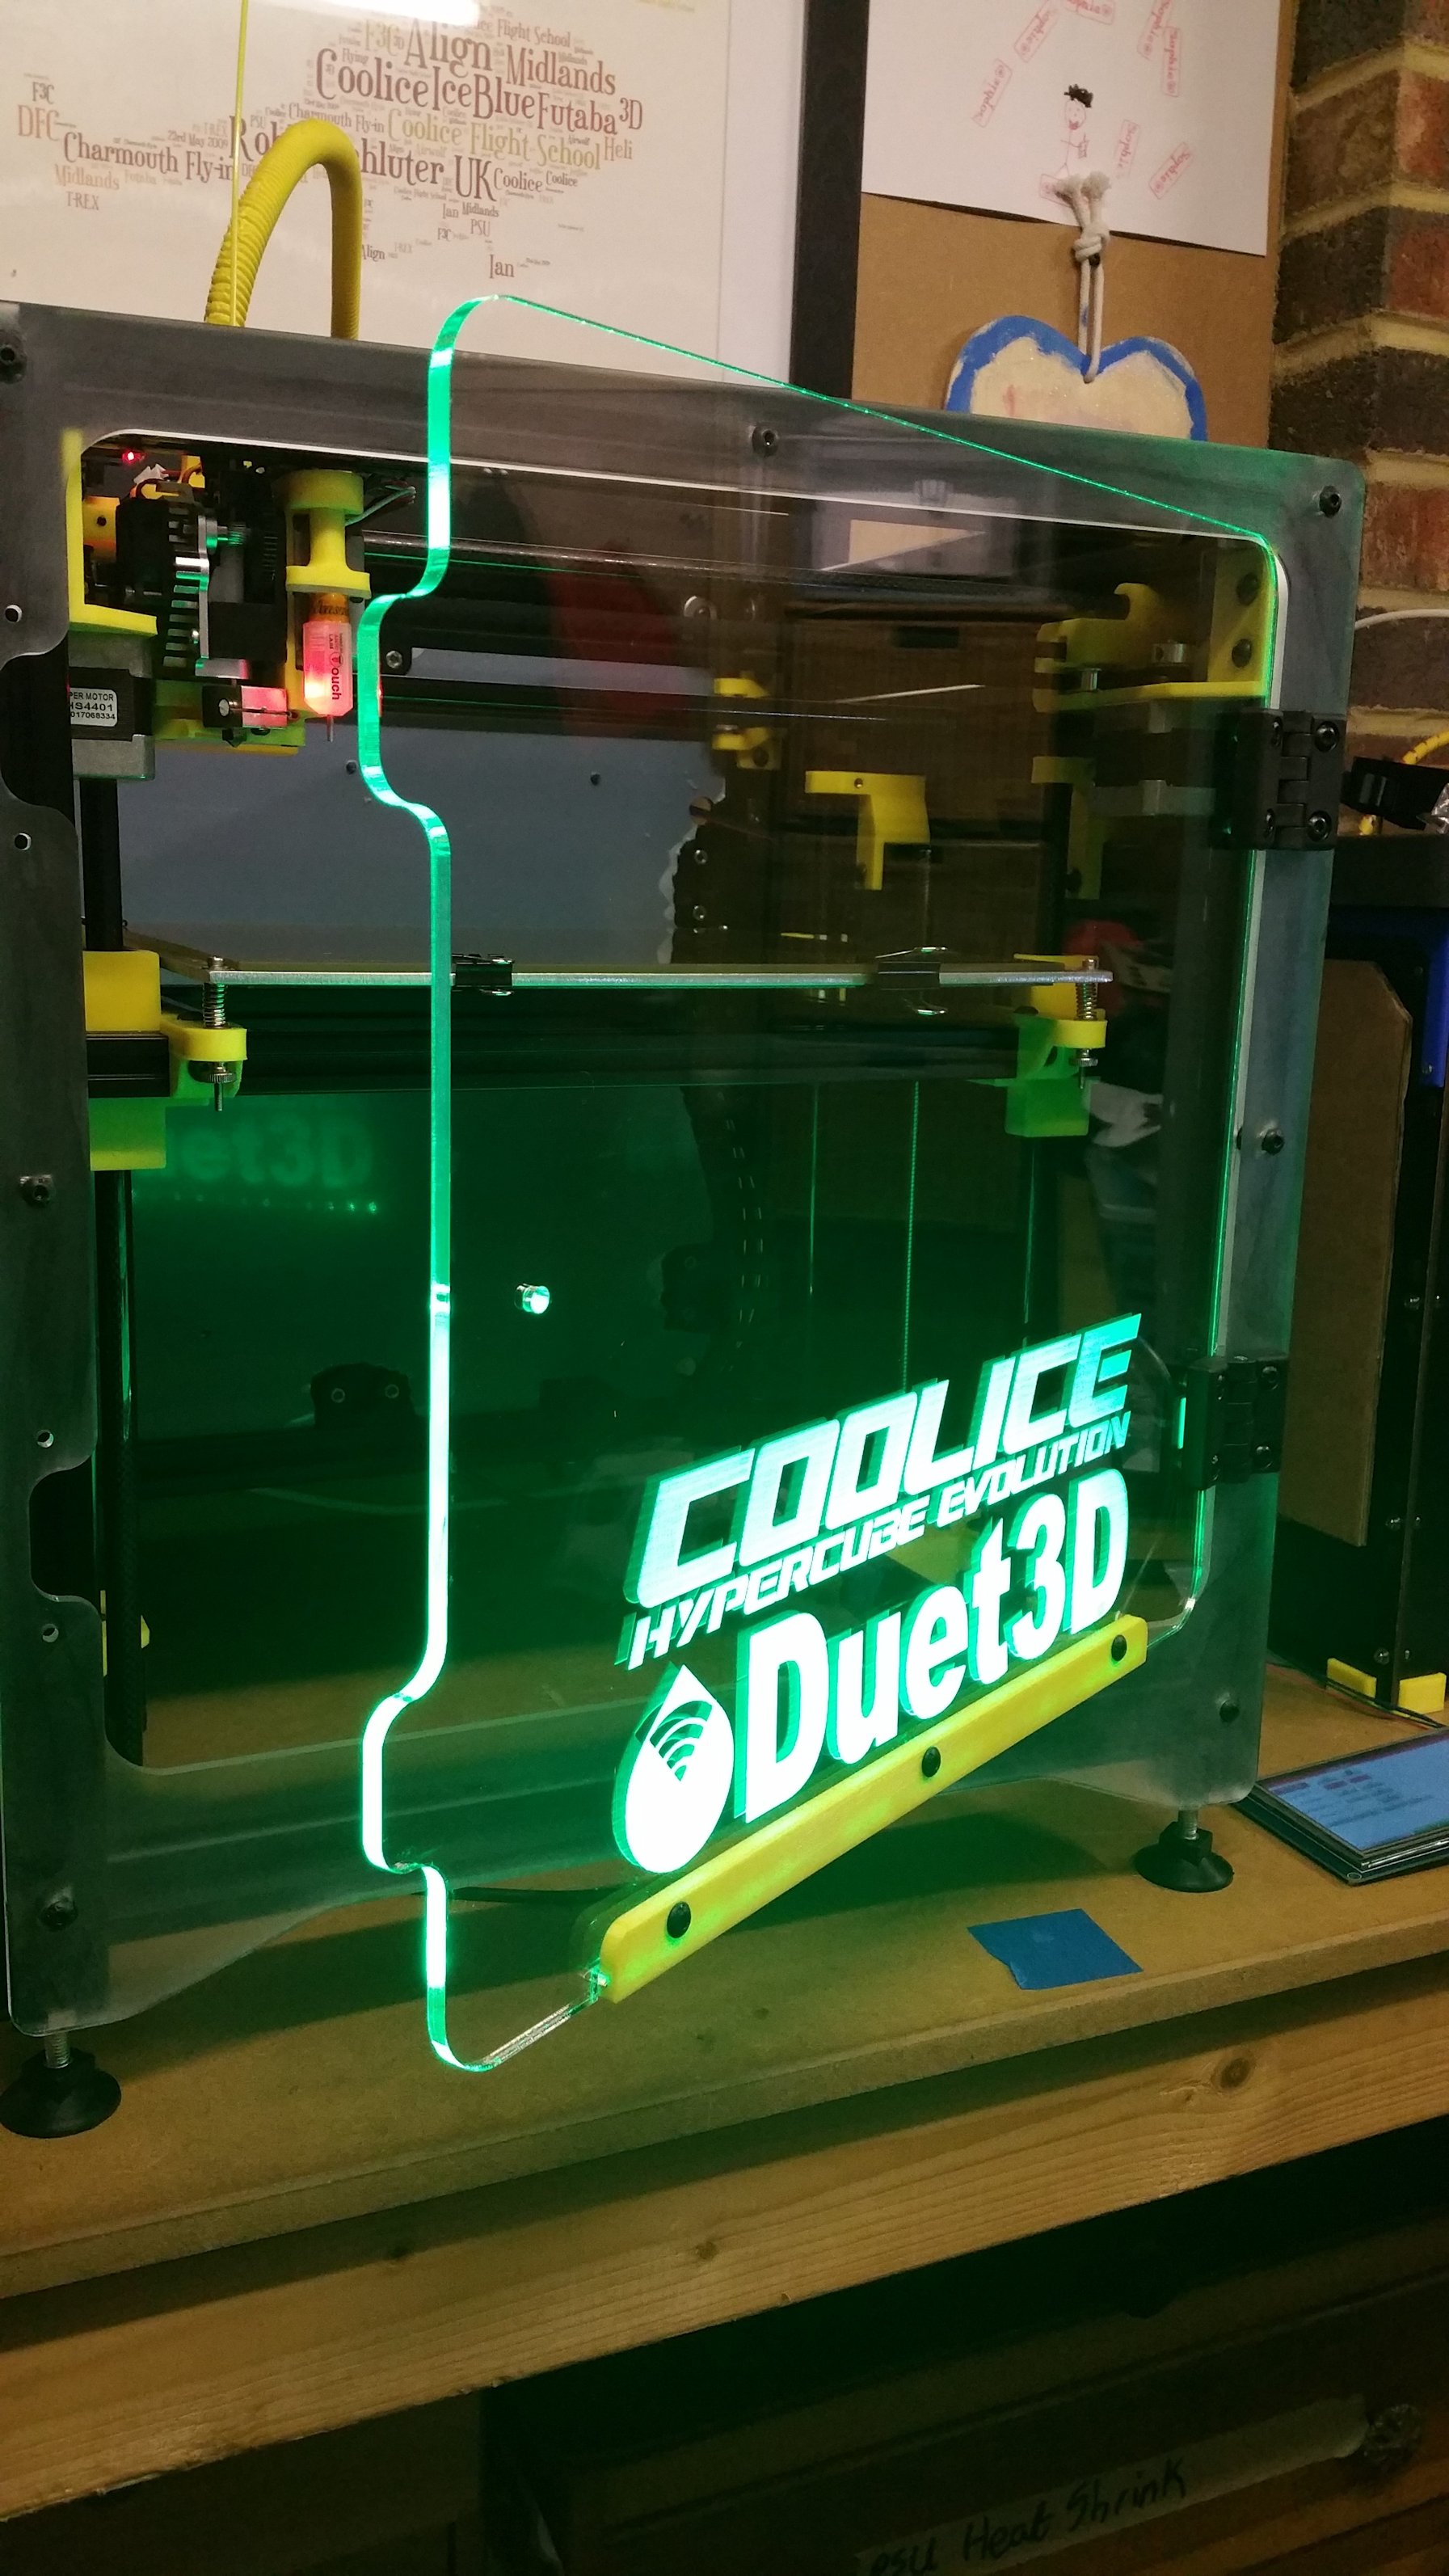
So I etched the logo and text into the 5mm clear and edge lit it with a 30 cm strip of 24 volt RGB led's. The etching grabs the light as it passes through the acrylic giving a nice effect, also the laser cut polished edges glow nicely to.The front outer bezel panel I did consider wrapping with carbon vinyl film, but instead roughed it up with wet and dry paper to make it looked frosted. Thus looks to have worked out nice I think, but I may change it.
Still got some things left to do, design a door knob, maybe add some magnets to keep the door closed to, hence the addition holes on the left side if I choose to use them.
Then its onto some final additions to the electronics with wiring in an XYGAX Smart Switch, a Pi Zero W & camera and it's done.
Prints nicely so far to so I'm pleased.As I make more changes I'll post them up
Ian Contessa

-
Wow! LEDs look awesome the way you have them setup in the door.
There are enough pins on the expansion header to control the RGB LEDs. Check out this page for the pins:
https://duet3d.com/wiki/Using_servos_and_controlling_unused_I/O_pinsThen you can use M42 to switch the 3 pins for R, G and B :
https://duet3d.com/wiki/G-code#M42:_Switch_I.2FO_pinDepending on your led setup (you may already have a driving circuit) you will need suitable FETs to drive the LEDs.
-
Nicely done, thanks for sharing.
-
Wow! LEDs look awesome the way you have them setup in the door.
There are enough pins on the expansion header to control the RGB LEDs. Check out this page for the pins:
https://duet3d.com/wiki/Using_servos_and_controlling_unused_I/O_pinsThen you can use M42 to switch the 3 pins for R, G and B :
https://duet3d.com/wiki/G-code#M42:_Switch_I.2FO_pinDepending on your led setup (you may already have a driving circuit) you will need suitable FETs to drive the LEDs.
Hey Buddy.
Thanks for the compliment on the build, it's appreciated.
Yeah they've come out really nice, I've used the tick before to make edge lit signs so just applied the same idea to the door and then printed the LED strip holder to place the LED's on the bottom lip of the door. The wire going to them shouldn't get in the way either.Ah brilliant, thank you. At present I'm just powering the LED's from one of my RC heli LiPo's, they are 24 volt ones so will be easy to integrate in the 24 volt system.
I will go and take a look now to see how to wire the LED's up to the spare heater pins, then I can make a simple board with 3x fets to to drive the LED load.Ian
-
Nicely done, thanks for sharing.
Thanks for the compliment buddy and you're welcome. I'm quite proud of how it's turned out so posted the photos almost everywhere
")
Ian
-
Yeah saw the photos of the FB group. Wow man!
-
Yeah saw the photos of the FB group. Wow man!
Thanks for the compliment buddy, it's appreciated. Yeah they've gone to Facebook and here so far.
Ian
-
Amazing job! I'd already be happy to have mine enclosed just half as nice as yours is.
-
Yeah saw the photos of the FB group. Wow man!
Thanks for the compliment buddy, it's appreciated. Yeah they've gone to Facebook and here so far.
Ian
Quick - post them to the 3dprinting sub reddit too.
Nice printer BTW.
-
Yeah saw the photos of the FB group. Wow man!
Thanks for the compliment buddy, it's appreciated. Yeah they've gone to Facebook and here so far.
Ian
Quick - post them to the 3dprinting sub reddit too.
Nice printer BTW.
HeyBuddy.
Lol, I'll Google that forum and join up
Thanks for the compliment on the build.
Ian