I can't get the Bltouch working
-
Which firmware version are you using? Look on the Settings General page of DWC or send M115 to check.
-
Firmware Name: RepRapFirmware for Duet 2 WiFi/Ethernet
Firmware Electronics: Duet WiFi 1.02 or later
Firmware Version: 1.21 (2018-03-21)
WiFi Server Version: 1.21
Web Interface Version: 1.19.3M115
FIRMWARE_NAME: RepRapFirmware for Duet 2 WiFi/Ethernet FIRMWARE_VERSION: 1.21 ELECTRONICS: Duet WiFi 1.02 or later FIRMWARE_DATE: 2018-03-21 -
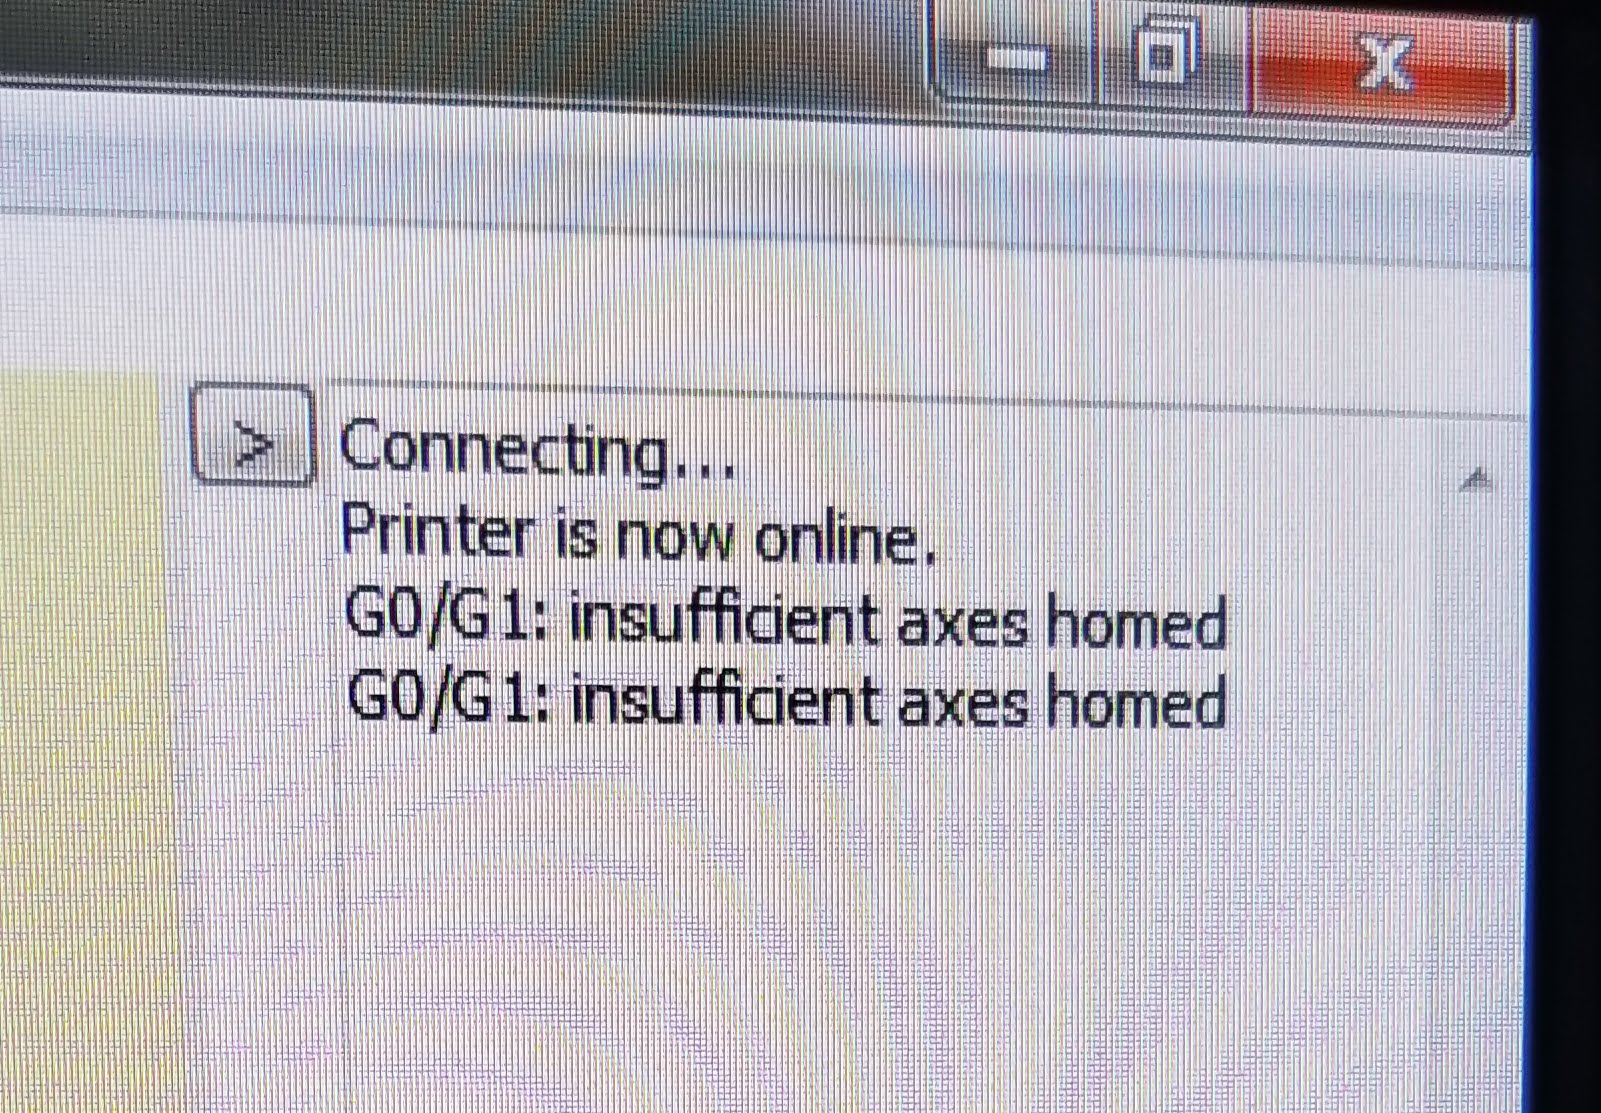
This is Pronteface. Everything homes no problem it's just the BLTouch.

-
Here are all my files.
To test the setup with the nozzle maybe a 100mm up from the bed you can check if the trigger signal is reaching the Duet by attempting to extend the pin by using the following command:
M280 P3 S10 I1 (This works perfect)
Then put the Sensor in to test mode by inputting the following command:
M280 P3 S120 I1 (This one the pin goes in and out)
config.g
; Configuration file for Duet WiFi (firmware version 1.20 or newer)
; executed by the firmware on start-up
;
; generated by RepRapFirmware Configuration Tool on Thu May 17 2018 10:09:24 GMT-0400 (Eastern Daylight Time); General preferences
G90 ; Send absolute coordinates...
M83 ; ...but relative extruder moves; Network
M550 PMy printer ; Set machine name
M552 S1 ; Enable network
;*** Access point is configured manually via M587
M586 P0 S1 ; Enable HTTP
M586 P1 S0 ; Disable FTP
M586 P2 S0 ; Disable Telnet; Drives
M569 P0 S1 ; Drive 0 goes forwards
M569 P1 S0 ; Drive 1 goes forwards
M569 P2 S0 ; Drive 2 goes forwards
M569 P3 S1 ; Drive 3 goes forwards
M569 P4 S1 ; Drive 4 goes forwards
M350 X16 Y16 Z16 E16:16 I1 ; Configure microstepping with interpolation
M92 X80 Y80 Z4000 E420:420 ; Set steps per mm
M566 X900 Y900 Z12 E120:120 ; Set maximum instantaneous speed changes (mm/min)
M203 X6000 Y6000 Z180 E1200:1200 ; Set maximum speeds (mm/min)
M201 X500 Y20 Z250 E250:250 ; Set accelerations (mm/s^2)
M906 X800 Y800 Z800 E800:800 I30 ; Set motor currents (mA) and motor idle factor in per cent
M84 S30 ; Set idle timeout; Axis Limits
M208 X0 Y0 Z1 S1 ; Set axis minima
M208 X580 Y250 Z580 S0 ; Set axis maxima; Endstops
M574 X1 Y1 S1 ; Set active high endstopsM307 H3 A-1 C-1 D-1 ;
M558 P9 X0 Y0 Z1 H5 F100 T2000
G31 X0 Y0 Z0 P25
;Bltouch; Heaters
M305 P0 T100000 B4138 C0 R4700 ; Set thermistor + ADC parameters for heater 0
M143 H0 S120 ; Set temperature limit for heater 0 to 120C
M305 P1 X150 T"K" ; Set thermistor + ADC parameters for heater 0
M143 H1 S370 ; Set temperature limit for heater 1 to 370C
M305 P2 X151 T"K" ; Set thermistor + ADC parameters for heater 1
M143 H2 S370 ; Set temperature limit for heater 2 to 370C; Fans
M106 P0 S0.3 I0 F500 H-1 ; Set fan 0 value, PWM signal inversion and frequency. Thermostatic control is turned off
M106 P1 S1 I0 F500 H1 T45 ; Set fan 1 value, PWM signal inversion and frequency. Thermostatic control is turned on
M106 P2 S1 I0 F500 H1 T45 ; Set fan 2 value, PWM signal inversion and frequency. Thermostatic control is turned on; Tools
M563 P0 D0 H1 ; Define tool 0
G10 P0 X0 Y0 Z0 ; Set tool 0 axis offsets
G10 P0 R0 S0 ; Set initial tool 0 active and standby temperatures to 0C
M563 P1 D1 H ; Define tool 1
G10 P1 X0 Y63 Z0 ; Set tool 1 axis offsets
G10 P1 R0 S0 ; Set initial tool 1 active and standby temperatures to 0C; Automatic saving after power loss is not enabled
; Custom settings are not configured
; deployprobe.g
;
Probe deployment routine for BLTouch
;
M280 P3 S10 I1 ; Set servo position to deploy; retractprobe.g
;
; Probe retraction routine for BLTouch
;
M280 P3 S90 I1As Phaedrux said to try.
; homeall.g
;
G91 ; relative positioning
G1 Z5 F3000 S2 ; lift Z relative to current position
G1 S1 X-585 Y-255 F1800 ; move quickly to X and Y axis endstops and stop there (first pass)
G1 X5 Y5 F3000 ; go back a few mm
G1 S1 X-585 Y-255 F360 ; move slowly to X and Y axis endstops once more (second pass)
G90 ; absolute positioning
G1 X100 Y100 F3000 ; go to first bed probe point and home Z
G30 ; home Z by probing the bed
G1 X0 Y0 F3000 ; return to origin
;; homey.g
; called to home the Y axis
;
; generated by RepRapFirmware Configuration Tool on Sat Mar 03 2018 14:29:04 GMT-0500 (Eastern Standard Time)
G91 ; relative positioning
G1 Z1 F6000 S2 ; lift Z relative to current position
G1 S1 Y-275 F1800 ; move quickly to Y axis endstop and stop there (first pass)
G1 Y5 F6000 ; go back a few mm
G1 S1 Y-275 F360 ; move slowly to Y axis endstop once more (second pass)
G1 Z-1 F6000 S2 ; lower Z again
G90 ; absolute positioning; homey.g
; called to home the Y axis
;
; generated by RepRapFirmware Configuration Tool on Sat Mar 03 2018 14:29:04 GMT-0500 (Eastern Standard Time)
G91 ; relative positioning
G1 Z1 F6000 S2 ; lift Z relative to current position
G1 S1 Y-275 F1800 ; move quickly to Y axis endstop and stop there (first pass)
G1 Y5 F6000 ; go back a few mm
G1 S1 Y-275 F360 ; move slowly to Y axis endstop once more (second pass)
G1 Z-1 F6000 S2 ; lower Z again
G90 ; absolute positioning; homez.g
; called to home the Z axis
;
G91 ; relative mode
G1 Z4 F200 S2 ; raise head 4mm to ensure it is above the Z probe trigger height
G90 ; back to absolute mode
G1 X167 Y130 F2000 ; put head over the centre of the bed, or wherever you want to probe
G30 ; lower head, stop when probe triggered and set Z to trigger height
G1 Z5. F400. -
The "Insufficient axes homed" message is probably because you are telling it to home Z without homing X and Y first - which is a problem because your homez.g file includes an XY movement command.
When you execute a simple G30 command (as described in "Test and calibrate the Z probe"), what should happen is:
-
Probe deploys.
-
Head moves towards the bed at the probing speed. At this point the Z probe reading should be zero.
-
When you put an obstacle below the probe to trigger it, it should retract and the movement should stop.
At which point does it fail? If it deploys but then retracts immediately, that suggests that the white output wire isn't connected to the correct pin on the Z probe connector.
-
-
So where do you think I should start back at the beginning. I don't understand all the g-code you use with the duet wifi. I am new to this board but I never had to to all this and it's been 2 weeks or more I have been trying. But to tell you the truth I am lost.
Thank for the help.
-
Does your z-probes sensor value still read 1000 all the time in the web-interface/display ?
Mine only read "1000" when I disconnect the BLTouch's black/white wires from the duet's "z-probe in"/"gnd" pins.
When it is connected the it reads "0" all the time for me and works correctly.If yours still read 1000 all the time maybe you just have to check your connections, maybe you have a broken cable or bad contact in your bltouch cable/connection to the duet.
So you should test (both values read after powering the printer on and the probe had done its automatic start-test):
What is your probes value shown when the sensor cable is connected to the duet ?
What is your probes value shown when the sensor cable to the duet is disconnected ? -
I does show 1000. I save a copy of the factory sd just uploaded it now the Z-Probe is reading 252 all factory sd card.
-
"It does show 1000" <- is this your answer to both questions ?
It does show 1000 when the sensors cable is connected to the duet
AND
it also show 1000 when the sensor cable is disconnected (but the power and servo cable stays connected) ?
If this is the case I think you should check the wiring, no need to switch configurations all the time, it is impossible to track a problem down when you are changing your configuration all the time.I followed the information from this page to configure mine and it is working fine:
https://betrue3d.dk/bltouch-on-duet-wifi-duetreprapfirmware/#3pinsforservo.
I do use the heater 7 connection and the exact configuration/code that it mentioned there, I only added the I1 to the end of the retract and deploy commands. That was the only change I had to do. -
I had a copy of the factory sc card and loaded that so everything is factory setting. The Z-Probe is reading 245 right now.
-
@saltypetz said in I can't get the Bltouch working:
I had a copy of the factory sc card and loaded that so everything is factory setting. The Z-Probe is reading 245 right now.
A steady reading other than 0 or 1000 should be impossible with P9 selected in the M558 command. Please run M558 without parameters and check what probe type number it reports.
-
Here is what did. Set sd card back to factory the I edit this. Setup with https://configurator.reprapfirmware.org/
; Z-Probe
M574 Z1 S2 ; Set endstops controlled by probe
M558 P1 X0 Y0 Z1 H5 F100 T2000 ; Set Z probe type to unmodulated and the dive height + speeds
G31 X0 Y0 Z0 P25 ; Set Z probe trigger value, offset and trigger height
M557 X15:355 Y15:235 S20 ; Define mesh grid
M307 H3 A-1 C-1 D-1 ;On this line M558 P1 X0 Y0 Z1 H5 F100 T2000 ; Set Z probe type to unmodulated and the dive height + speeds
My Z-Prode is at 243 with this numbers and with the https://configurator.reprapfirmware.org/
also 243. I when number by number changing them one at a time as soon as I put P9 the Z prober goes to 1000.M307 H3 A-1 C-1 D-1 ;
M558 P9 X0 Y0 Z1 H5 F100 T2000
G31 X0 Y0 Z0 P25I tried this and it goes to 1000 right away.
My Config,g file.
; Configuration file for Duet WiFi (firmware version 1.20 or newer)
; executed by the firmware on start-up
;
; generated by RepRapFirmware Configuration Tool on Fri May 18 2018 16:29:29 GMT-0400 (Eastern Daylight Time); General preferences
G90 ; Send absolute coordinates...
M83 ; ...but relative extruder moves; Network
M550 PTevo Black Widow ; Set machine name
M552 S1 ; Enable network
;*** Access point is configured manually via M587
M586 P0 S1 ; Enable HTTP
M586 P1 S0 ; Disable FTP
M586 P2 S0 ; Disable Telnet; Drives
M569 P0 S1 ; Drive 0 goes forwards
M569 P1 S1 ; Drive 1 goes forwards
M569 P2 S1 ; Drive 2 goes forwards
M569 P3 S1 ; Drive 3 goes forwards
M569 P4 S1 ; Drive 4 goes forwards
M350 X16 Y16 Z16 E16:16 I1 ; Configure microstepping with interpolation
M92 X80 Y80 Z4000 E420:420 ; Set steps per mm
M566 X900 Y900 Z12 E120:120 ; Set maximum instantaneous speed changes (mm/min)
M203 X6000 Y6000 Z180 E1200:1200 ; Set maximum speeds (mm/min)
M201 X500 Y20 Z250 E250:250 ; Set accelerations (mm/s^2)
M906 X800 Y800 Z800 E800:800 I30 ; Set motor currents (mA) and motor idle factor in per cent
M84 S30 ; Set idle timeout; Axis Limits
M208 X0 Y0 Z0 S1 ; Set axis minima
M208 X370 Y250 Z300 S0 ; Set axis maxima; Endstops
M574 X1 Y1 S1 ; Set active high endstops; Z-Probe
M574 Z1 S2 ; Set endstops controlled by probe
M558 P1 X0 Y0 Z1 H5 F100 T2000 ; Set Z probe type to unmodulated and the dive height + speeds
G31 X0 Y0 Z0 P25 ; Set Z probe trigger value, offset and trigger height
M557 X15:355 Y15:235 S20 ; Define mesh grid
M307 H3 A-1 C-1 D-1 ;; Heaters
M305 P0 T100000 B4138 C0 R4700 ; Set thermistor + ADC parameters for heater 0
M143 H0 S120 ; Set temperature limit for heater 0 to 120C
M305 P1 X150 T"K" ; Set thermistor + ADC parameters for heater 0
M143 H1 S370 ; Set temperature limit for heater 1 to 370C
M305 P2 X151 T"K" ; Set thermistor + ADC parameters for heater 1
M143 H2 S370 ; Set temperature limit for heater 2 to 370C; Fans
M106 P0 S0.3 I0 F500 H-1 ; Set fan 0 value, PWM signal inversion and frequency. Thermostatic control is turned off
M106 P1 S1 I0 F500 H1:2 T45 ; Set fan 1 value, PWM signal inversion and frequency. Thermostatic control is turned on
M106 P2 S1 I0 F500 H1:2 T45 ; Set fan 2 value, PWM signal inversion and frequency. Thermostatic control is turned on; Tools
M563 P0 D0 H1 ; Define tool 0
G10 P0 X0 Y0 Z0 ; Set tool 0 axis offsets
G10 P0 R0 S0 ; Set initial tool 0 active and standby temperatures to 0C
M563 P1 D1 H2 ; Define tool 1
G10 P1 X0 Y63 Z0 ; Set tool 1 axis offsets
G10 P1 R0 S0 ; Set initial tool 1 active and standby temperatures to 0C; Automatic saving after power loss is not enabled
; Custom settings are not configured
-
I believe it is normal for the bltouch to read 1000 when it is not deployed. It should go to zero when you deploy it, if you have connected it correctly.
-
So I should put this in place of the
M307 H3 A-1 C-1 D-1 ;
M558 P9 X0 Y0 Z1 H5 F100 T2000
G31 X0 Y0 Z0 P25inplace of the configurator.reprapfirmware info.
-
@dc42 said in I can't get the Bltouch working:
I believe it is normal for the bltouch to read 1000 when it is not deployed. It should go to zero when you deploy it, if you have connected it correctly.
Mine works fine and reads "0" all the time (BLTouch smart) no matter if it is deployed or rectracted, it only reads 1000 when I disconnect the BLTouch sensor wire from the duet wifi.
Maybe the bltouch models work differently, if it is a genuine-smart,genuine-classic or 3rd party "bltouch" ? -
To test the setup with the nozzle maybe a 100mm up from the bed you can check if the trigger signal is reaching the Duet by attempting to extend the pin by using the following command:
This works perfect M280 P3 S10 I1
Then put the Sensor in to test mode by inputting the following command:
This the pin just goes in and out M280 P3 S120 I1
With this setting.
M307 H3 A-1 C-1 D-1 ;
M558 P9 X0 Y0 Z1 H5 F100 T2000
G31 X0 Y0 Z0 P25X & Y home no problem.
-
This the pin just goes in and out M280 P3 S120 I1
I'm not super familiar with the BL Touch, but the pin going in and out 3 times seems to be expected behavior for self test?
If you do M280 P3 S60 I1, this should perform a wiring test, letting you push the pin and then check the Z-probe reading in Duet Web Control. You should see the reading change when the pin is pushed. What readings do you see after M280 P3 S60 I1, with the pin in and then the pin out?
https://docs.wixstatic.com/ugd/f5a1c8_d261d68b7b034a29bdfc5aaebe882983.pdf
-
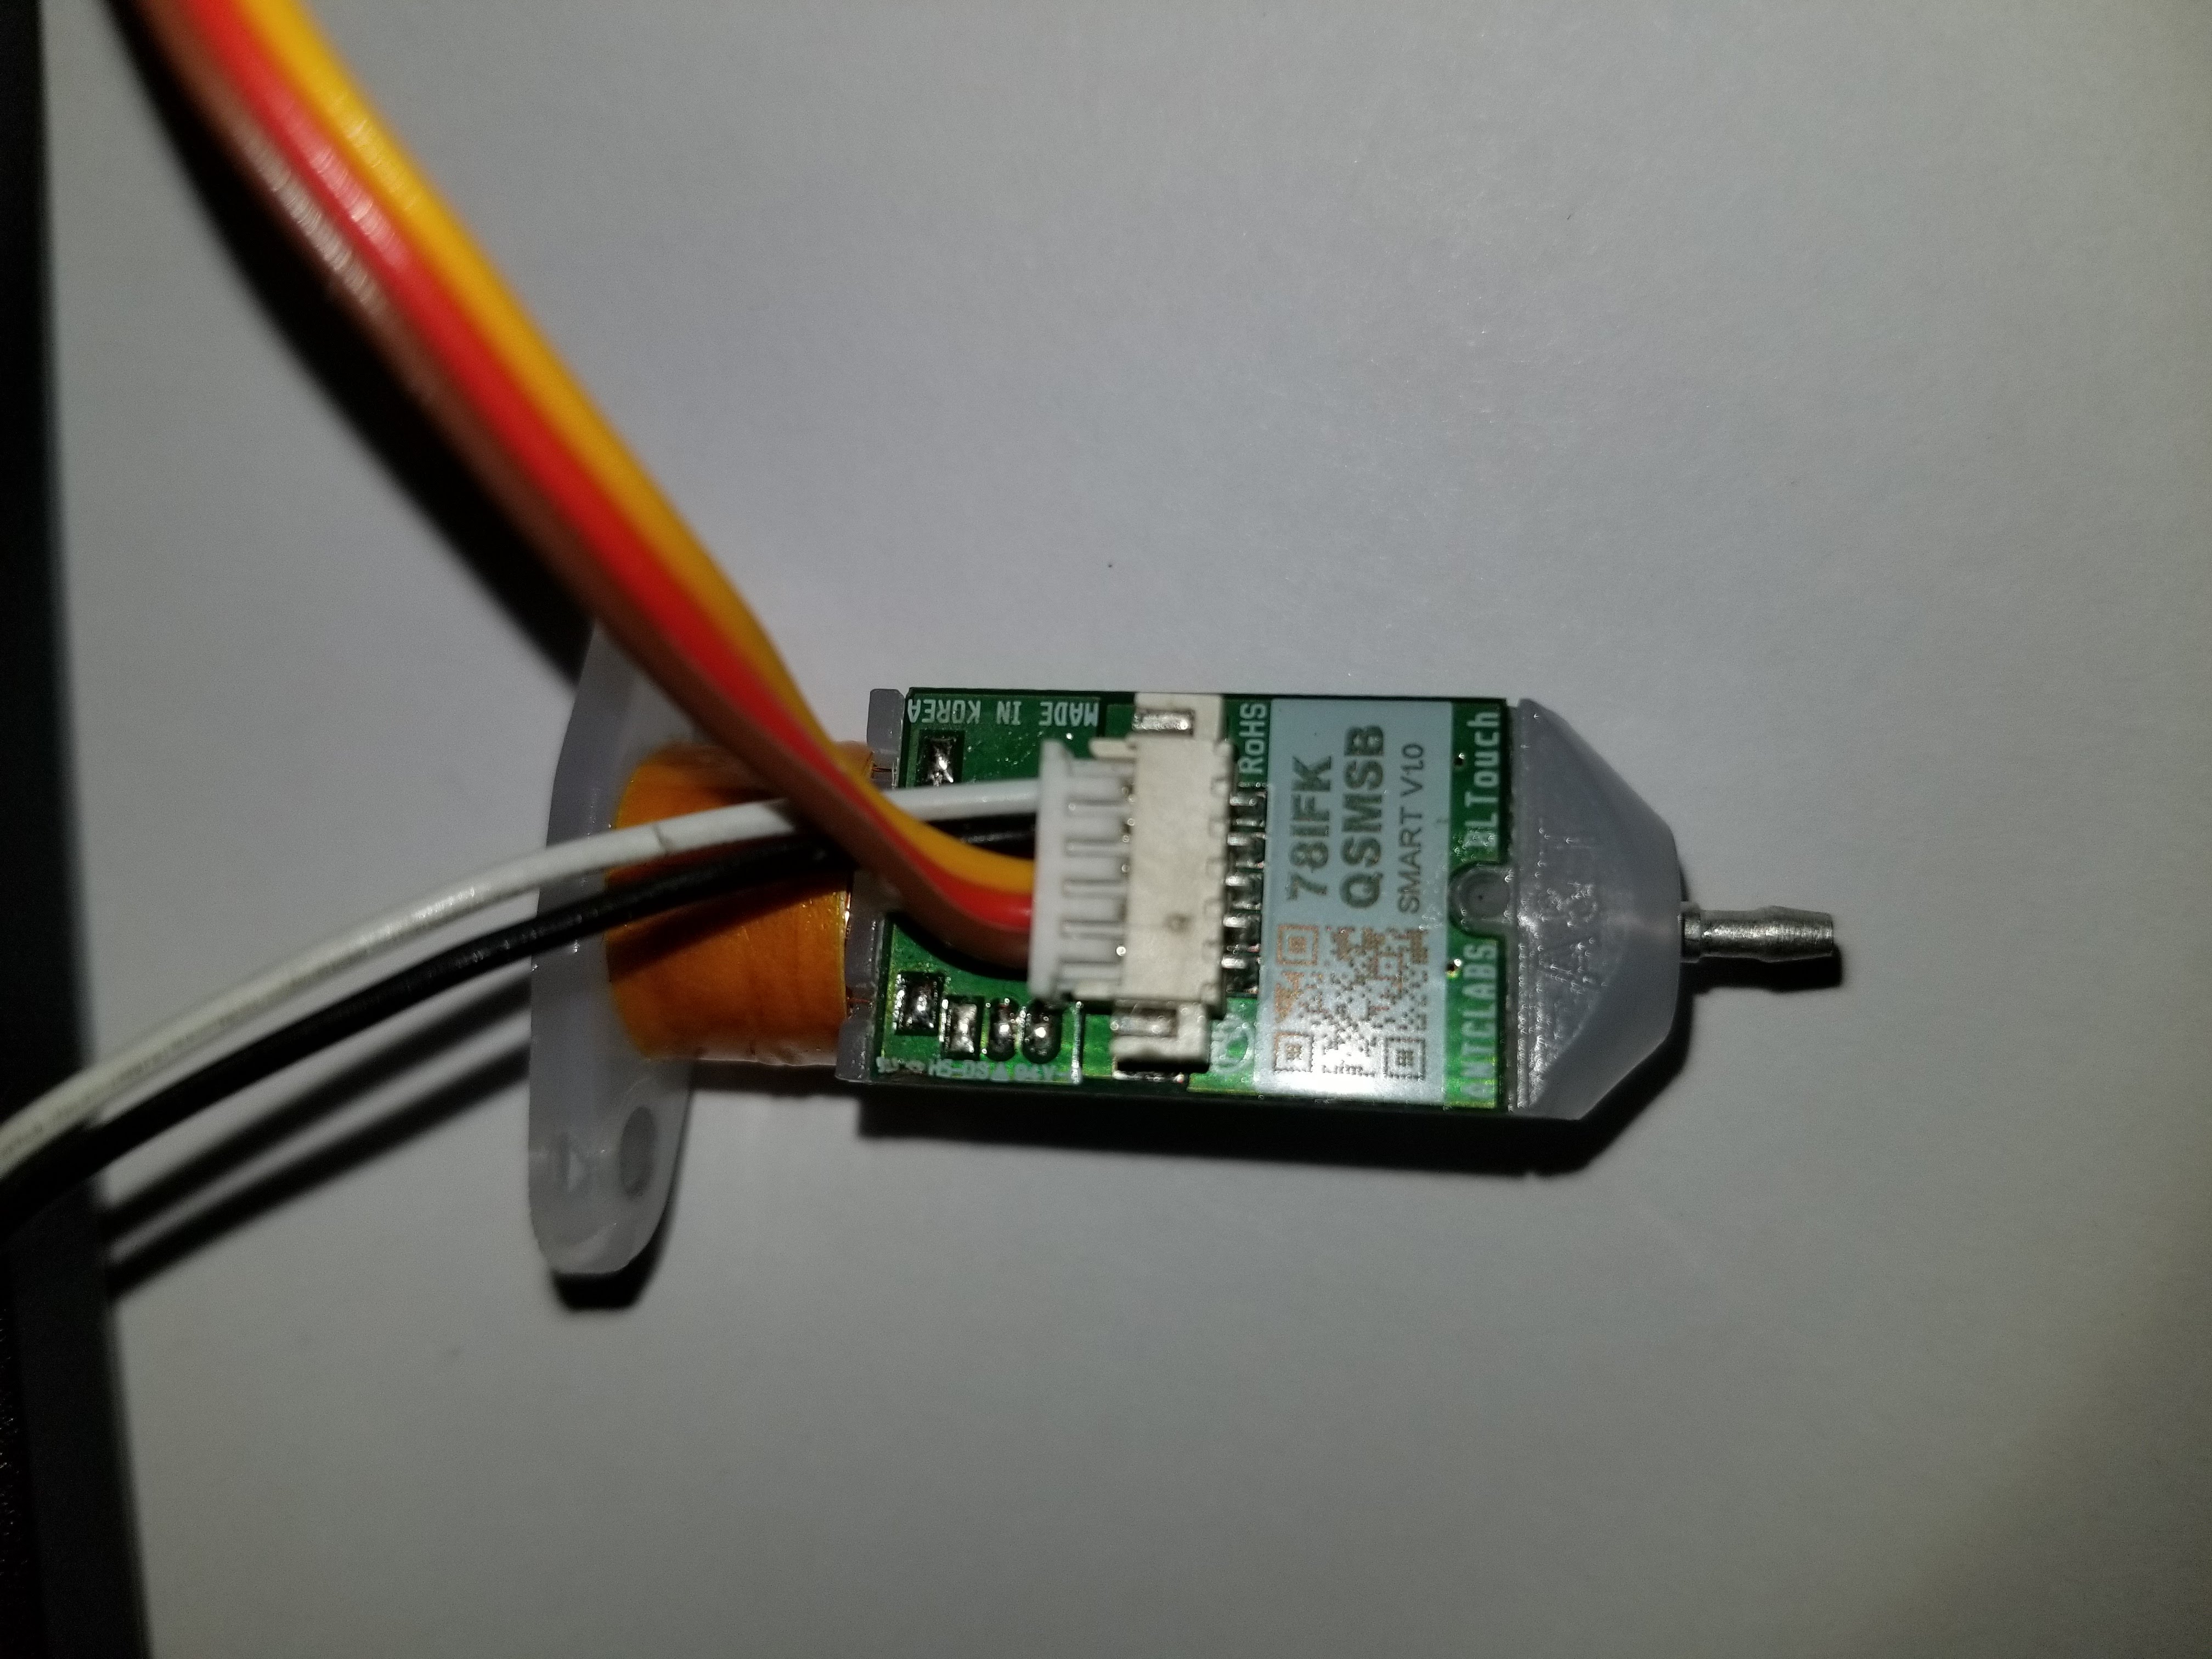
I don't know if this will help but here is the BLTouch would love to get this thing going need it bad.

-
Getting answers to the questions I posed in the post before yours would help us help you.
-
When you turn the printer it self test the pin go in out out two times.X and Y home Z goes to middle of bed and stops.
(0 %
× G28 Z
Error: Z probe already triggered at start of probing move
Error: G0/G1: insufficient axes homed) Only on ZCopy and paste all setting from https://forum.duet3d.com/topic/4487/tevo-black-widow-compatibility/2
Then only edit this.
- In your software config.g file input the following G-Code commands to allow the setup to work:
M307 H3 A-1 C-1 D-1 ;
M558 P9 X0 Y0 Z1 H5 F100 T2000
G31 X0 Y0 Z0 P25
Important: mode 9 is supported in firmware 1.21 and later only. If you are using earlier firmware, replace P9 in the M558 command by P5.
In the G31 command the X and Y are the offset of the sensor in relation to the nozzle (so input your own) the number for Z is the trigger height (read on for this). This is the height that is obtained from reading the height the nozzle is from the bed when the sensor pin contacts the bed and retracts, P is the signal threshold.
It is required to invert the signal “I1” when using the expansion header pins and not the Duex to connect the BLTouch.
Ensure in your config-override.g file (in the /sys folder of the SD card) does not contain an M307 H3 command that overrides the above configuration.
2. Create a deployprobe.g file (in the /sys folder of the SD card) it should contain the following single command:M280 P3 S10 I1
- Create a retractprobe.g file (in the /sys folder of the SD card) it should contain the following single command:
M280 P3 S90 I1
Commissioning & Testing
To test the setup with the nozzle maybe a 100mm up from the bed you can check if the trigger signal is reaching the Duet by attempting to extend the pin by using the following command:(THIS WORK PERTFECT) M280 P3 S10 I1
Then put the Sensor in to test mode by inputting the following command:
**( THIS THE PIN JUST GO IN AND OUT WITHOUT STOPPING)**M280 P3 S120 I1
If all is well the web interface should report a value of ” 0” in the Z probe column when the pin is extended. You can then lightly touch the extended probe pin to check that the pin retracts, the value in the Z probe Column should change to “1000”
If all is good It is at this point that you can deploy the probe using the M280 P3 S10 I1 command and slowly lower the nozzle to the bed and find out your own Z trigger height, when the probe touches the bed and the pin retracts you can take a reading of the Z height and use that to input into the G31 command in the config.g file