Dc42 ir probe on the way
-
Hi,
Some question about that ir probe.
CoreXY, e3d v6 lite (New heater Block)- My try for config.g
Endstops
M574 X1 Y1 S0Z-Probe
M574 Z1 S2
M558 P1 H5 F120 T6000
G31 P500 X0 Y-xx Zxx (have to measure)
M557 X10:230 Y10:210 S20Is this correct?
-
What about the x/y offset @ g31 and M557, do i have to calculate it?so when y offset is - 20, y min has to be 30 @M557 or is that calculated by duet and my nozzle is at Y30 when M557 wants to probe at Y10?
-
What is M376? I don't get it. Google translate didn't helped. Do i need that? What is it good for?
Thanks!
-
@torro said in Dc42 ir probe on the way:
so when y offset is - 20, y min has to be 30 @M557
That's right. If you have it set so that the M557 has probe points that lay outside the reachable area it will skip them, but you can better maximize the grid layout by doing a little math yourself.
M376 allows you to set how far you want bed compensation to continue up the print vertically. So if on the first layer you need 0.2 of adjustment, and you set the taper height to 5mm, it will reduce the amount of adjustment every layer until 5mm where it would stop adjusting. Depending on how your bed is unflat you may want to have some taper, or you may not want it at all. If it's the bed surface that has a slight dip, you can taper off and be fine, but if the unflatness of the bed is actually due to sag in the gantry you would want to have no taper so that the sag is corrected for the entire print. I hope that makes sense.
-
Ok, got it. Thanks a lot!
-
Hi there,
I just installed the mini IR probe. Mounting and cables was no problem.
Now, i have a problem to set the trigger height.
I followed those manuals:https://duet3d.dozuki.com/Wiki/Test_and_calibrate_the_Z_probe
https://miscsolutions.wordpress.com/mini-height-sensor-board/home Z -> M564 S0 -> moving slowly -Z until paper is gripped -> G92 Z0 -> move Z10 -> G30 S-1
i get a trigger height of 0.46 to 0.48mm. i put this in the G31 command as seen here:
Endstops
M574 X1 Y1 S0
Z-Probe
M574 Z1 S2
M558 P1 H5 F120 T6000
G31 P500 X0 Y50 Z-0.45
M557 X10:230 Y10:210 S20The problem is, that after homing, i have again an offset of -0.45mm.
home Z, paper is loose, Z-0.45 per baby stepping paper fixed by the nozzle.Should i try a G92 Z0.45 in the homeZ/homeall.g files?
-
@torro A negative trigger value would usually only apply to contact nozzle probes that actually touch the bed to trigger.
Try G31 Z0.45.
You should be homing Z with a G30 movement in your homeall.g. Do not use a G92 Z0.45 The G30 will determine your height.
-
seems to work thanks a lot!
now, i have to figure out, where i need to change that (macros etc...)
one last question (for today...
") )
)
after G30, the bed moves to Z5.45
why? i think i know, where .45mm comes from, but who adds 5mm more? -
@torro Post your homing files.
The extra 5 is probably your dive height from M558. After probing it returns to this height. The 0.45 is your trigger height, because that's the distance from the bed when it triggered.
To verify your height from the bed, send the nozzle slowly to Z0 at the same XY position the G30 was done. The nozzle should stop just touching the bed.
If the nozzle is too high or too low, adjust the Z height in small increments until it's just touching. Now you can use that value to fine tune your G31 Z offset.
-
Hi,
this is homeall.g
G91 ; relative positioning
G1 S1 X-300 Y-300 F5000 ; move quickly to X or Y endstop and stop there (first pass)
G1 S1 X-206 ; home X axis
G1 S1 Y-300 ; home Y axis
G1 X5 Y5 F6000 ; go back a few mm
G1 S1 X-206 F360 ; move slowly to X axis endstop once more (second pass)
G1 S1 Y-206 ; then move slowly to Y axis endstop
G1 S1 Z-300 F3000 ; move Z down stopping at the endstop
G1 Z4 F200 ; move slowly 4mm in the +Z direction
G30 X120 Y110
G90 ; absolute positioning -
Hi,
i have problems to get the compensation to work.
i created the heightmap

added a G92 S1 to the start script of s3d
M106 P0 S0 ; Stop Part Cooling Fan
G28 ; home all axes
G29 S1 ; load heightmap
G91 ; relative mode
G1 E52 F400 ; Fill Nozzle
G90 ; absolute Mode
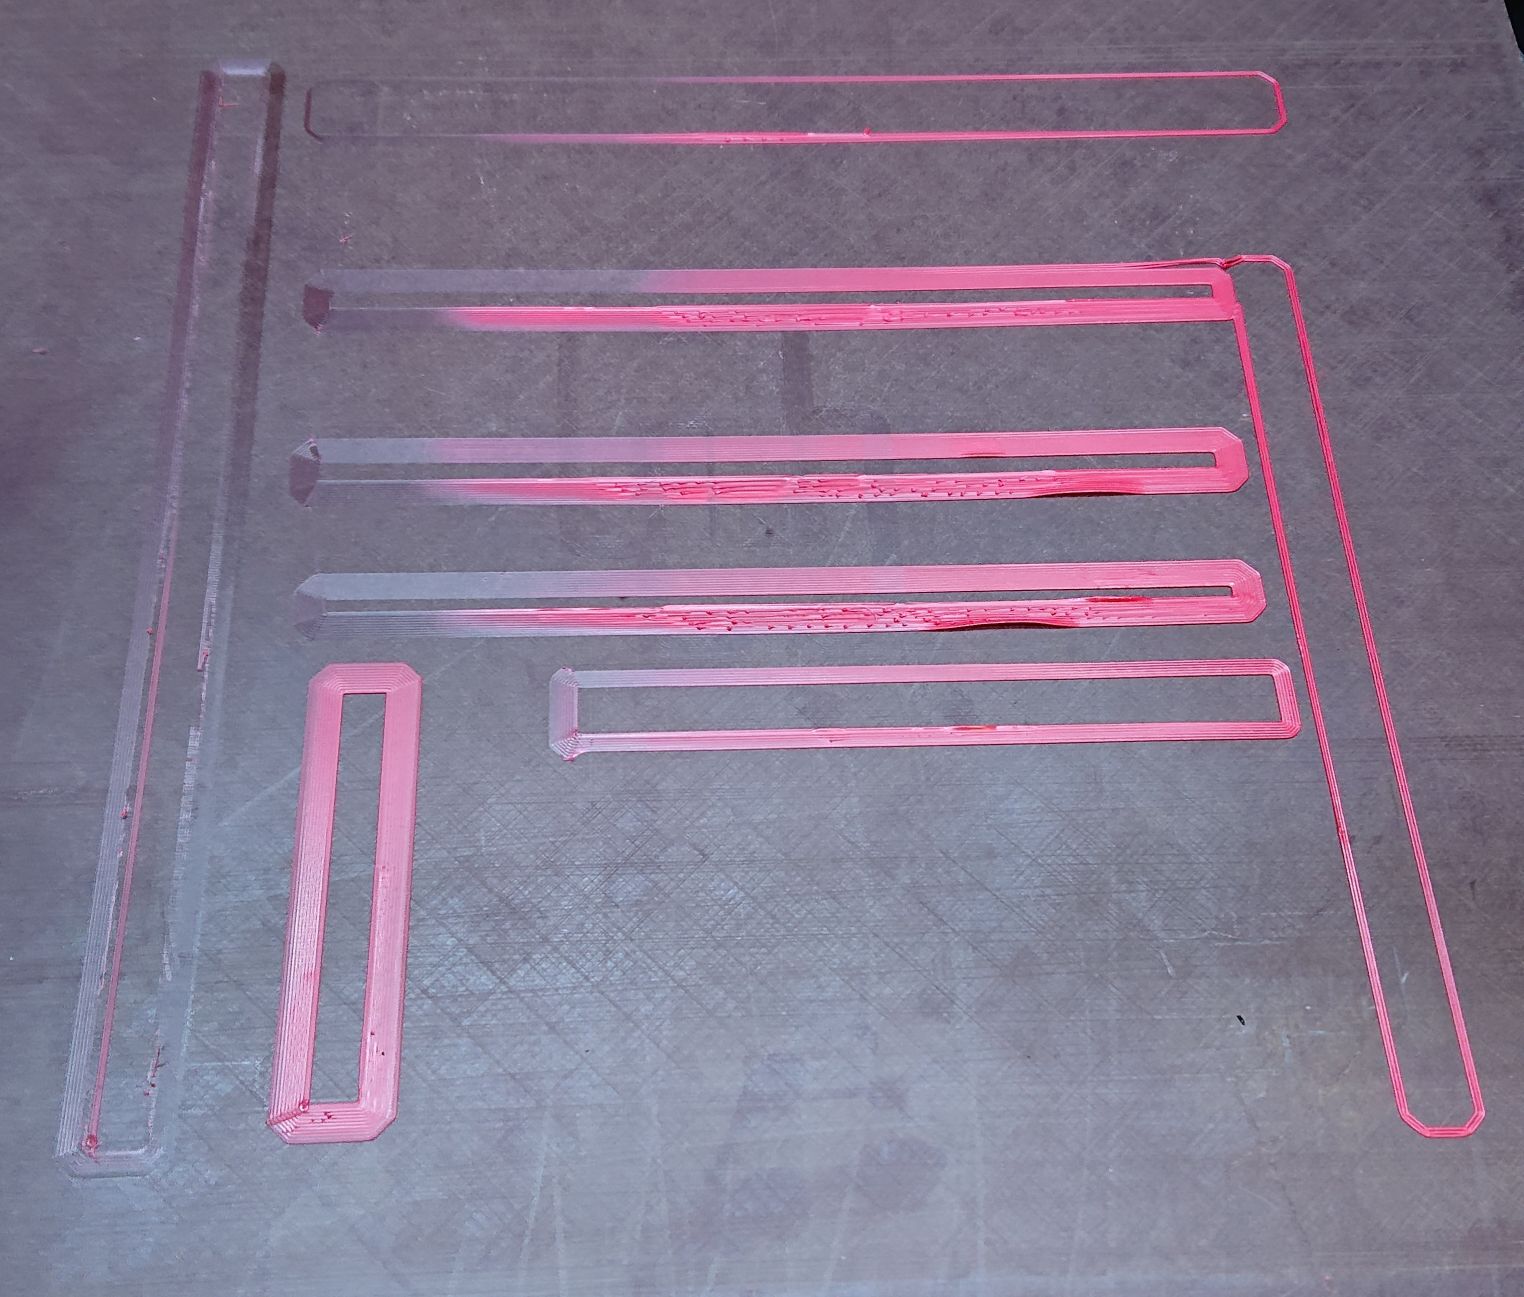
M572 D0 S0.1 ; Pressure advanceand get this result:

you can see that it´s somehow similar. i have no idea what to do next.
config.g:
; Drives
M569 P0 S1 ; Drive 0 goes forwards
M569 P1 S1 ; Drive 1 goes forwards
M569 P2 S1 ; Drive 2 goes forwards
M569 P3 S1 ; Drive 3 goes forwards
M350 X16 Y16 Z16 E16 I1 ; Configure microstepping with interpolation
M92 X80.00 Y80.00 Z160 E420.00 ; Set steps per mm
M566 X900.00 Y900.00 Z12.00 E120.00 ; Set maximum instantaneous speed changes (mm/min)
M203 X20000.00 Y20000.00 Z4000.00 E4000.00 ; Set maximum speeds (mm/min)
M201 X1000.00 Y1000.00 Z1000.00 E10000.00 ; Set accelerations (mm/s^2)
M906 X800.00 Y800.00 Z800.00 E800.00 I30 ; Set motor currents (mA) and motor idle factor in per cent
M84 S300 ; Set idle timeout; Axis Limits
M208 X0 Y-1 Z0 S1 ; Set axis minima
M208 X240 Y222 Z278 S0 ; Set axis maxima; Endstops
M574 X1 Y1 S0 ; Set active high endstops; Z-Probe
M574 Z1 S2
M558 P1 H5 F120 T6000 A3
G31 P500 X0 Y50 Z0.4
M557 X20:220 Y70:220 S20homeall.g
G91 ; relative positioning
G1 S1 X-300 Y-300 F5000 ; move quickly to X or Y endstop and stop there (first pass)
G1 S1 X-206 ; home X axis
G1 S1 Y-300 ; home Y axis
G1 X5 Y5 F6000 ; go back a few mm
G1 S1 X-206 F360 ; move slowly to X axis endstop once more (second pass)
G1 S1 Y-206 ; then move slowly to Y axis endstop
G1 S1 Z-300 F3000 ; move Z down stopping at the endstop
G1 Z4 F200 ; move slowly 4mm in the +Z direction
G90 ; absolute positioning
G30 X120 Y110 <- That´s NOT working it probes at X/Y min -
You better send probe to X120 Y110 by G1, so
G1 X120 Y110
G30 -
@aidar said in Dc42 ir probe on the way:
You better send probe to X120 Y110 by G1, so
G1 X120 Y110
G30done & works! thanks
i took the G29 S1 out of the start script. before starting the print, i activated the mesh per DWC "compensation&calibration". so it says "compensation in use:mesh"
i printed a cube with 180x180mm and observed the z motors. they stand still.
-
tried this start script:
M106 P0 S0 ; Stop Part Cooling Fan
G28 ; home all axes
G29
G91 ; relative mode
G1 E52 F400 ; Fill Nozzle
G90 ; absolute Modesame problem, the first layer looks like on the picture above.
DWC says "mesh in use" -
Well, seems we have to start from basic: what version of firmware you use?
-
Duet Web Control 2.0.0-RC3
Electronics: Duet WiFi 1.02 or later
Firmware: RepRapFirmware for Duet 2 WiFi/Ethernet 2.02(RTOS) (2018-12-24b1)
Duet WiFi Server Version: 1.22 -
What does a print look like with mesh disabled?
-
5 minutes please
-
it´s the same. left side (Ymin) so close, that there is no layer, right side (Ymax) so far away, that the layer doesn´t stick to the bed
-
@torro said in Dc42 ir probe on the way:
M201 X1000.00 Y1000.00 Z1000.00 E10000.00 ; Set accelerations (mm/s^2)
Try reducing the Z acceleration from 1000 to 100. I wonder if it's trying to compensate but trying to move too quickly and not moving at all due to binding.
Does the Z axis move properly otherwise?
-
Z axis works fine.
tested with acceleration 100, same behavior -
Have you tryied manual bed leveling?
https://duet3d.dozuki.com/Wiki/Using_the_manual_bed_levelling_assistant