Core XY Z axis on belt...any good?
-
Good discussion on belted drives going on on RepRap forum:
-
I like belted z and had used a 4:1 belt reduction on my heavily modified Ormerod. I hadn't considered tje worm drive reductions but am apprehensive about backlash. I will be trying it at some point when cash flow improves.
-
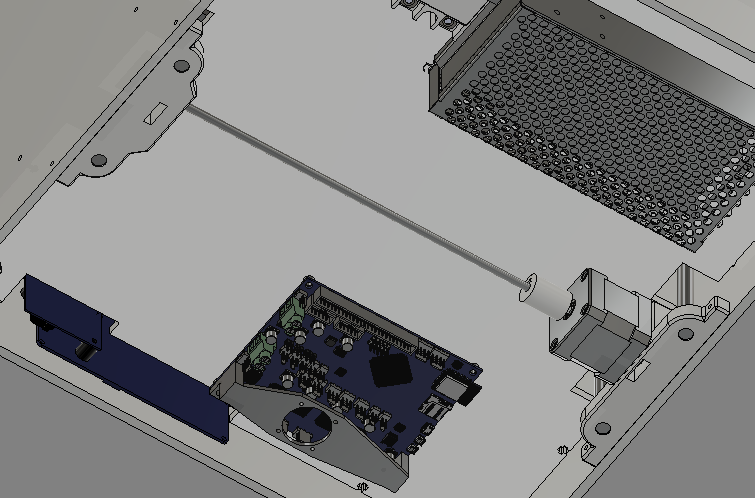
A few photos of my Core XY is at https://forum.duet3d.com/topic/10270/my-hypercube-evolution-corexy-variant
I have dual T8 Z screws with 2mm pitch and 2mm lead (ie single start thread), 2 motors and joined by a belt (carefully assembled) to keep them synced when power is off. No problems so far with bed when powered off but I guess there is a slight risk. The 2mm lead is a critical factor where the friction is sufficient to reduce the chance of movement when power is off.
-
@garis , thank you for replaying but I was thinking about substitute the lead screw with a totally belt drive z-axis
-
I'm working on building this printer. It looks like a good design. So far I'm happy with the way it is shaping up to be.
-
I think my coreXY is what you mean?
It works very good and is a cheap solution though. But you are right, power loss would be a problem. Luckywise we never have this problem in Germany

Spoken from experience: Make sure to couple both sides mechanically! In a previous version I used two separate motors and had a big issue with homing repeatability.

-
@Jorge yes this is what I mean.
Have you some more photos of the belt transmission? What happen to your printer in case of power loss?what about using something like this ,
https://www.omc-stepperonline.com/precision-planetary-gearbox/nema-17-stepper-motor-l39mm-gear-raio-501-high-precision-planetary-gearbox-17hs15-1684s-hg50.html -
I built a 4 point belt driven system with guides and belts at each corner connected with a cross shaft driven by one motor. I attached a counter weight to the cross shaft at one corner to eliminate movement when turned off but still free to move up and down by hand. It also provided equal torque required to raise and lower bed, it added additional mass in both directions but I haven't noticed any issues. Never had a power off situation so I can't speak to that. Beautiful prints. The red wheel allowed for manual positioning, not needed. Knob and screw on the Z motor allowed me to manually adjust height when laying down the first layer, sort of manual micro-stepping, not needed when using Duet3D system.
https://hackaday.io/project/12618/gallery#dcfc875d8e7f5cd9b5e055366f7bde6b
-
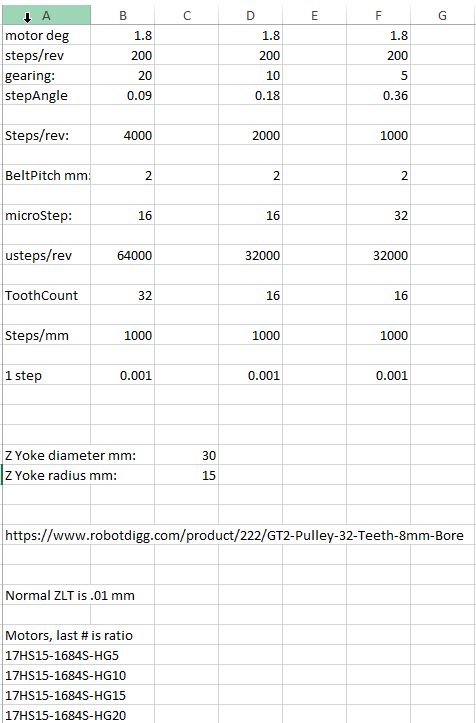
Coincidentally, I just finished yesterday a spread sheet to model a Z belt on a Railcore with the plan of replacing 3 lead screws with 3 motors and belts. The Z yokes are very close to the size of a 16T pulley although it may be possible to offset the pulley as long as the belt that lifts is normal to the yoke. Otherwise, a 32T pulley will work.
I'm specifically looking at OMC Steppers Online and their precision planetary gearboxes seem to only offer 8mm shafts. I've not found a 16T pulley with an 8mm bore.
A 5 to 1 geared motor, 32T pulley and 1/32 microsteps yields 1000 steps/mm. Whether that is realistic in practice remains to be seen.
Note that some of the cheaper motors claim a 5:1 gearing where a careful perusal of the data sheet shows it is actually 5.18:1. That doesn't meet my goal of 1000 steps/mm or any other rational number that I see.
This is not an inexpensive upgrade as the motors are about $42 each.
-
I just did triple Z leadscrews/motors. I love it. Mesh bed compensation is magic. Love not really worrying about bed level. Designed it so the leadscrews intersect directly through the corners of the bed in the rear, then the front leadscrew is directly in the middle. Make sure you run a high quality gates belt if doing a triple Z, there is a lot of strain moving a heavy bed depending on your build volume. Make sure belt tension stays as consistent as possible.
-
The belt lift using the Rino worm drive works very well in my corexy printer. Z artifacts are minimal-to-nonexistent and the bed doesn't move at all when power is cut. The particular Rino I used isn't guaranteed to be irreversible like some worm gear sets, but with the load applied by my printer it is. Power loss isn't really much of an issue in the US, though we occasionally get weather related outages once or twice a year for a few minutes where I live. It's more of an issue when you're doing things like rebooting the controller board after making a config change, or doing some other experimentation.
I originally used steel core belts and have since switched to glass core belts. They stretch a little more but still an insignificant amount. For those who haven't seen the blog, I updated the belt clamp design due to a problem I had with the old clamp and steel core belts. The problem was with the clamp design, not the belts, so steel core belts are still a good option for the Z axis, especially if you're lifting a heavy bed assembly.
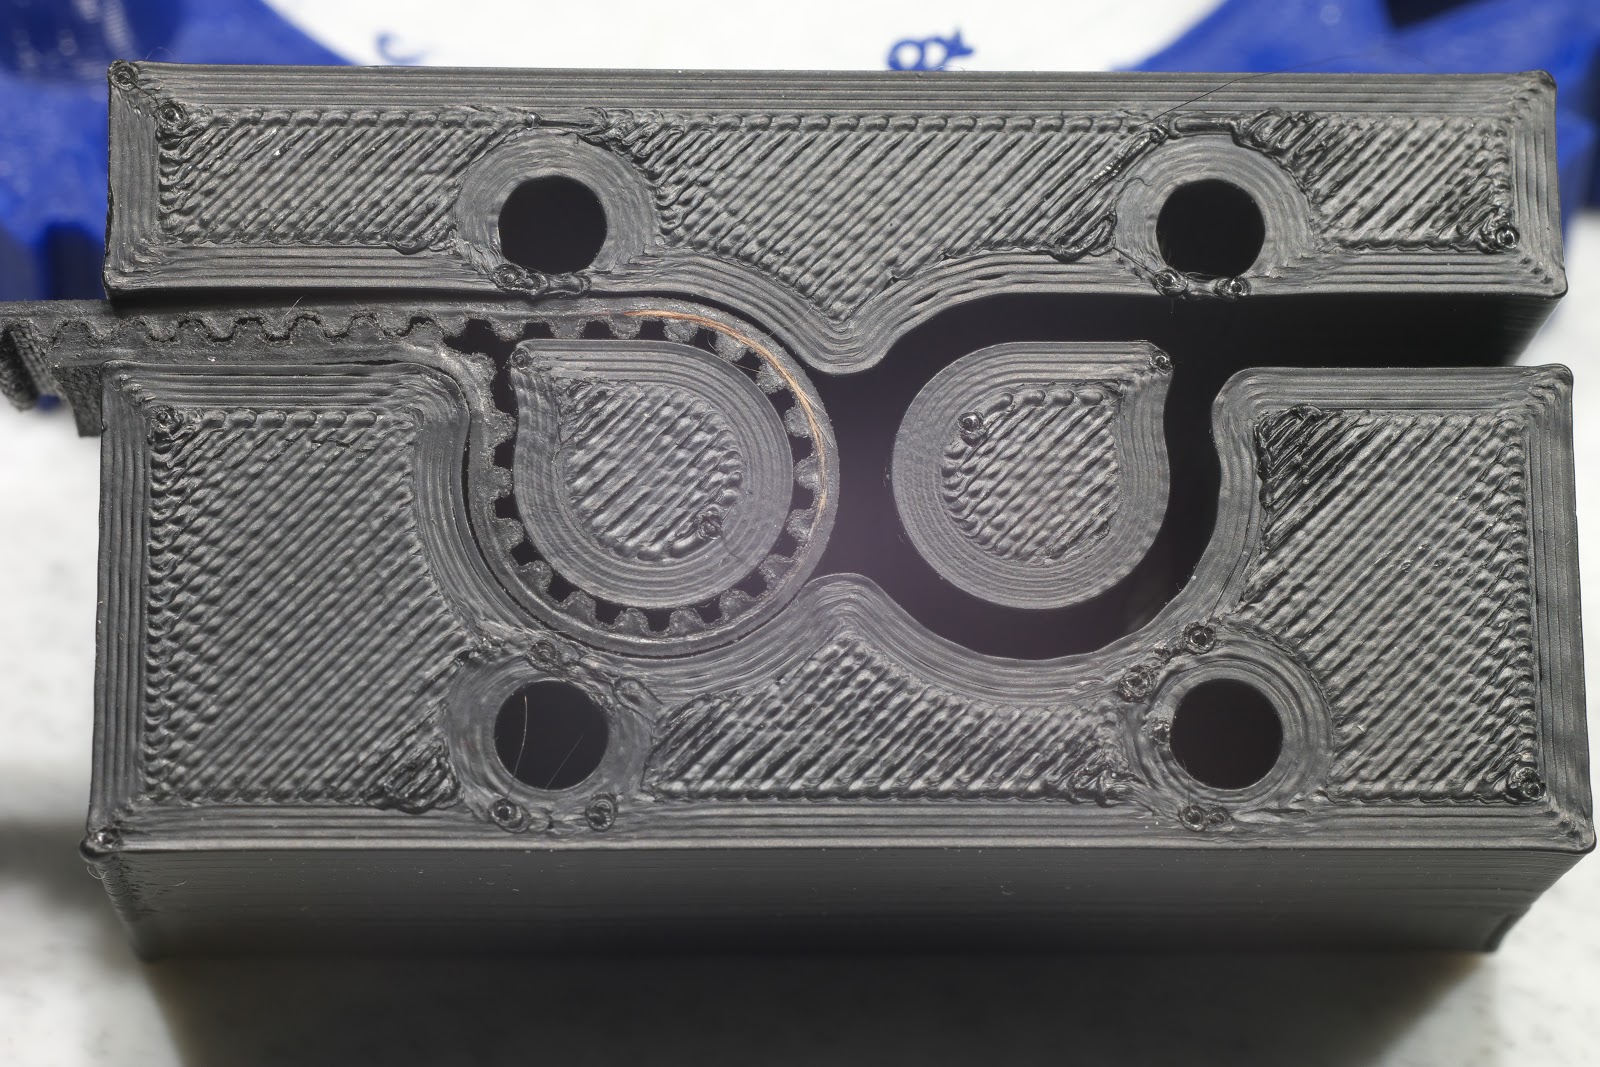
The new belt clamp, slightly overextruded:
There is no backlash in the Z axis in my printer. The 3.5 kg bed assembly keeps the gears loaded at all times. If you do something like use a counterweight to prevent the bed from dropping, you may have to worry about backlash because the counterweight is unloading the gears/belts/pulleys that are driving the mechanism.
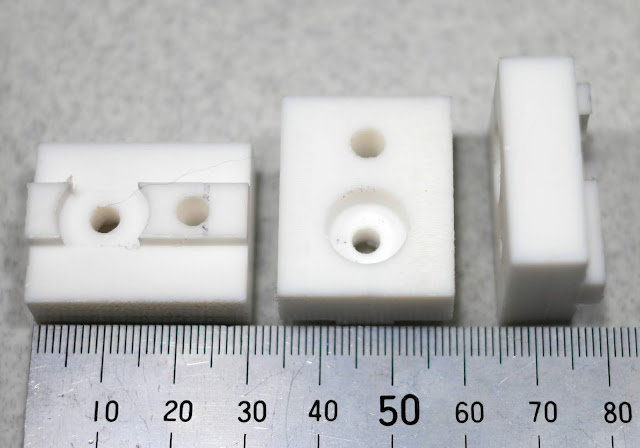
I'm in the process of making a few other changes to the Z axis- I swapped and flipped the bed lifting brackets so the bed is now about 50 mm closer to nozzle. That allowed me to shorten the extra long extruder carriage. I also redesigned the PTFE leveling screw blocks that mount on the bed support tee- they're a lot more solidly mounted than the old design. I'll do a blog post on that in a day or two. The thing that hasn't changed is the Rino and the overall drive configuration. It works and I plan to leave it as-is.
The other thing that works really well is the kinematic mount for the bed plate.