ST3Di Modelsmart 280 - Duet Maestro repair/upgrade
-

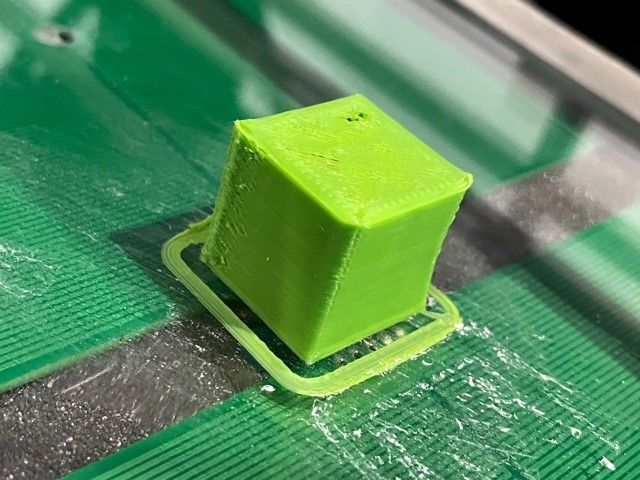
Can't thank the people who have helped me enough. Still lots of work to do in terms of getting the printer calibrated properly and playing with settings but to get to this stage I'm extremely happy.
It's smushing layers a little and over extruding I think. The part fan is disconnected as I need to cut the shroud that directs the air to the part so it fits around the new probe.
-
Not a bad first print on a conversion.
Maybe give this calibration guide a go.
https://duet3d.dozuki.com/Guide/Ender+3+Pro+and+Duet+Maestro+Guide+Part+4:+Calibration/40
-
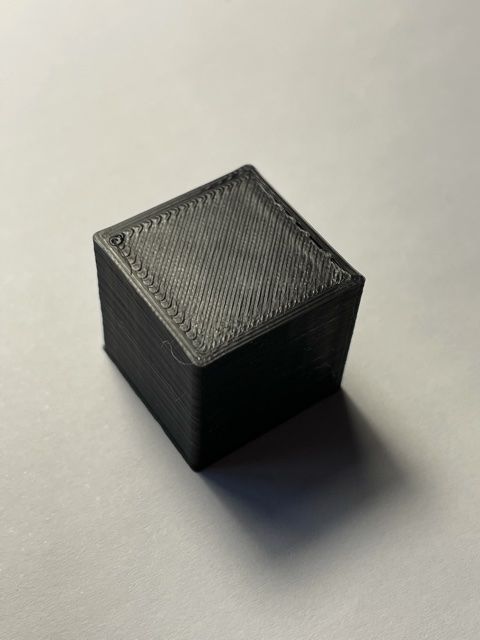
I'm getting some decent test prints now. The calibration cube looks so much better and measures accurately.
I'm starting to focus on the dual nozzles and try get them working together for dual colour prints. I've measured the nozzle to nozzle as 28mm. I just wondered if there were some techniques I can use to calibrate them?
I'm set the printer up with centre of the bed as 0,0 and defined the centre of the tool head to align with that.
-
@Blacksheep99 said in ST3Di Modelsmart 280 - Duet Maestro repair/upgrade:
defined the centre of the tool head to align with that.
It'll keep things simpler if you use your tool0 nozzle as the reference point. Then the second nozzle is offset from that.
So if the center of your bed is 0,0, and your nozzle0 is touching that point, the offset for the second nozzle is easily found by jogging the print head to move the second nozzle so that it's now at the 0,0 center point. Now you can use the current X Y position as the offset for your second tool.
-
@Phaedrux said in ST3Di Modelsmart 280 - Duet Maestro repair/upgrade:
@Blacksheep99 said in ST3Di Modelsmart 280 - Duet Maestro repair/upgrade:
defined the centre of the tool head to align with that.
It'll keep things simpler if you use your tool0 nozzle as the reference point. Then the second nozzle is offset from that.
So if the center of your bed is 0,0, and your nozzle0 is touching that point, the offset for the second nozzle is easily found by jogging the print head to move the second nozzle so that it's now at the 0,0 center point. Now you can use the current X Y position as the offset for your second tool.
Thanks. That makes sense. Does it make most sense to define the tool closest to the probe as the one at 0,0?
-
@Blacksheep99 said in ST3Di Modelsmart 280 - Duet Maestro repair/upgrade:
Does it make most sense to define the tool closest to the probe as the one at 0,0?
I don't know if that will matter really since they are all related distances anyway. My brains thinks left to right in ascending order, but it doesn't have to be like that.
-
@Phaedrux said in ST3Di Modelsmart 280 - Duet Maestro repair/upgrade:
@Blacksheep99 said in ST3Di Modelsmart 280 - Duet Maestro repair/upgrade:
Does it make most sense to define the tool closest to the probe as the one at 0,0?
I don't know if that will matter really since they are all related distances anyway. My brains thinks left to right in ascending order, but it doesn't have to be like that.
Your brain thinks the same way as mine.
-
I've done various bit of tuning and calibration now. I've very happy with the results I'm now getting. A testament to the Duet. So impressed that I've picked up a Duet 2 Wifi and I intend to install it in my other printer. Helped by the confidence I have gained on installing this.
-
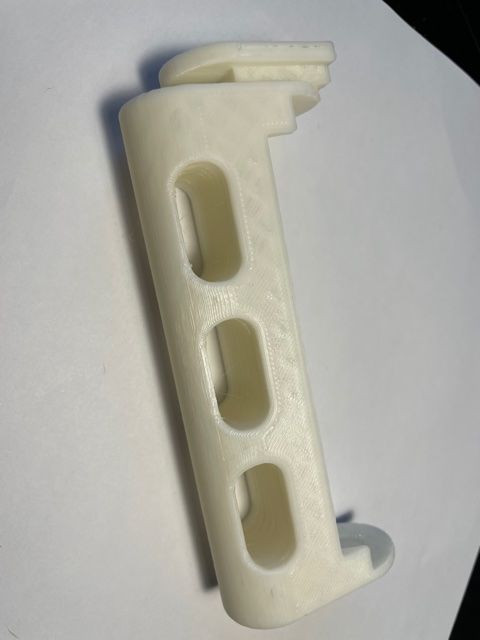
Needed more top/bottom layers but happy with this part.

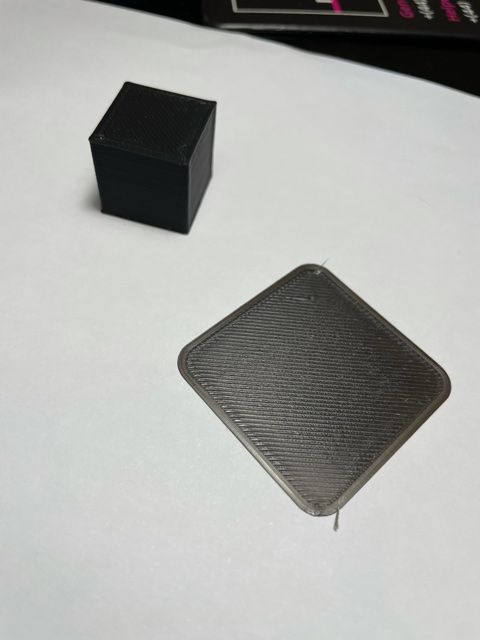
First layer (0.2) and a calibration cube


-
Another successful conversion. Well done.
-
@Phaedrux thanks for all the help, the support here is excellent and meant I could get a printer working again
-
Hello. Noticed your post, although quite old (post that is) I too have a Modelsmart 280. Managed to fry my ssd drive the other day which contained my original stedi driver etc originally downloaded from the stedi site. As you may have experienced the link to stedi download the drivers site, is now some Chinese football site !.
So it looks like stedi having been purchased by other larger companies is no longer alive to date as far as I can tell.
Having seen your post I wonder if you may still have the software downloaded on your end, if so any chance you could copy this to me, so I can again communicate PC to Printer as before my PC meltdown. Thanks again, kind regards Tony -
@tony Just checked I still have it. Not sure I have the driver. I can send you what I have though.
As an aside, you don't need to use it. I was using Cura but you can use any slicer as long as you edit the gcode before you print to include a line the printer reads. I have a word doc I produced that I can also send.
Beyond that, consider replacing the board.
-
that was a quick, thanks. I've got to confess not a 3d printer nerd, so writing code might be beyond my level. That said appreciate if you could send what you have, thanks much appreciated, regards tony
-
@tony I've sent you a message.
-
hello boss, seems like I didn't receive it, any chance of routing it down my email sales@compass-stairlifts.co.uk regards tony

-
@tony email sent
-
Hello
Had to go to work this morning, so just thought I would acknowledge your much appreciated efforts,
I will get on with using the driver package you sent via email and have downloaded the latest cura version, in an effort to increase my knowledge in this field.
Anyway thanks again for taking the time, if you have any further information that may help my basic attempts to understand g-code that would also be appreciated. Kind regards Tony -
@blacksheep99 stedi file worked perfect, printer back in communication with PC, thanks for taking the time again, very much appreciated, Kind Regards Tony
-
@tony glad to hear you’re back up and running. Happy to be able to help