Thought others would like to see the latest video from Stefan @ CNC Kitchen.
Best posts made by Blacksheep99
-
CNC Kitchen - Prusa MK2 'Upgrade'posted in General Discussion
-
RE: What is the best 3d printer for beginnersposted in 3D Printing General Chat
@milesthomas I’d say look at a Prusa for ease of use.
-
RE: Why is there no classifieds on here?posted in General Discussion
@arnold_r_clark fair point
 I have boxes of various printer (spares), just in case.....
 -
RE: Helloposted in General Discussion
Here is the original slicing software https://drive.google.com/file/d/1f1yuOidiOxlcGvqfJhKm9rftpKGLOB2k/view?usp=drive_link
It's old and clunky. You can use a slicer like Cura or Prusasclier with the printer with a little bit of work. If you want to update the printer then as @droftarts says look at one of the current duet boards.
If I can help let me know, I'll try asisst.
-
RE: Ringing on printsposted in Tuning and tweaking
Give Prusaslicer a go. I’ve moved to it from Cura and I’m impressed with it
-
RE: First Benchy printed - Issuesposted in 3D Printing General Chat
@TF_Sinthoras You can use the retraction tab here to tune it.
-
Feature request: Search function in 'Jobs'posted in Duet Web Control wishlist
Hi, hope this is the right place to raise this. It would be great if we could search within Jobs. It would make finding old prints a lot easier. Thanks.
-
RE: 3D code viever.posted in General Discussion
@Sindarius Thanks! Something new I've learnt today.
-
RE: Vertical lines vs. geared extrudersposted in Tuning and tweaking
Interesting videos. New gear design required. I had the thought of using two motors to drive in unison but that comes with it's own issues.
-
RE: Not homing in correct direction.posted in Firmware installation
@BattleDroid said in Not homing in correct direction.:
Ah, gotcha. That makes sense now. Thank you. You guys have been super helpful. I just closed about 30 tabs since those questions have been solved for me. haha
I am now trying to see if I can get the probe to work. I am googling how to change the mesh grid(?) when it probes. I noticed when it first tried to probe it wasn't quite on the bed. I am assuming its coordinates on the m557 line. Still searching. The other thing I have to find is why it doesn't deploy the probe when it starts homing. It is lit up, it will kick in and out when I turn the printer on. But I need to find what I change to make it deploy when it goes to home.
Do you have a deploy probe and retract probe script? M401 should deploy it and M402 retract. I was in a very similar position to you just the other week so this is all very fresh and familiar for me!

Latest posts made by Blacksheep99
-
RE: Duet overhaul of Builder Extreme 2000 3D Printerposted in General Discussion
@900turbo Interested if you completed this? We have a Extreme 2000 Pro and a Duet conversion would be something I'm considering. I'd like to replace the extruder and add some modern quality of life functions. Thanks.
-
RE: Helloposted in General Discussion
Here is the original slicing software https://drive.google.com/file/d/1f1yuOidiOxlcGvqfJhKm9rftpKGLOB2k/view?usp=drive_link
It's old and clunky. You can use a slicer like Cura or Prusasclier with the printer with a little bit of work. If you want to update the printer then as @droftarts says look at one of the current duet boards.
If I can help let me know, I'll try asisst.
-
RE: ST3Di Modelsmart 280 - Duet Maestro repair/upgradeposted in My Duet controlled machine
@robinzulu I have the old slicer on my google drive.
https://drive.google.com/file/d/1f1yuOidiOxlcGvqfJhKm9rftpKGLOB2k/view?usp=share_link
You can create a profile in something like Prusaslicer and use this with the ST3Di as well. Just takes a bit of work.
-
RE: ST3Di Modelsmart 280 - Duet Maestro repair/upgradeposted in My Duet controlled machine
@Hpnonthuis I swapped out the control board for a Duet so it runs RRF. The original board was locked so it wasn't possible to upgrade the FW.
-
RE: Flashing firmware on Mac OS Xposted in Firmware installation
@droftarts No, I found that setting. Now I think about it though I had already downloaded the file so changing it afterwards makes no sense. I needed to download the file again..... Sometimes looking at things with fresh eyes help! thanks
-
RE: Flashing firmware on Mac OS Xposted in Firmware installation
@jay_s_uk Sorry, I kinda did a thread hijack. I was trying to update via DWC. I was on a 3.4.1rc and wanted to update to 3.4.2
It was just incredibly frustrating yesterday trying to get it to work.
-
RE: Flashing firmware on Mac OS Xposted in Firmware installation
I tried updating my Duet yesterday using my Mac but couldn't simply because when I tried to upload the firmware instead of uploading the zip it automatically extracts it and shows the file contents. I couldn't figure out how to resolve it.
In the end I had to use my work laptop (Windows). Would love to know how to use the Mac for this.
-
RE: First ever recording of Duet3d 'magic smoke'.posted in General Discussion
@zapta Is he buying the boards himself or are they provided FOC. The pain isn't the same when someone gives you these things.
-
RE: Bambu Lab Printer (for discussion, not promotion)posted in 3D Printing General Chat
@martin7404 said in Bambu Lab Printer (for discussion, not promotion):
I Got one .
It is fast.
Also very close to experince like geting HP laser jet and runing it. Espesialy with PLA.
This thing will take away the good sleep of Prusa, ultimaker, Raise 3d etcI got mine last week, Have to agree. Only going to get better as well.
-
RE: ST3Di Modelsmart 280 - Duet Maestro repair/upgradeposted in My Duet controlled machine
These are my old 280 files. Maybe a better starting point.
https://drive.google.com/file/d/1K6EtdznTIZRGNCmrj5GTYIlvQVWrrL8o/view?usp=sharing
These were my notes to myself.
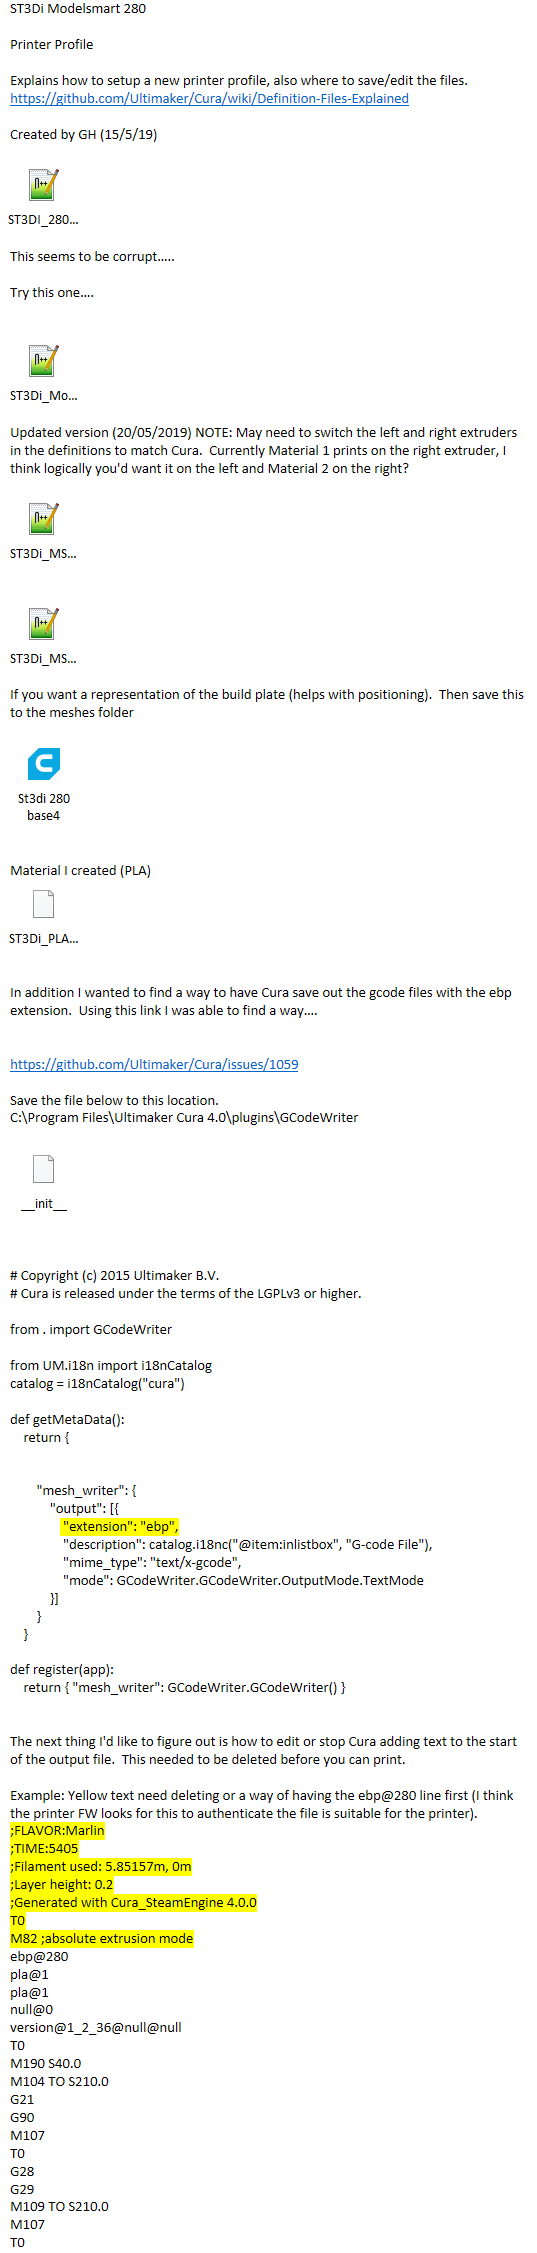 ST3Di Modelsmart 280
Printer Profile
Explains how to setup a new printer profile, also where to save/edit the files.
https://github.com/Ultimaker/Cura/wiki/Definition-Files-ExplainedCreated by GH (15/5/19)
Updated version (20/05/2019) NOTE: May need to switch the left and right extruders in the definitions to match Cura. Currently Material 1 prints on the right extruder, I think logically you'd want it on the left and Material 2 on the right?
If you want a representation of the build plate (helps with positioning). Then save this to the meshes folder
Material I created (PLA)
In addition I wanted to find a way to have Cura save out the gcode files with the ebp extension. Using this link I was able to find a way….
https://github.com/Ultimaker/Cura/issues/1059
Save the file below to this location.
C:\Program Files\Ultimaker Cura 4.0\plugins\GCodeWriterCopyright (c) 2015 Ultimaker B.V.
Cura is released under the terms of the LGPLv3 or higher.
from . import GCodeWriter
from UM.i18n import i18nCatalog
catalog = i18nCatalog("cura")def getMetaData():
return {"mesh_writer": { "output": [{ "extension": "ebp", "description": catalog.i18nc("@item:inlistbox", "G-code File"), "mime_type": "text/x-gcode", "mode": GCodeWriter.GCodeWriter.OutputMode.TextMode }] } }def register(app):
return { "mesh_writer": GCodeWriter.GCodeWriter() }The next thing I'd like to figure out is how to edit or stop Cura adding text to the start of the output file. This needed to be deleted before you can print.
Example: Yellow text need deleting or a way of having the ebp@280 line first (I think the printer FW looks for this to authenticate the file is suitable for the printer).
;FLAVOR:Marlin
;TIME:5405
;Filament used: 5.85157m, 0m
;Layer height: 0.2
;Generated with Cura_SteamEngine 4.0.0
T0
M82 ;absolute extrusion mode
ebp@280
pla@1
pla@1
null@0
version@1_2_36@null@null
T0
M190 S40.0
M104 TO S210.0
G21
G90
M107
T0
G28
G29
M109 TO S210.0
M107
T0closed Add .g to allowed gcode file extensions #1059
