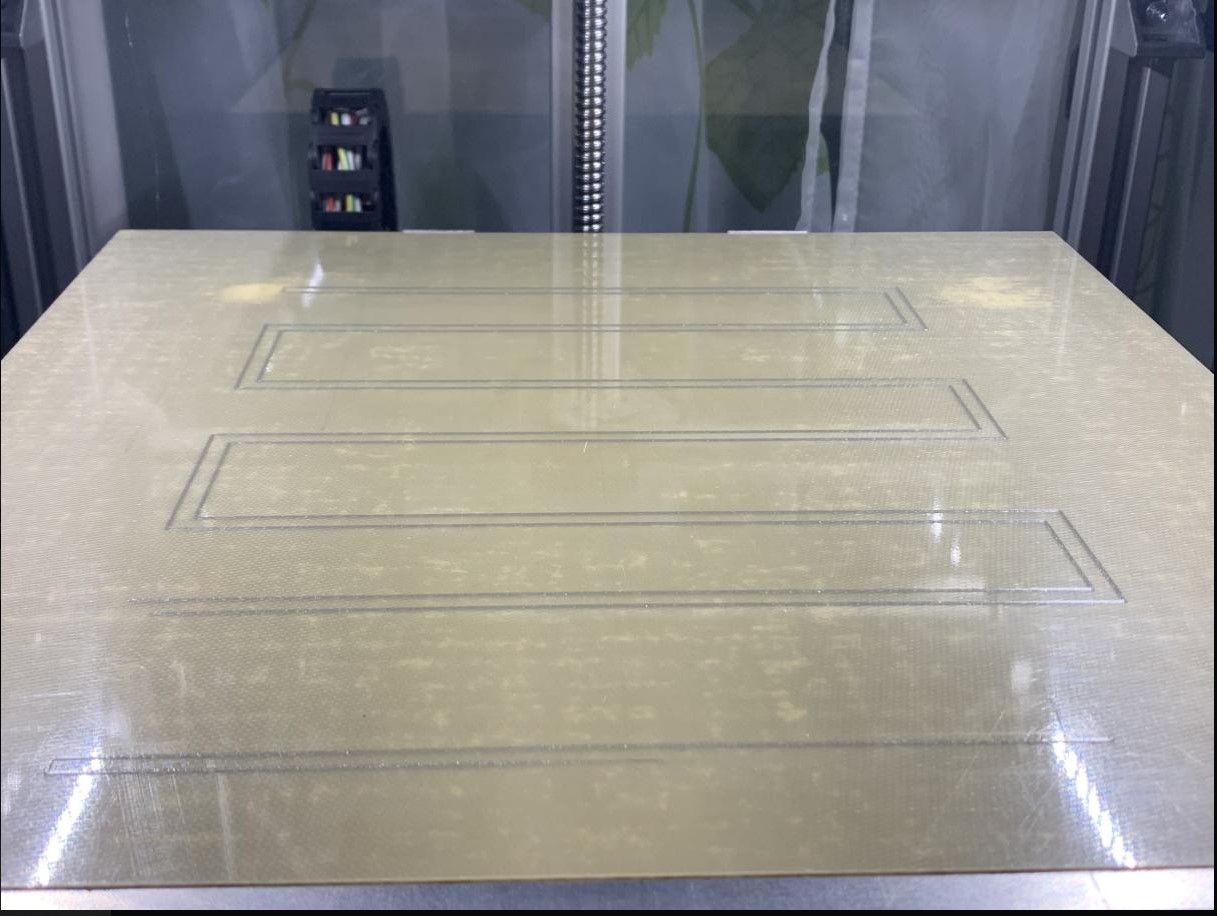
big problems with print bed and mesh
-
@dogma2k Can you try running G32 several times one after the other. Most folks find that they need to run more than one pass to get the bed level as the adjustments made are often an approximation. There are various scripts around to do this looking for the error to converge to a small value. But for now its worth just running multiple passes to see what happens to the numbers.
-
@gloomyandy
I did a G32 3x before measuring, then I was at 0.003 deviation. The mean doesn't get any less -
@dogma2k I was actually wanting to see what was happening to the adjustment values.
-
@gloomyandy
Ok, I misunderstood that, sorry, are 5x enough?

-
@dogma2k Thanks, that's interesting so it looks like you have a fairly constant offset from your zero point of about 0.1mm. You might want to try setting a z=0 point at one of the points that you use to probe the bed as part of your probing sequence. So for instance do a G30 probe with the probe positioned over one of the three points you are using as part of the G32, before you go on to do the actual three probes. Hopefully that will get rid of that constant offset.
-
@gloomyandy
I have now taken the middle rear position (same position as the P1 of the G30).
Somehow it hasn't gone away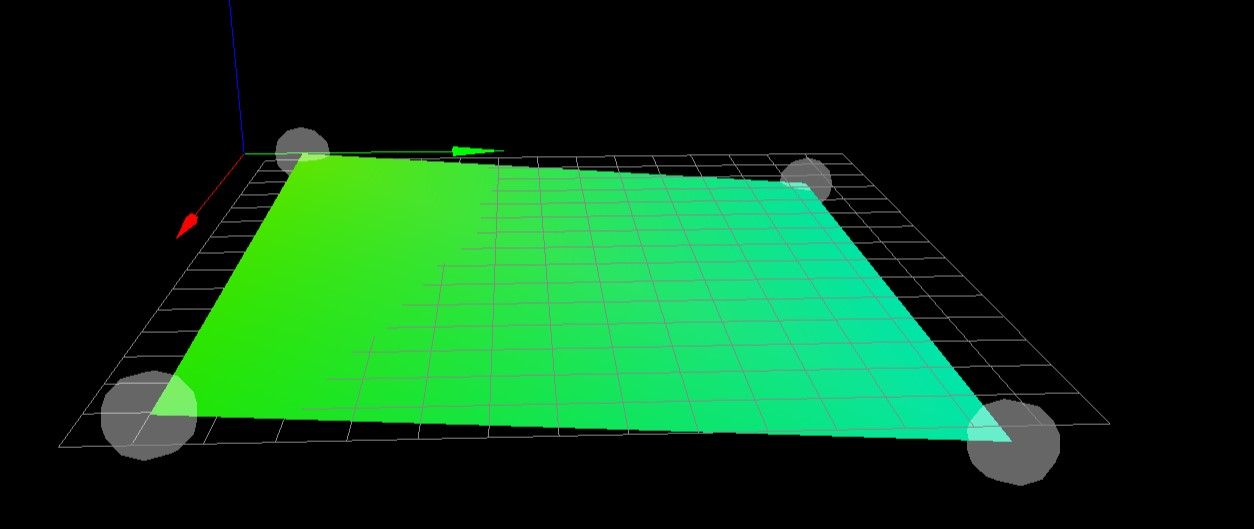
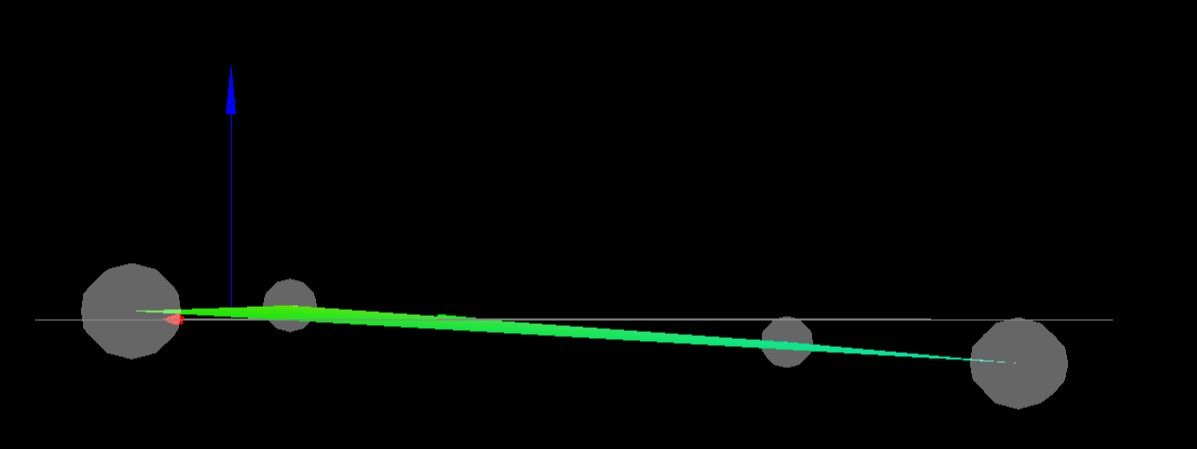

-
@dogma2k Well it looks like it has resolved the constant offset issue at least (look at your mean error now and the adjustments being made). I suspect that the difference you are seeing in the mesh output is down to some sort of twist in the axis or the bed not being really flat or rails straight (the deviations you are seeing are not that large). What sort of print surface are you using? Although using four points for the mesh give you a rough idea of what is happening, you really need more points (like your second mesh above) to get a better idea of what is happening.
-
@dogma2k can I suggest running a ore detailed heightmap and checking the three locations where you are probing for your G32 bed levelling (taking probe offsets into account)?
Looking at your more detailed heightmap, you have a slight raised saddle up the middle (could be gantry sags?). I bet you'll find the three measurement points have a very similar mesh height, so the bed levelling is working correctly, based on the three measurement points you are using. However, it results in the heightmap 'kicking up' at the front of the machine.
I have a similar (though much worse!) saddle shaped heightmap on my machine. I always had the debate over whether to G32 based on four probe points at the corners (to get the bed level), or to do three points near the leadscrews to get the leadscrew locations level with each other and let the heightmap do the rest. In the end I chose option 2 as it makes G32 quicker

-
@gloomyandy
The bed is 340x340.
The 4-point mesh is just to see if anything changes in general.
How many measuring points are useful... as many as possible or are there rough guidelines? -
@dogma2k It's really hard to say and it pretty much comes down to how smooth/level your bed is. So if you have a really flat bed then you can use a sparse mesh, but if your bed has dips all over it then you may need a much more detailed one. The good news is that you typically don't need to generate the mesh very often as you can just load one that you have already created.
My question about your bed was more about what the surface is like, so for instance do you have a removable bed (magnetic) bed plate or anything like that?
-
@engikeneer
I can hardly imagine that the gantry sags in the middle. They are each on a 3030 profile. I've already thought about 4 points, but I don't think that's going to help much here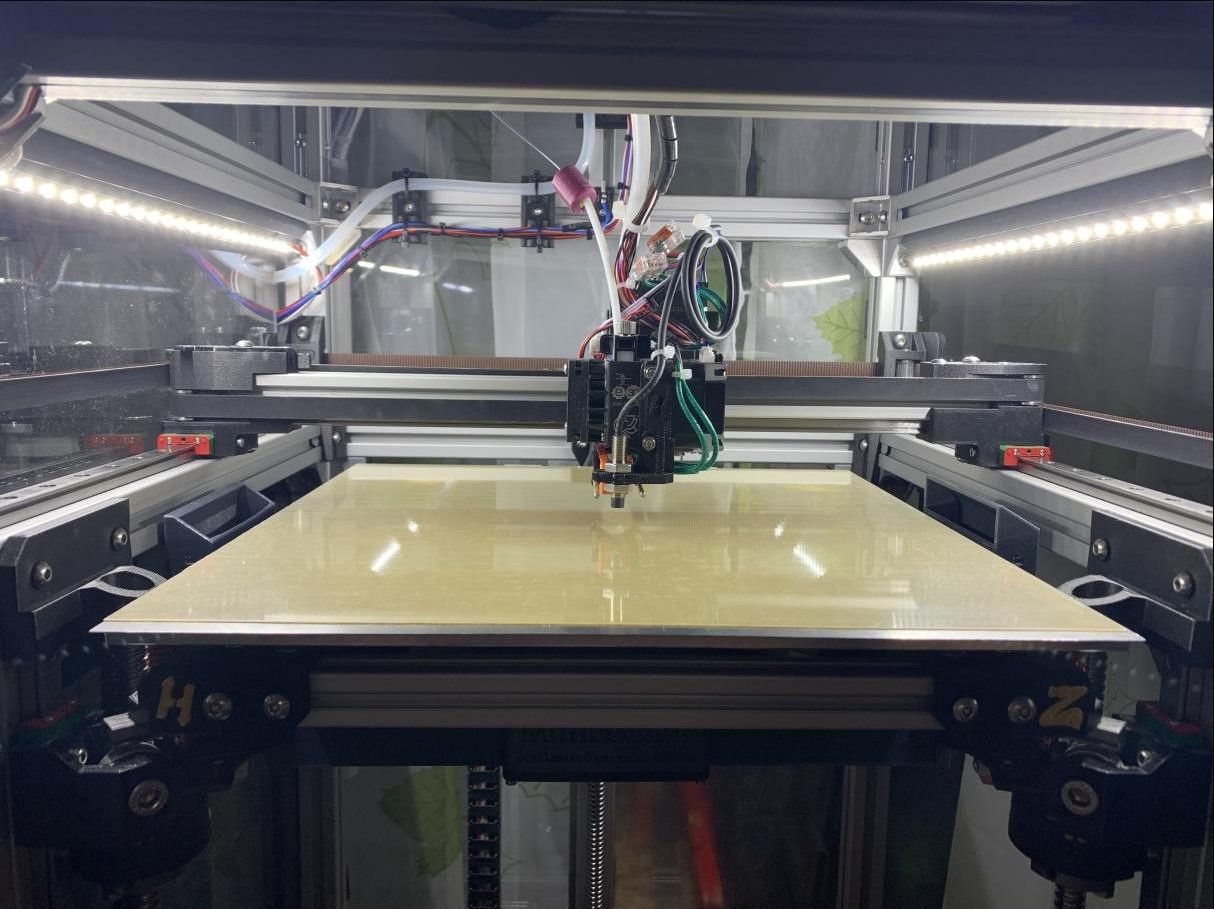
-
@gloomyandy
It is a detachable plate underneath which, as usual, a magnetic sheet is glued to the finely milled aluminum plate.
Could it help to press down slightly on the back of the Y rails? -
@gloomyandy
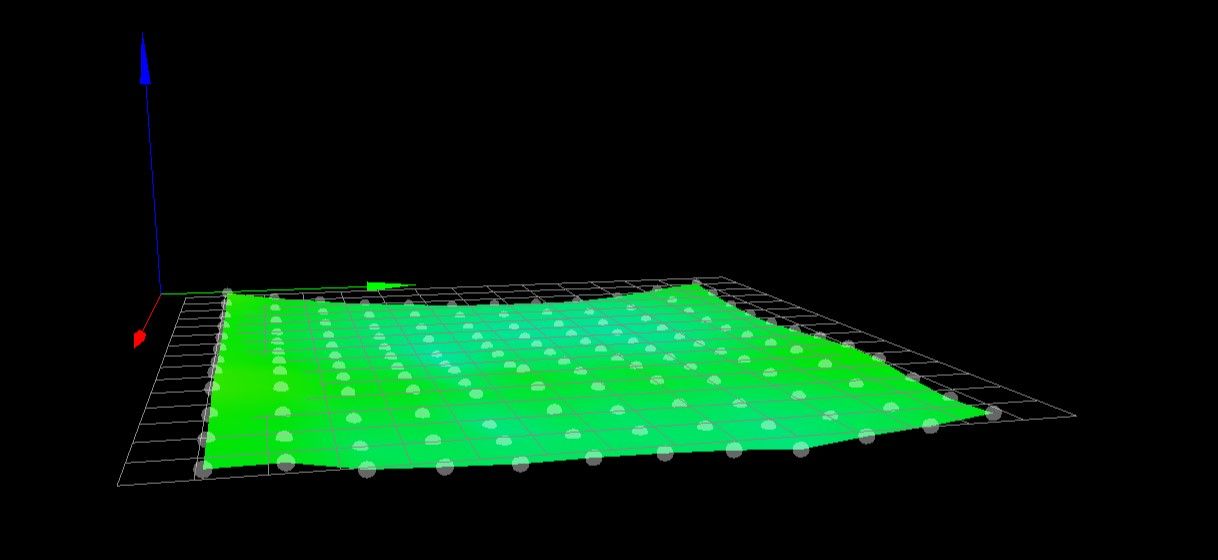
My bed really seems to have a crease. I have now set ABL so that it compensates for curvature (not completely is logical but much better)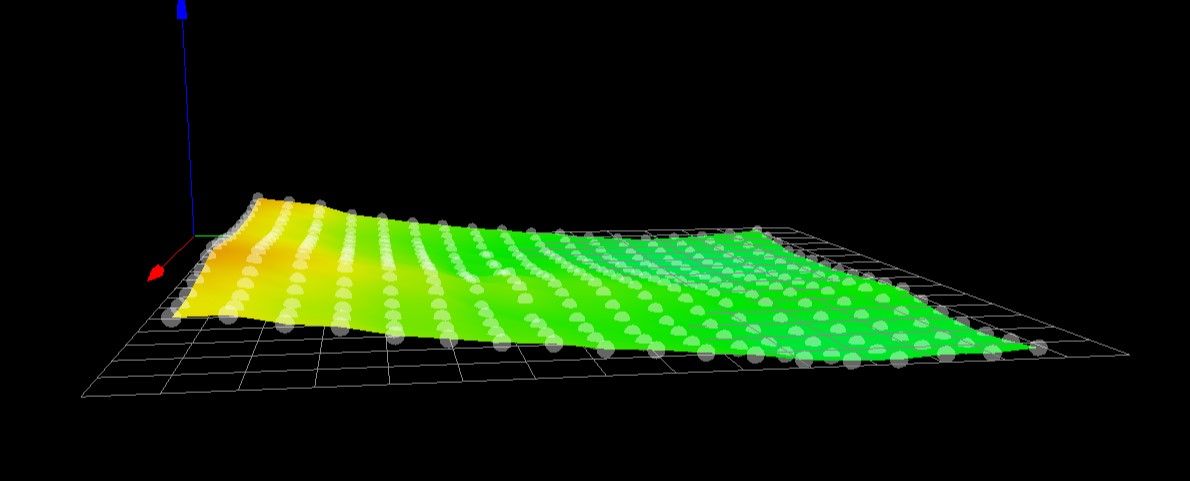
-
How it looks is secondary. The important metric is whether it passes a first layer print test.
-
@phaedrux
Thanks for the 1st layer test, it worked wonderfully.