Nozzle detach the part - Chiron Duet 2 wifi
-
@genioluiz7 Did you change the M566 line? Did that help?
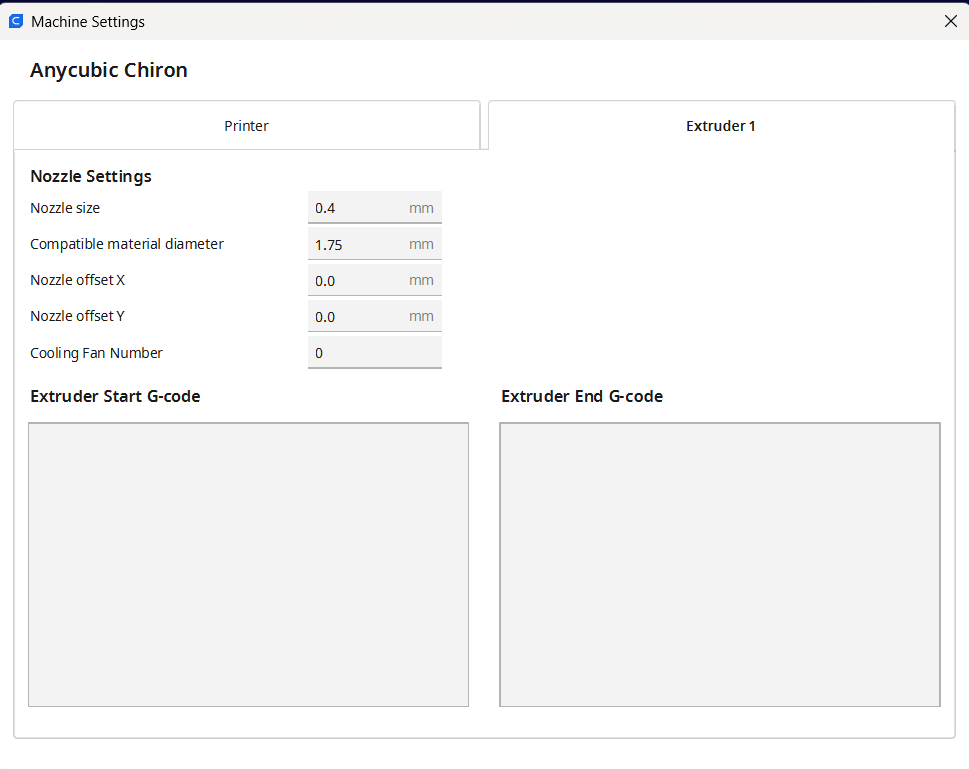
With the line width, you generally don't go thinner than your nozzle diameter. Check that your nozzle diameter is set to 0.4 in in Settings > Printer > Manage printers > Machine settings > Extruder 1tab > Nozzle Settings > Nozzle size
Ian
Bed-slinger - Mini5+ WiFi/1LC | RRP Fisher v1 - D2 WiFi | Polargraph - D2 WiFi | TronXY X5S - 6HC/Roto | CNC router - 6HC | Tractus3D T1250 - D2 Eth
-
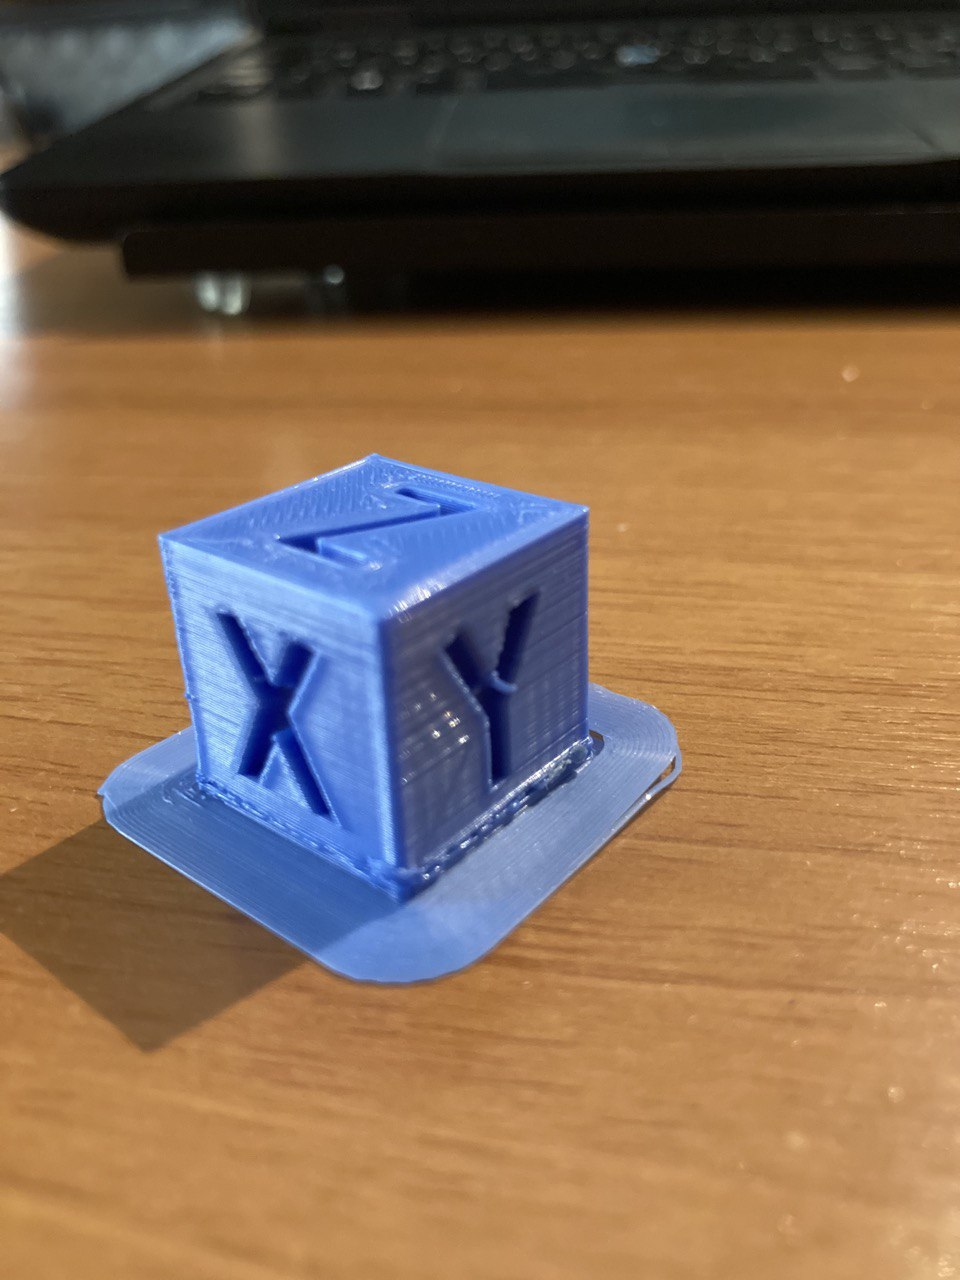
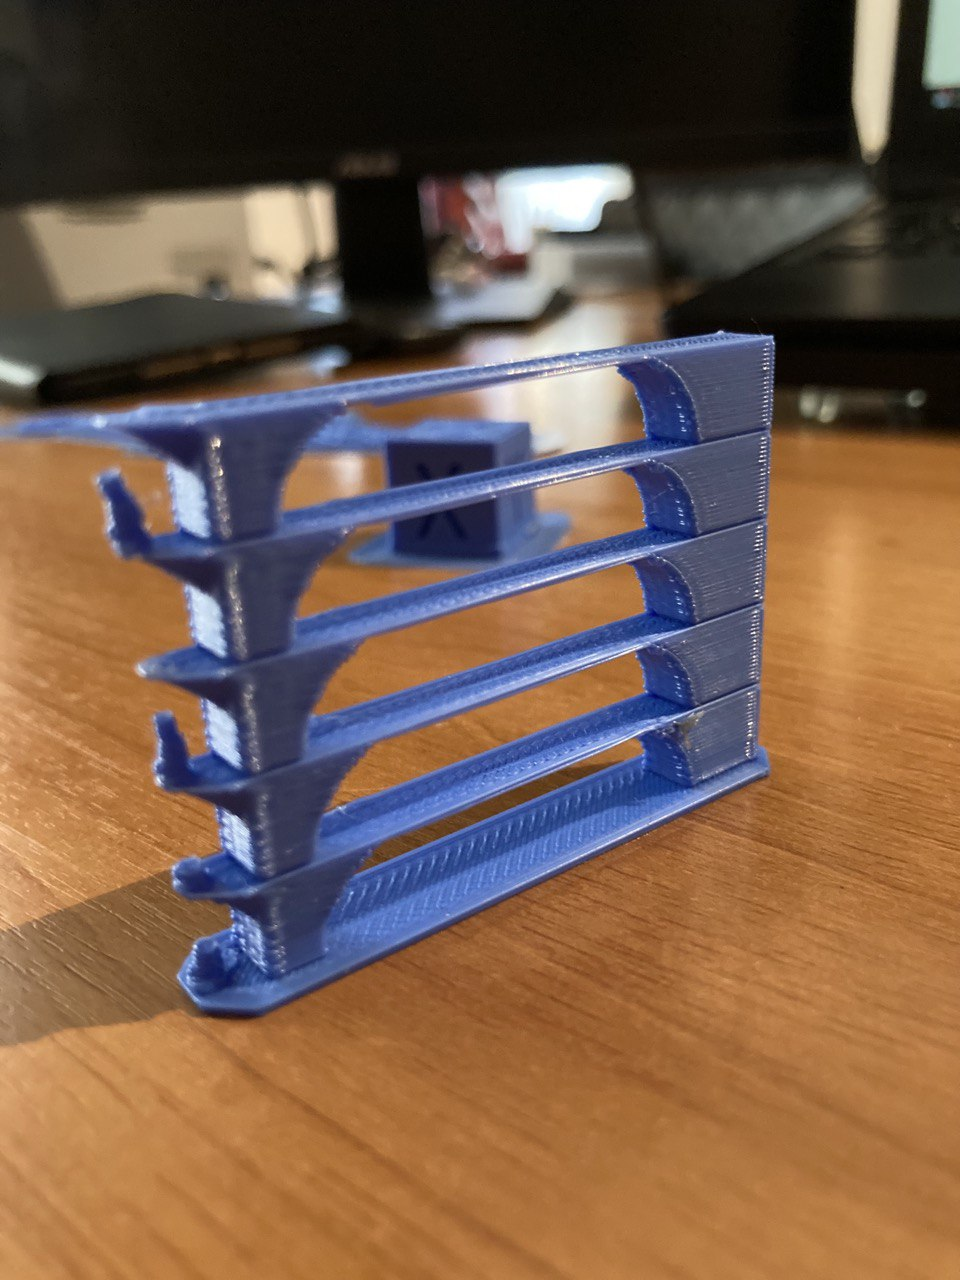
@genioluiz7 It looks like the nozzle may be a bit low on the initial layer height, along with some extrusion issues (possibly retraction) and over-extrusion. It looks like there's something going on at the point where it changes from solid layers to infill layers.
0.1mm layers are about as low as you can go, and causes other problems, especially with overhangs and bridging. It might be worth starting with a higher layer height (eg 0.2 or 0.3) to get things working well, before reducing the layer height.
Ian
-
-
@genioluiz7 That looks okay. I think it's just tuning your Cura profile, and tuning the printer for speed, acceleration, retraction, pressure advance, etc etc... . Follow the Calibration section here https://docs.duet3d.com/en/How_to_guides/Calibration, or Teaching Techs more exhaustive guide here:https://teachingtechyt.github.io/calibration.html#intro
Ian
Bed-slinger - Mini5+ WiFi/1LC | RRP Fisher v1 - D2 WiFi | Polargraph - D2 WiFi | TronXY X5S - 6HC/Roto | CNC router - 6HC | Tractus3D T1250 - D2 Eth
-
@genioluiz7 said in Nozzle detach the part - Chiron Duet 2 wifi:
@Herve_Smith said in Nozzle detach the part - Chiron Duet 2 wifi:
era l'unica cosa che potevo trovare per risolvere il problema
based on what can I understand that the problem is caused by the motors?
Does it have 2 Z motors? Is there a model number on them? Are they connected to the two Z motor outputs of the Duet 2?
Duet 2 has the two Z motor connectors wired in series. That's generally the best arrangement if the Z motors are similar to the XY motors. However, after Duet 2 was released some printer manufacturers started using low current high inductance Z motors that they intended to be connected in parallel. If your machine has that type of motor, then the series connection will reduce the maximum Z speed that can safely be used.
Duet WiFi hardware designer and firmware engineer
Please do not ask me for Duet support via PM or email, use the forum
http://www.escher3d.com, https://miscsolutions.wordpress.com -
@dc42 this is the actual configuration:
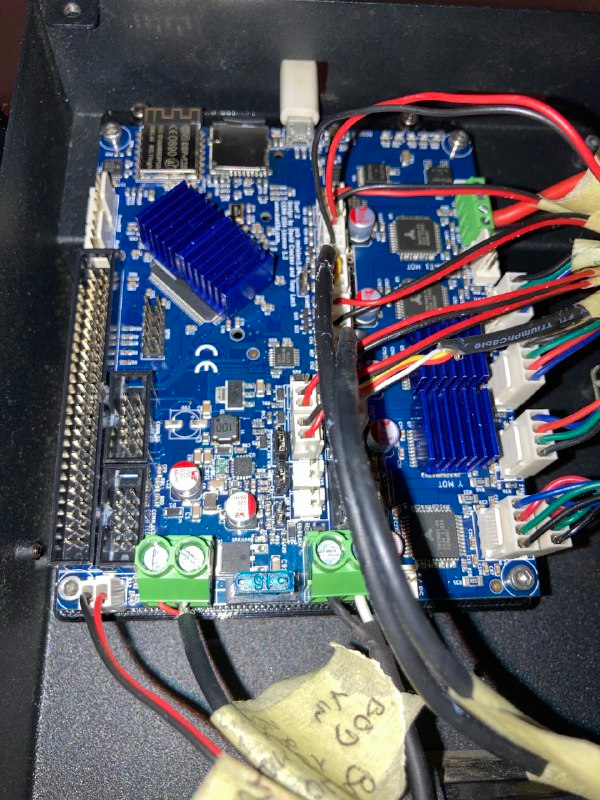
The 2 calbes connected bottom right.Following the pictures of the z motor
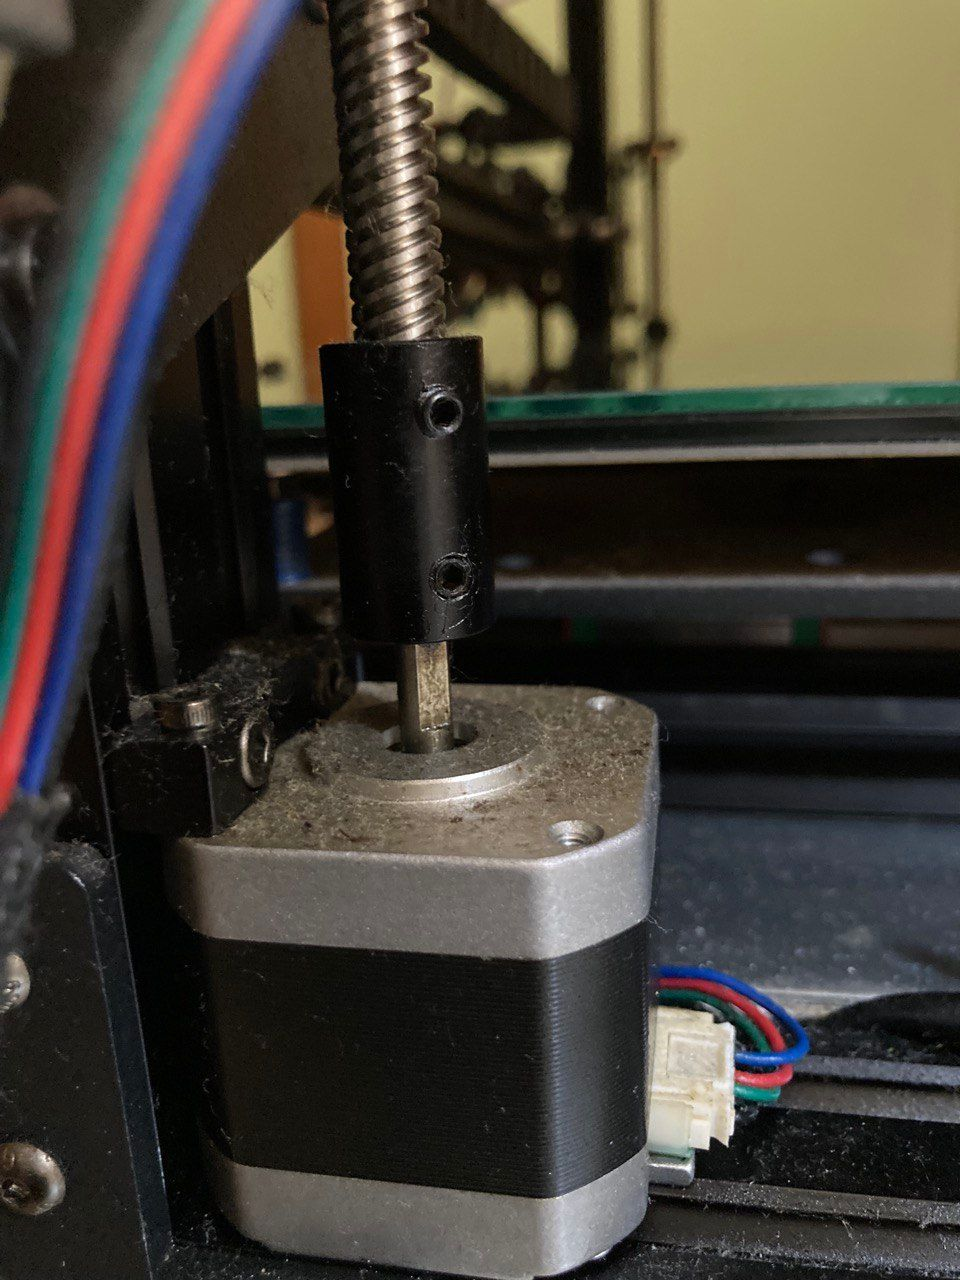
and of the x motor
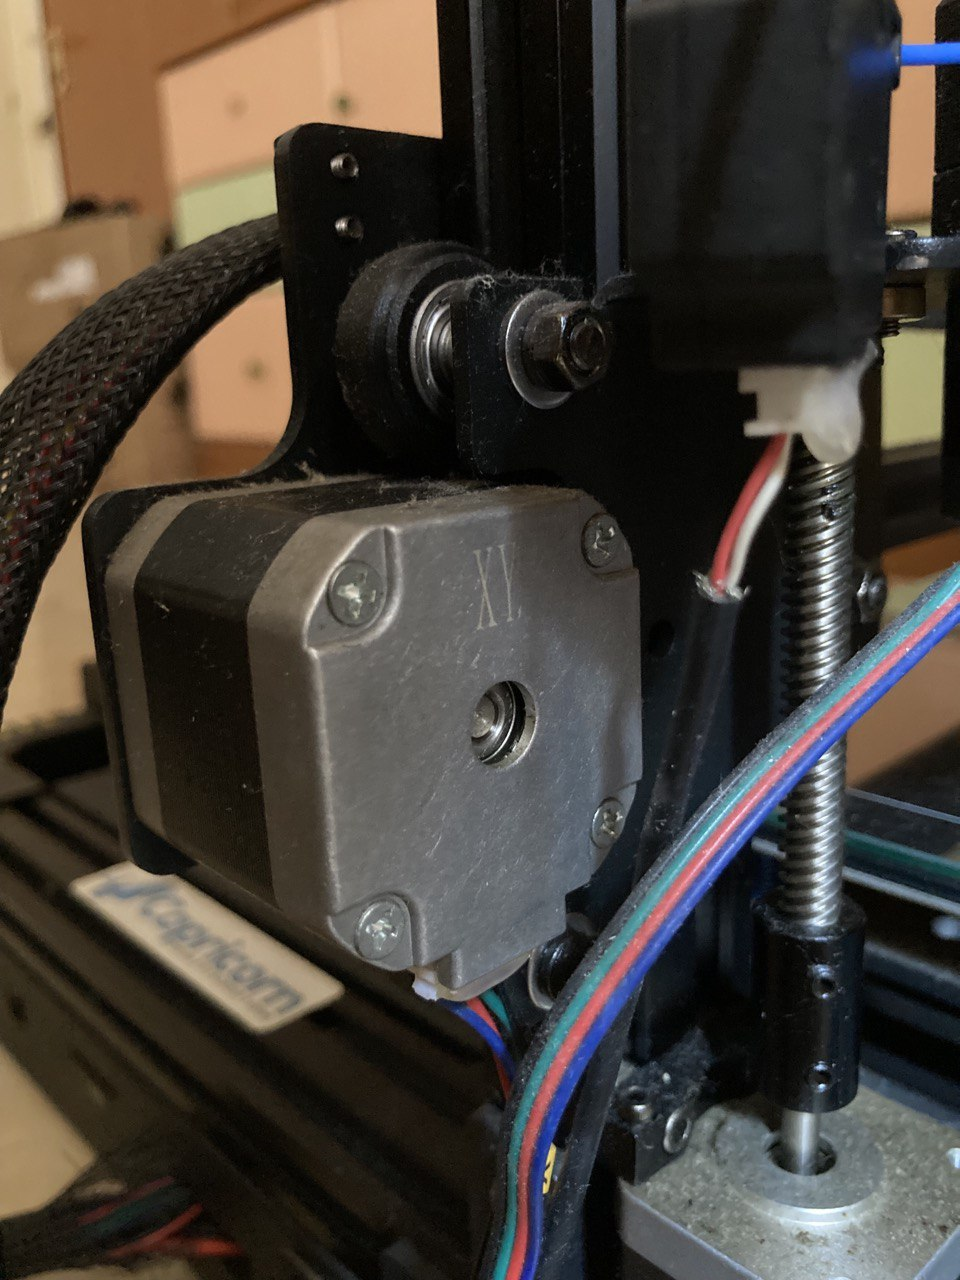
They seem the same.
Let me know what you think?
-
@genioluiz7 if you have a multimeter then you could unplug the X and Z motors from the Duet and measure the resistances of one phase of each.
Duet WiFi hardware designer and firmware engineer
Please do not ask me for Duet support via PM or email, use the forum
http://www.escher3d.com, https://miscsolutions.wordpress.com -
@dc42 Where have I to put the positive and the negative tips? Can you describe it more precisely?
-
I follow the Teaching Techs guide here:https://teachingtechyt.github.io/calibration.html#intro (This one not jet
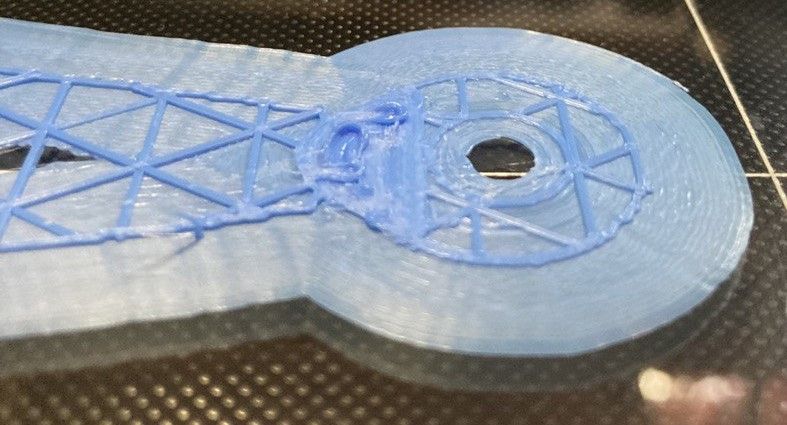
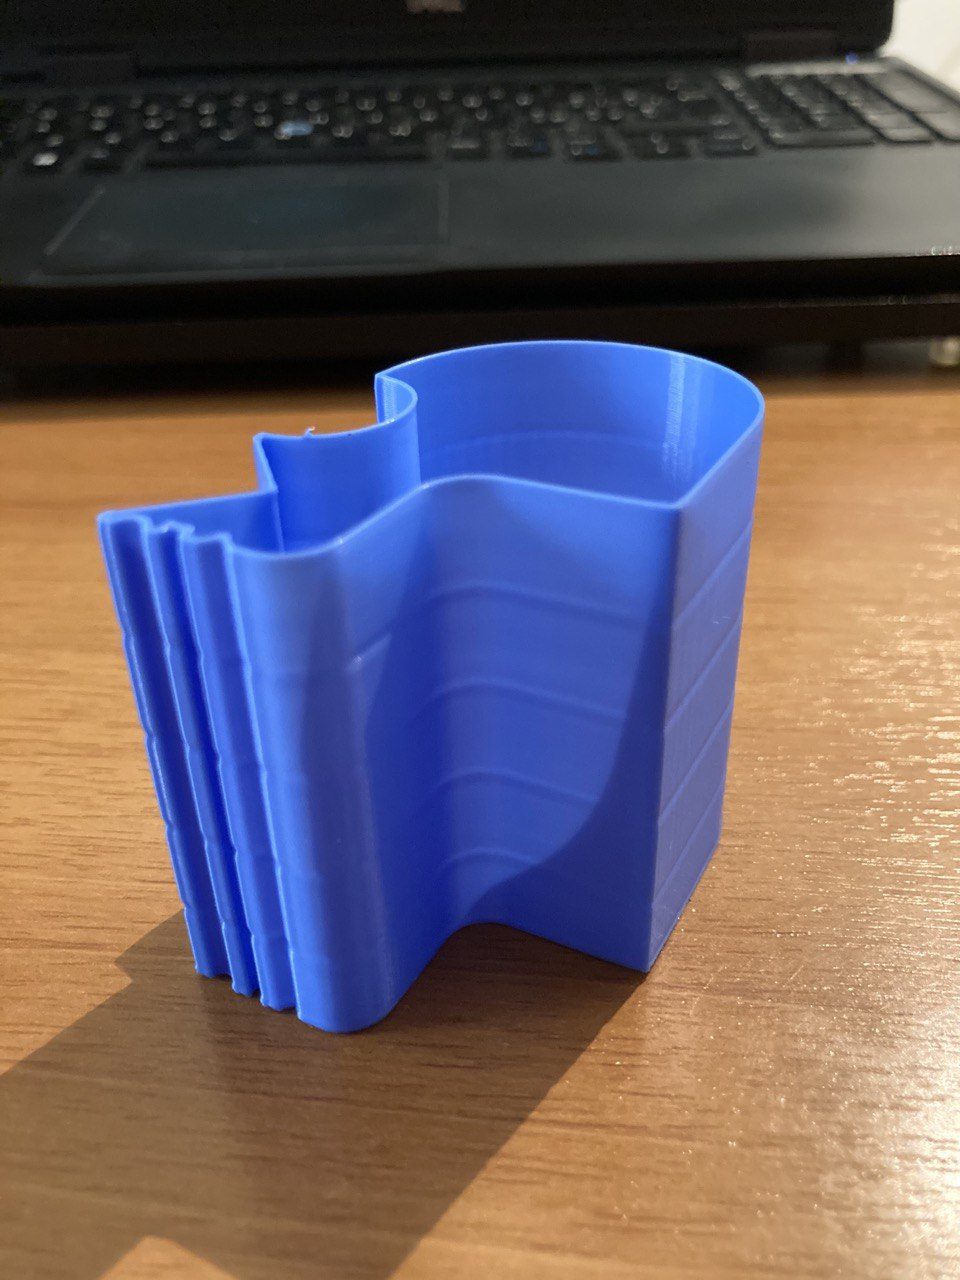
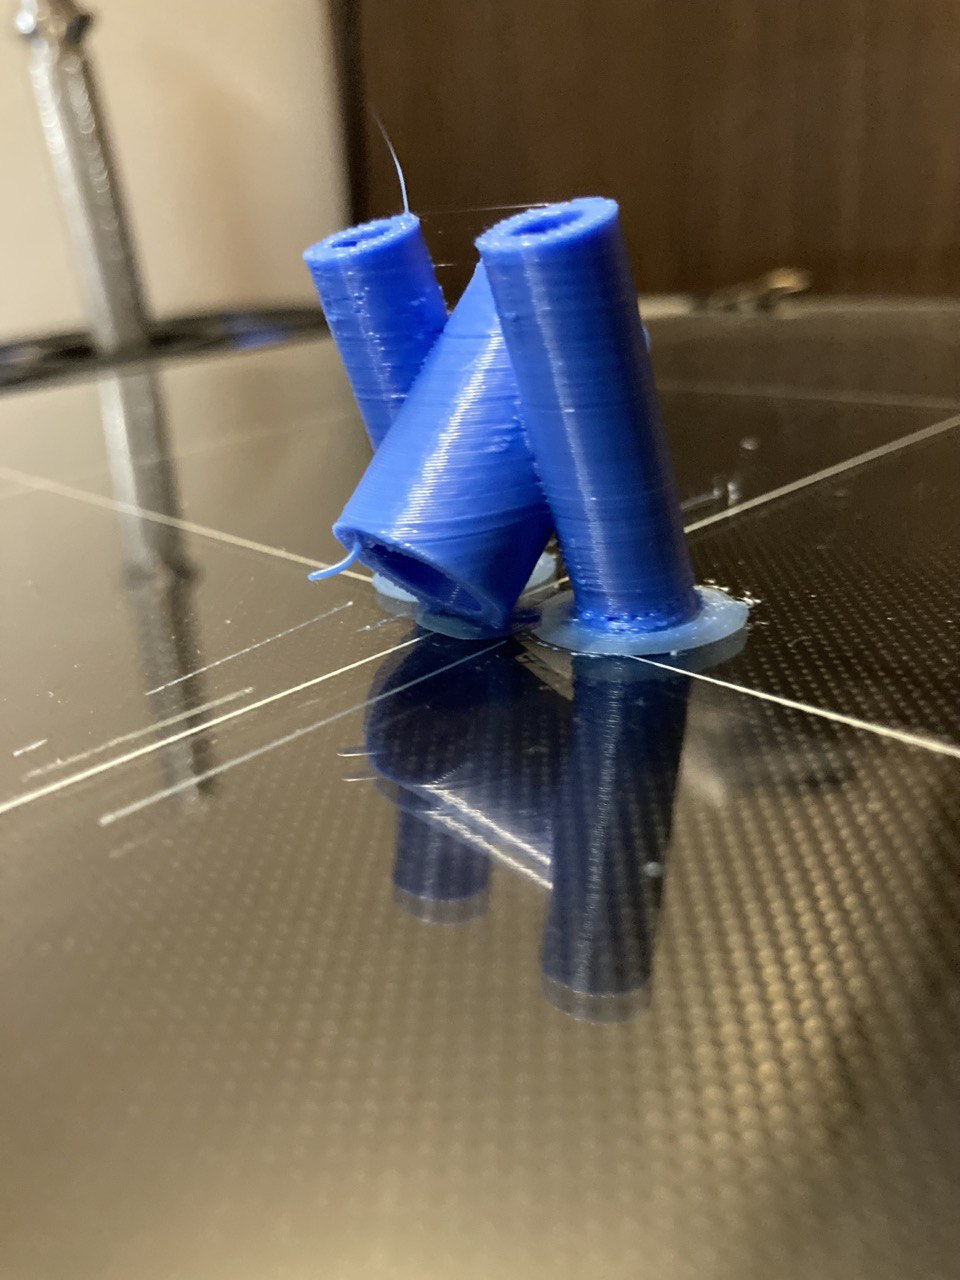
https://docs.duet3d.com/en/How_to_guides/Calibration ) and the tests are all good.Now I'm printing something bigger and this what is happening:

This is the g.code I'm using https://we.tl/t-33Er3mvoe0
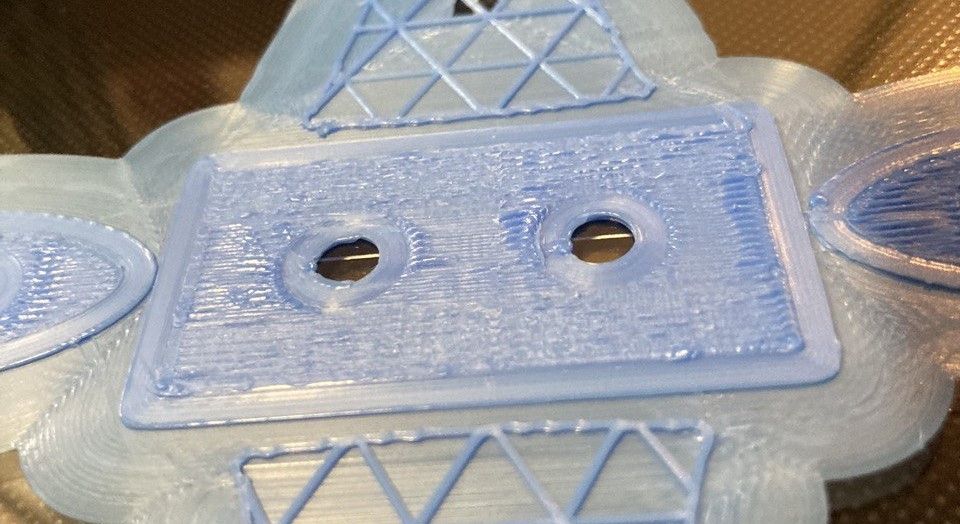
What do you think? Is that a problem of speed, temperature, cooling, retraction or adhesion?To be more coplete I post also the picture of the tests
-
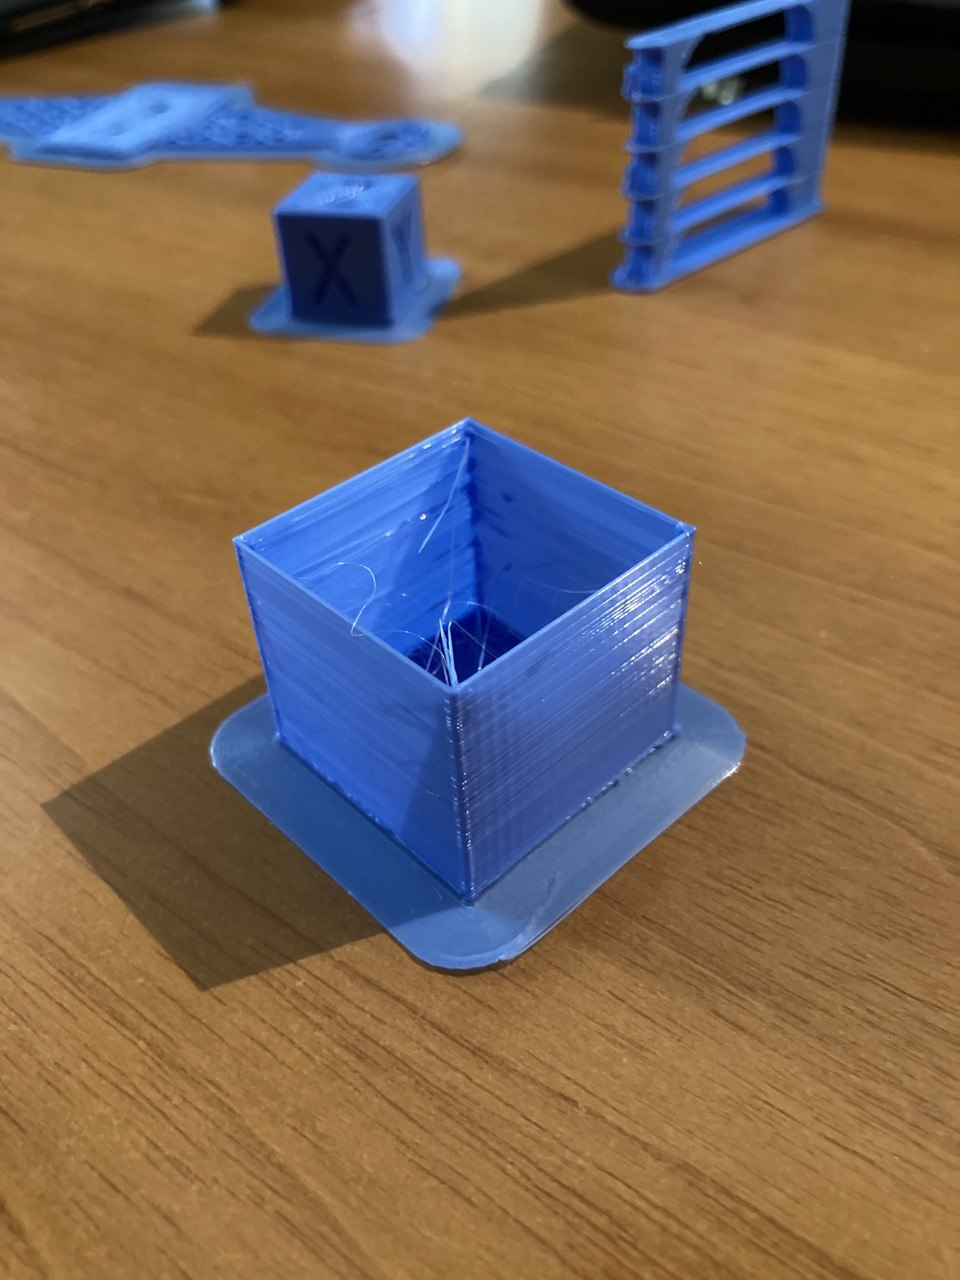
It still looks like over extrusion to me. Try reducing the extrusion factor to 90 or 95% and see if it helps.
-
@Phaedrux
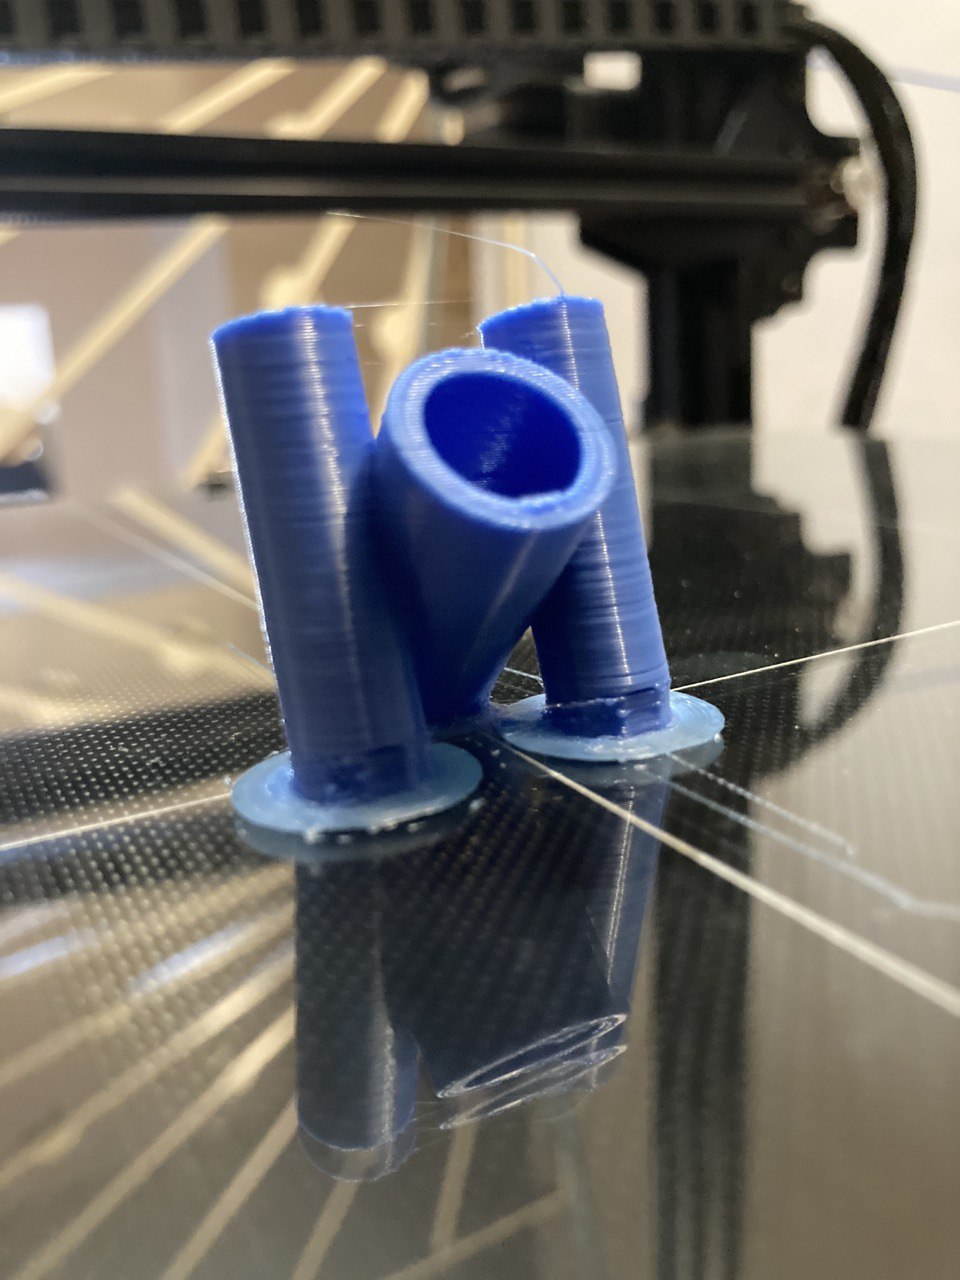
Z Seam Alignment: Sharpest corner
Flow: 100%
Results:
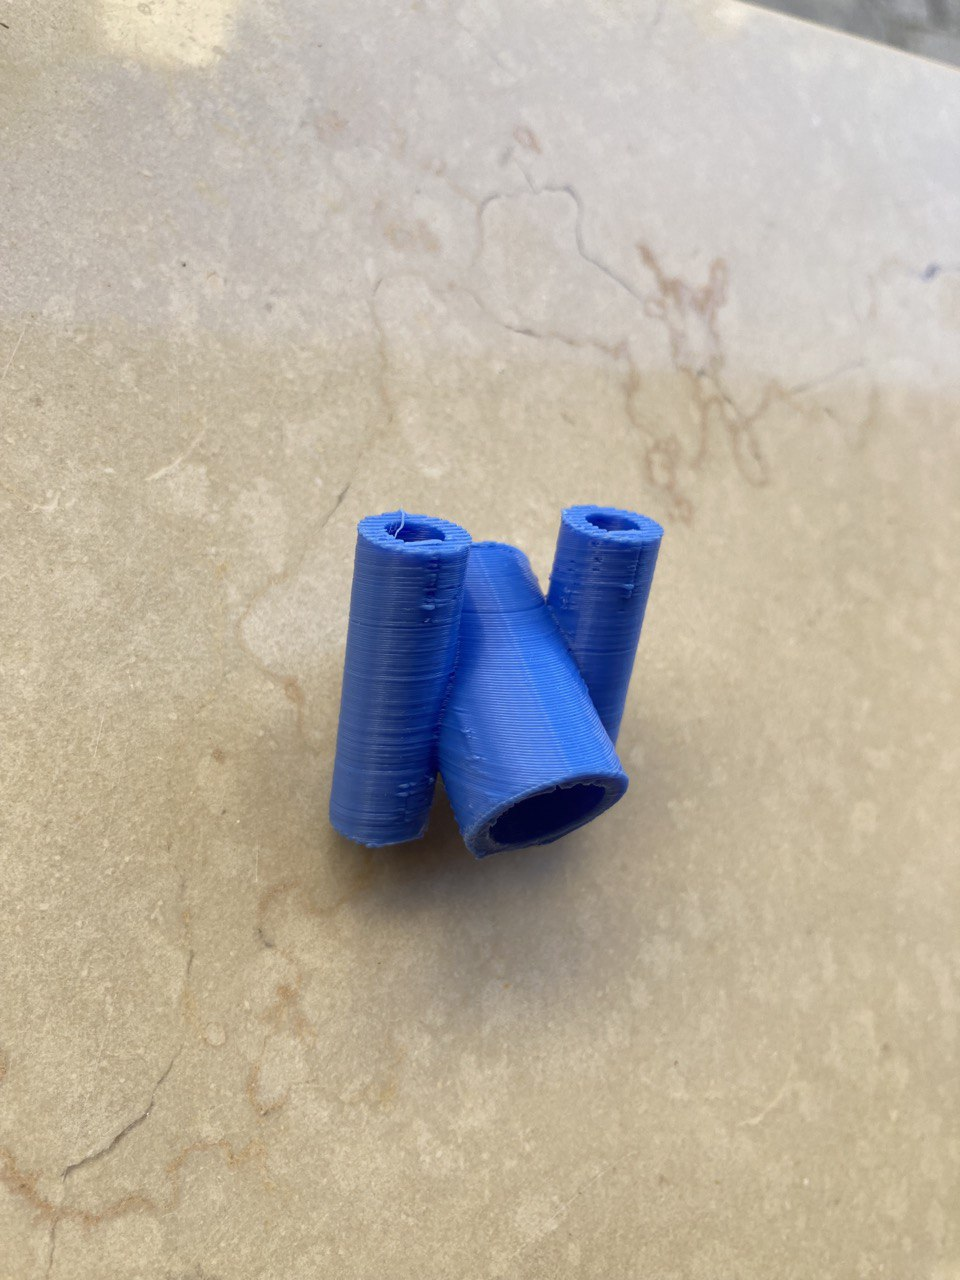
Z Seam Alignment: Random
Flow: 95%
Results: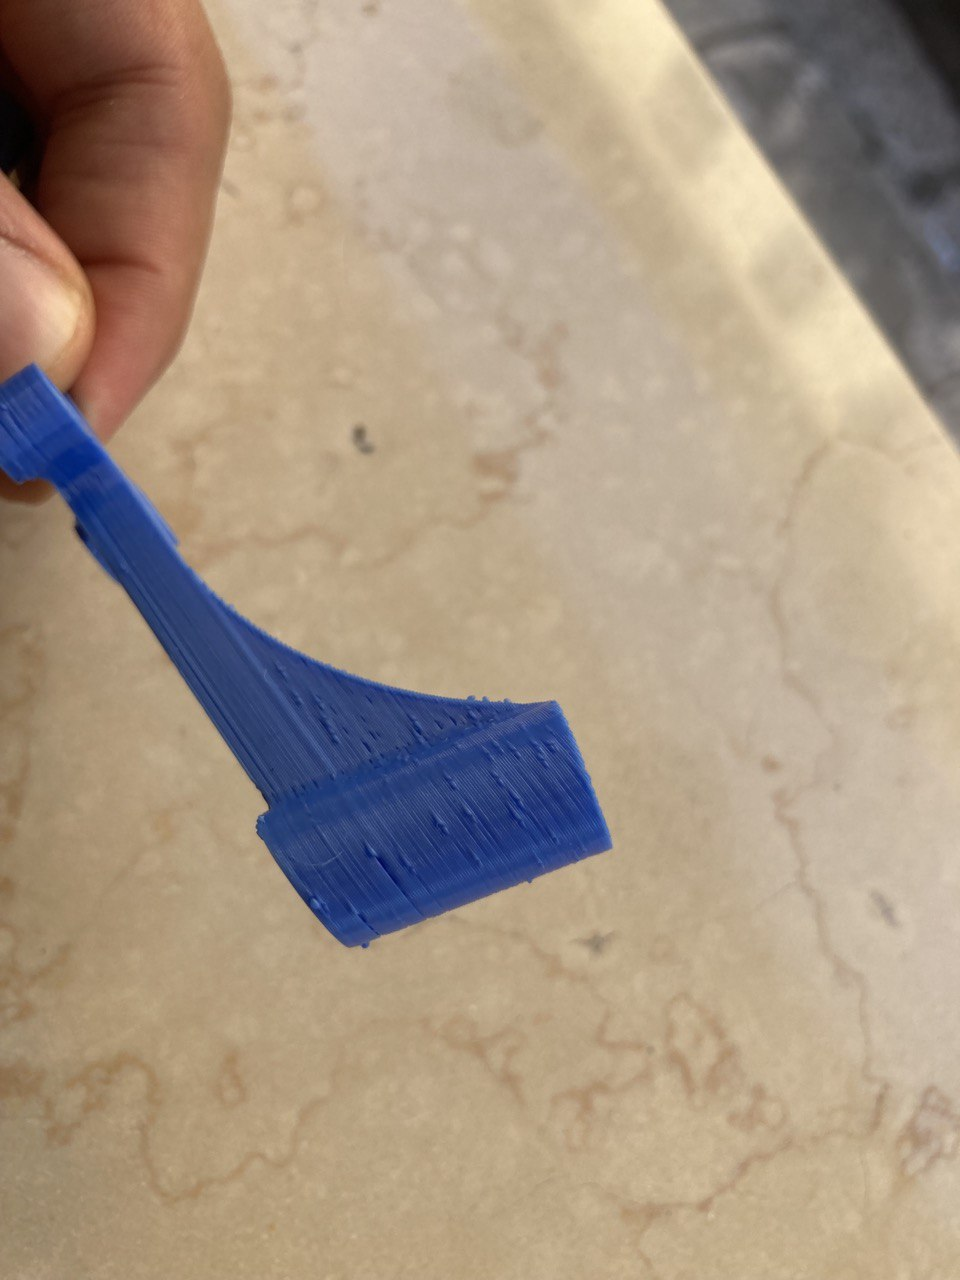
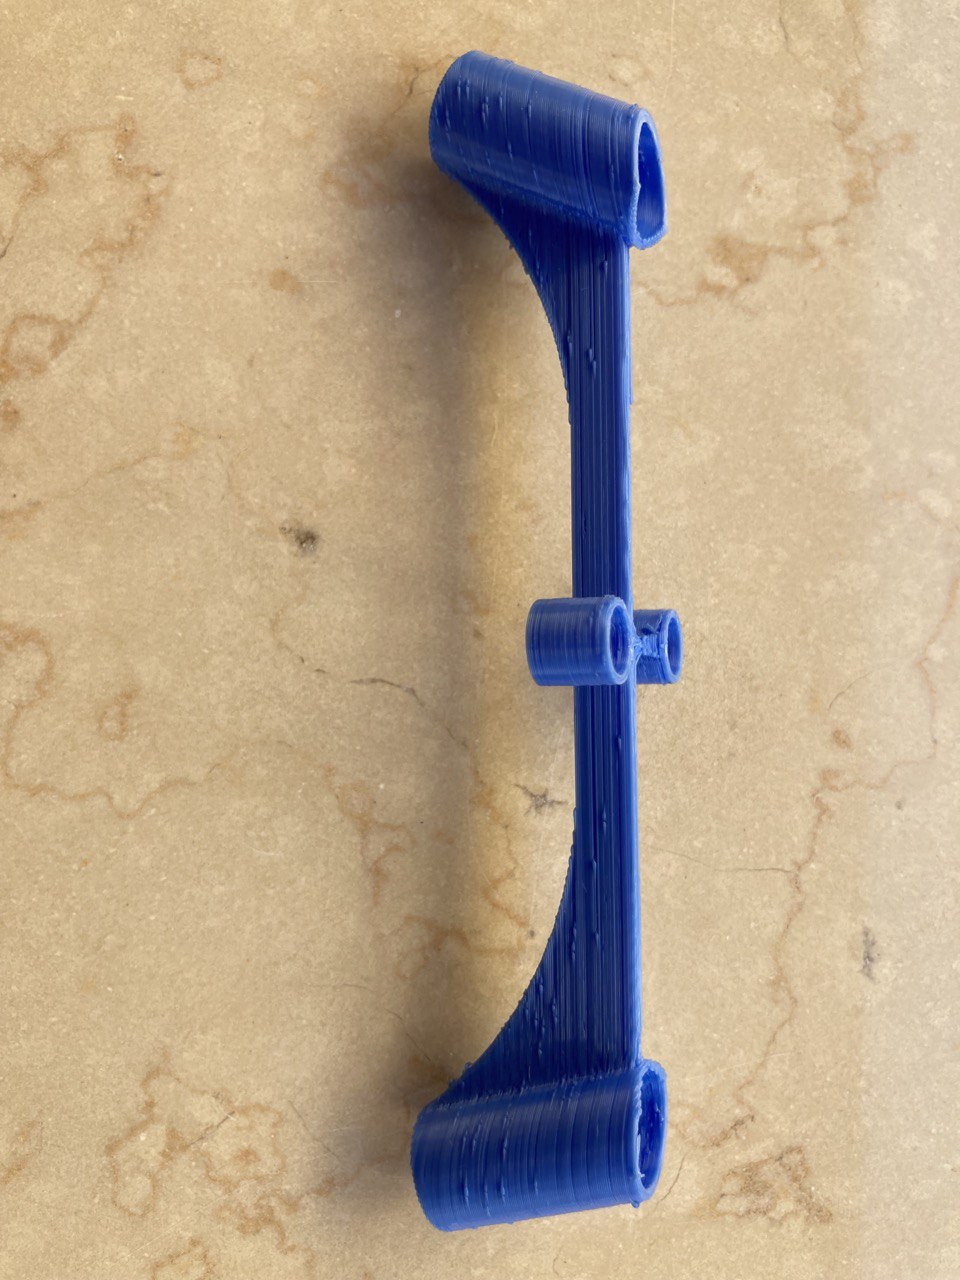
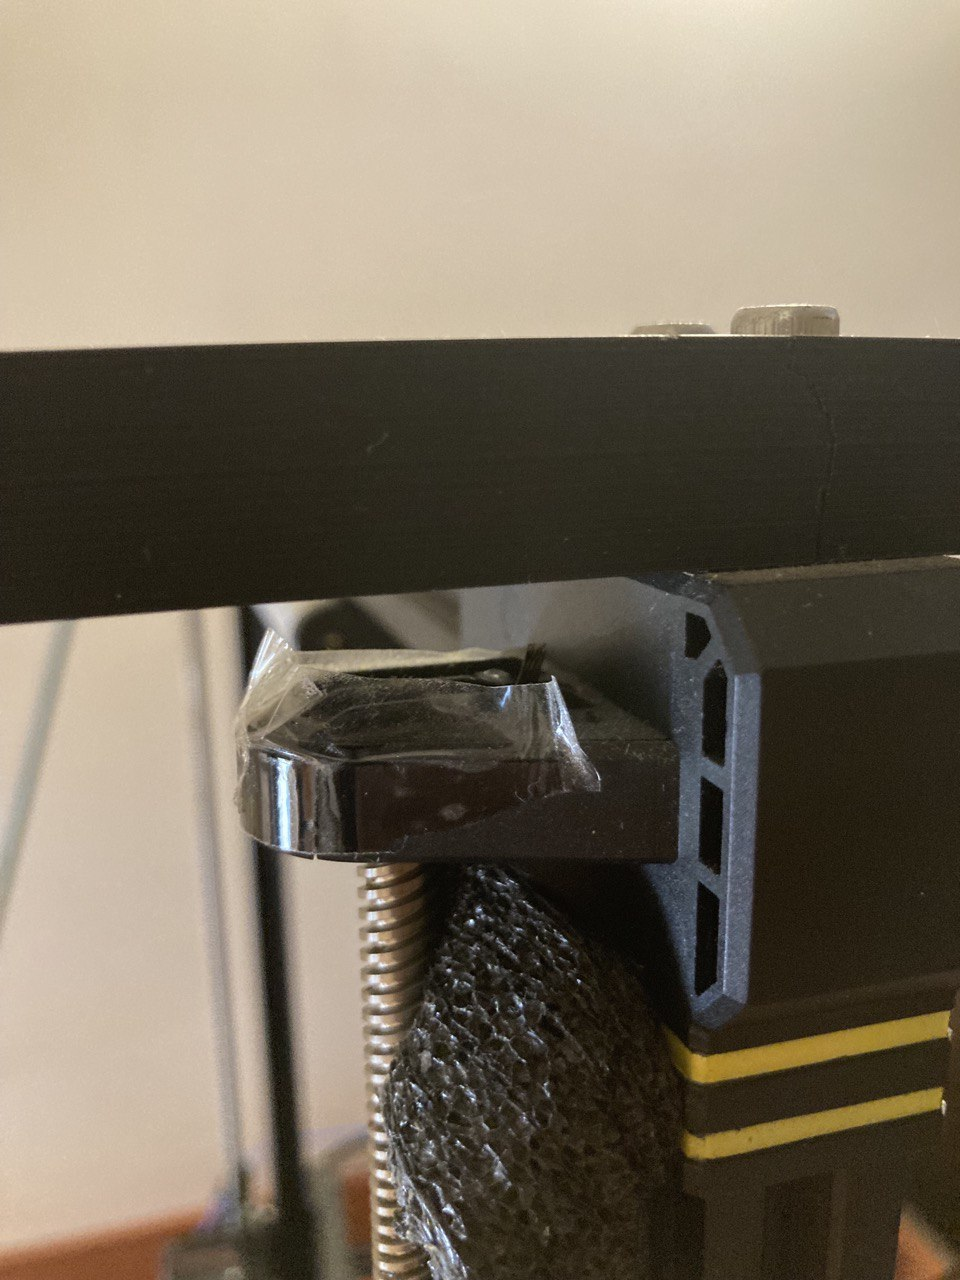
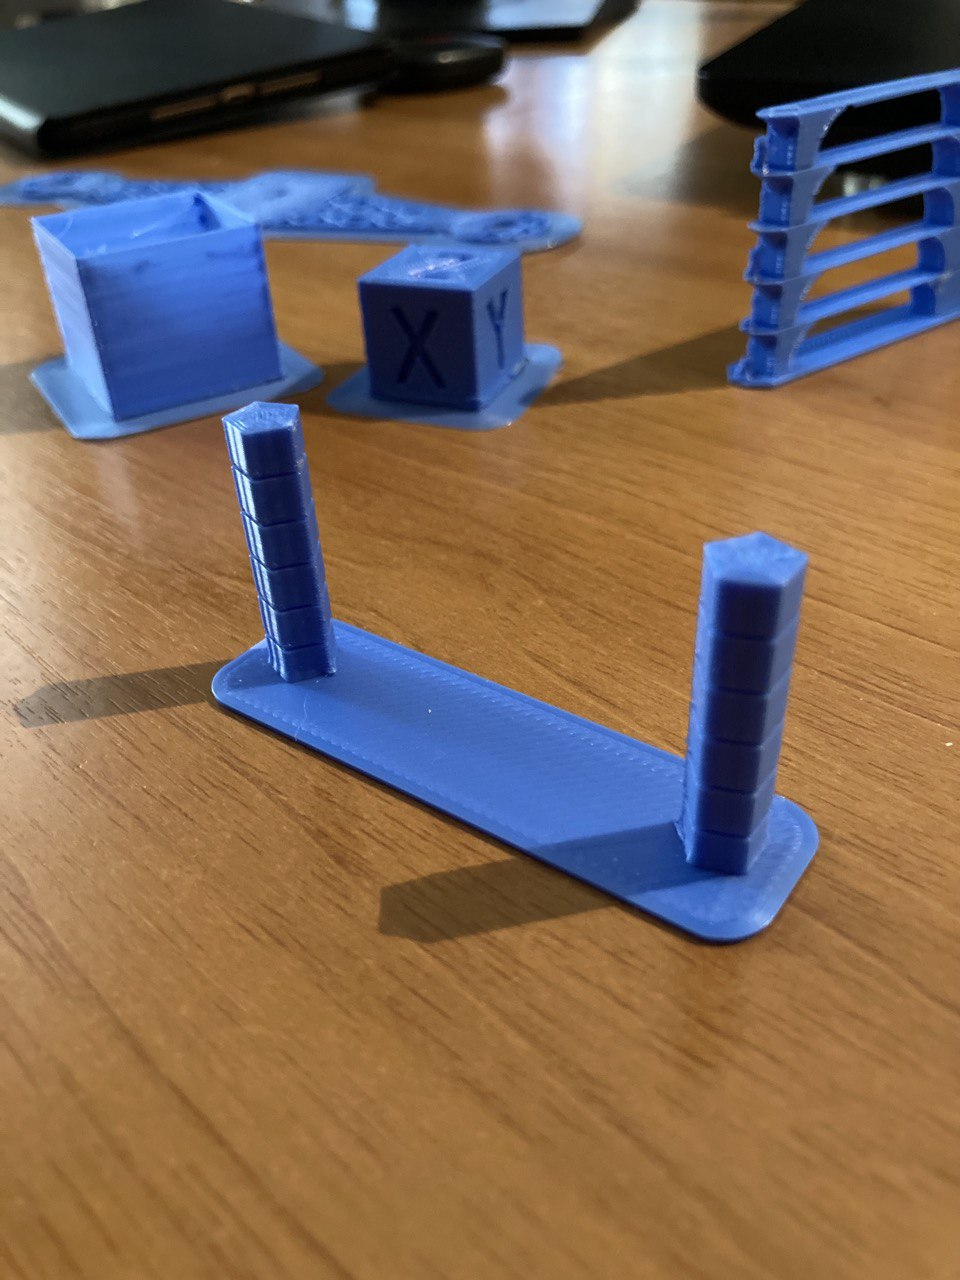
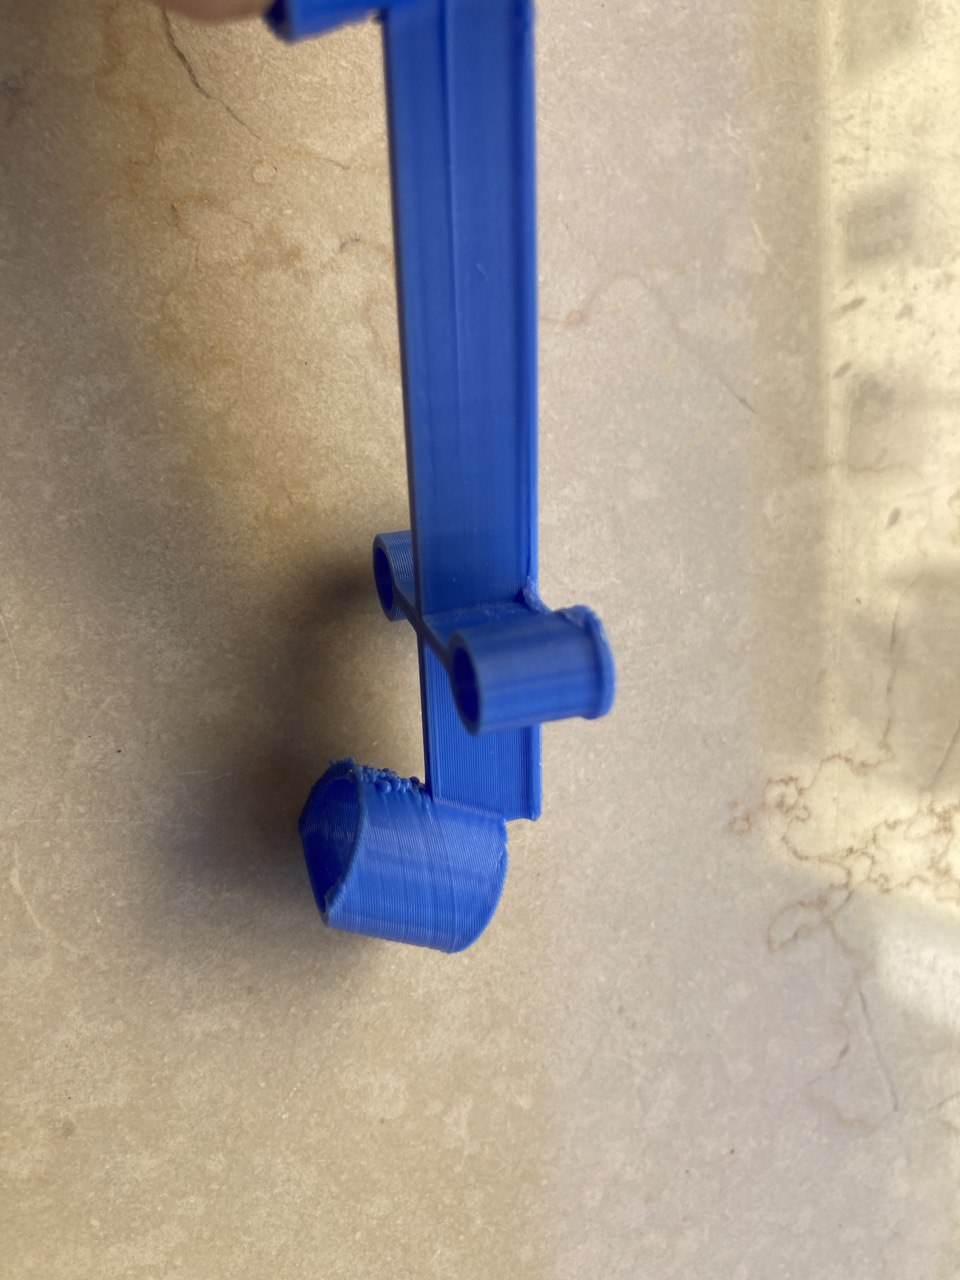
Furthermore I saw that this component (in the following picture) is broke. Where can I buy it?