Which endstop. Microswitch or stall detection?
-
I've recently gone from microswitches to optical endstops. The particular ones I am using have LEDs that light up when they are triggered, making it especially easy to set them up - you don't have to listen for the quiet "click" of the switch or look at the controller/computer to check status. They operate reliably from the 3.3V that the Duet boards provide. It may not matter much for X and Y, but in Z the opto endstop has less hysteresis making it easier to set up and get repeatable results.
I've seen microswitch modules that have LEDs, too.
-
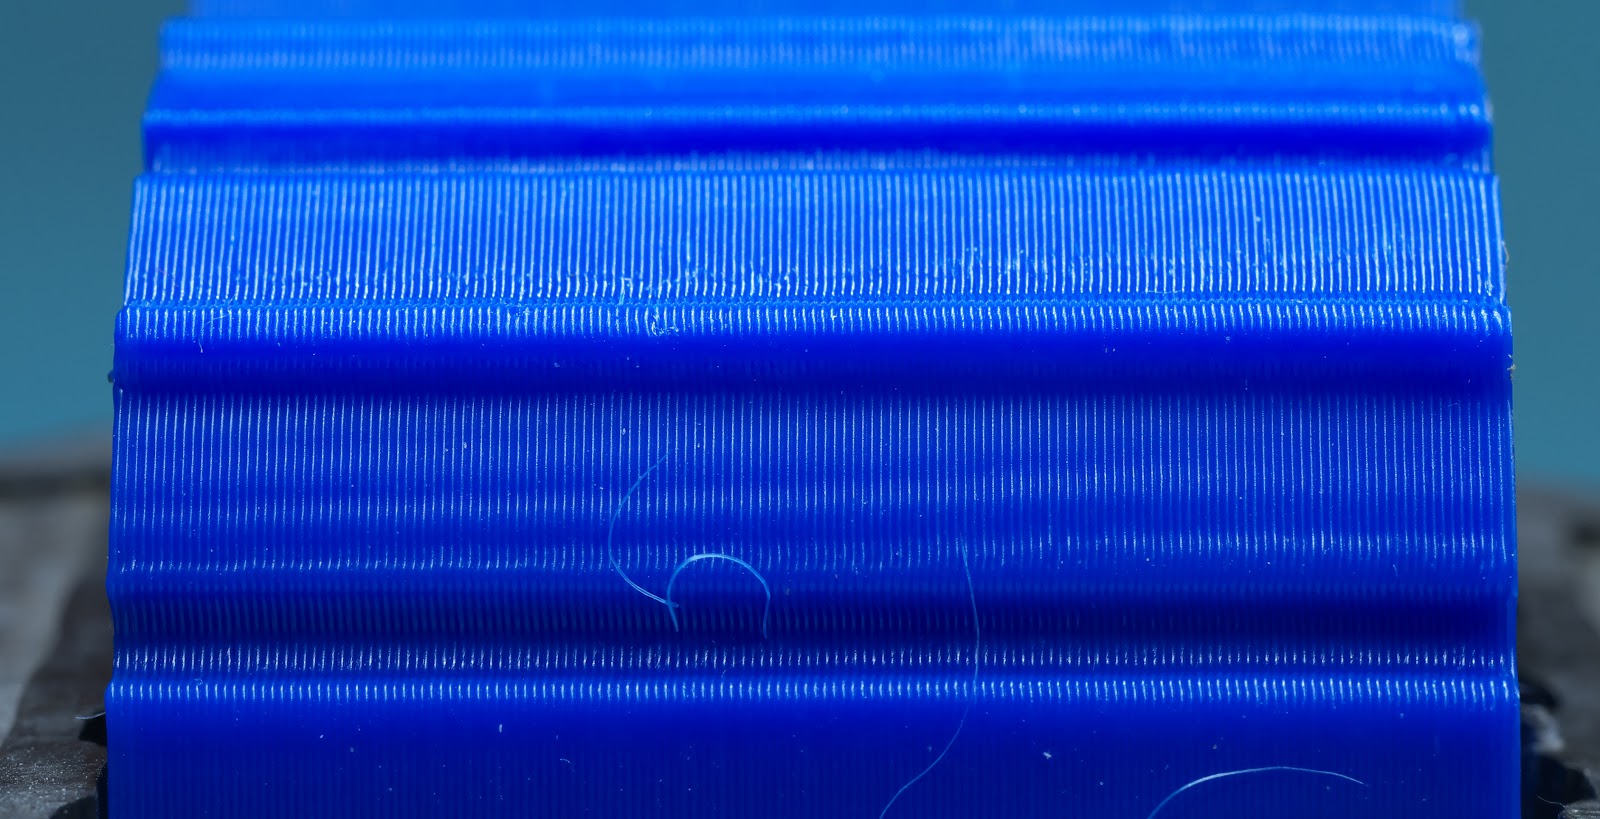
This is what happens when you rehome X and Y on each layer change without having "retract on layer change" turned on...
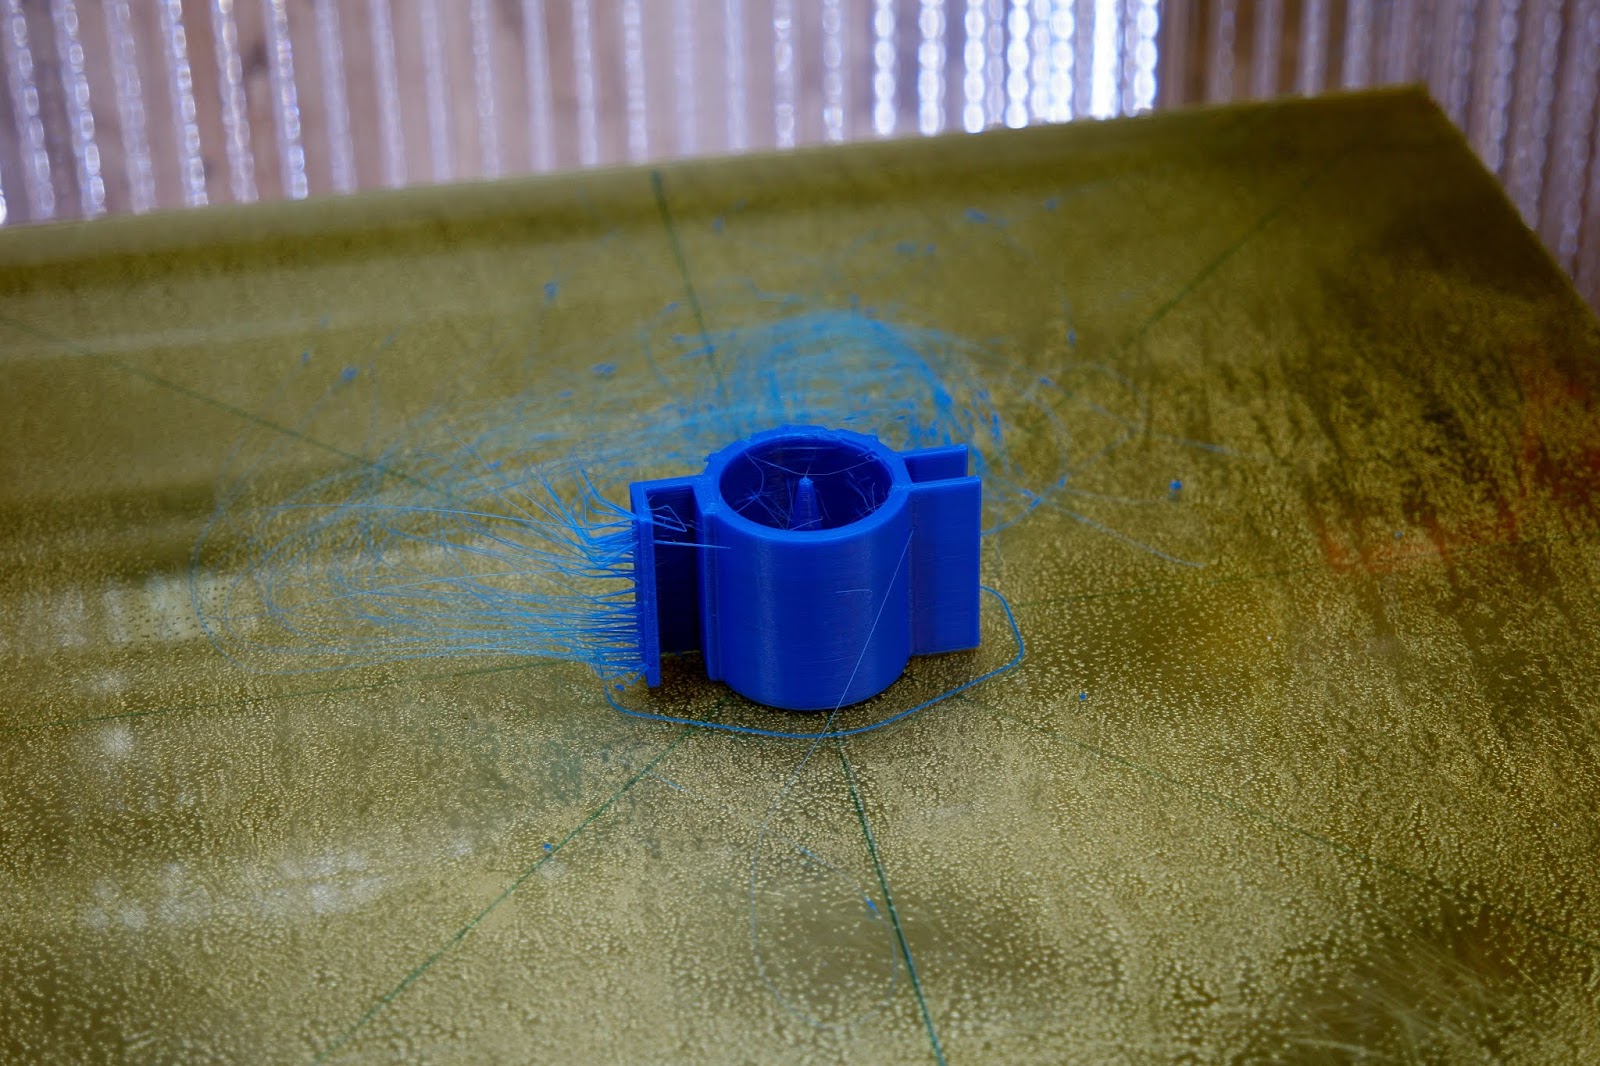
Rerunning it now with retraction turned on.
-
OK, both prints done.
Standard print:
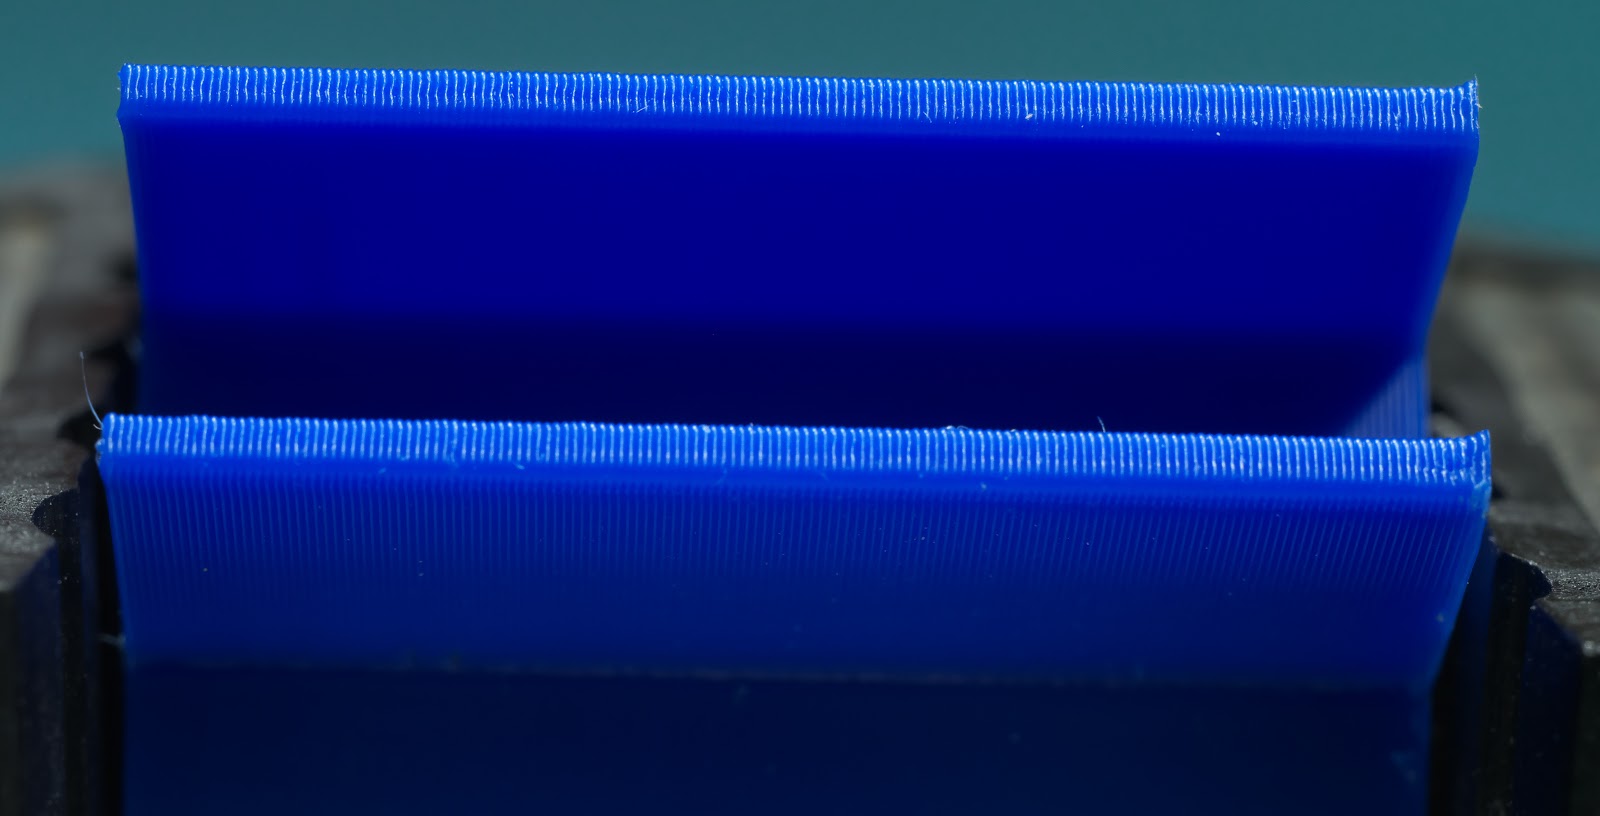
Re-homed print:
standard print:
re-homed print:
standard print:
re-homed print:

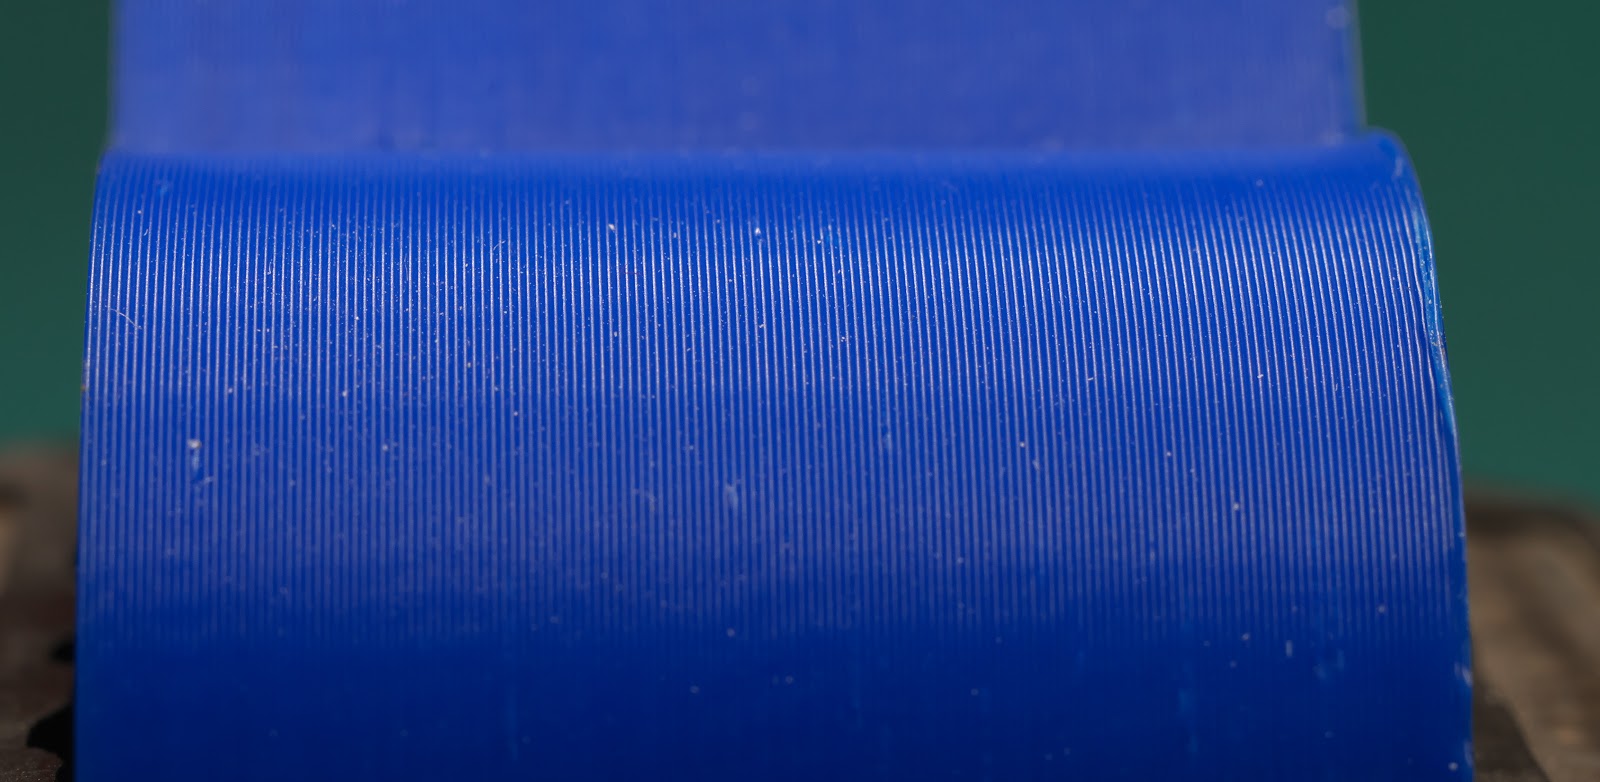
For all practical purposes, the prints are identical. That's a bit of a surprise. I guess the opto endstops are quite high precision parts.
-
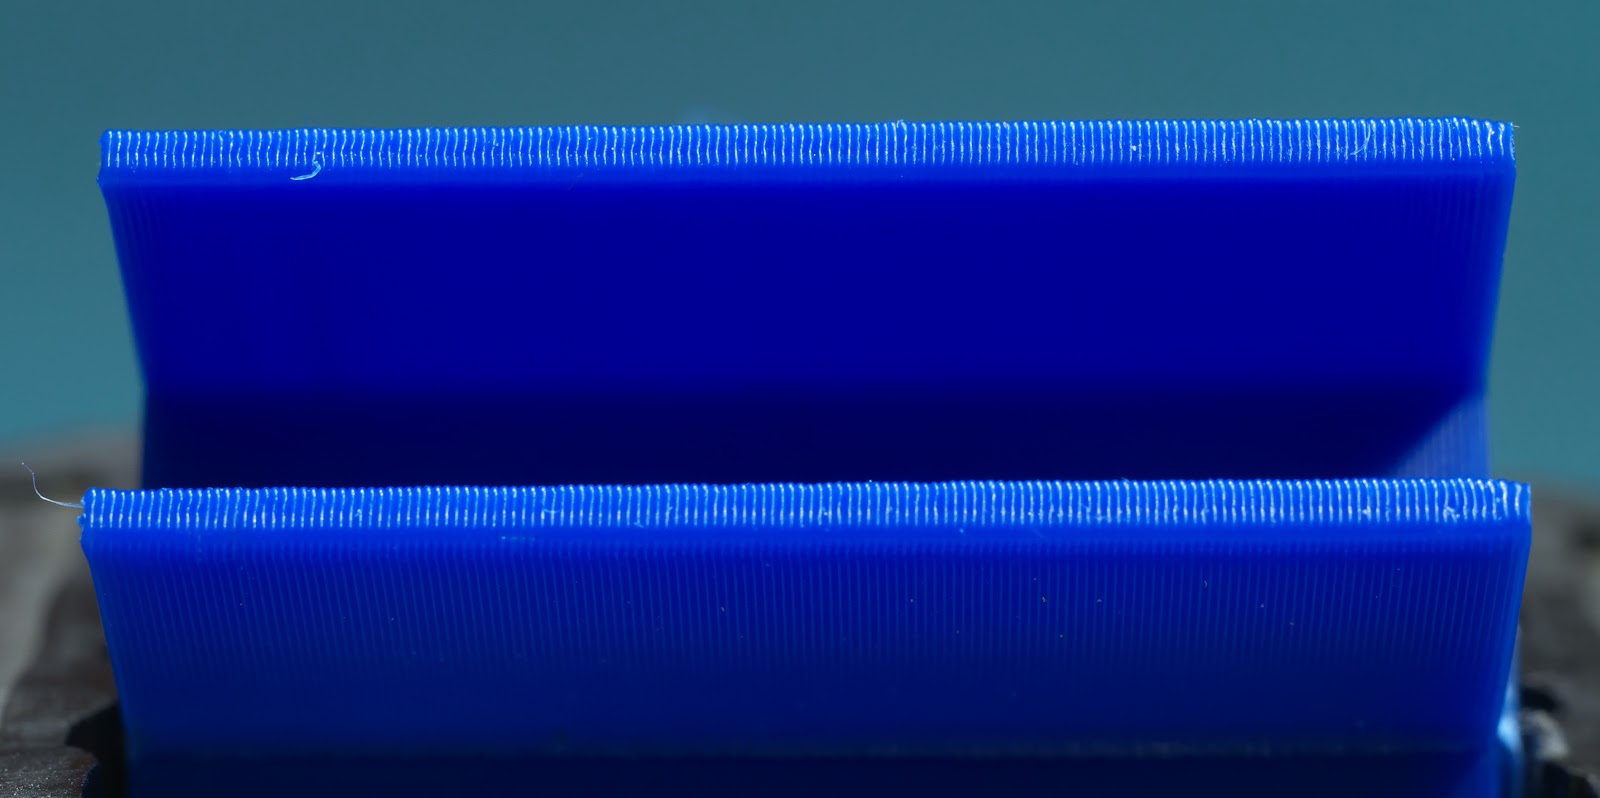
The first pair are not anywhere near identical. The "standard" is MUCH better. More even. Less layer shifting. At least to my eye.
Not as clear on the others... but they don't seem to have the same hard edges/corners.
-
I don't understand what is going on here. X and y is homed once before the print. Why would there be a difference between the two prints (not that I can see any)
-
@jens55 said in Which endstop. Microswitch or stall detection?:
I don't understand what is going on here.
X and y is homed once before the print. Why would there be a difference between the two prints (not that I can see any)This was a test of a theory. The "re homed" prints home both X and Y at every layer change.
-
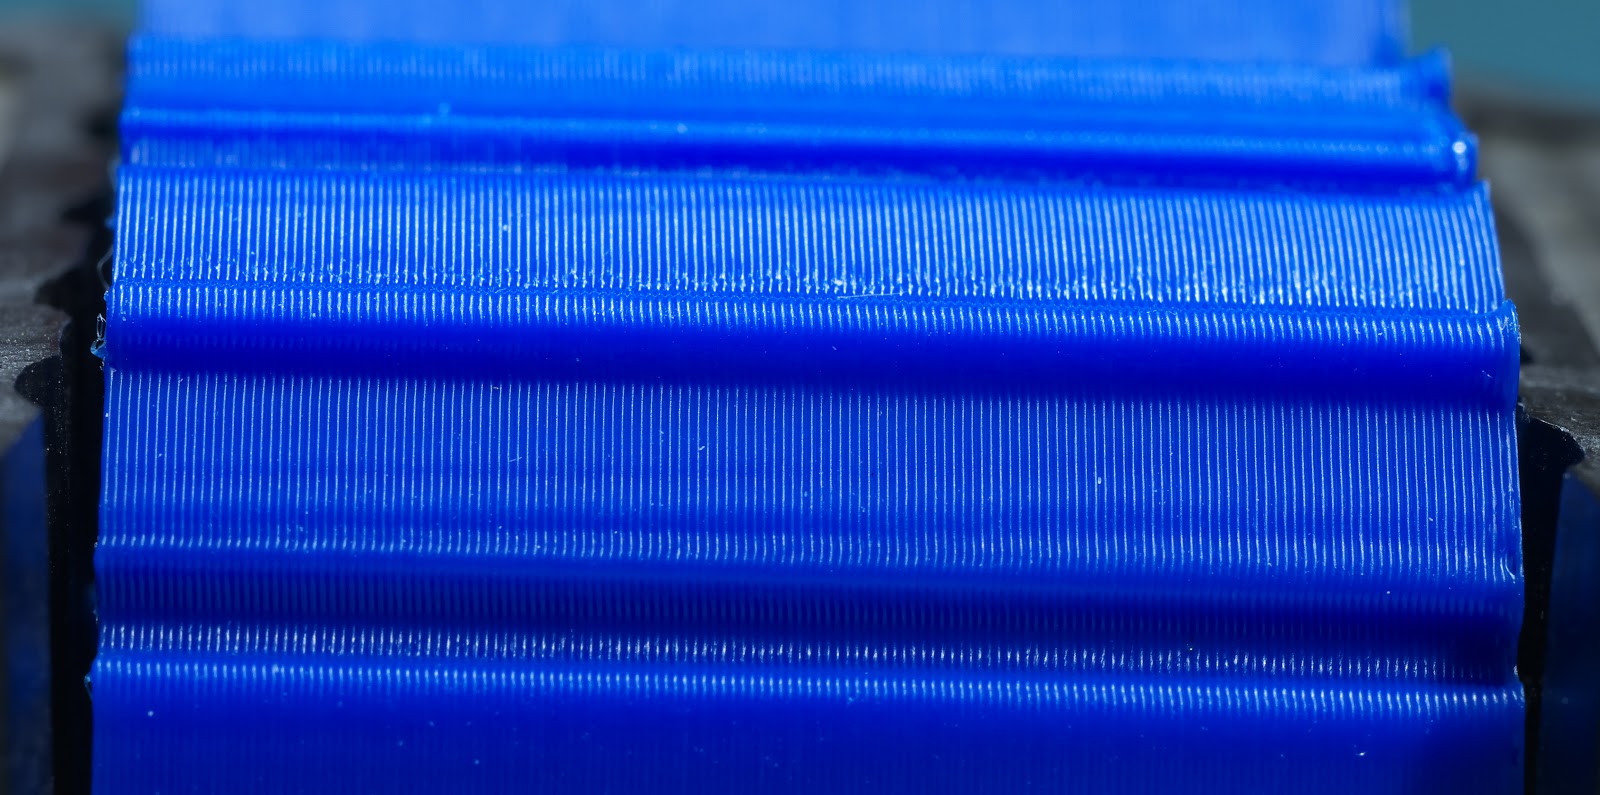
I wouldn't call it much better. Maybe slightly better. These are 0.2mm layers and without looking at it under magnification, there's no appreciable difference between them. The difference in the pictures may just be the angle of the lighting.
I didn't think about running this kind of test before I installed the opto endstops. If someone has snap-switch endstops it would be very interesting if you could run a test of this sort to compare the results.
-
You see them as the same (in overall quality). I see them as quite different. No magnification. Lighting angle doesn't enter into it at all. I see "lumps" of uneven layers in the bottom photo that are not present in the top. In at least three places. I am ignoring the elephant's foot that is a little different between the two.
I also agree that print two and three are too close to call. No clear advantage.
Having said that, ALL of them are better prints than I see posted as "good prints" every day on various forums.
And...
If every one else sees them as the same, and one person sees the re-home as worse (and basic stats calls for ignoring outliers), it all still clearly proves there is no advantage to re-home. Which is, I believe, where you started?
Edit: I just looked again, and OP asked about stall detection v switches. IMHO, SD is OK-ish for X and Y if you are willing to tune it. Not for Z. And not for Deltas (unless they probe the bed before every print).
-
@Danal The photos are from just two prints here, one "normal" and one re-homed at layer change. For the re-homed print I made a small adjustment to the Z=0 position when I saw the elephant's foot on the first print. I recently changed the Z axis endstop to an optical type and this is the first print I have run since making the change. With prints in front of me, if it weren't for the elephant's foot I probably couldn't tell them apart. Of course, I'm getting old and my eyes aren't what they used to be...
I would say the result is much better than I expected. Those optical endstops are pretty good.
Oh yeah, I forgot to mention- the "normal" print took about 1 hour and the re-homed print 1:42. I probably won't be using this technique very often! It might be useful to slow a print down to let layers cool a bit instead of printing a sacrificial object.
-
I just use a straight hall effect sensors (not a board so there isn't any pot adjustments so they're were only like $1 wa for the sensors) and a magnet glued to the carriages on my delta, repeatability is spot on and it's contactless. although I don't have a heated enclosure. When I tested repeatability on micro switches many years ago though, the highest repeatability came from some micro switches I pulled out of some arcade buttons (I think they were sanwa shrug) which also happen to be inexpensive.
-
@jens55 I just noticed a bit higher up that a post I had intended to be there isn't. I must have hit "discard" instead of "submit". Anyway, this was a test of the precision of the optical endstops in my printer. I ran two identical prints, one "normal"- homed only at the start of the print- and the other re-homed at every layer change. By re-homing at each layer change, imprecision in the endstops would show up as error in the way the layers stack because the position of each layer would change a little (or a lot if the endstops are really sloppy). It looks like there's very little slop...
-
@mrehorstdmd said in Which endstop. Microswitch or stall detection?:
The photos are from just two prints here
Got it. Multiple photos of only two prints.
Let me rephrase: The photo set comparing the two prints, the first set, that includes a sharp edge, looks different to me. Photo set two and three are way too close to call. Effectively identical. I suspect that's because they contain curved surfaces.
Anyway, you've gathered some excellent physical data here. Seems to show that re-homing has no measurable advantage. Cool stuff.
-
@Danal Photography is/was one of my other hobbies. I think that the difference you perceived may be just due to the fact that they are different photographs. In one picture, the item is positioned in such a way that more of the light coloured back wall is visible. This would mean that the overall exposure might be different. Which means that the camera aperture setting would be different. This in turn means that the depth of field is different, so parts of the object close to the camera would be either more or less sharply focused than parts of the object that are further away. All of this also assumes that there was zero camera shake. If Mark hand held the camera, then it is also possible that there might have been some slight blurring due to this (note that I am not implying that Mark has any underlying health issues)

-
@deckingman Photos were taken with a Canon 50 mm macro lens on my Samsung NX500 camera, print held in a vise, camera on a short tripod, both on top of a pool table, 5 second timer used to let shake settle out, manual exposure - both shots at ISO 400, f11, 0.3 sec.
I think the difference in the angle of the print/lighting accounts for most of the miniscule difference in the appearance.
-
@mrehorstdmd Oh well done. I'm impressed! If I was in a pedantic mood, I would say that the angle of the parts in relation to the background shows some sort of positional difference between pictures. But I'm not in a pedantic mood, so I won't say that.

Edit. What I'm trying to say is that there may be differences in the photos, so your opinion based on your observations of the real objects, will be more valid than other peoples opinions based on the images.
-
Aren't the three of us funny?
-
So back to the OP's question, based on my test results, I think I prefer optical endstops over snap-switches and stall detection.
-
Stall has two things that determine where/when to use it:
-
It is very likely to need tuning and occasional re-tuning. Because of mechanical differences, you can't just turn it on and it will work now and forever. (Which is true of a switch or optical).
-
It is not as accurate as even the cheapest of switches.
Those two things then lead to:
-
Non-Delta XY doesn't need to be very precise, so optical, snap switch, stall detect all work. Z needs to be optical or a good switch.
-
Delta needs good switches, either optical or reasonable quality snap switch. Exception: Deltas that probe the bed at the start of every print can use stall, they effectively override the switches when they probe.
-
-
I agree with that, with one caveat:
@Danal said in Which endstop. Microswitch or stall detection?:
Non-Delta XY doesn't need to be very precise, so optical, snap switch, stall detect all work. Z needs to be optical or a good switch.
If you want to use the resume-after-power-fail functionality, then you need to be able to re-home X and Y (and ideally Z) to the same positions as before you started the print; so then you do need repeatable endstops.
-
I guess we ought to add a couple more options to complete the list. Firstly there are these which is what I currently use for Z homing https://www.metrol.co.jp/ec/contact-switch_cs?gclid=CjwKCAjwvOHzBRBoEiwA48i6Aia0mpbKJrQVI626sR3oOE8VQCsAjM_hfVqfWi002W6rRRY8-M05nRoCT68QAvD_BwE
The way I do it is a bit tricky to implement from a mechanical point of view because the switch is connected to the nozzle mount, so the nozzle itself is the Z probe. It's a bit tricky because the nozzle must be constrained from any movement in X or Y but free to move (albeit only by 0.3mm or so) in Z.
These switches aren't cheap though and would be overkill for X or Y (but they do come with optional LEDs which as Mark said, are handy).
Another option is two insulated contacts coming together to complete a circuit, which is as simple as it gets. One contact on the carriage, the other on the frame. The contacts need to be non corroding - so gold or silver plated.
I'm currently working on another variant for my Z axis using that technique. I've just spent the princely sum of £1.26 on these https://www.ebay.co.uk/itm/Flat-Disc-and-Post-Earring-Findings-Pack-of-10-Make-your-Own-Earrings/112606214351?ssPageName=STRK%3AMEBIDX%3AIT&var=413683787505&_trksid=p2060353.m2749.l2649 which might make suitable contacts. It's still a bit tricky to implement from a mechanical point of view but if it works, then in theory the Z offset will be zero (although in practice it might be a few um).