Which endstop. Microswitch or stall detection?
-
I agree with that, with one caveat:
@Danal said in Which endstop. Microswitch or stall detection?:
Non-Delta XY doesn't need to be very precise, so optical, snap switch, stall detect all work. Z needs to be optical or a good switch.
If you want to use the resume-after-power-fail functionality, then you need to be able to re-home X and Y (and ideally Z) to the same positions as before you started the print; so then you do need repeatable endstops.
-
I guess we ought to add a couple more options to complete the list. Firstly there are these which is what I currently use for Z homing https://www.metrol.co.jp/ec/contact-switch_cs?gclid=CjwKCAjwvOHzBRBoEiwA48i6Aia0mpbKJrQVI626sR3oOE8VQCsAjM_hfVqfWi002W6rRRY8-M05nRoCT68QAvD_BwE
The way I do it is a bit tricky to implement from a mechanical point of view because the switch is connected to the nozzle mount, so the nozzle itself is the Z probe. It's a bit tricky because the nozzle must be constrained from any movement in X or Y but free to move (albeit only by 0.3mm or so) in Z.
These switches aren't cheap though and would be overkill for X or Y (but they do come with optional LEDs which as Mark said, are handy).
Another option is two insulated contacts coming together to complete a circuit, which is as simple as it gets. One contact on the carriage, the other on the frame. The contacts need to be non corroding - so gold or silver plated.
I'm currently working on another variant for my Z axis using that technique. I've just spent the princely sum of £1.26 on these https://www.ebay.co.uk/itm/Flat-Disc-and-Post-Earring-Findings-Pack-of-10-Make-your-Own-Earrings/112606214351?ssPageName=STRK%3AMEBIDX%3AIT&var=413683787505&_trksid=p2060353.m2749.l2649 which might make suitable contacts. It's still a bit tricky to implement from a mechanical point of view but if it works, then in theory the Z offset will be zero (although in practice it might be a few um).
-
To that last point, I'm working on multi tool alignment on tool-changing printers. Right now, the simplest way to measure Z seems to be to wire the nozzle and a touchplate. Metal-to-metal contact.
-
@Danal said in Which endstop. Microswitch or stall detection?:
To that last point, I'm working on multi tool alignment on tool-changing printers. Right now, the simplest way to measure Z seems to be to wire the nozzle and a touchplate. Metal-to-metal contact.
How do you plan to clean any filament debris from the nozzle?
Duet WiFi hardware designer and firmware engineer
Please do not ask me for Duet support via PM or email, use the forum
http://www.escher3d.com, https://miscsolutions.wordpress.com -
@dc42 said in Which endstop. Microswitch or stall detection?:
@Danal said in Which endstop. Microswitch or stall detection?:
To that last point, I'm working on multi tool alignment on tool-changing printers. Right now, the simplest way to measure Z seems to be to wire the nozzle and a touchplate. Metal-to-metal contact.
How do you plan to clean any filament debris from the nozzle?
The toolchanger wipes the nozzle when it mounts it, as a normal part of printing, to avoid blobs and such. So far, debris has been a very low failure rate.
-
@jens55 said in Which endstop. Microswitch or stall detection?:
Consensus seens to be that stall detection is not as accurate as s switch.
Super accuracy of x/y homing is not a goal for my Core X/Y since I don't need to resume from power outrages. As for Z, the printer has a BlTouch which works great also for Z homing. This minimalist approach simplifies the hardware and works great for me.
The case may be different for other kinematics such as Deltas where a tower homing errors may tilt their plan and invalidate their previously acquired compensation mesh.
-
I'm using opto switches in all three axes. The Z=0 is adjusted using a differential screw so small tweaks to the bed position can easily be made. It much simpler than putting a sensor on the extruder carriage, and since the printer is stable, like the bed leveling, it doesn't have to be readjusted.

-
@mrehorstdmd said in Which endstop. Microswitch or stall detection?:
It much simpler than putting a sensor on the extruder carriage,
Do you use a sensor for mesh compensation or is your mechanical frame accurate enough as is?
-
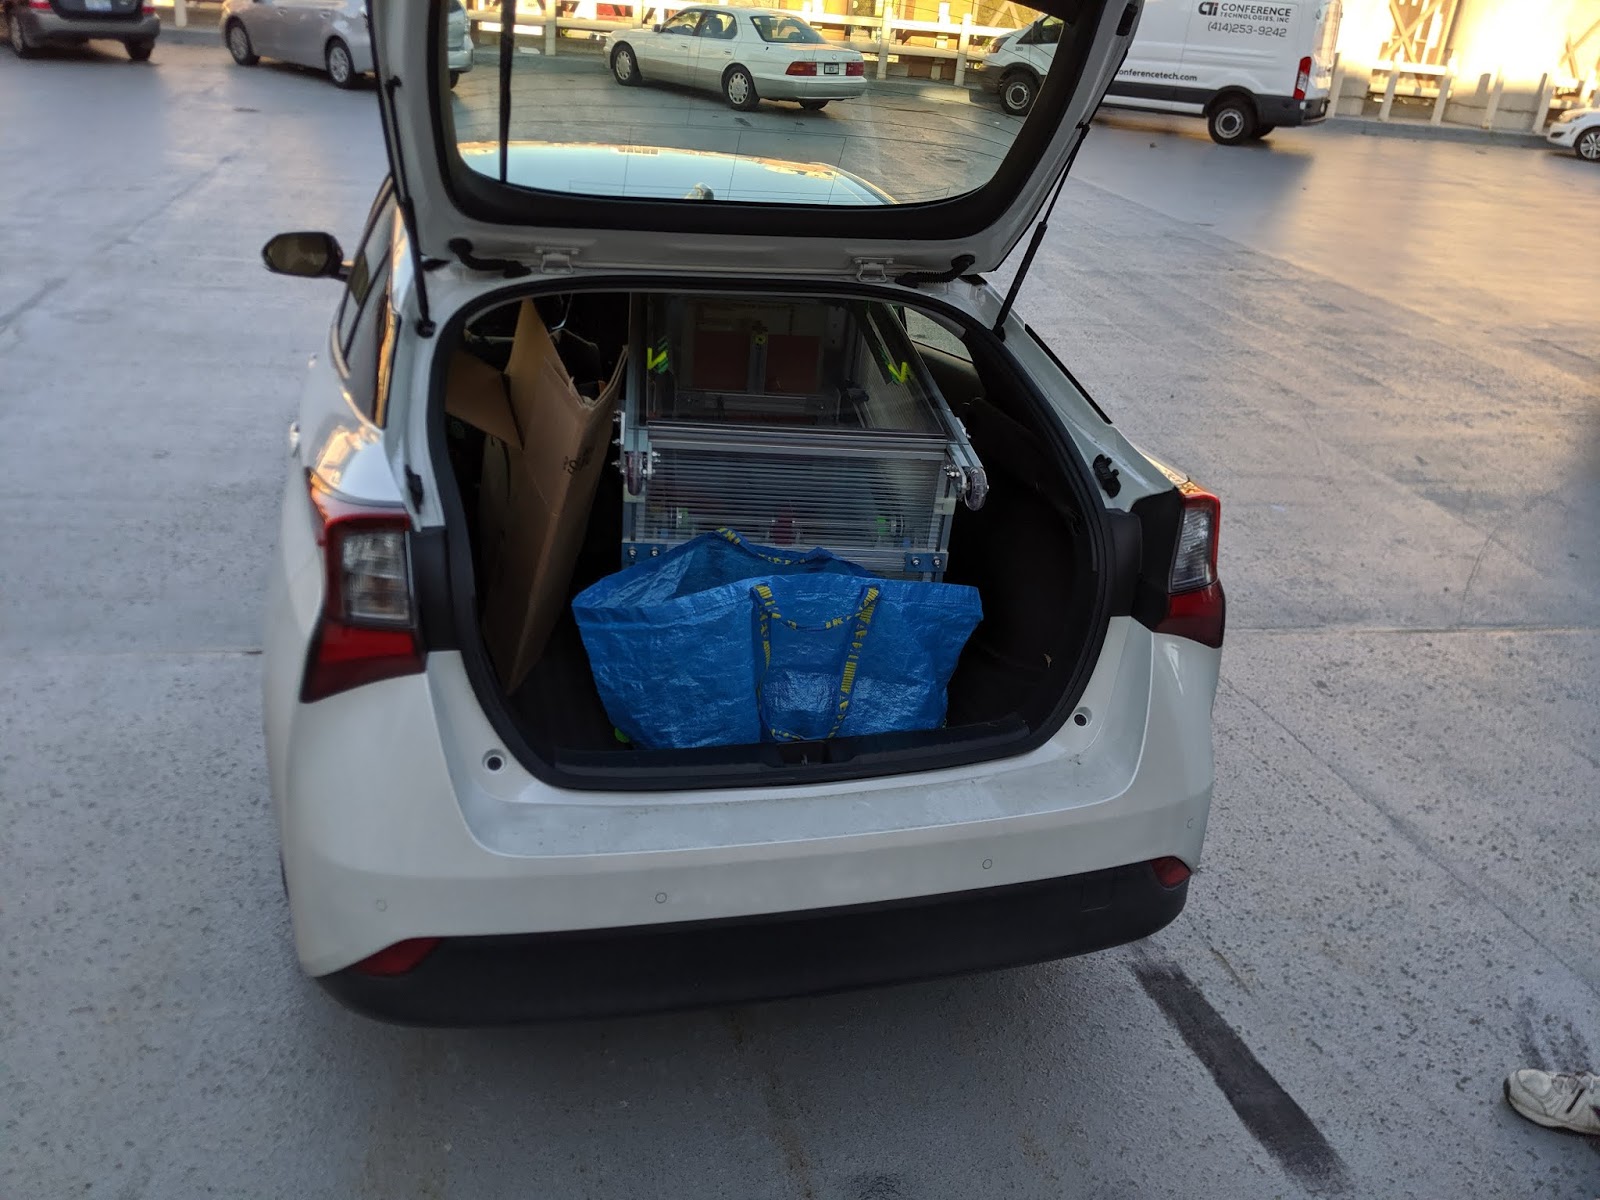
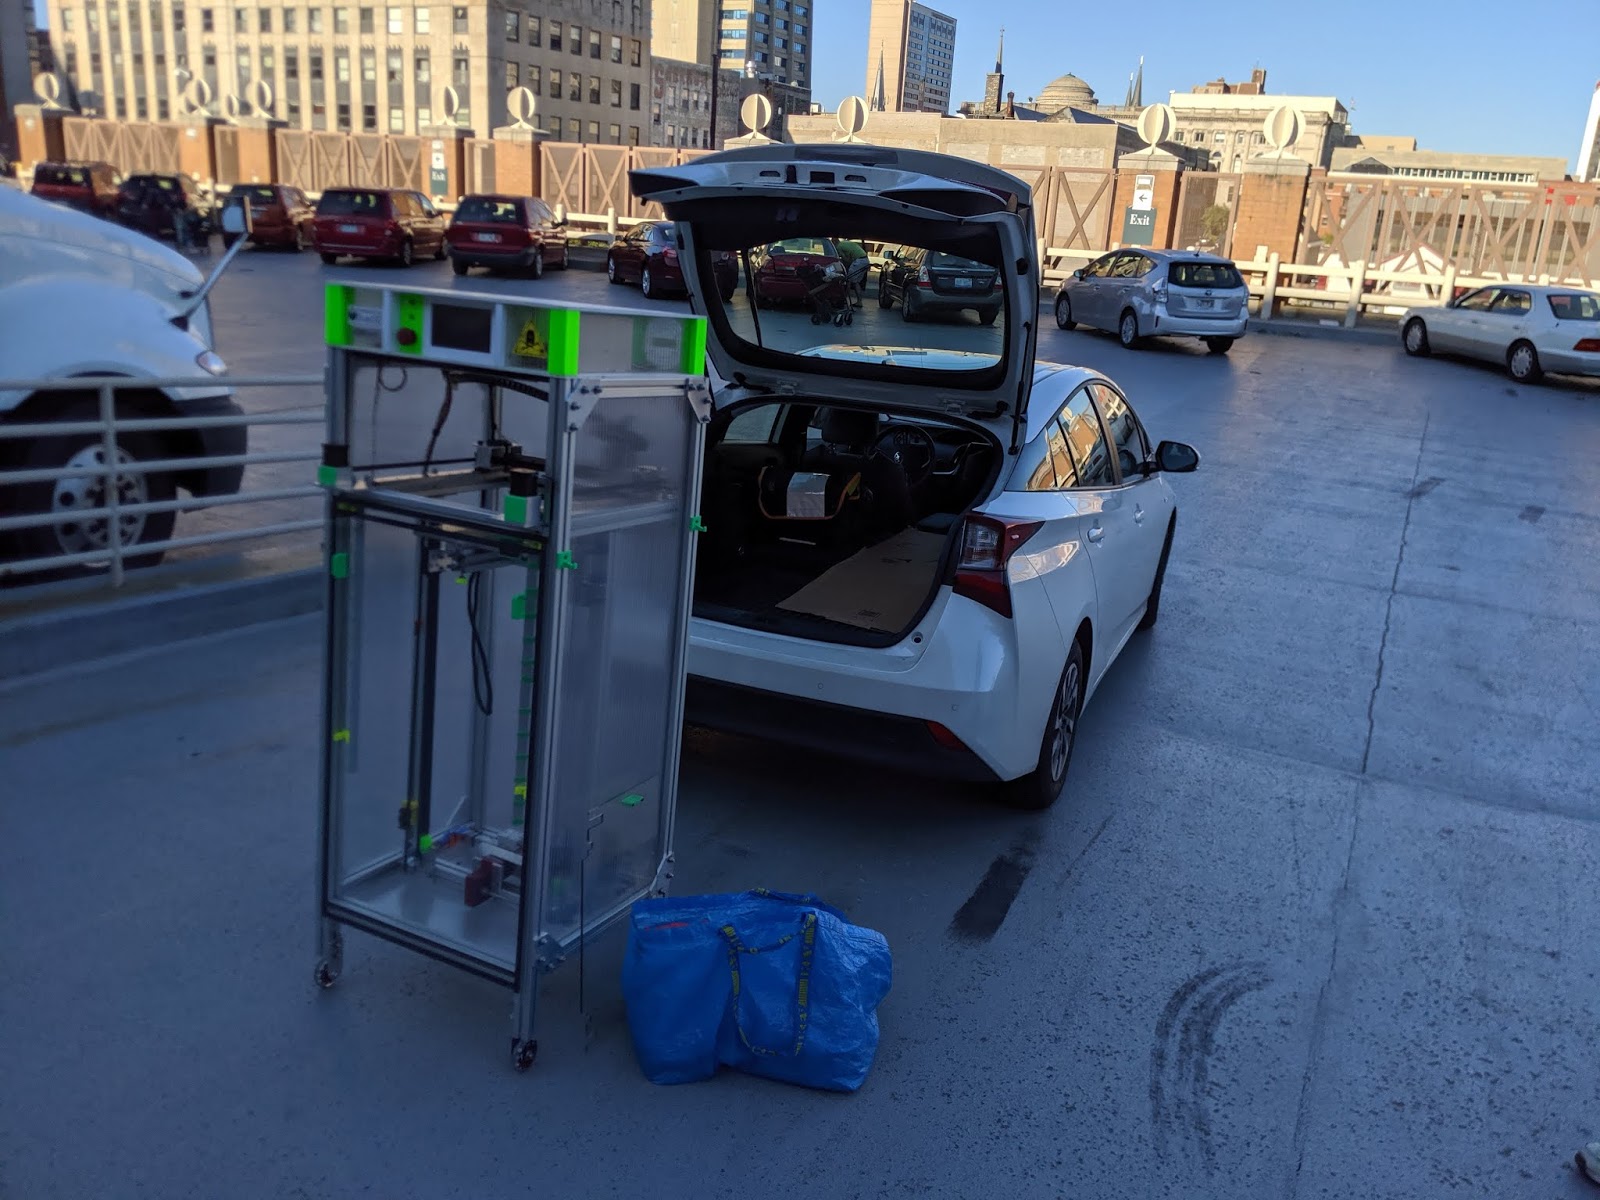
@zapta No sensors, no mesh compensation. Built like a tank and very stable. Bed is flat and leveled on a kinematic mount. On numerous occasions I have dragged it up basement stairs, loaded it into my car, taken it back out and started printing with no adjustments.
-
Any way we can use the "dual" sensor for homing? I'd like to do the switch (opto or mechanical) + stall detection as a backup. During the homing process, if something goes wrong (print left on the bed is a good example), it would be cool to "cancel" homing on stall detection.