Squished Calibration cube
-
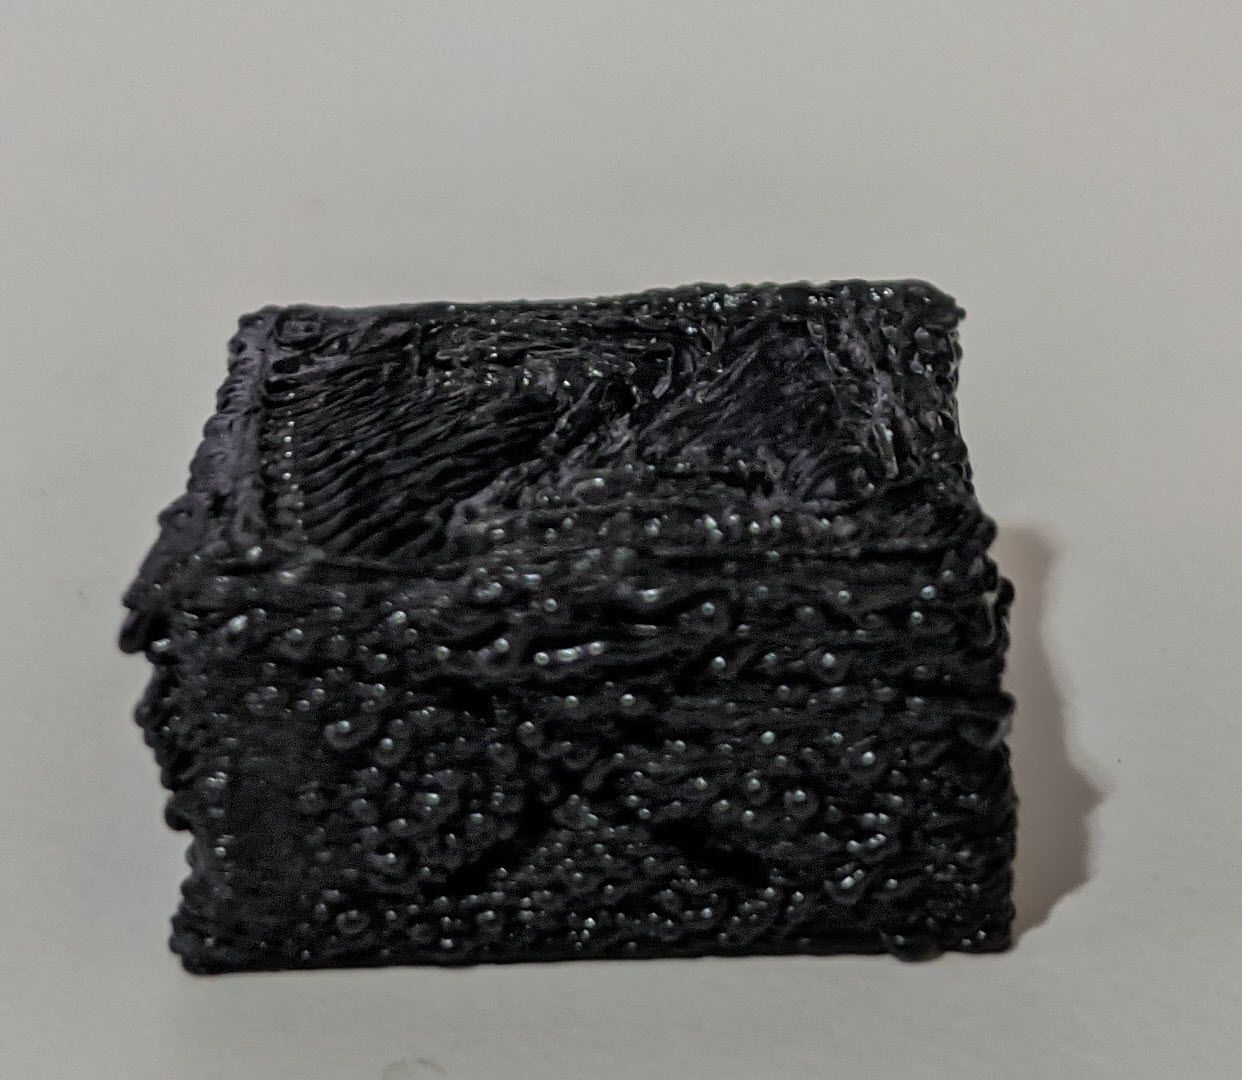
As they say, a picture is worth a thousand words.... This was supposed to be a calibration cube, but it was supposed to be 20mm in height, but came out 10mm in height.... It printed the whole piece, but just at half the size.I've been looking around the most common issue reported is z-binding, but my z-axis moves up and down very freely and when it prints, I didn't hear any noise at all which would suggest the screws are not working as intended.
Another article suggest that me extruder steps are mis-calibrated, but I did that calibration 3x on Friday night and updated my M92 E:
M92 X80.00 Y80.00 Z400.00 E138.00Another article suggest that the Z steps of 400 are too small and need to be 800, I tried that and then I was printing way to close to the bed, after spending all day getting my bed level and getting these squares
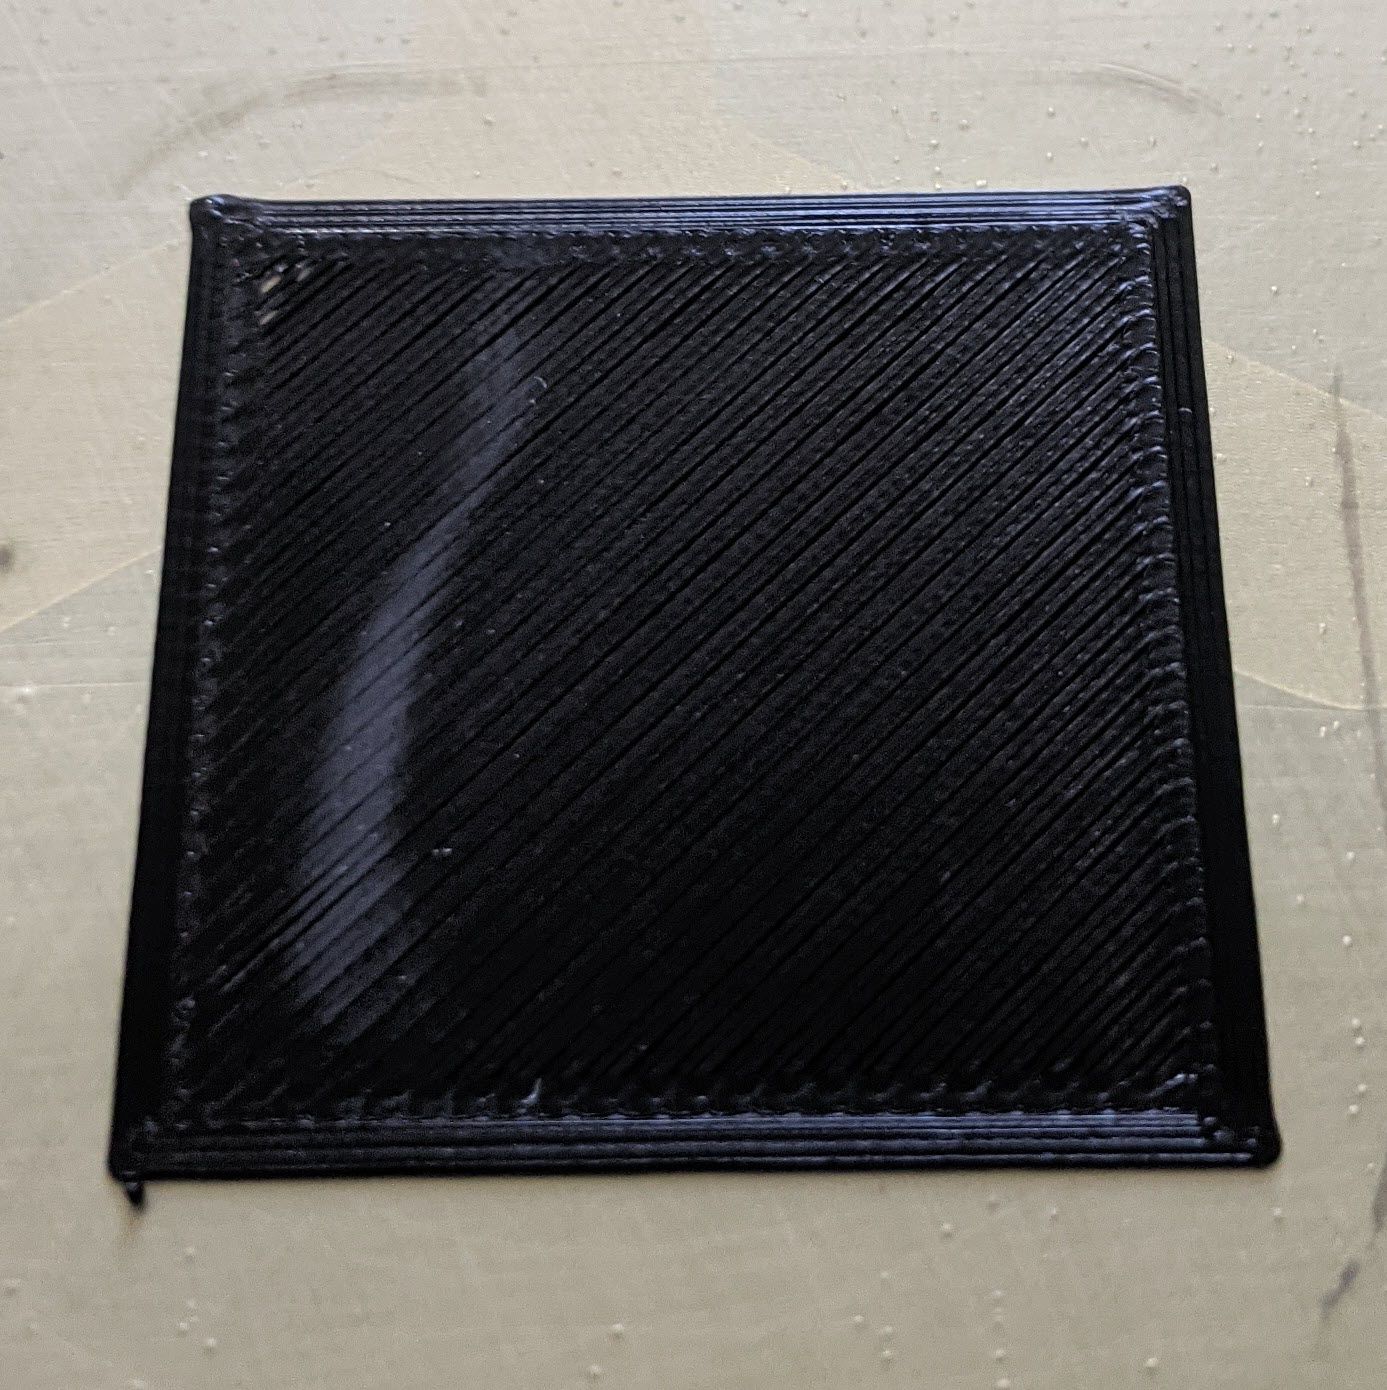
So not sure if I do need to adjust my z steps to 800, then re-calibrate the z-offset which I will give that a whirl now to test out a few other options.
-
@infidelprops Does your Z move 20mm when you request 20mm from DWC?
That would be the first place I would start if i thought my Z was not moving correctly.Then from that point, reset or note the current distance and move another 30mm.
P.
-
@paulhew Good suggestion! I did just did that and it moves the exact distance I tell it to.
-
@infidelprops Brill, that is a start!
Filament type please. I am going to guess, it looks like petg, but probably wrong.looks like wet filament IMO. or too hot.
-
@paulhew eSun filament, black PLA... fresh out of the box. Printing at 200 deg, recommended temp for a Microswiss DD hotend.
Do you think it's not a z steps being at 400? I've read other posts that they needed to increase it to 800, which I've done and nowim back at the beginning getting a good first layer. I saved previous settings in case I need to go back
-
@infidelprops you should be able to calculate the correct steps per mm for your system. Prusa has a good little calculator tool:
https://blog.prusaprinters.org/calculator_3416/In general if moving 100mm by commanding DWC results in 100mm of movement, then you've probably got it set right! My guess is that you are losing steps mid print. This is probably because your z accel & jerk limits are too high. Are you using z-hop?
Post your config.g and the first 50 lines or so of a print file so we can see what's going on (and if your slicer is overriding things!)
-
@engikeneer so helpful mate, you're all over my posts!

Here's my config.g
; Configuration file for Duet WiFi (firmware version 3)
; executed by the firmware on start-up
;
; generated by RepRapFirmware Configuration Tool v3.3.0 on Sun Aug 08 2021 21:27:12 GMT+1000 (Australian Eastern Standard Time)

; General preferences
G90                                                ; send absolute coordinates...
M83                                                ; ...but relative extruder moves
M550 P"Oneill"                                     ; set printer name

; Network
M552 S1                                            ; enable network
M586 P0 S1                                         ; enable HTTP
M586 P1 S0                                         ; disable FTP
M586 P2 S0                                         ; disable Telnet

; Drives
M569 P0 S0                                         ; physical drive 0 goes backwards
M569 P1 S0                                         ; physical drive 1 goes backwards
M569 P2 S1                                         ; physical drive 2 goes forwards
M569 P3 S1                                         ; physical drive 3 goes backwards
M584 X0 Y1 Z2 E3                                   ; set drive mapping
M350 X16 Y16 Z16 E16 I1                            ; configure microstepping with interpolation
M92 X80.00 Y80.00 Z800.00 E138.00                  ; set steps per mm
M566 X900.00 Y900.00 Z300.00 E2000.00                ; set maximum instantaneous speed changes (mm/min)
M203 X6000.00 Y6000.00 Z600.00 E6000.00            ; set maximum speeds (mm/min)
M201 X500.00 Y500.00 Z200.00 E3000.00                ; set accelerations (mm/s^2)
M906 X800 Y800 Z800 E800 I30                       ; set motor currents (mA) and motor idle factor in per cent
M84 S30                                            ; Set idle timeout

; Axis Limits
;M208 X372 Y370 Z400 S0                             ; set axis maxima
;M208 X13 Y15 Z-10 S1                               ; set axis minima
M208 X0 Y0 Z-10 S1                              ; set axis minima
M208 X313 Y355 Z400 S0                             ; set axis maxima

; Endstops
M574 X2 S1 P"xstop"                                ; configure active-high endstop for low end on X via pin xstop
M574 Y2 S1 P"ystop"                                ; configure active-high endstop for low end on Y via pin ystop
M574 Z1 S2                                         ; configure Z-probe endstop for low end on Z

; Z-Probe
M558 P5 C"!zprobe.in" H3 F900 T12000
;G31 P500 X47 Y10 Z4.235                          ; set Z probe trigger value, offset and trigger height
G31 P500 X47 Y10 Z1.514                           ; set Z probe trigger value, offset and trigger height
;M557 X57:349 Y10:354 P20                           ; define mesh grid
M557 X63:344 Y15:349 P20                           ; define mesh grid

; Heaters
M308 S0 P"bedtemp" Y"thermistor" T100000 B4138     ; configure sensor 0 as thermistor on pin bedtemp
M950 H0 C"bedheat" T0                              ; create bed heater output on bedheat and map it to sensor 0
M307 H0 B0 S1.00                                   ; disable bang-bang mode for the bed heater and set PWM limit
M140 H0                                            ; map heated bed to heater 0
M143 H0 S120                                       ; set temperature limit for heater 0 to 120C
M308 S1 P"e0temp" Y"thermistor" T100000 B4138      ; configure sensor 1 as thermistor on pin e0temp
M950 H1 C"e0heat" T1                               ; create nozzle heater output on e0heat and map it to sensor 1
M307 H1 B0 S1.00                                   ; disable bang-bang mode for heater  and set PWM limit
M143 H1 S280                                       ; set temperature limit for heater 1 to 280C

; Fans
M950 F0 C"fan0" Q500                               ; create fan 0 on pin fan0 and set its frequency
M106 P0 S0 H-1                                     ; set fan 0 value. Thermostatic control is turned off
M950 F1 C"fan1" Q500                               ; create fan 1 on pin fan1 and set its frequency
M106 P1 S1 H1 T45                                  ; set fan 1 value. Thermostatic control is turned on

; Tools
M563 P0 D0 H1 F0                                   ; define tool 0
G10 P0 X0 Y0 Z0                                    ; set tool 0 axis offsets
G10 P0 R0 S0                                       ; set initial tool 0 active and standby temperatures to 0C

; Custom settings are not defined
; Filament Runout Sensor
M591 D0 P1 C"e0stop" S1

; TFT Display Config
M575 P1 S2 B57600

; Miscellaneous
M501                                               ; load saved parameters from non-volatile memory
M911 S10 R11 P"M913 X0 Y0 G91 M83 G1 Z3 E-5 F1000" ; set voltage thresholds and actions to run on power loss
And the first 50 lines of the calibration cube:
;FLAVOR:RepRap ;TIME:1313 ;Filament used: 1.45998m ;Layer height: 0.28 ;MINX:135.5 ;MINY:156 ;MINZ:0.285 ;MAXX:177.5 ;MAXY:198 ;MAXZ:19.885 ;Generated with Cura_SteamEngine 4.9.1 T0 M190 S60 M104 S200 M109 S200 M82 ;absolute extrusion mode G28 ;Home G92 E0 ;Reset Extruder G1 Z2.0 F3000 ;Move Z Axis up G1 X1.1 Y1 Z0.28 F5000.0 ;Move to start position G1 X1.1 Y200.0 Z0.28 F1500.0 E15 ;Draw the first line G1 X1.4 Y200.0 Z0.28 F5000.0 ;Move to side a little G1 X1.4 Y20 Z0.28 F1500.0 E30 ;Draw the second line G92 E0 ;Reset Extruder G1 Z2.0 F3000 ;Move Z Axis up M83 ;relative extrusion mode G1 F1500 E-1.5 ;LAYER_COUNT:71 ;LAYER:0 M107 M204 T500 M566 X480 Y480 G0 F7500 X139.386 Y158.627 Z0.285 M204 P500 ;TYPE:SKIRT G1 F1500 E1.5 G1 X140.126 Y158.051 E0.04222 G1 X140.912 Y157.539 E0.04224 G1 X141.739 Y157.097 E0.04222 G1 X142.601 Y156.727 E0.04224 G1 X143.491 Y156.431 E0.04223 G1 X144.403 Y156.213 E0.04222 G1 X145.33 Y156.072 E0.04222 G1 X146.201 Y156.013 E0.03931 G1 X146.522 Y156.004 E0.01446 G1 X146.83 Y156 E0.01387 G1 X165.793 Y156 E0.85383 G1 X166.649 Y156.011 E0.03855 G1 X167.585 Y156.065 E0.04221 -
@infidelprops For clarity, please post your config-override.g.
Also, my friend wrote this guide, which I find useful. It is based on a Voron2.4 using Klipper, but the process is the same and relevant, well most of it!
Mak's Tuning Guide -
@paulhew thanks, I will check that article out!
As for an update... After updating my z steps to 800, from the original 400 and re-calibrating 0, levelling, and new mesh, I just finished the second calibration cube and it came out muuuuuuch better!

Still elephant feet and corners to fix, but at least it's printing decent!