BTT Smart filament sensor setup
-
I have a duet 2 wifi. RRF 3.4. I'm still pretty new to this. I think I have a BTT smart filament sensor wired correctly, but I'm hoping to rule out any problems in config file. I've been using this topic, but the link to the original sensor is expired soooo....link to the product's pdf: https://github.com/bigtreetech/smart-filament-detection-module/blob/master/manual/smart filament sensor module manual201125.pdf
And config file.
; Configuration file for Duet WiFi (firmware version 3.3)
; executed by the firmware on start-up
;
; generated by RepRapFirmware Configuration Tool v3.3.15 on Tue Feb 07 2023 20:54:03 GMT-0600 (Central Standard Time); General preferences
M575 P1 S1 B57600 ; enable support for PanelDue
G90 ; send absolute coordinates...
M83 ; ...but relative extruder moves
M550 P"My Printer" ; set printer name
M669 K1 ; select CoreXY mode; Network
M552 S1 ; enable network
M586 P0 S1 ; enable HTTP
M586 P1 S0 ; disable FTP
M586 P2 S0 ; disable Telnet; Drives
M569 P0 S1 ; physical drive 0 goes forwards
M569 P1 S0 ; physical drive 1 goes forwards
M569 P2 S0 ; physical drive 2 goes backwards
M569 P3 S1 ; physical drive 3 goes forwards
M569 P4 S1 ; physical drive 4 goes forwardsM584 X0 Y1 Z2 E3:4 ; set drive mapping
;M350 X16 Y16 Z16 E16:16 I1 ; configure microstepping with interpolation ethan moved down a line to automatically calc esteps
;M92 X80.00 Y80.00 Z3200.00 E440.00:440.00 ; set steps per mm
M92 X160.00 Y160.00 Z400.00 E830.00:830.00 ; set steps per mm
M350 X256 Y256 Z256 E256:256 ;I1 ; configure microstepping with interpolation
;M566 X1200.00 Y1200.00 Z100.00 E3600.00:3600.00 ; set maximum instantaneous speed changes (mm/min)
M566 X300.00 Y300.00 Z60.00 E250.00:250.00 ; set maximum instantaneous speed changes (mm/min)
;M203 X50000.00 Y35000.00 Z450.00 E3600.00:3600.00 ; set maximum speeds (mm/min)
M203 X50000.00 Y50000.00 Z450.00 E3600.00:3600.00 ; set maximum speeds (mm/min)
M201 X1000.00 Y1000.00 Z100.00 E3000.00:300.00 ; set accelerations (mm/s^2)
;M201 X1000.00 Y1000.00 Z100.00 E3000.00:3000.00 ; set accelerations (mm/s^2)
M906 X900 Y900 Z700 E800:800 I20 ; set motor currents (mA) and motor idle factor in per cent
;M906 X700 Y700 Z700 E900:900 I30 ; set motor currents (mA) and motor idle factor in per cent
M84 S30 ; Set idle timeoutM593 P"zvd" F80. ;ringing ghosting
; Axis Limits
M208 X0 Y0 Z0 S1 ; set axis minima
M208 X250 Y250 Z400 S0 ; set axis maxima; Endstops
M574 X1 S1 P"xstop" ; configure switch-type (e.g. microswitch) endstop for low end on X via pin xstop
M574 Y1 S1 P"ystop" ; configure switch-type (e.g. microswitch) endstop for low end on Y via pin ystop
M574 Z1 S2 ; configure Z-probe endstop for low end on Z; Z-Probe
M558 P9 C"^zprobe.in" H5 F120 T6000 ; set Z probe type to unmodulated and the dive height + speeds
G31 P500 X20 Y10 Z1.808 ; set Z probe trigger value, offset and trigger height z largers number moves toward bed
M557 X15:215 Y15:195 S20 ; define mesh grid
M950 S0 C"exp.heater3"; Heaters
M308 S0 P"bedtemp" Y"thermistor" T100000 B4138 ; configure sensor 0 as thermistor on pin bedtemp
M950 H0 C"bedheat" T0 ; create bed heater output on bedheat and map it to sensor 0
M307 H0 B1 S1.00 ; enable bang-bang mode for the bed heater and set PWM limitM140 H0 ; map heated bed to heater 0
M143 H0 S120 ; set temperature limit for heater 0 to 120C
M307 H0 R0.219 K0.199:0.000 D8.53 E1.35 S1.00 B0
M308 S1 P"e0temp" Y"thermistor" T100000 B4138 ; configure sensor 1 as thermistor on pin e0temp
M950 H1 C"e0heat" T1 ; create nozzle heater output on e0heat and map it to sensor 1
;M307 H1 B0 S1.00 ; disable bang-bang mode for heater and set PWM limit
M307 H1 R2.688 K0.478:0.000 D5.14 E1.35 S1.00 B0 ;V23.9
M143 H1 S280 ; set temperature limit for heater 1 to 280C
M308 S2 P"e1temp" Y"thermistor" T100000 B4138 ; configure sensor 2 as thermistor on pin e1temp
M950 H2 C"e1heat" T2 ; create nozzle heater output on e1heat and map it to sensor 2
;M307 H2 B0 S1.00 ; disable bang-bang mode for heater and set PWM limit
M307 H2 R2.559 K0.393:0.000 D6.20 E1.35 S1.00 B0 ;V24.0
M143 H2 S280 ; set temperature limit for heater 2 to 280C; Fans
M950 F0 C"fan0" Q500 ; create fan 0 on pin fan0 and set its frequency
M106 P0 S0 H-1 ; set fan 0 value. Thermostatic control is turned off
M950 F1 C"fan1" Q500 ; create fan 1 on pin fan1 and set its frequency
M106 P1 S0 H-1 ; set fan 1 value. Thermostatic control is turned off
M950 F2 C"fan2" Q500
M106 P2 T35 H1; Tools
M563 P0 D0 H1 F-1 ; define tool 0
G10 P0 X0 Y0 Z0 ; set tool 0 axis offsets
G10 P0 R0 S0 ; set initial tool 0 active and standby temperatures to 0C
M563 P1 D1 H2 F-1 ; define tool 1
G10 P1 X0 Y0 Z0 ; set tool 1 axis offsets
G10 P1 R0 S0 ; set initial tool 1 active and standby temperatures to 0C; Custom settings are not defined
M82
M591 D0 P7 C"e0stop" L7 R50:200 E15 S1 ;filamentsensor
M591 D1 P7 C"e1stop" L7 R50:200 E15 S1M572 D0 S0.025 ;pressure advance in duet
M572 D1 S0.025 ;pressure advance in duet -
@Terradive what problem are you actually seeing?
-
@Terradive Jay I keep getting a low filament movement error and it pauses. Then I resume it goes and pauses etc. When I use an M591 d1 command during printing it says no feedback given.
-
@jay_s_uk I have also installed a .9 stepper motor on my extruder. I tried doubling the l amounts to compensate but that did not owrk.
-
@Terradive can you try increasing the E value to 22 from 15? IIRC that's these recommended value as the sensor only reads every 7.5mm
-
@jay_s_uk I did. It printed longer but still gave the too little movement.
-
@Terradive what results are you getting back from it when it fails? M591 D0 (or D1) should tell you
-
@jay_s_uk No data received. I set the r value down to R1:200. It still stopped in another test. I'm trying to rule out any gcode problems assigning drives. I think I have the wiring correct.
-
@jay_s_uk It's printing using tool 1.
-
@Terradive best to check your wiring then
-


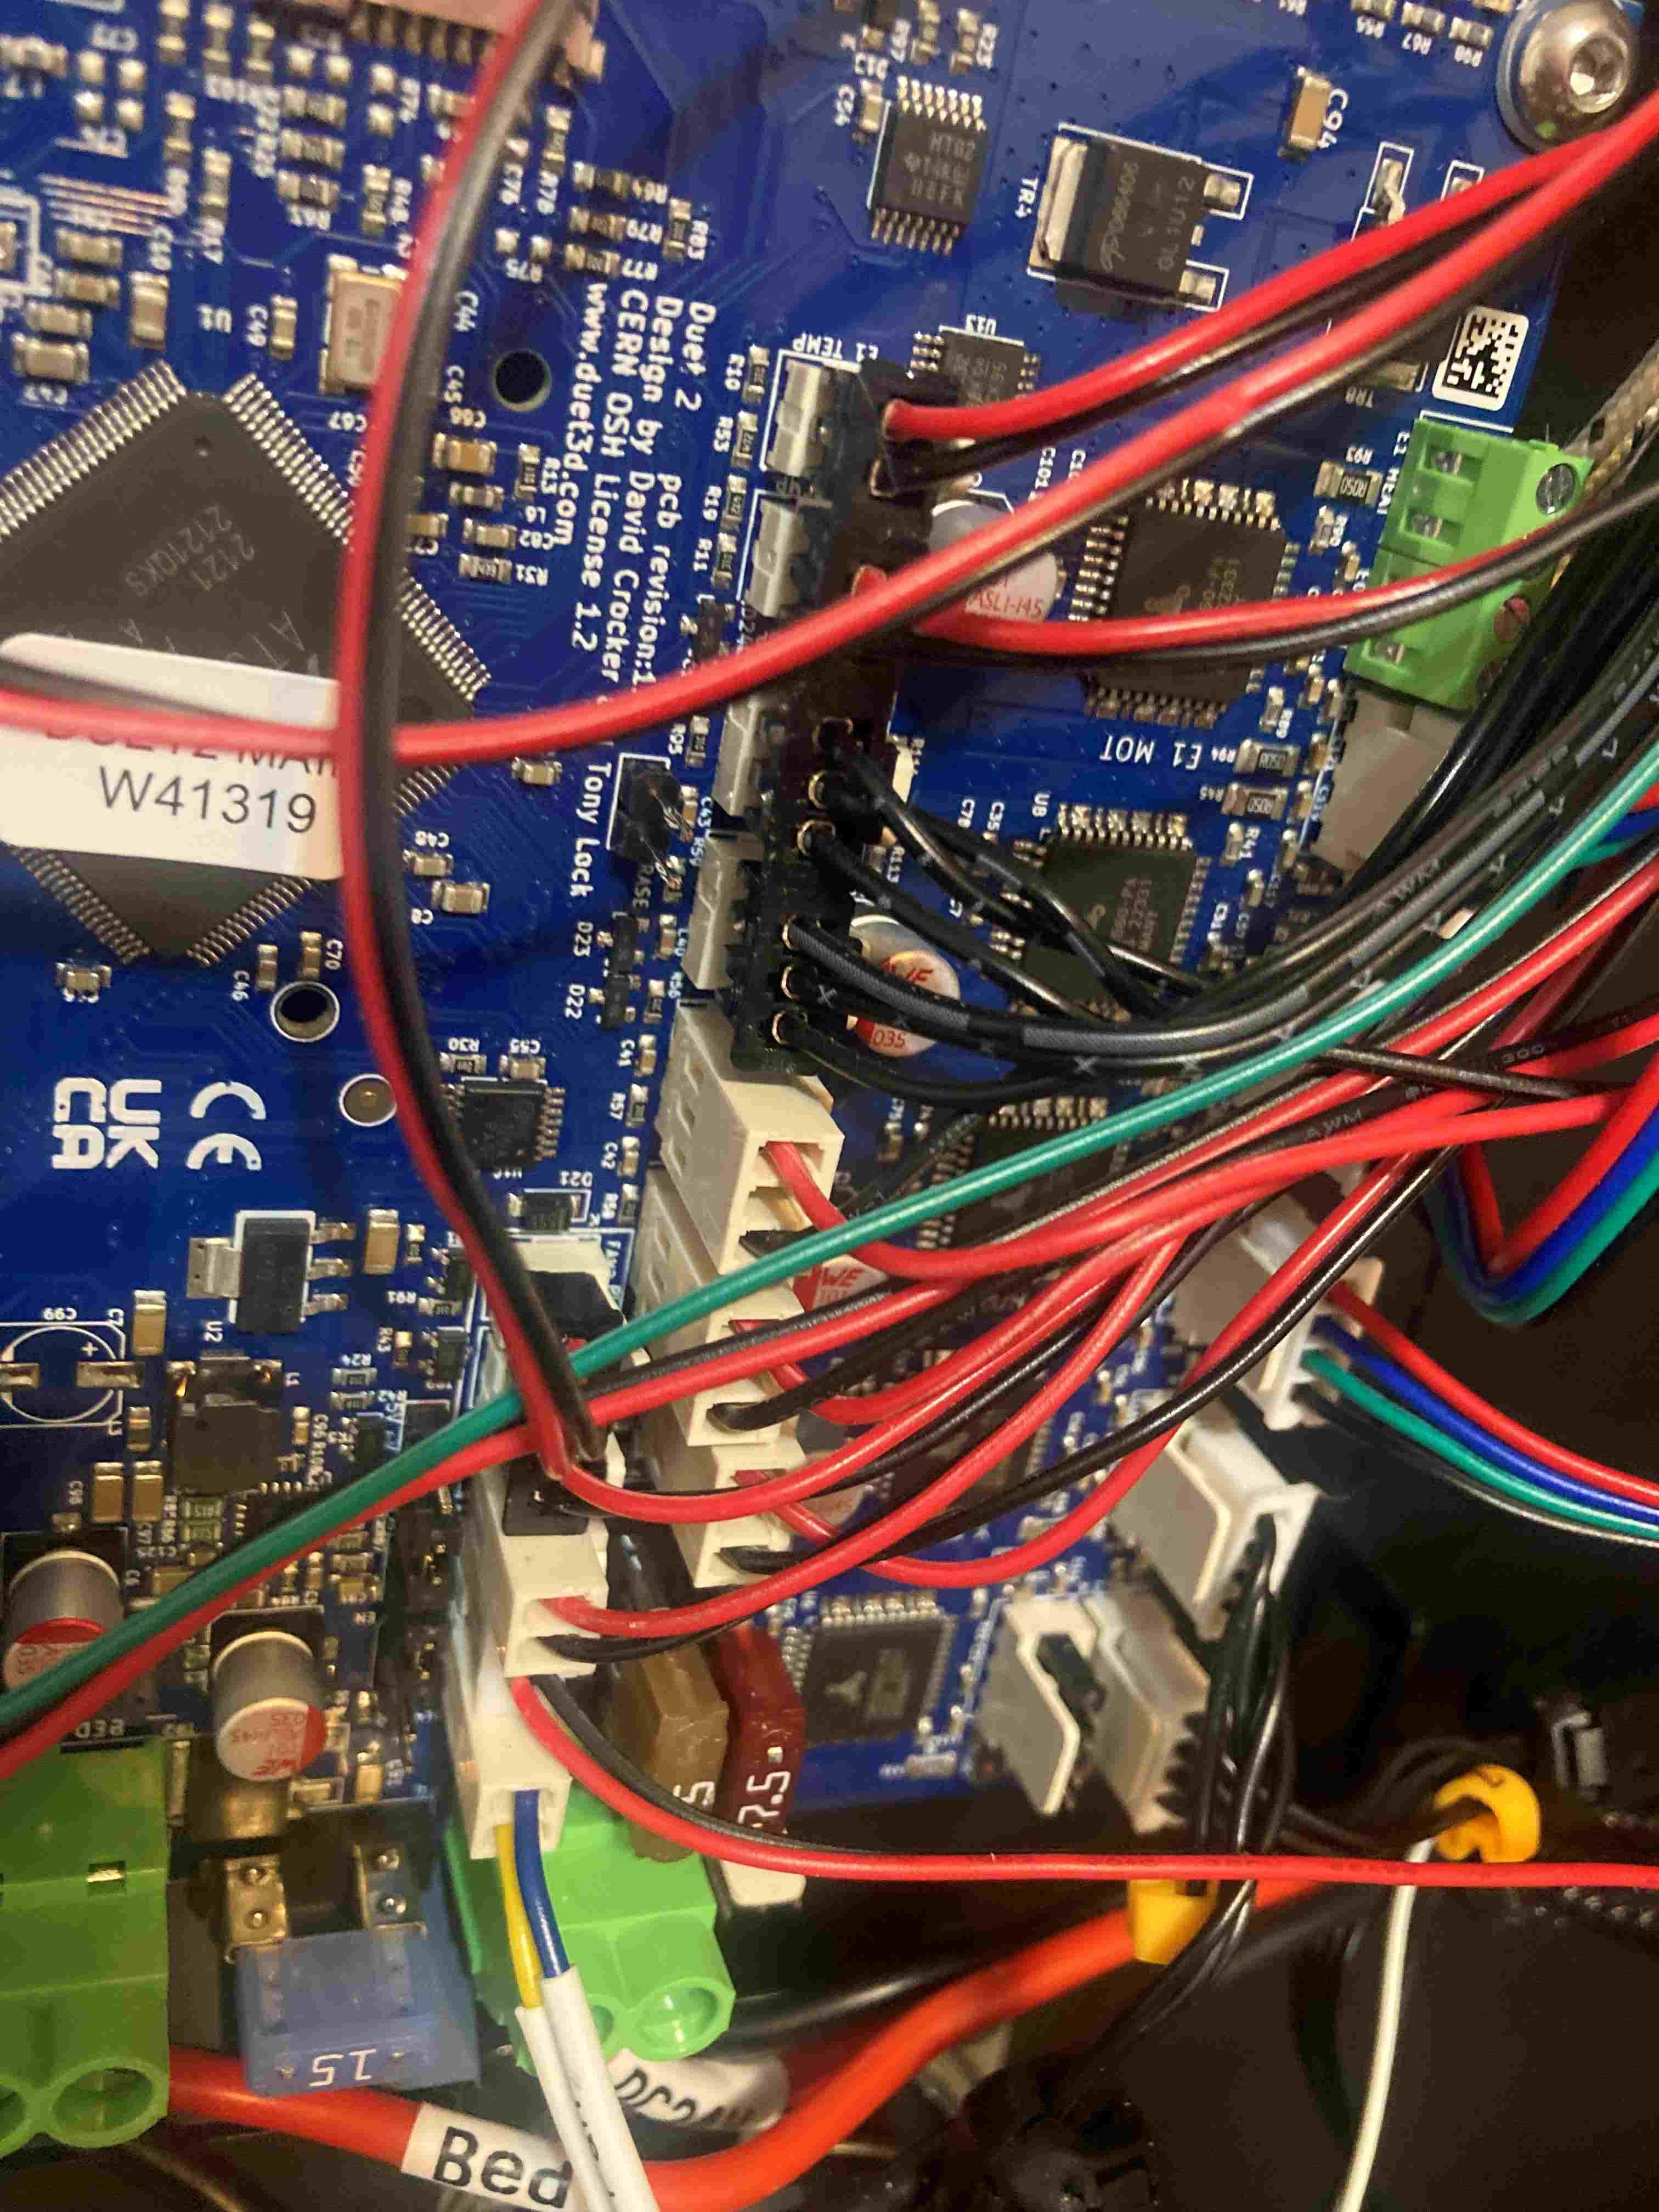
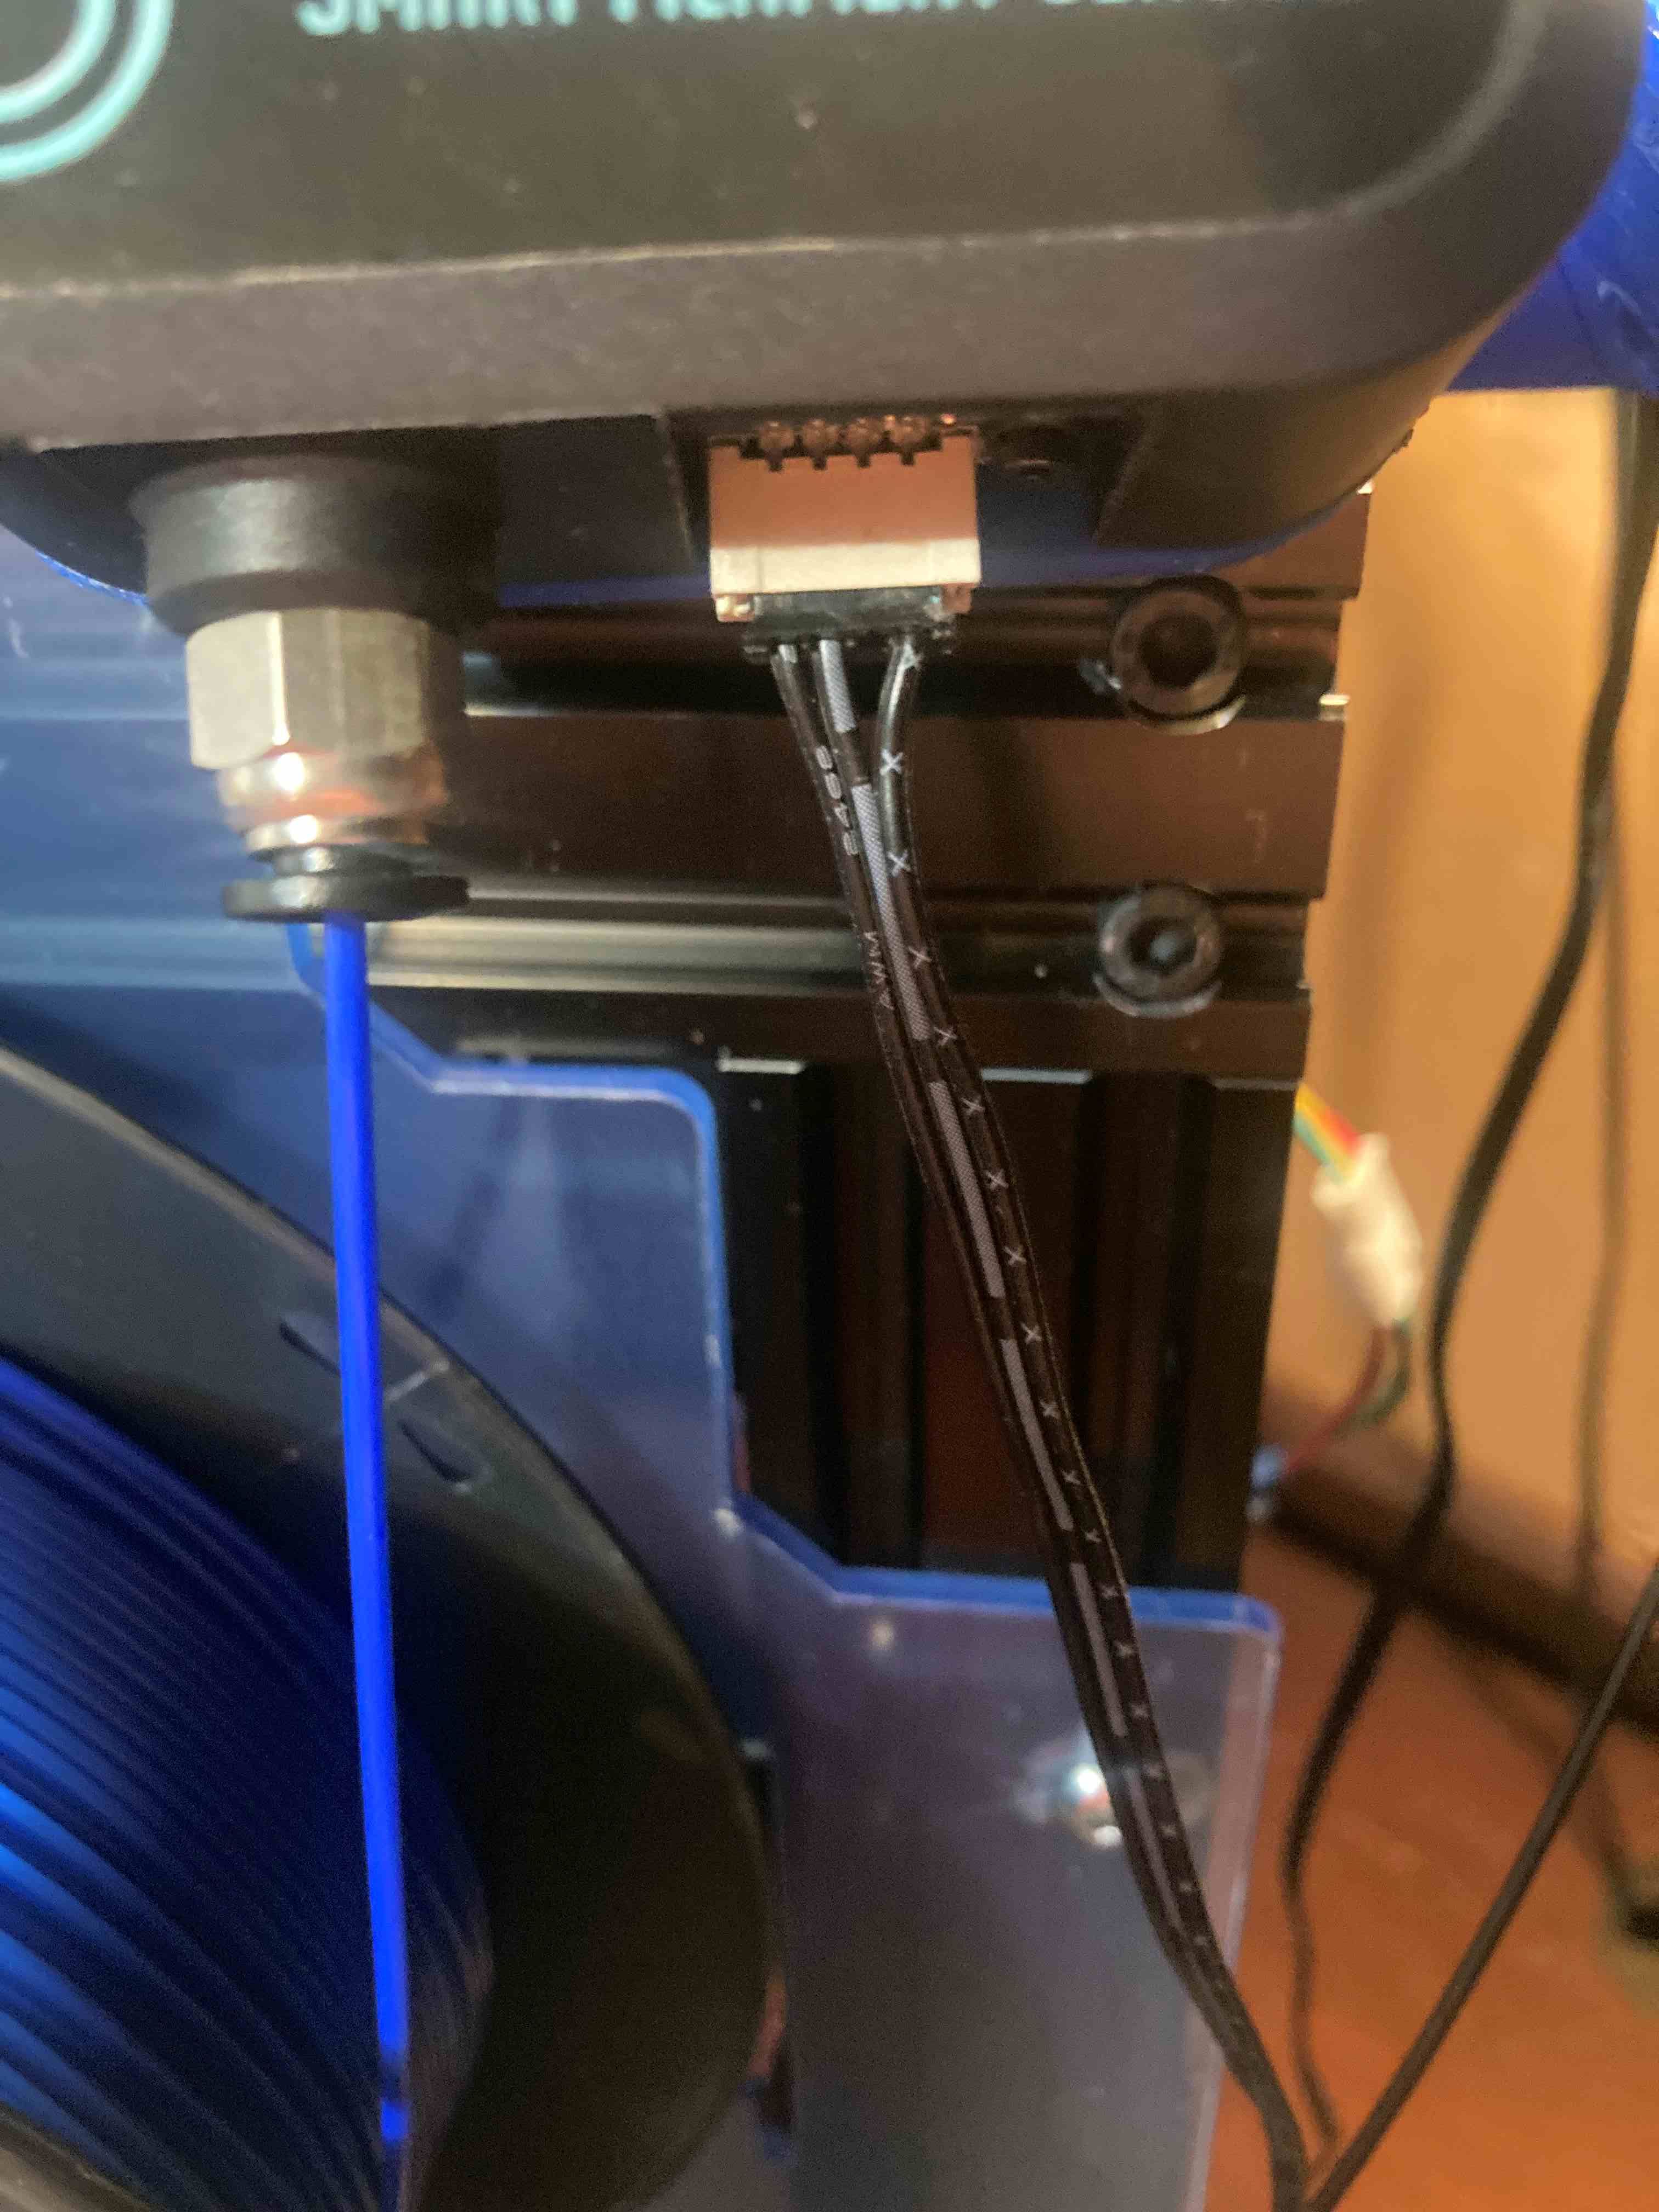
This is my wiring. Do you see any problems? I've tried printing from both drives neither works. They're wired identically. -
@Phaedrux This user has emailed me asking for a warranty replacement. Maybe use a X/Y/Z end stop to rule out a board defect on the E0/E1 ports?
-
@Terradive Can you check for continuity on that cable with a multimeter? It's acting like it's getting nothing from it.
As elmoret suggests, do you have a simple endstop you could connect and test as a simple filament presence sensor?
-
@Phaedrux I moved the xstop cable over to the e0 slot and tapped the button a couple of times. The light flickered. I'm not real great with multimeters, I unplugged the cable at the sensor. With the printer off, I then put the positive connection to the v wire and the negative connection on the ground. The numbers changed slightly. I then turned on the machine and repeated the test and the numbers changed more.
-
-
@Terradive said in BTT Smart filament sensor setup:
@jay_s_uk I have also installed a .9 stepper motor on my extruder. I tried doubling the l amounts to compensate but that did not owrk.
When you installed the 0.9 stepper did you also modify your E steps per mm?
@Terradive said in BTT Smart filament sensor setup:
I moved the xstop cable over to the e0 slot and tapped the button a couple of times. The light flickered.
So it sounds like the E0 endstop is responding correctly.
@Terradive said in BTT Smart filament sensor setup:
I'm not real great with multimeters
To test continuity of the cable going between the endstop port and the sensor you would set your multimeter to continuity mode and then touch a probe to an end of the wire at the same time. The meter will usually beep when there is a connection.
Here's an illustrated example of it. https://www.wikihow.com/Test-Continuity-with-a-Multimeter
Can you show a screenshot of the gcode console after sending
M591 D0orM591 D1depending which tool you're using after it has paused?I don't think there is anything wrong with the Duet itself.