Fly-RRF-36 RP2040 Based CAN-FD Toolboard
-
@fractalengineer said in Fly-RRF-36 RP2040 Based CAN-FD Toolboard:
send them 48V but that would mean switching over to klipper
On my CNC I'm using a Mellow Fly board with a split high-voltage driver rail (3x high voltage, 5x board supply voltage). It runs on RRF and allows mixing various stepper drivers. Not sure about it's CAN-FD abilities, but there are newer boards from Fly...
-
@o_lampe holy I might have to look into it then thanks for the heads up!
-
@fractalengineer said in Fly-RRF-36 RP2040 Based CAN-FD Toolboard:
Ideally I would have loved to try a board with a separate driver power rail to send them 48V but that would mean switching over to klipper
Duet 3 MB6HC version 1.2 and later support 48V VIN.
-
@KenW yes, that right. It appears they've been preloading them with 3.5b4.
I need to update the documentation on it -
I was wondering about putting a few of these in a heated chamber. Any info on maximum chamber temp before it starts having issues? i dont see any max temp specs on github or on aliexpress page. Im wanting to run between 80C-100C.
-
@breed I would suggest its 85 degrees (without having to look at all the datasheets for each component).
-
@jay_s_uk That's what I was thinking too. Regular duet tool board is prob the same.
-
@breed it is
-
@KenW I really wouldn't mix firmwares like that.
-
@jay_s_uk - Great news, and thanks for your efforts!
I just purchased Set 2 with the 31865 for the pt100 temp sensor and am looking forward to getting it set up on a Duet 6HC which has an additional expansion board 3HC.
Can you please give some instructions on the correct connection to the main boards and firmware to use in this setup please?
Also, is there a provision on the tool board to connect the filament run-out sensor used on the orbiter V2?
Thanks in advance. Cheers Ken
-
@KCMARINE all the info is here https://teamgloomy.github.io/fly_rrf_36_general.html
-
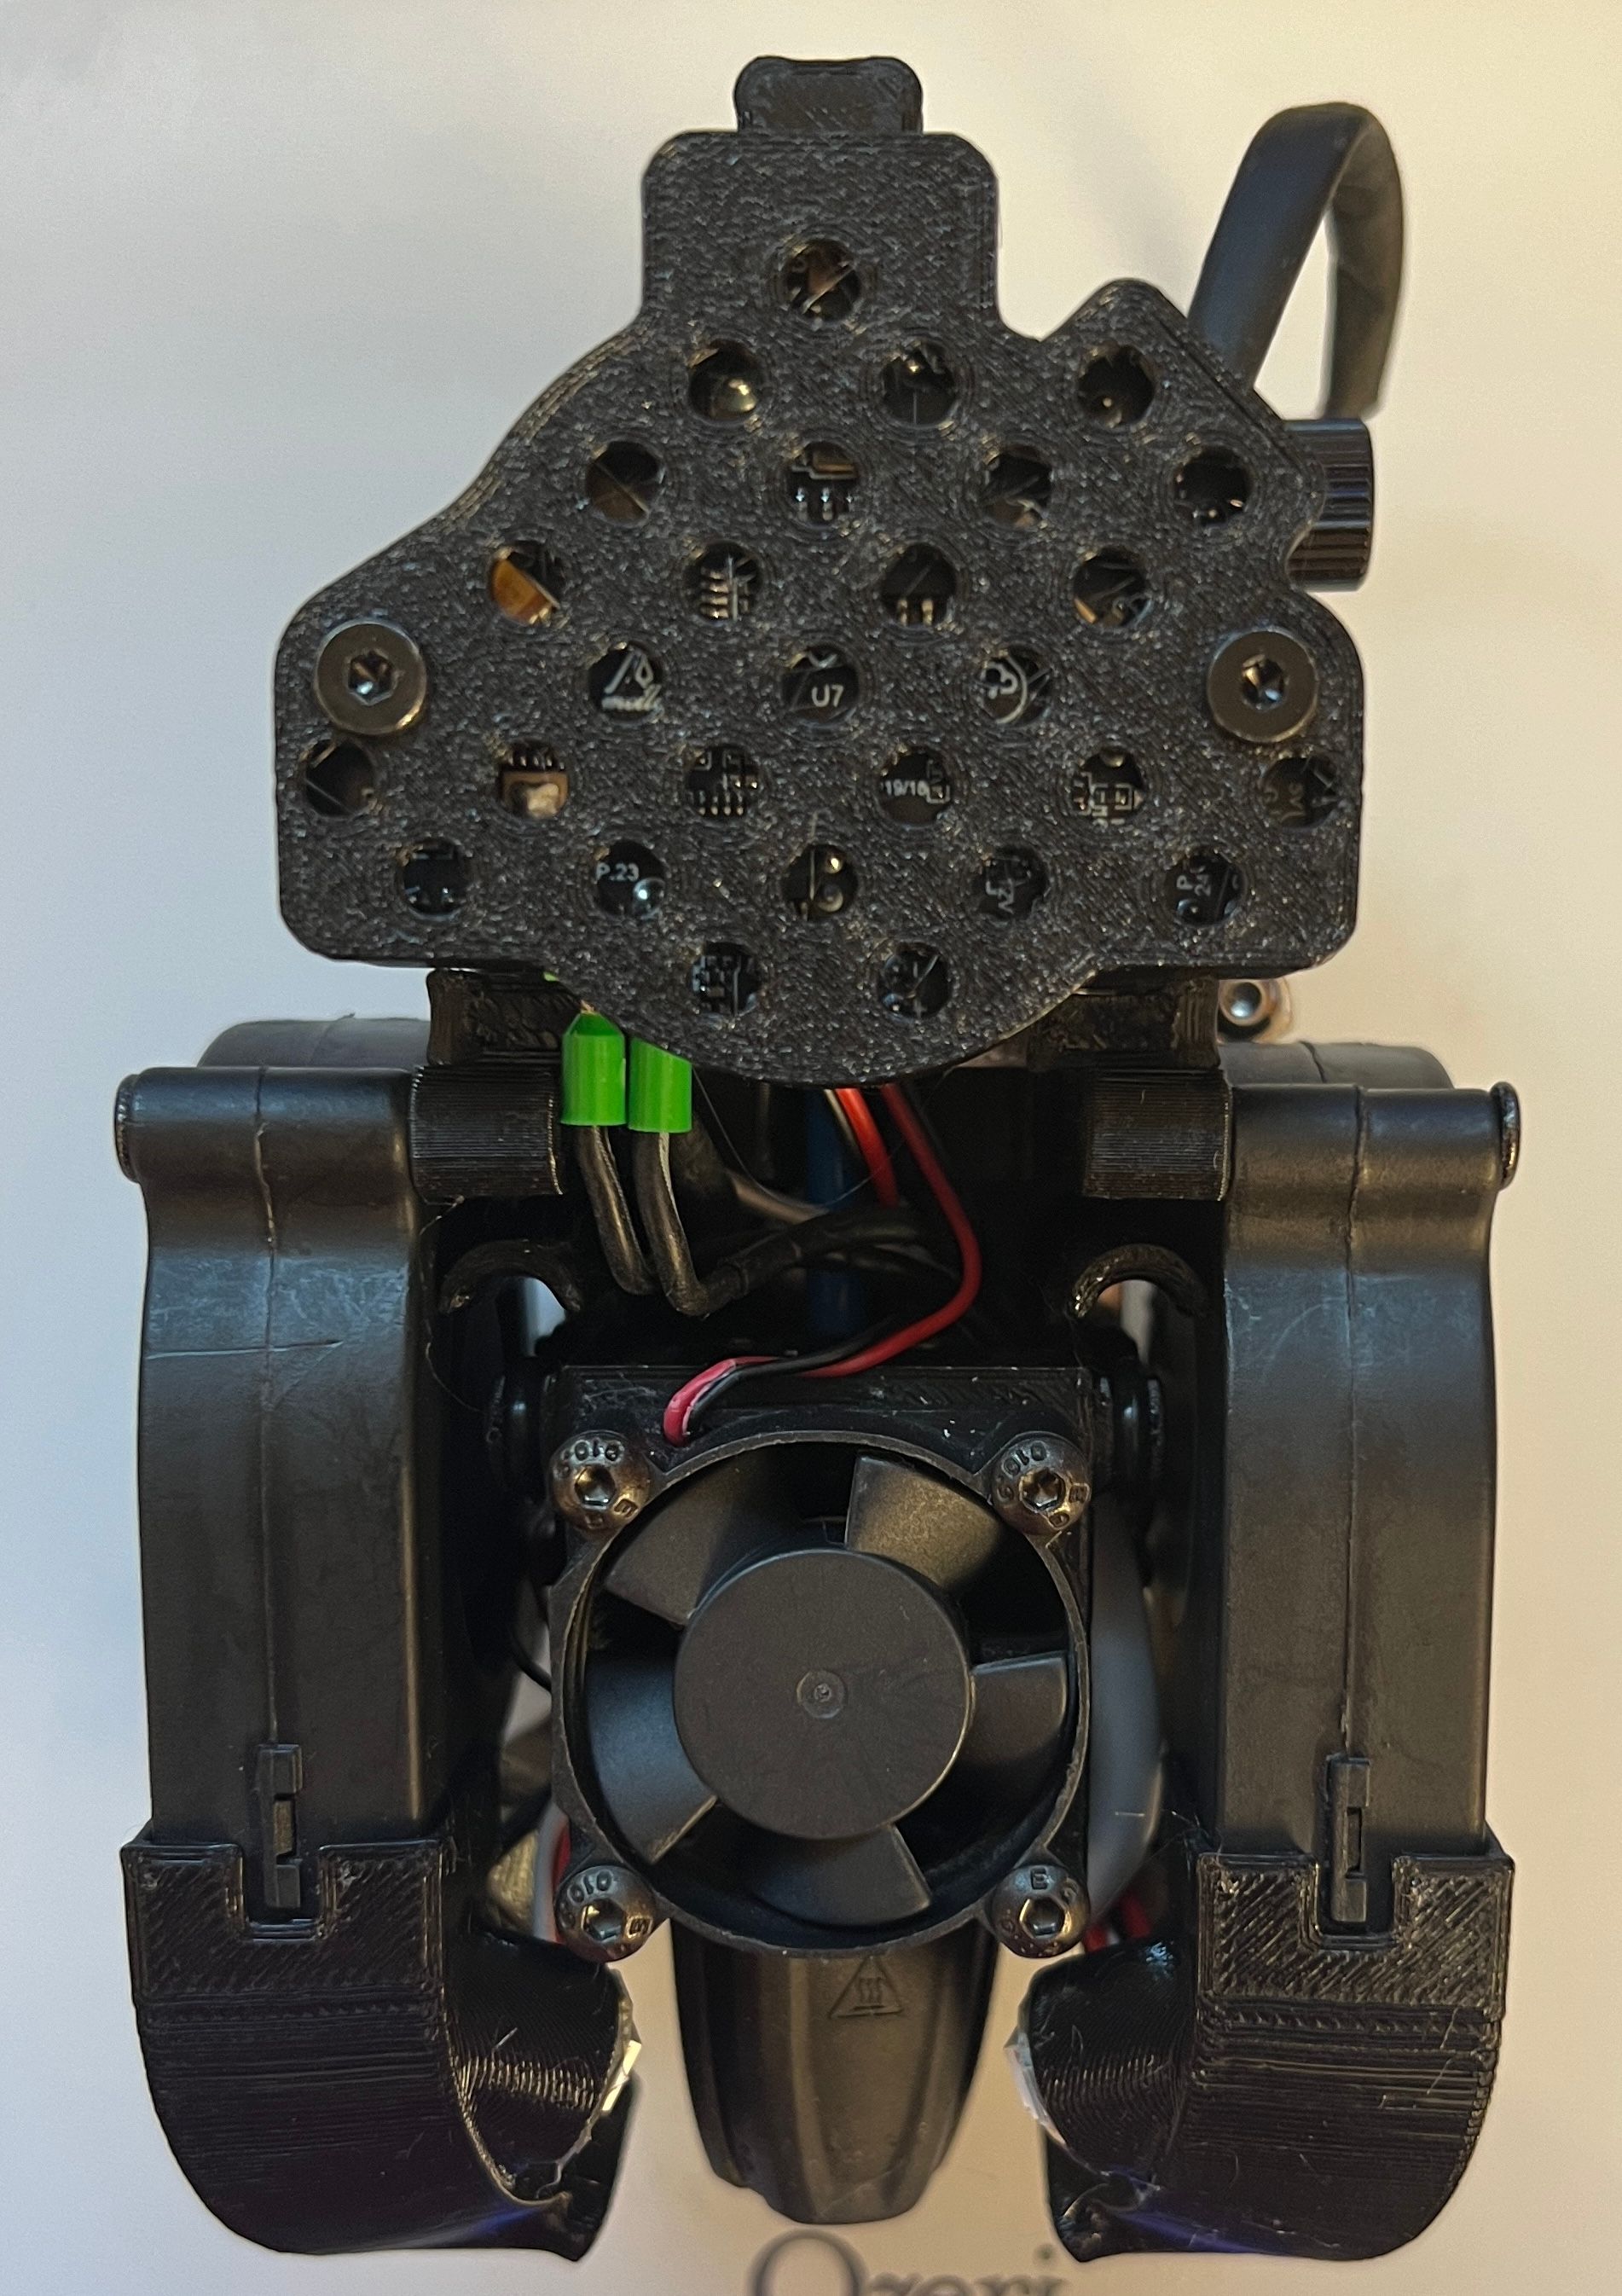
Have (4) paired with a Duet 3 6hc running on a toolchanger. I’m a little worried about heat with the board being covered but a o far no real issues and on board temps stay under 60C. My cover is as follows…


-
@KenW I'll gladly post what I have tomorrow in step format as you'll likely have to mod at least part of it to suit your needs.
-
@KenW back-cover.stp
I can upload the other part but it's pretty specific to my extruder. Let me know.
-
As an aside, I pulled the cover off after a 2 1/2 hour print last night and did the finger test for temps and nothing was above luke warm. I know it's not very scientific but it helped with some of my heat concerns.
-
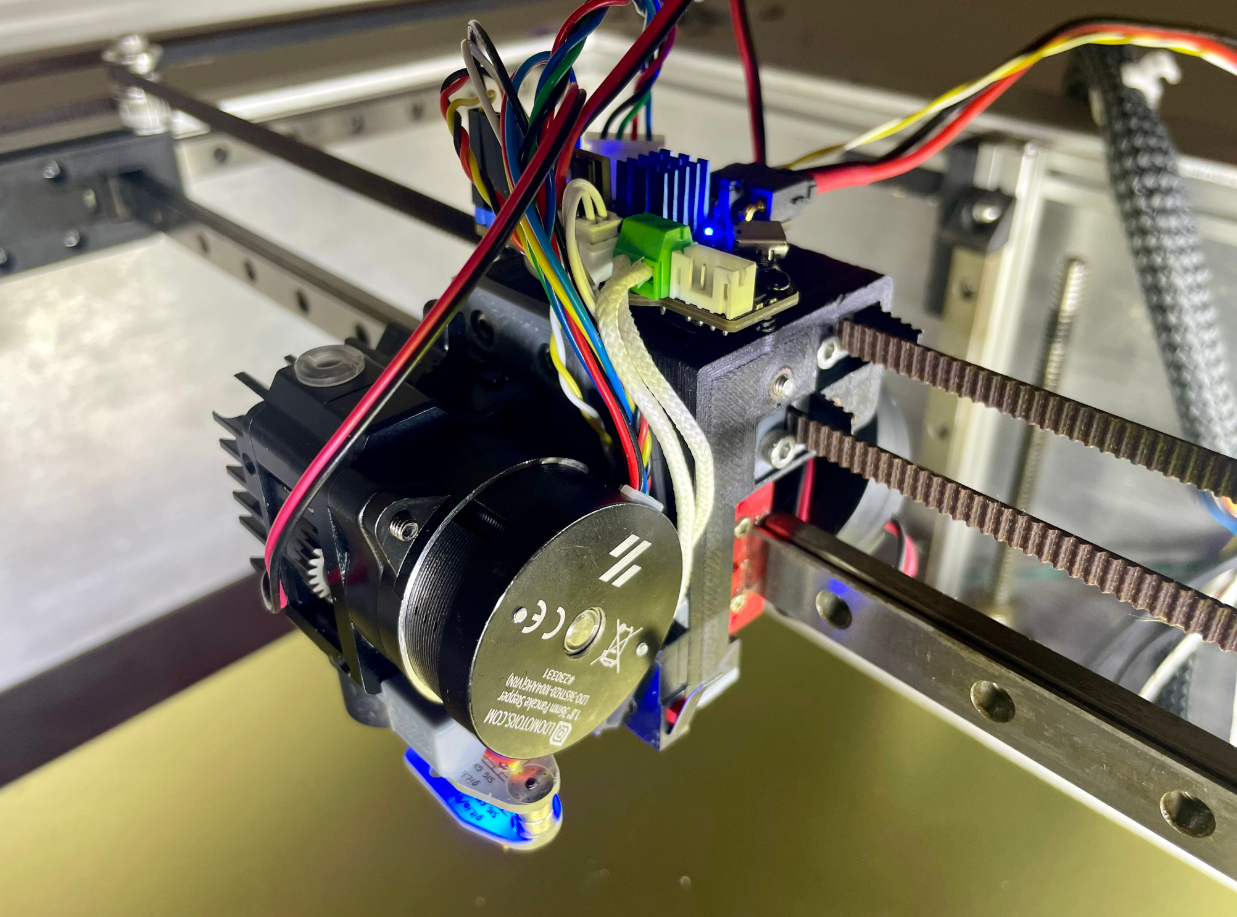
I just plopped mine on top of the Y carriage of my Railcore lol
Facing a couple issues with the RRF setup;
Somehow it's not triggering my Y endstop;
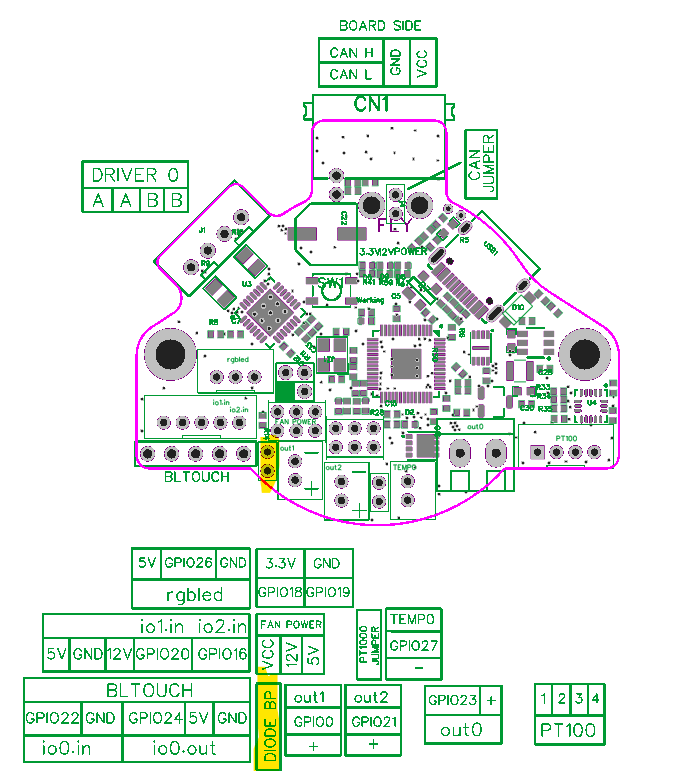
- I have the microswitch NC pins wired to io1.in and GND (pins 2 and 4 of the 5P connector)
- endstop define in config.g
M574 Y1 S1 P"124.io1.in" - I've tested the switch for continuity at the plug and it behaves as expected (NC, breaks when pressed)
And still the endstop doesn't seem to trigger on RRF
Any tips?

-
@fractalengineer

edit: will fix my spelling on the wiki...
further edit:
here's the diode jumper

-
@jay_s_uk dang thank you for the quick response!
funny, I did have it installed, but because I read too quick and thought it was about the Z probe

well that doesn't help then
 I've just tried without it as well and it doesn't do it either.
I had initially connected the other side high to 5V by mistake; surely that didn't fry the gpio right?
-
@fractalengineer that shouldn't have done I don't think.
I don't currently have a board setup so I'll see if I can get one going a little later and plug a switch in. -
@jay_s_uk much appreciated; I've just swapped it over to io2 instead and it appears to be working; I wanted to use it for a thermistor or a filament sensor, I'll see if that works on io1