BLtouch not deploying / PID auto tune issues
-
@gloomyandy
I haven't measure how much it takes to go to 180°C but when I was doing the manual tunning takes around 40s - 60s per 10°C.
I am using M303 H1 S180 -
@Casugo That seems pretty slow. Maybe capture a screenshot of the graph during tuning and post it here. Perhaps a picture of the heater and hotend setup would help as well.
-
@gloomyandy Tomorrow I'll update everything
")
thanks!! -
@gloomyandy Sorry, but do you have any clue of what's happening to my BLtouch?
Thanks. -
@Casugo said in BLtouch not deploying / PID auto tune issues:
@gloomyandy Sorry, but do you have any clue of what's happening to my BLtouch?
Thanks.Do the lights come on on the BLTouch and it does a self test at start up? Are you sure it's plugged in to IO7?
Your config:
;Z-probe
M950 S0 C"!io7.out" ; configure BLtouch Z in pin io7.in
M558 P9 C"!io7.in" H10 F120 T6000 ; disable Z probe but set dive height, probe speed and travel speed
The io7.out and io7.in pins should NOT be inverted with
!. See https://docs.duet3d.com/User_manual/Connecting_hardware/Z_probe_connecting#software-setup
Try:;Z-probe M950 S0 C"io7.out" ; configure BLtouch Z in pin io7.in M558 P9 C"io7.in" H10 F120 T6000 ; disable Z probe but set dive height, probe speed and travel speedOtherwise, see https://docs.duet3d.com/User_manual/Connecting_hardware/Z_probe_connecting#bltouch and https://docs.duet3d.com/User_manual/Troubleshooting/BLTouch_troubleshooting
Ian
Bed-slinger - Mini5+ WiFi/1LC | RRP Fisher v1 - D2 WiFi | Polargraph - D2 WiFi | TronXY X5S - 6HC/Roto | CNC router - 6HC | Tractus3D T1250 - D2 Eth
-
-
@gloomyandy
Hello!!The machine in question is a Pellet extruder, which incorporates three barrels within the extruder assembly. Each of these barrels is equipped with a heating system. Two of them are fitted with 24V 80W heaters (as shown in Figure 1), while the remaining one is equipped with a 24V 60W heater (depicted in Figure 2).
During the tuning process, I observed that all of them ceased functioning after precisely 7 minutes had elapsed. You can find visual representations of the diagrams below for reference.
Tunning Heater 1
Commencing at an initial temperature of 23°C (ambient)
It stopped at 98°C after 7 min
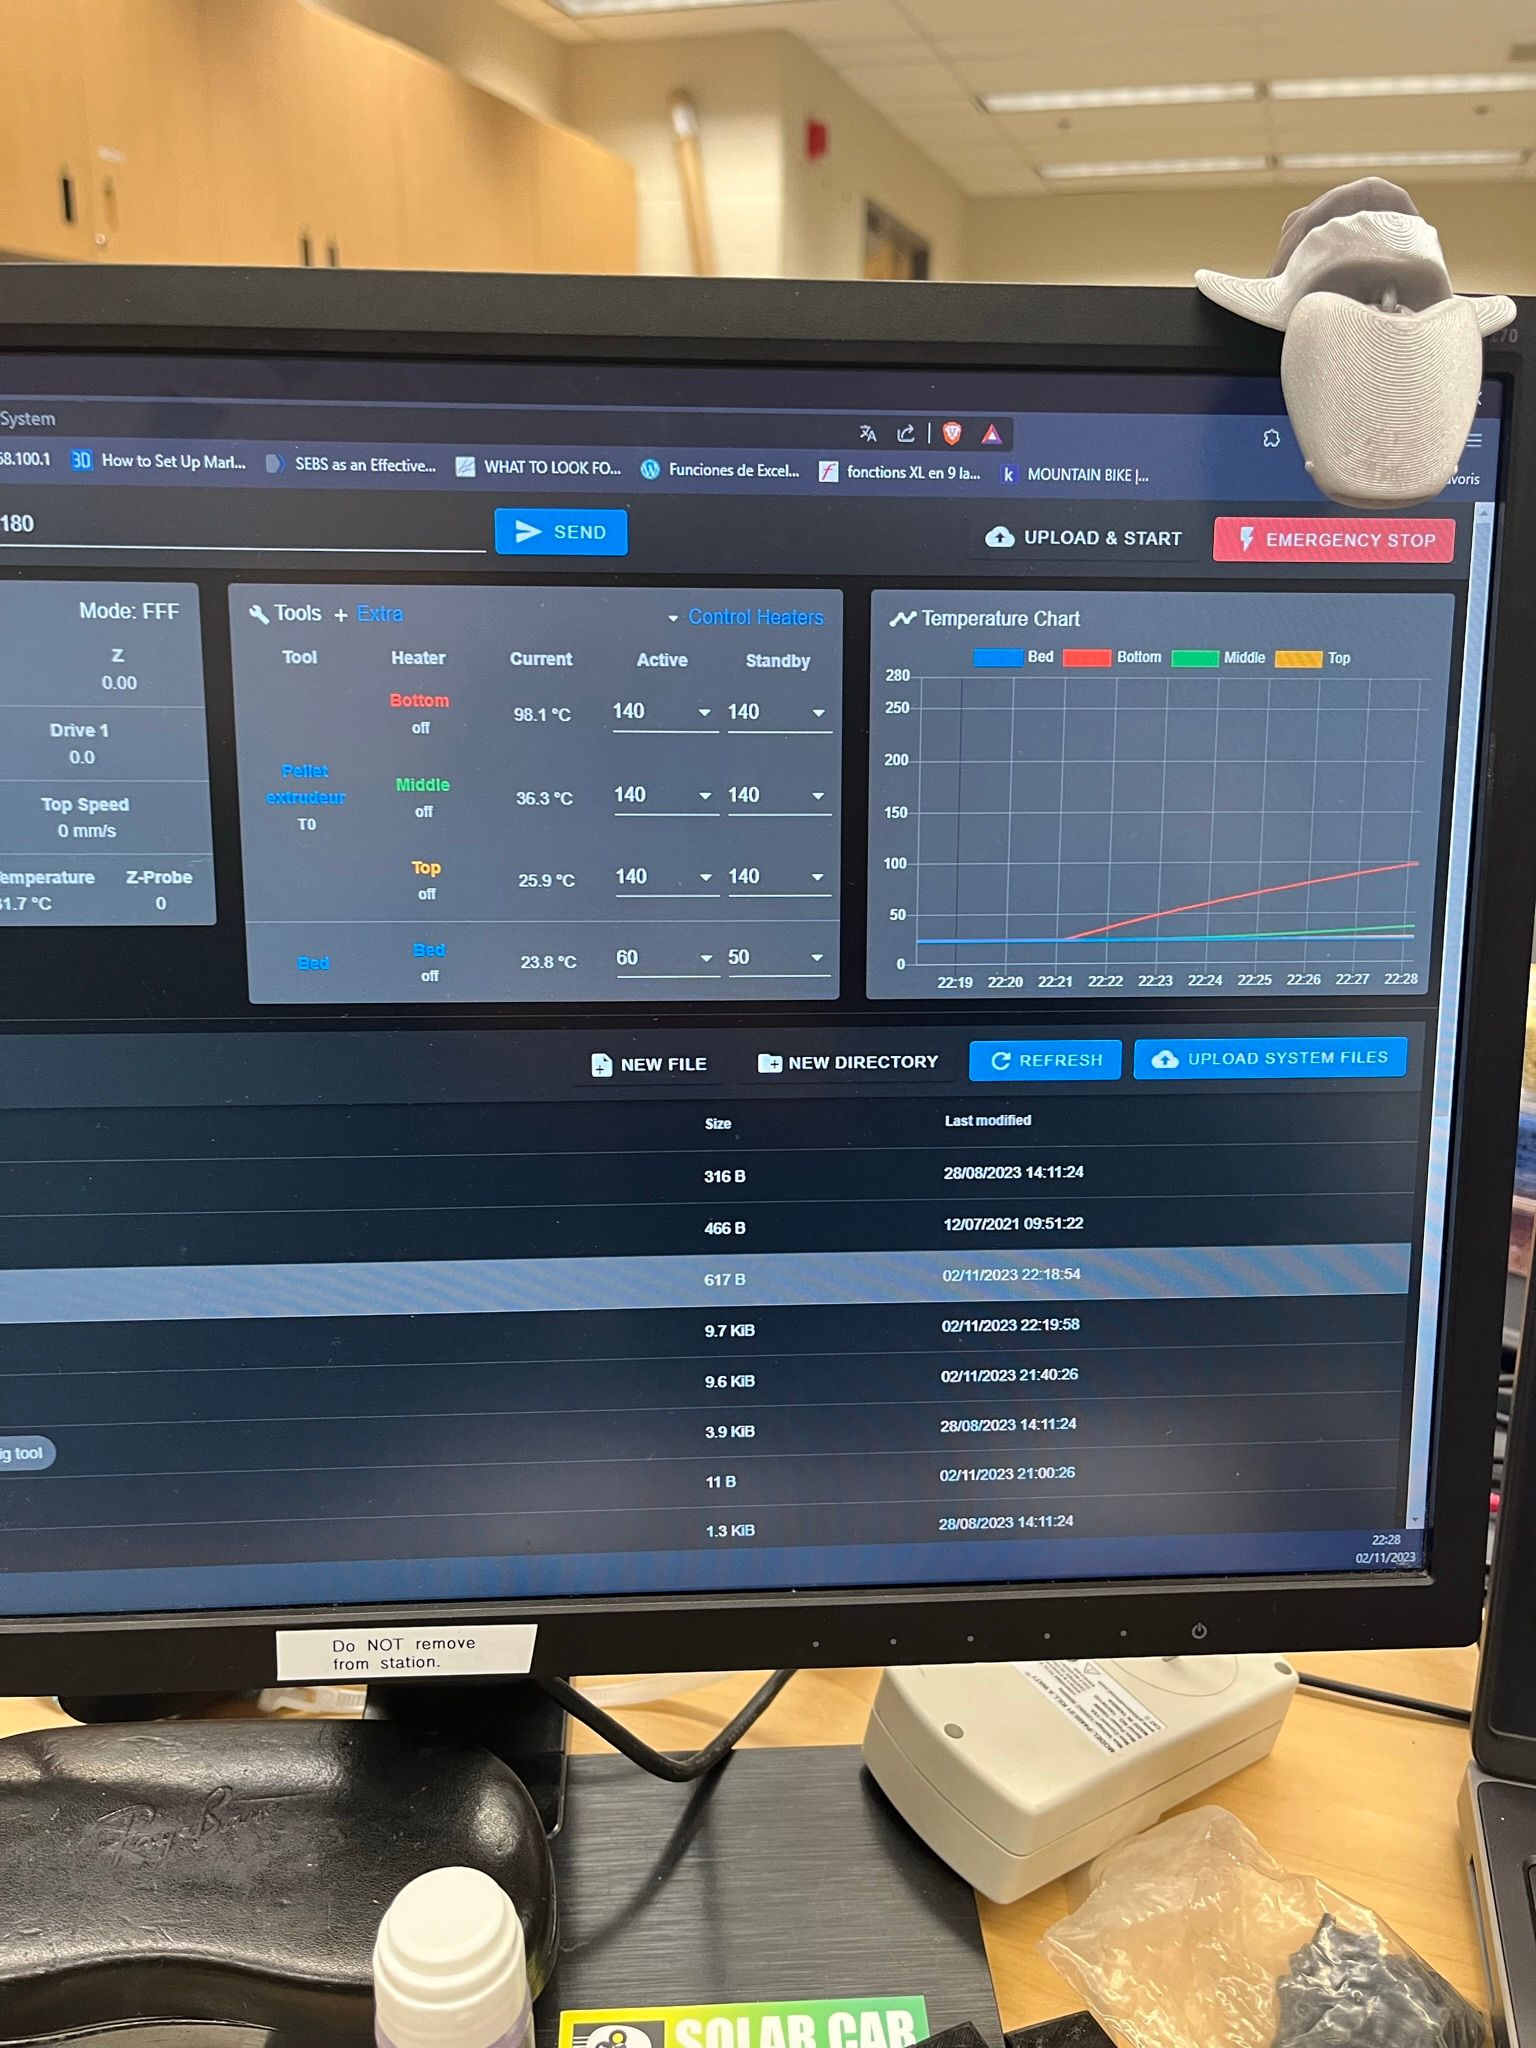
Tunning Heater 2
Commencing at an initial temperature of 86°C, (achieved through induction heating, I aimed to verify whether the elapsed time was consistent across all). The process halted at a temperature of 158°C.
Tunning Heater 3
Commencing at an initial temperature of 27°C
It stopped at 113°C after 7 min
Figure 1
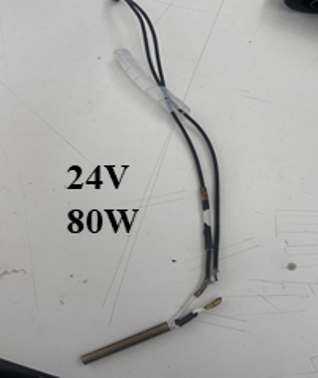
Figure 2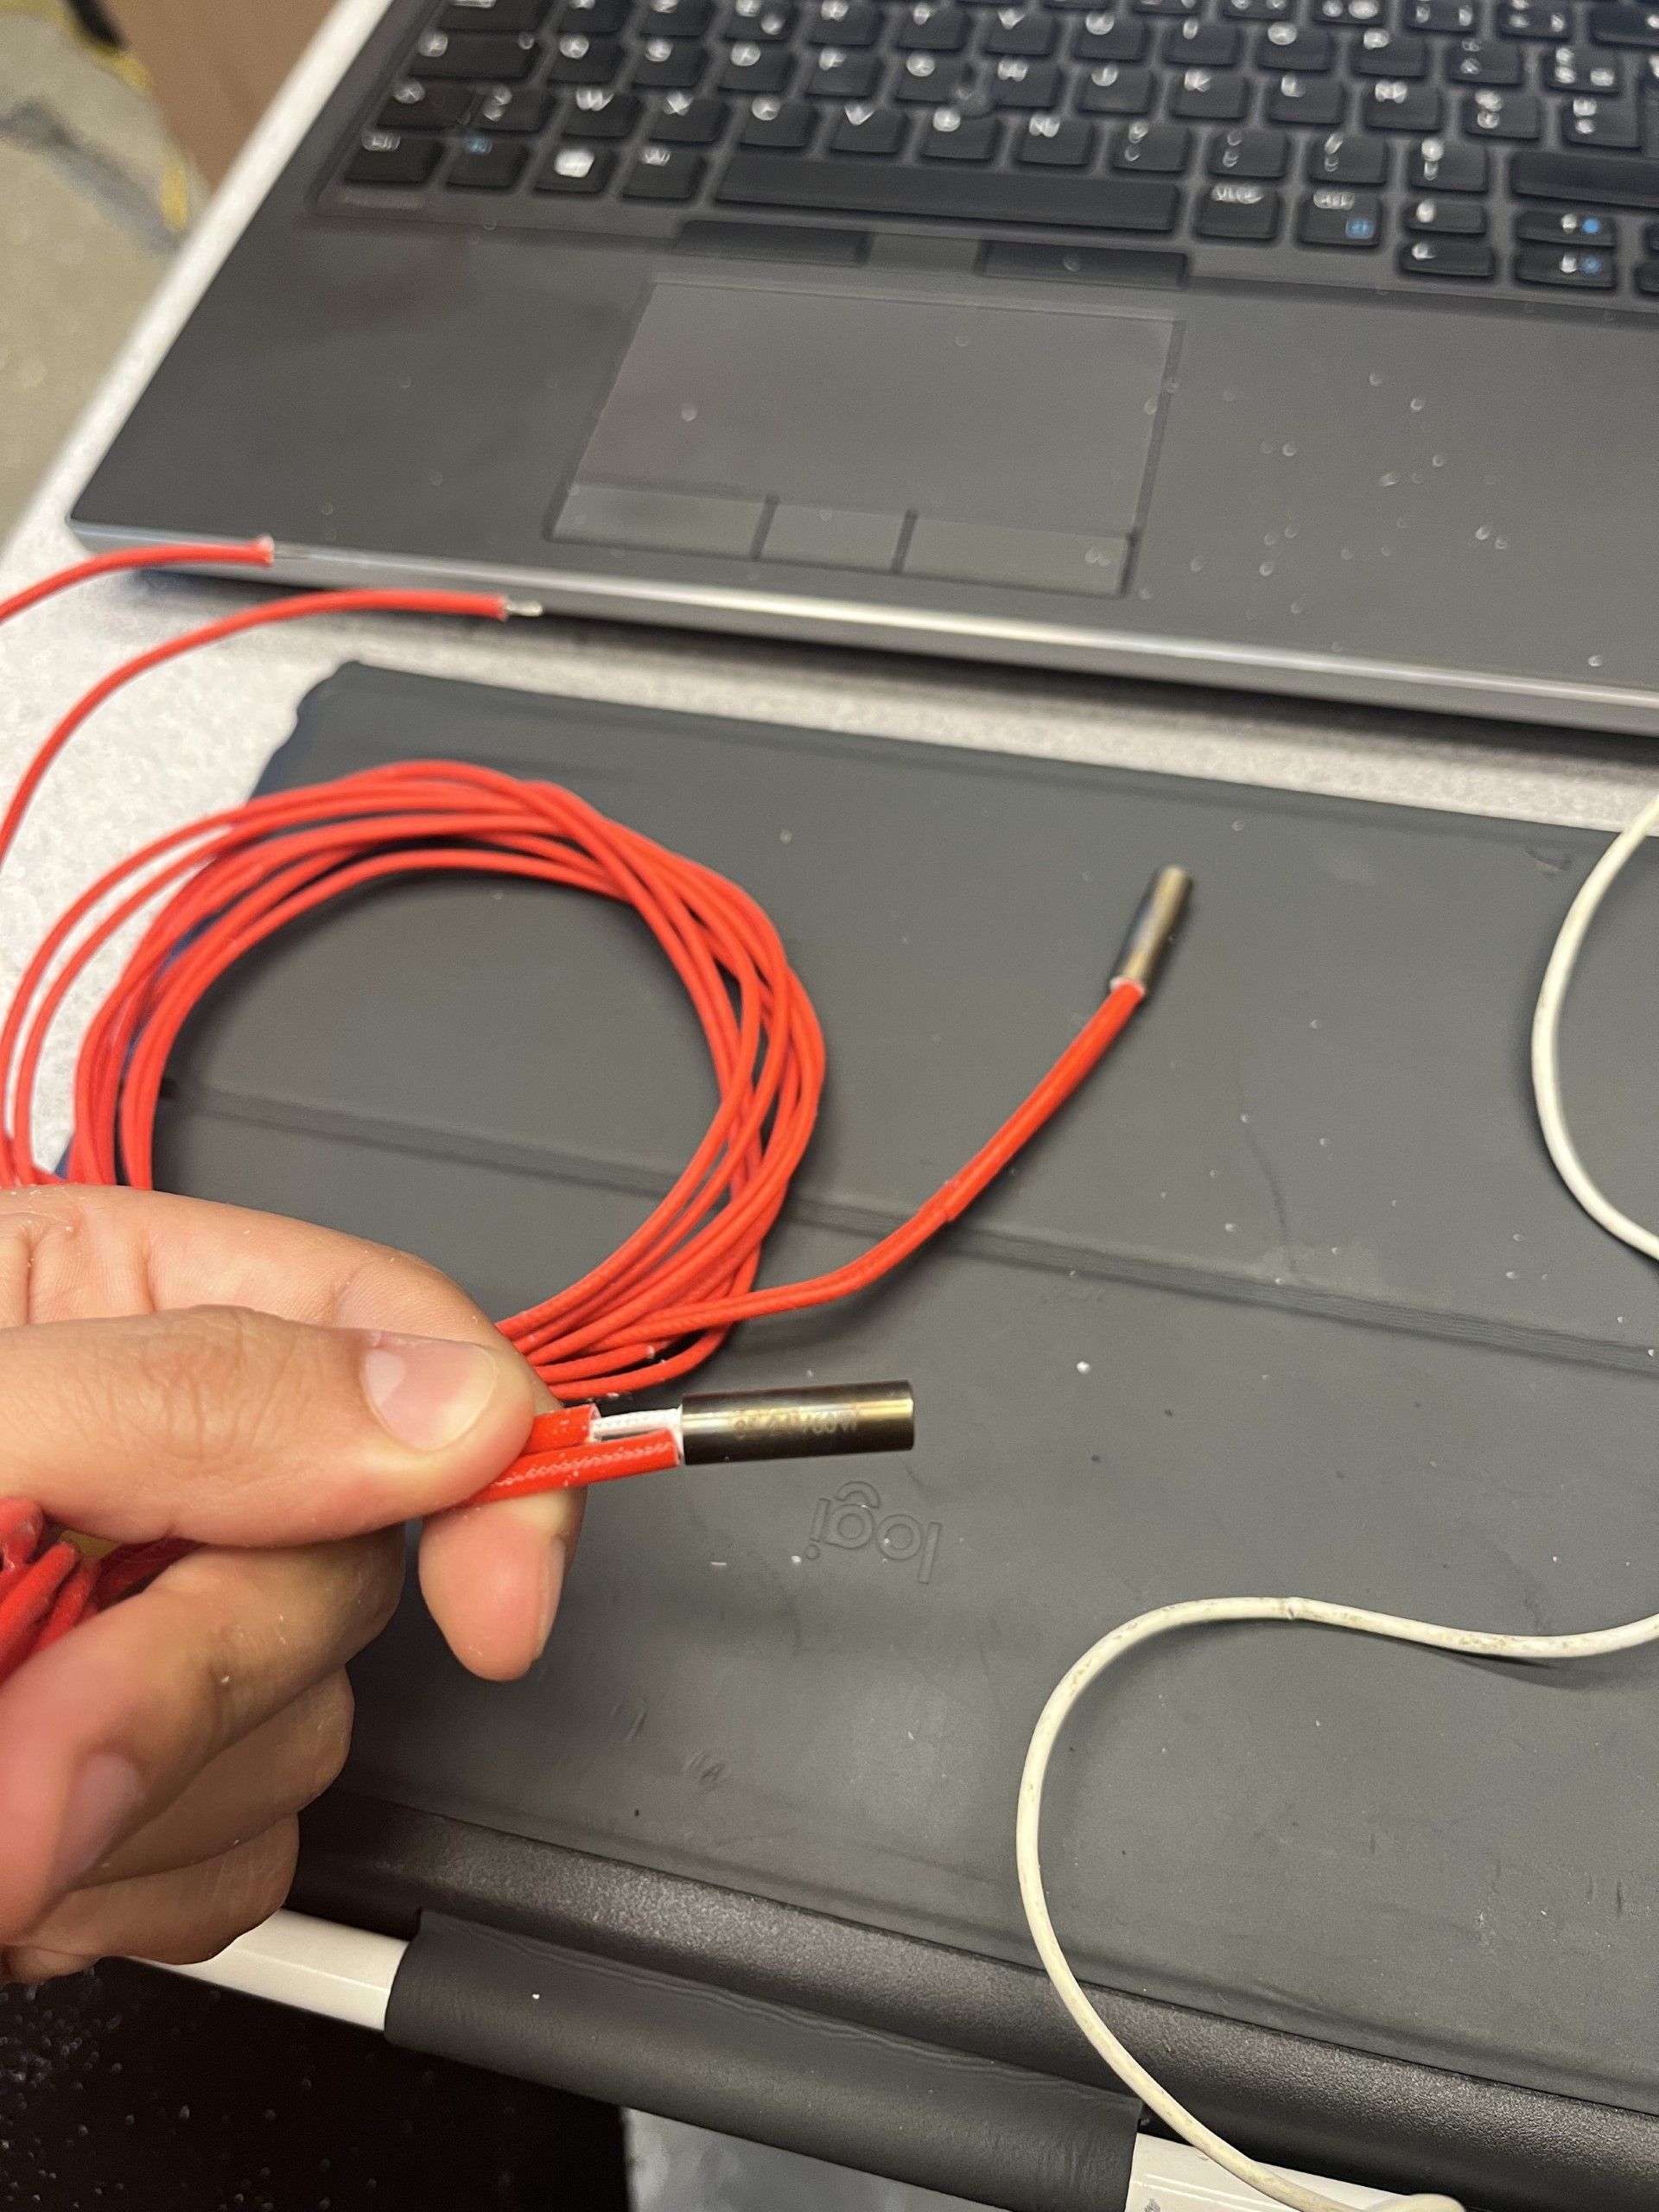
confg.g
M291 P "Welcome to your experence using the GigabotX_ Western_University" S1 T0
; General preferences
M575 P1 S1 B57600 ; enable support for PanelDue
G90 ; send absolute coordinates...
M83 ; ...but relative extruder moves
M550 P"Gigabot X UWO edition" ; set printer name; Network
M552 P192.168.100.8 S1 ; enable network and set IP address
M553 P255.255.255.0 ; set netmask
M554 P192.168.100.254 ; set gateway
M586 P0 S1 ; enable HTTP
M586 P1 S1 ; enable FTP
M586 P2 S0 ; disable Telnet; Drivers
M569 P0.0 S2 ; physical drive 0.0 goes forwards X
M569 P0.1 S1 ; physical drive 0.0 goes forwards YR
M569 P0.2 S0 ; physical drive 0.0 goes Backwards YL
M569 P0.3 S1 ; physical drive 0.3 goes forwards ZR n ZL
M569 P0.4 S1 ; physical drive 0.4 goes forwards Extruder
M569 P0.5 S1 ; physical drive 0.4 goes forwards Crammer
M584 X0.0 Y0.1:0.2 Z0.3 E0.4:0.5 ; set drive mapping
M350 X16 Y16:16 Z16 E16:16 I1 ; configure microstepping with interpolation
M92 X53.335 Y59.26:59.26 Z2015.75 E 26.00:34.00 ; set steps per mm E extruder:crammer
M201 X500.00 Y500.00 Z20.00 E900.00 ; TEST set accelerations (mm/s^2)
M203 X10740.00 Y6810.00 Z480.00 E3600.00 ; TEST set maximum speeds (mm/min)
M566 X900.00 Y900.00 Z60.00 E500.00 ; TEST set maximum instantaneous speed changes (mm/min)
M204 P5100 T20000 ; set printing and travel accelerations (mm/s^2)
M906 X2800 Y2000:2000 Z2000 E850:2000 I30 ; set motor currents (mA) and motor idle factor in per cent
M572 D1 S0.03 ; Set extruder pressure advance
M84 S30 ; Set idle timeout; Axis Limits
M208 X0 Y0 Z0 S1 ; set axis minima
M208 X600 Y760 Z890 S0 ; set axis maximaEndstops
M574 X1 S1 P"!io1.in" ; configure switch-type (e.g. microswitch) endstop for low end on X via pin io1.in
M574 Y1 S1 P"!io3.in+!io2.in" ; configure switch-type (e.g. microswitch) endstop for High end on YR and YL via pin io3.in + io2.in
;M574 Z1 S1 P"!io4.in" ; configure switch-type (e.g. microswitch) endstop for High end on ZR and ZL via pin io4.in;Z-probe
M950 S0 C"io7.out" ; configure BLtouch Z in pin io7.in
M558 P9 C"io7.in" H10 F120 T6000 ; disable Z probe but set dive height, probe speed and travel speed
;M558 P5 C"!io5.in" H10 F120 T6000 ; configure switch-type (e.g. microswitch) endstop for High end on ZR and ZL via pin io5.in
G31 X20 Y-10 Z0 P100
M557 X50:600 Y50:754.5 S80 ; define mesh gridHeaters
M308 S0 P"spi.cs0" Y"thermocouple-max31856" A"Bed" T "k" F 60 ; configure sensor 0 as thermocouple via CS pin spi.cs0
M950 H0 C"out0" T0 ; create bed heater output on out0 and map it to sensor 0
M307 H0 B0 R0.367 C336.3 D2.47 S1.00 V23.2 ; disable bang-bang mode for the bed heater and set PWM limit
M140 H0 ; map heated bed to heater 0
M140 S60 R50 ; heated bed "S" active temp "R" standby temp
M140 S-273.1 ; switch off bed heater
M143 H0 S110 ; Heated Bed Max temp
M308 S1 P"spi.cs1" Y"thermocouple-max31856" A"Bottom" ;T "k" F 60 ; configure sensor 1 as thermocouple via CS pin spi.cs1
M950 H1 C"out1" T1 ; create nozzle heater output on out0 and map it to sensor 1
;M301 P32.00 I4.00 D74.00
M307 H1 B0 R0.575 C791.0 D20.76 S1.00 V23.9 ; disable bang-bang mode for heater and set PWM limit
;M307 H1 B0 R0.16 C3600 D60 S1.00 V23.9
M143 H1 S280 ; set temperature limit for heater 1 to 300C
M308 S2 P"spi.cs2" Y"thermocouple-max31856" A"Middle" T "k" F 60 ; configure sensor 2 as thermocouple via CS pin spi.cs2
M950 H2 C"out2" T2 ; create nozzle heater output on out1 and map it to sensor 2
;M301 P32.00 I4.00 D74.00
M307 H2 B0 R0.768 C389.3 D15.78 S1.00 V23.9 ; disable bang-bang mode for heater and set PWM limit
M143 H2 S280 ; set temperature limit for heater 1 to 280C
M308 S3 P"spi.cs3" Y"thermocouple-max31856" A"Top" T "k" F 60 ; configure sensor 3 as thermocouple via CS pin spi.cs3
M950 H3 C"out3" T3 ; create nozzle heater output on out2 and map it to sensor 3
;M301 P32.00 I4.00 D74.00
M307 H3 B0 R0.533 C588.3 D18.57 S1.00 V23.9 ; disable bang-bang mode for heater and set PWM limit
M143 H3 S280 ; set temperature limit for heater 3 to 280C; Fans
M950 F0 C"out9" Q30 ;"Refroidissement de couche" create fan 0 on pin out5 and set its frequency
M106 P2 S255 H-1 ; set fan 0 value. Thermostatic control is turned off
M950 F1 C"out8" Q500 ; create fan 1 on pin out3 and set its frequency
M106 P1 S255 H-1 ; set fan 1 value. Thermostatic control is turned off
;M950 F2 C"1.out4" Q20 ; create fan 2 "vibrateur Motor" on pin out4 and set its frequency
;M106 P3 S1 H-1 ; set fan 2 value. Thermostatic control is turned off; Tools
M563 P0 S"Pellet extrudeur" D 0:1 H1:2:3 F0 ; define tool 0
M567 P0 E1:1
G10 P0 X0 Y0 Z0 ; set tool 0 axis offsets
G10 P0 R140,0: 140,0 S140,0:140,0:140 ; set initial tool 0 active and standby temperatures to 0C; Miscellaneous
M501 ; load saved parameters from non-volatile memory
;Automatic power saving
M911 S20 R22 P"M913 X0 Y0 G91 M83 G1 Z3 E-5 F1000" ; set voltage thresholds and actions to run on power loss
Conf-override.g
; config-override.g file generated in response to M500 at 2023-10-12 20:12
; This is a system-generated file - do not edit
; Heater model parameters
M307 H0 R0.367 C336.291:336.291 D2.47 S1.00 V23.2 B0 I0
M307 H1 B0 R0.575 C791.0 D20.76 S1.00 V23.9
M307 H2 B0 R0.768 C389.3 D15.78 S1.00 V23.9
M307 H3 B0 R0.533 C588.3 D18.57 S1.00 V23.9
; Workplace coordinates
G10 L2 P1 X0.00 Y0.00 Z0.00
G10 L2 P2 X0.00 Y0.00 Z0.00
G10 L2 P3 X0.00 Y0.00 Z0.00
G10 L2 P4 X0.00 Y0.00 Z0.00
G10 L2 P5 X0.00 Y0.00 Z0.00
G10 L2 P6 X0.00 Y0.00 Z0.00
G10 L2 P7 X0.00 Y0.00 Z0.00
G10 L2 P8 X0.00 Y0.00 Z0.00
G10 L2 P9 X0.00 Y0.00 Z0.00

-
@gloomyandy Hello!!
I have updated the information and I still having the same issue
Could you please help me? -
@Casugo Sorry I've really no idea, those heating rates seem very slow for the type of heater you are using, but they are not as slow as some bed heaters. Are you sure that they can ever reach the target temperatures you are trying to use? So for instance if you simply connect the heater cartridge directly to 24V and monitor the temperature using DWC how long does it take to reach your target temperature? Obviously make sure you do not leave this test set up running unattended!
-
Yes, the heaters are capable of reaching the desired temperature as when I heat them they do it without problem. However, I am encountering difficulties with PID tuning. Also, when I attempt to initiate a print, the heaters initially reach the target temperature, but at the moment it start the printing process, they suddenly shut off, and all temperature readings show 2000. I'm uncertain whether this issue is pobably related to incomplete reception of the 24V power supply or if there's interference between the thermocouples and the stepper motors causing this problem.
-
@Casugo Can you post a screenshot of the temperature graph when heating "normally" so that we can see how the temperature rises and how long it takes to reach your target temperature of 180.
-
Update:
I simultaneously heated all three heaters, and the following are the results:
Heater 3 displayed an error: "T0 Error: Heater 3 fault: temperature rising much more slowly than the expected 0.5°C/sec" (Fig 1).
While the other heaters continued to heat up, they reached the desired temperature after approximately 14 minutes for heater 1 (Fig 2) and 13 minutes for heater 2 (Fig 3)."
Fig 1

Fig 2

Fig 3
-
@Casugo When you are tuning I assume you are just using a single heater? If so, could you just run a single heater in "normal" mode and post the graph from that.
-
I heated the first heater, and it took approximately 20 minutes to reach the desired temperature.

-
@Casugo I've checked the code and it looks like RRF only allows a maximum time of 7 minutes for a hotend heater to reach the target temperature. It allows 30 minutes for a bed or heated chamber. So unfortunately it looks like your heater is too slow to be PID tuned as a hotend. You may be able to get it to tune by temporarily configuring it as a bed or chamber heater and getting the PID settings that way? If that does not work then I think you may have to set the heater parameters by hand, or ask DC42 to make changes to allow a longer heat up period.
The code in question is here: https://github.com/Duet3D/RepRapFirmware/blob/3.4-dev/src/Heating/LocalHeater.cpp#L677
-
@gloomyandy
Thank you so much!!!
I'll try to do it in that way.I have another question.
I sent a test print, and although the heaters reached the desired temperature, once the temperature was reached and it was about to start printing, the print job paused, and all temperature indicators suddenly showed 2000 (fig 1). Additionally, an error appeared in the console:
Error: Temperature reading fault on heater 1: sensor short to other wiring
Error: Temperature reading fault on heater 2: sensor short to other wiring
Error: Temperature reading fault on heater 3: sensor short to other wiring
Resume state savedfig1

Is the issue you mentioned related to this error as well?
Thanks.
-
@Casugo That issue looks more like some sort of wiring issue to me, I don't think it can be caused by any sort of firmware problem.
-
Okay, I'll check on the wiring and the tuning in heater chamber mode :).
Thank you and have a good day :D.
-
@gloomyandy
Hello!!I configurated each heater as a heated chamber and I was able to do the tunning.
Thank you a lot