unusual/unnerving noises + error codes
-
Hi All,
I have been trying to set up my duet 2 wifi for weeks now. I have finally got the firmware and web control working perfectly thanks to this forum.
However i was a fool when unwiring my original ender 3 board and wiring up the duet 2 wifi. Therefore i believe i may have got it wired incorrectly. This is the annotated wiring diagram ive used to wire it up.
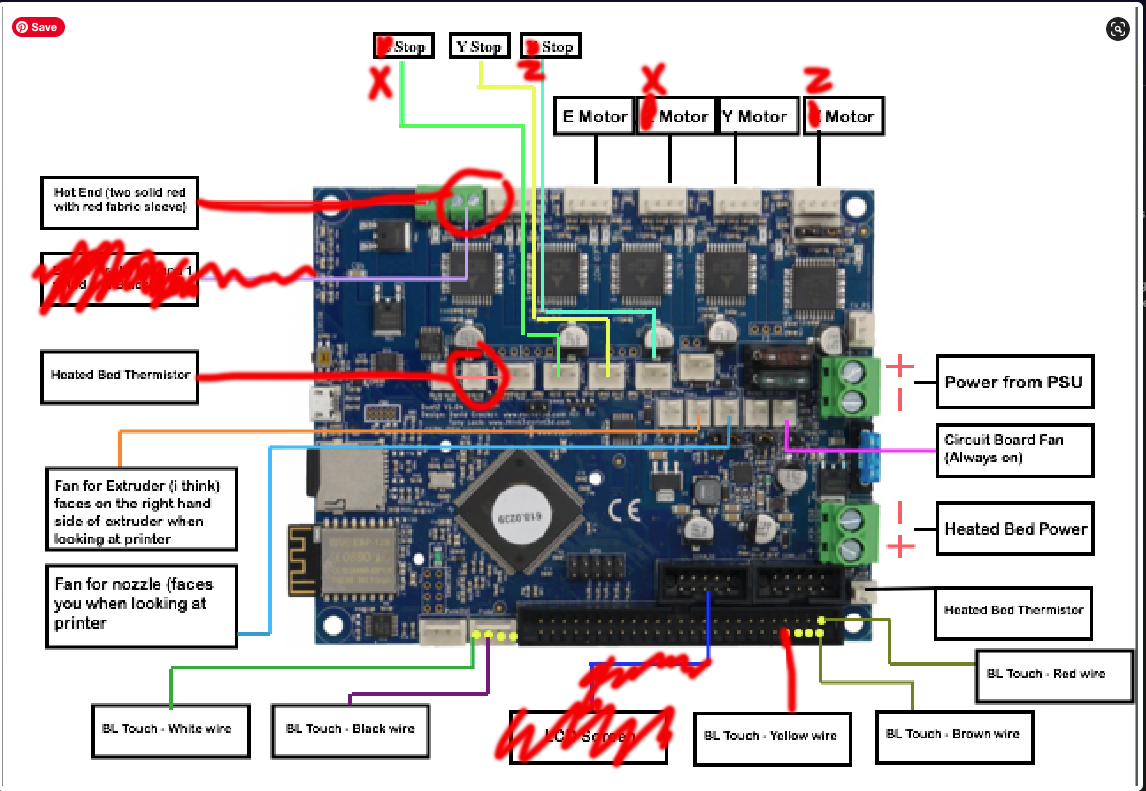
But thats not all, i was also an idiot because i didnt pay attention to what wires came out what plug on the original plugs therefore i may have the wiring to the plugs incorrect too. I think i have it right but the fact im having to write this make me believe i am more than likely wrong.please see this video of what happens when i attempt to home my axis
any help would be much appreciated.
-
@PR1OR post your config and your homing files please
-
@jay_s_uk where are the homing files?
The config is below
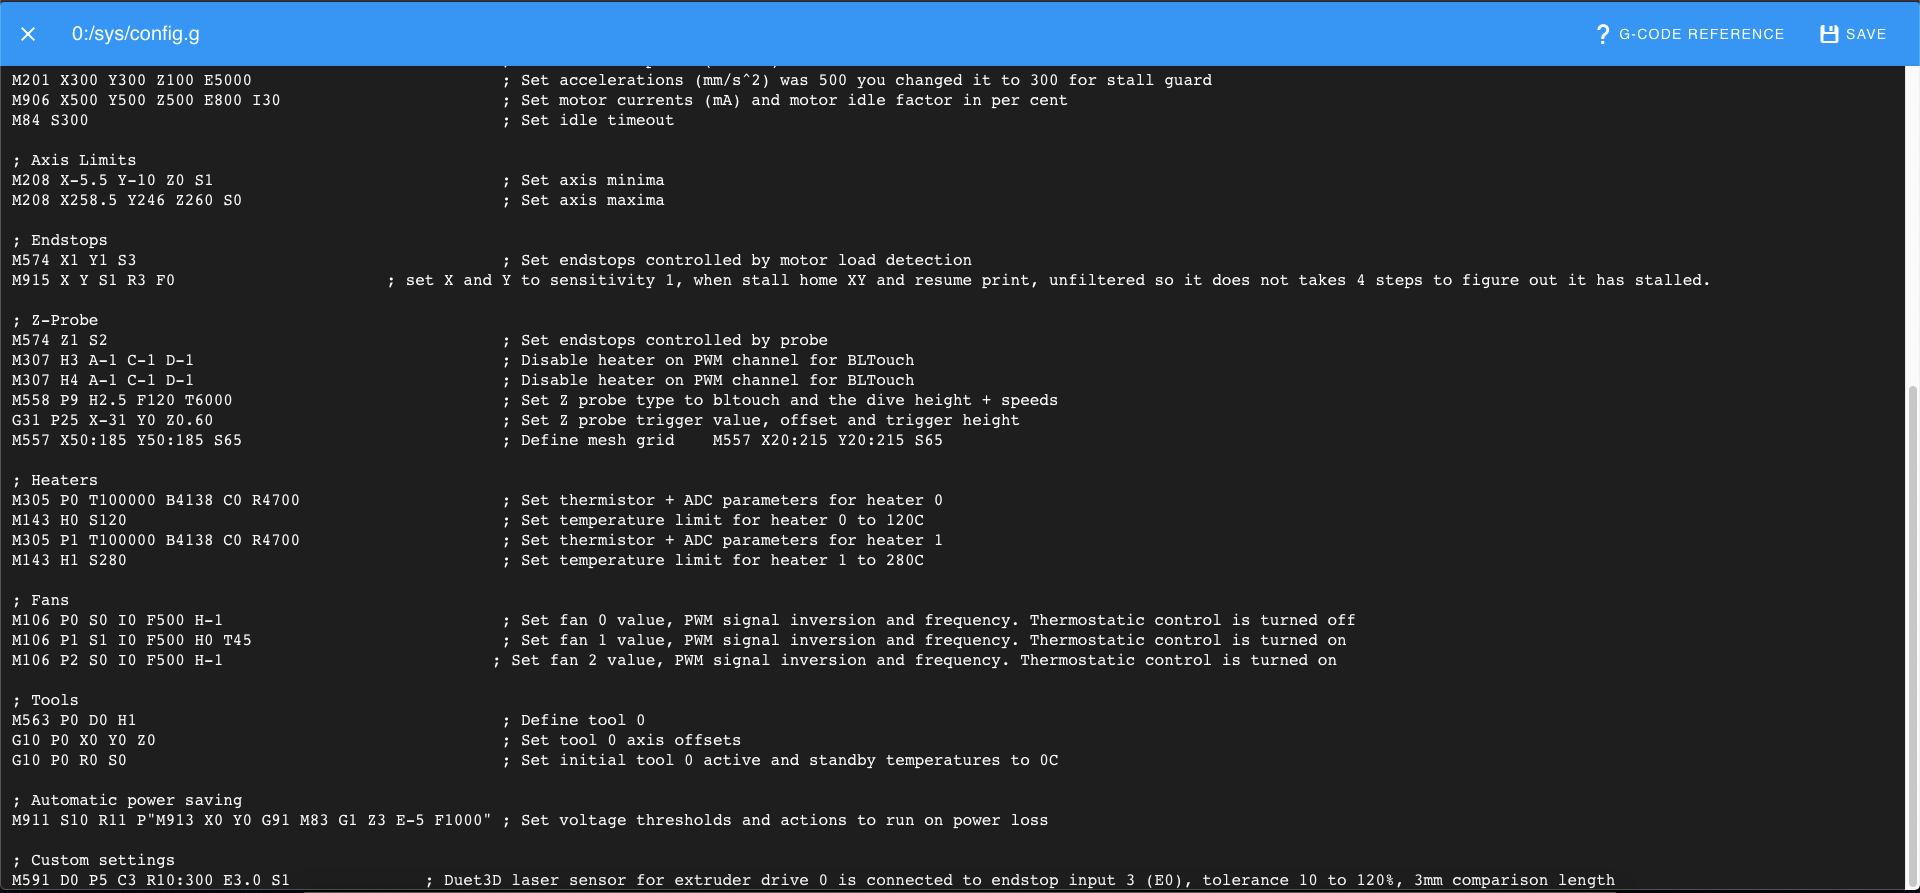
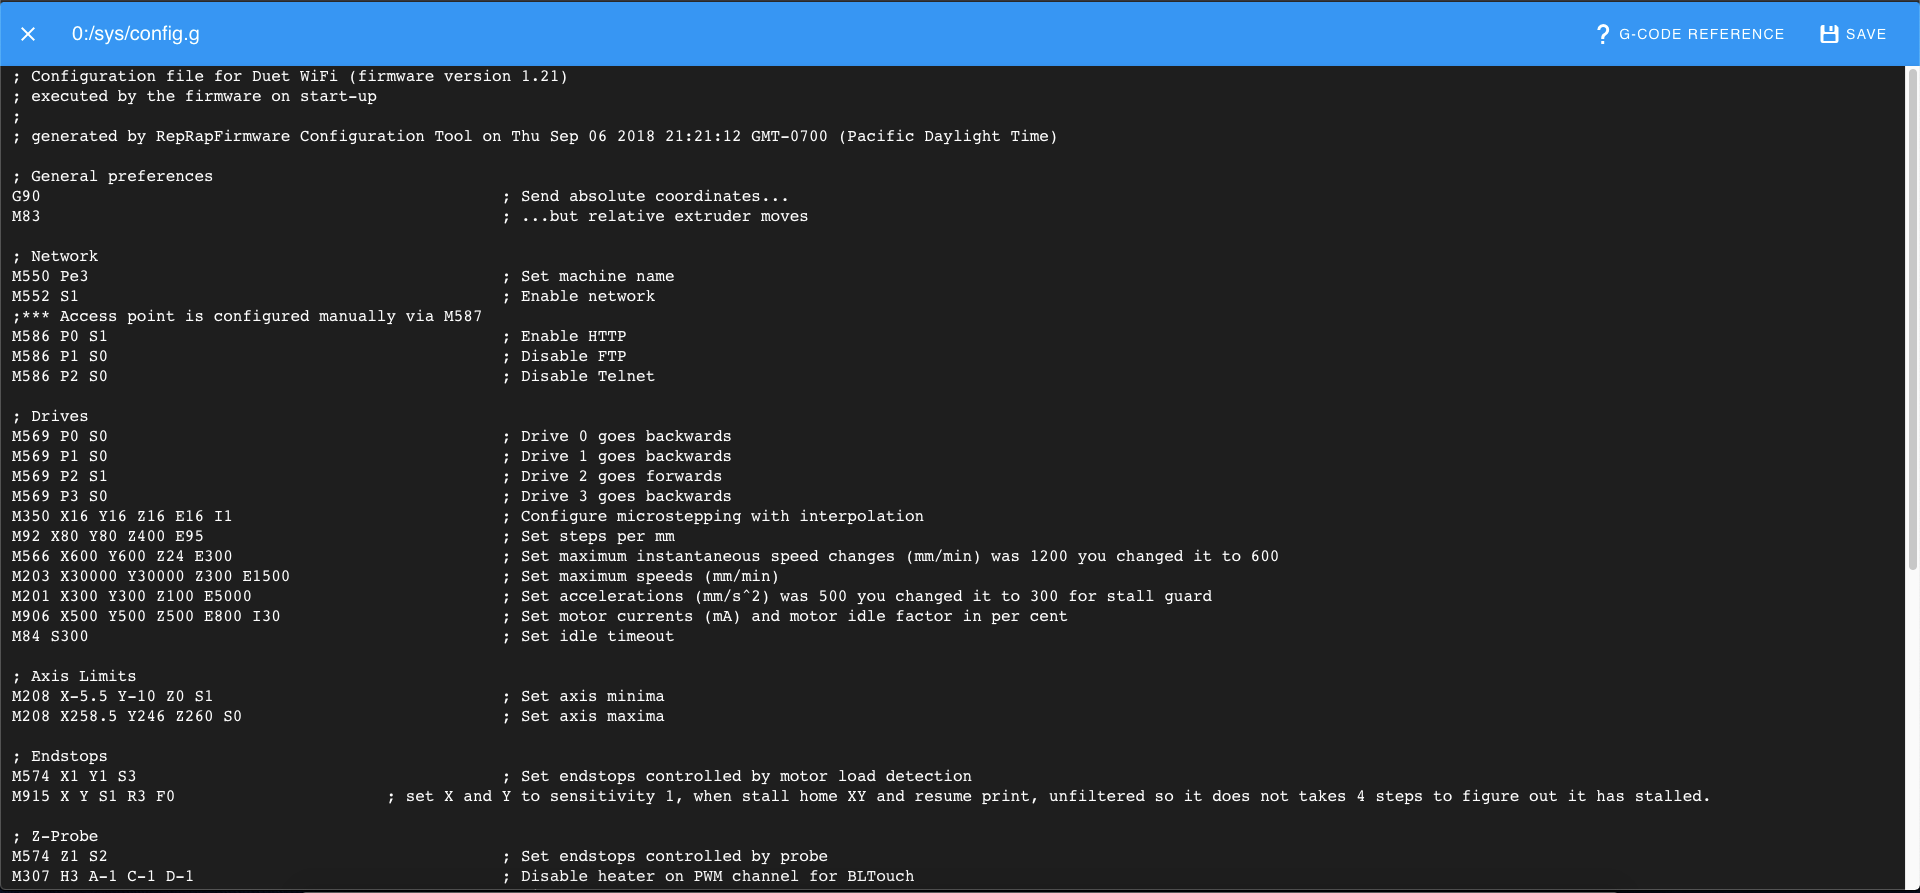
-
@PR1OR sorry just noticed the bottom picture is the first screen shot the top is the second (facepalm)
-
if this is the homing files. Let me know if not
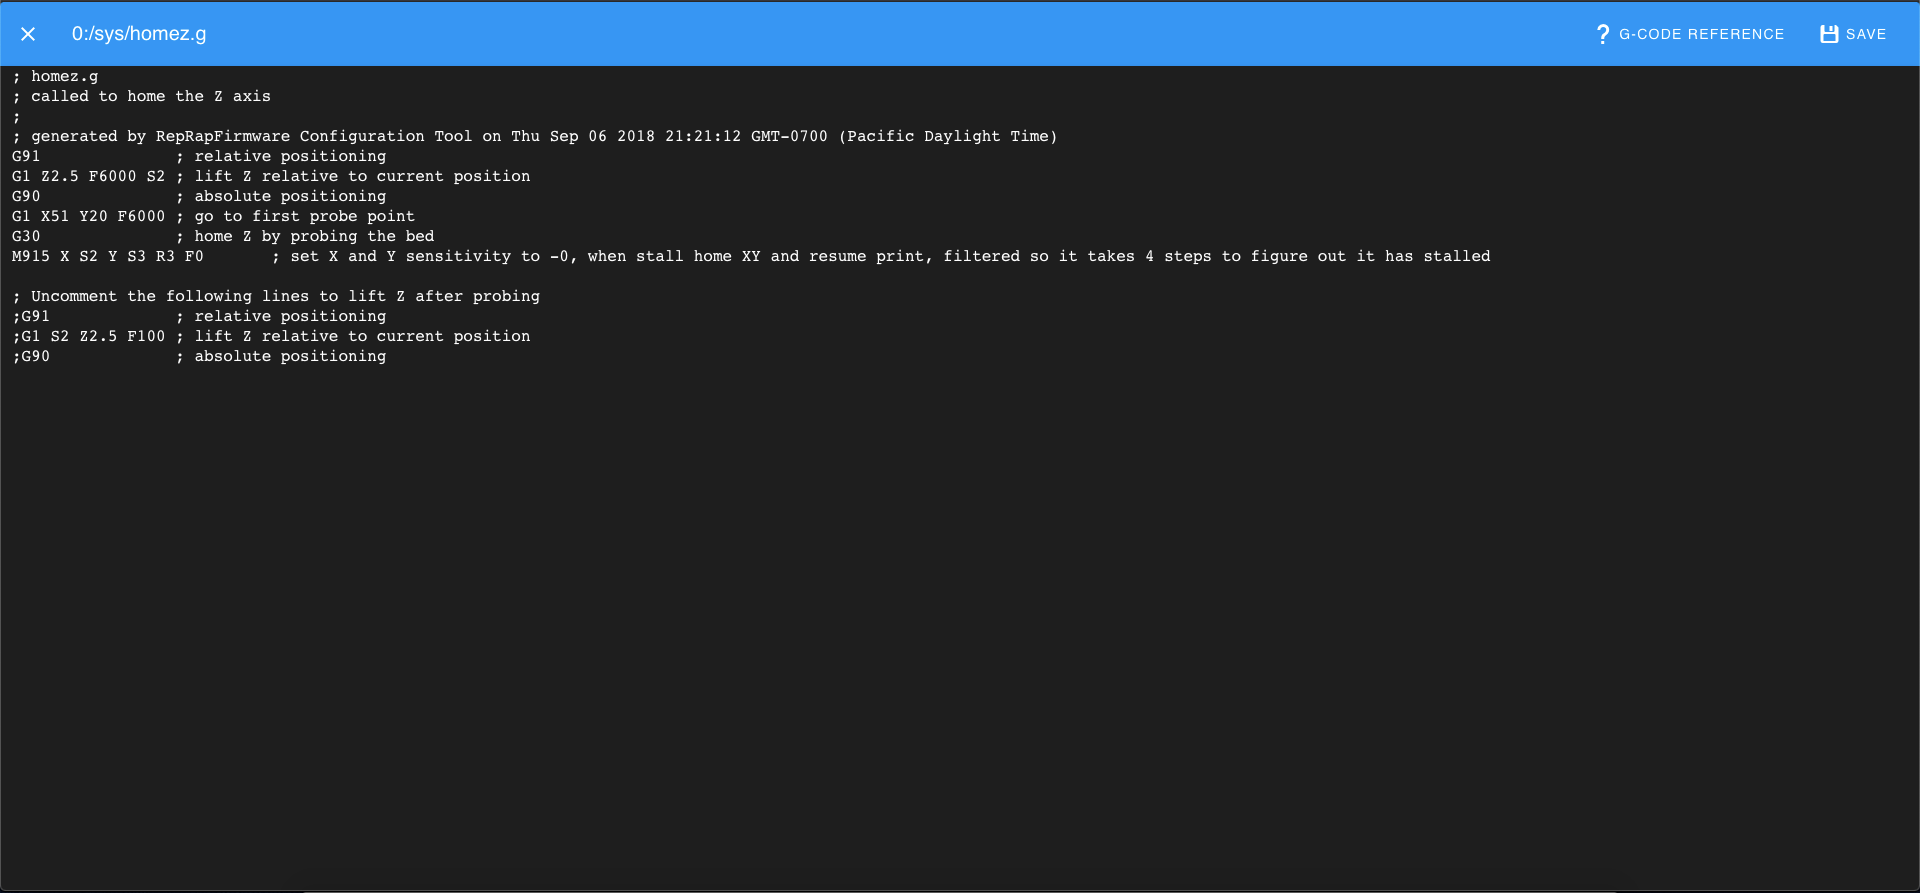
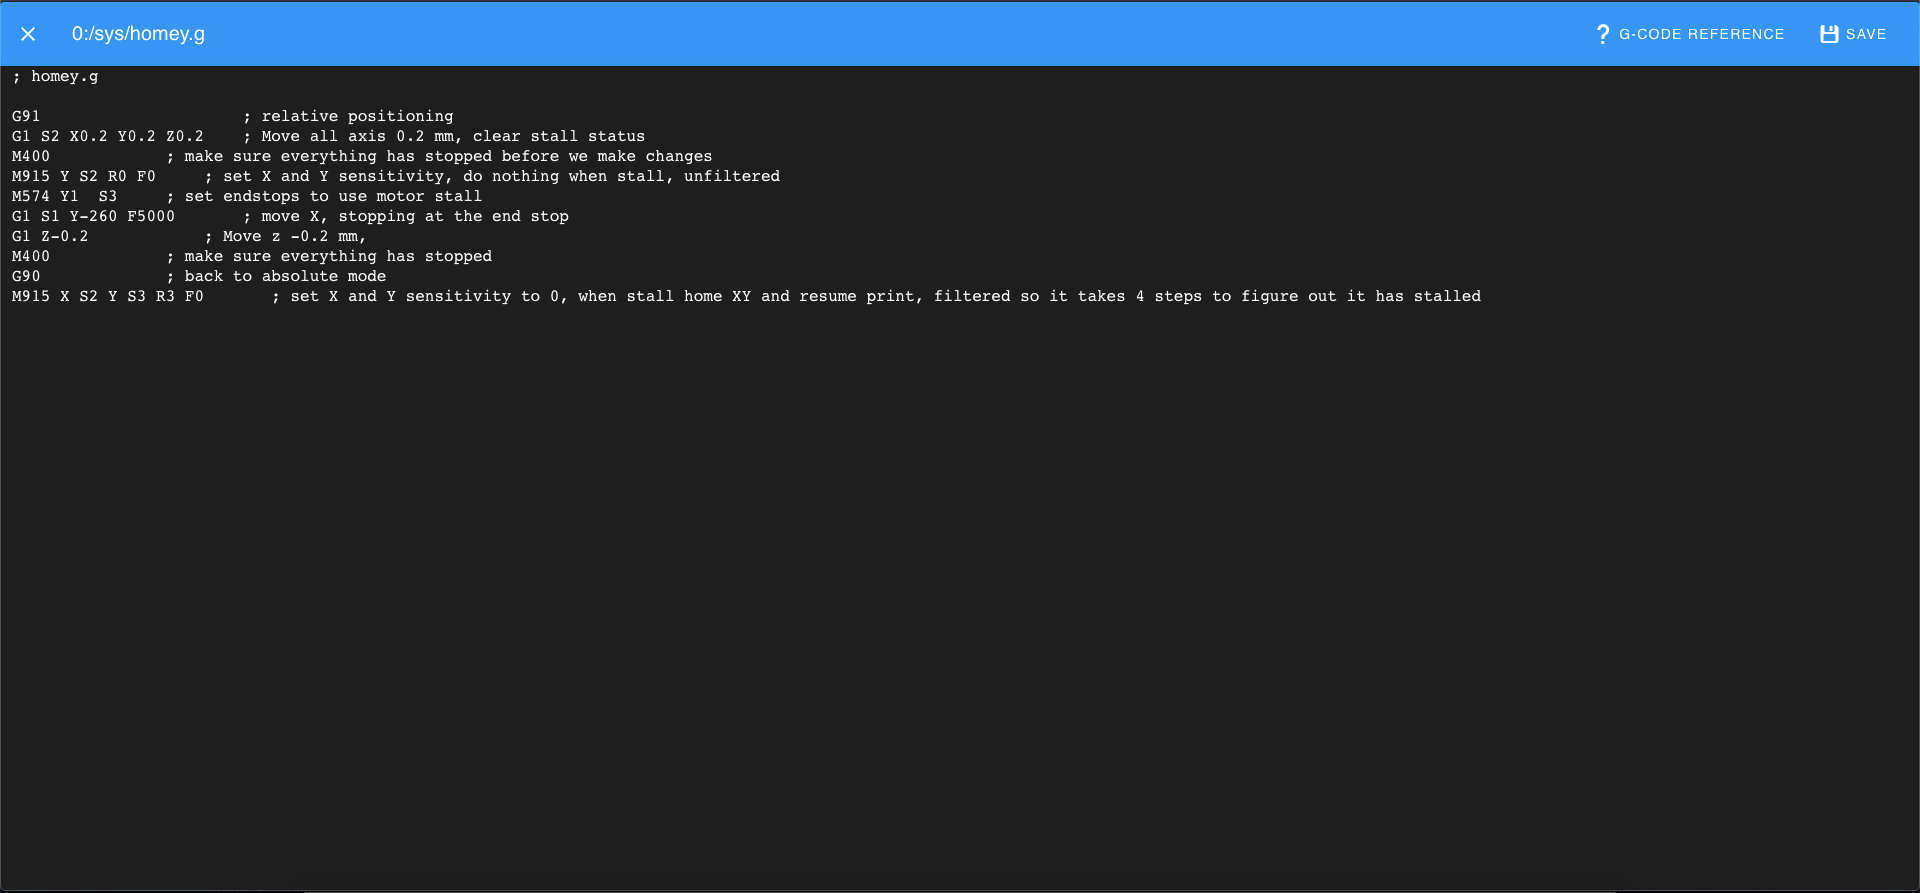
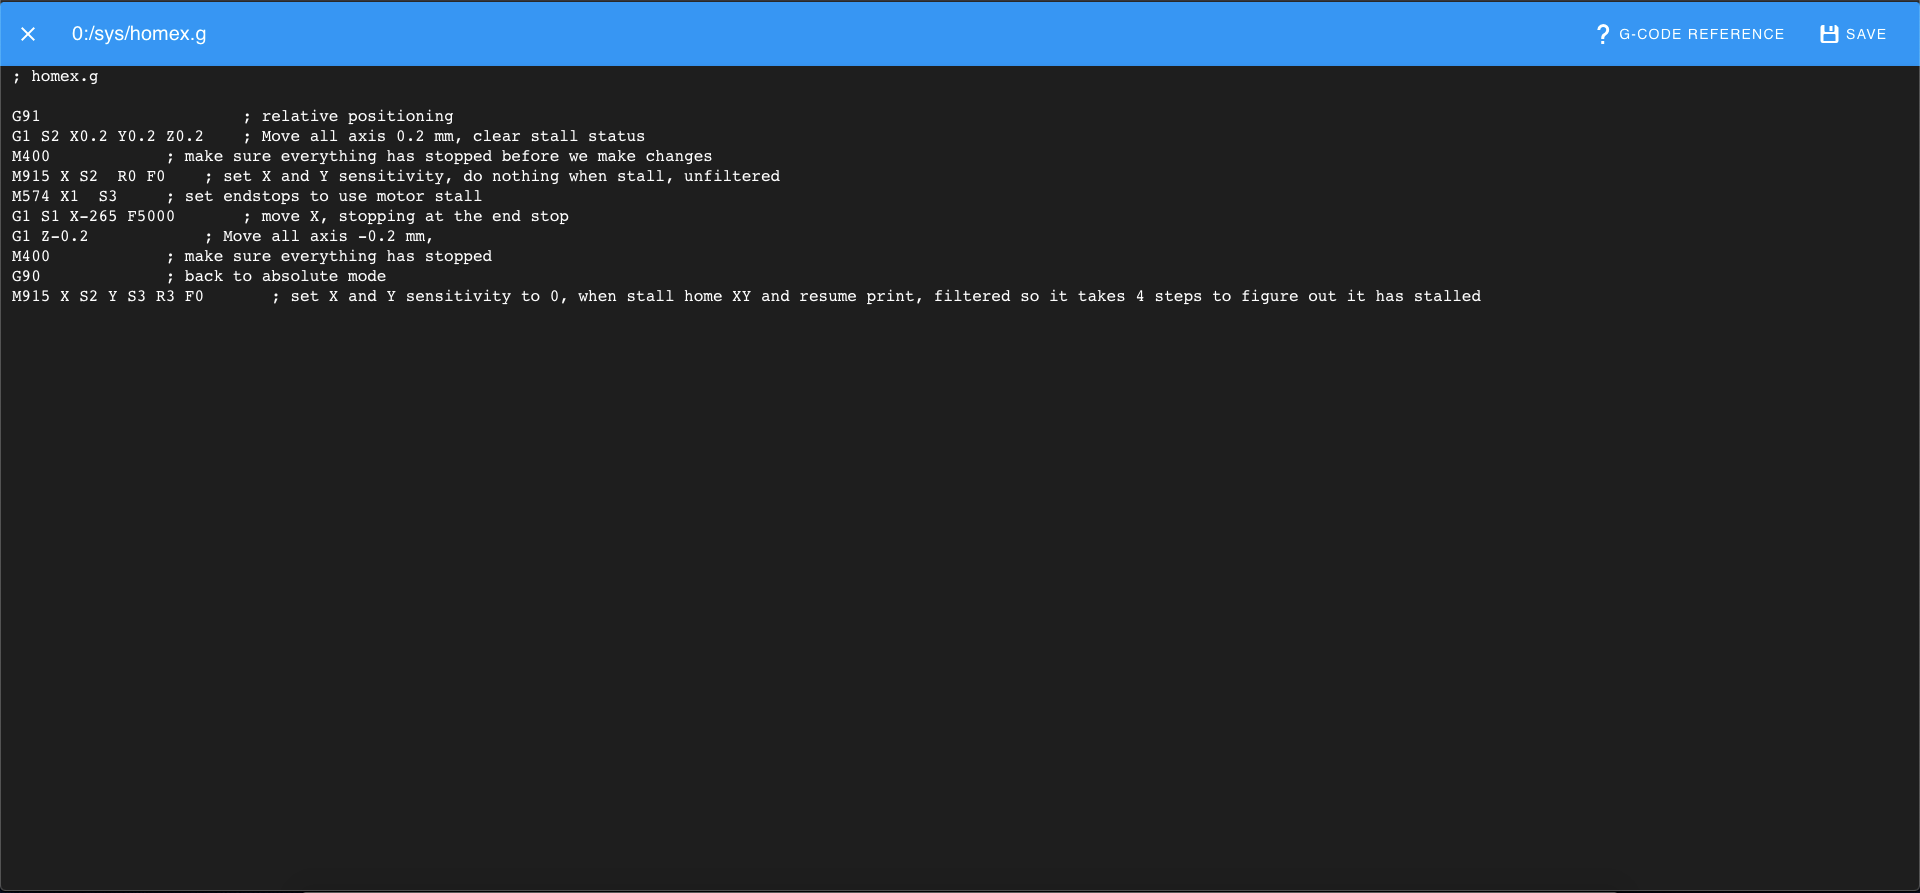
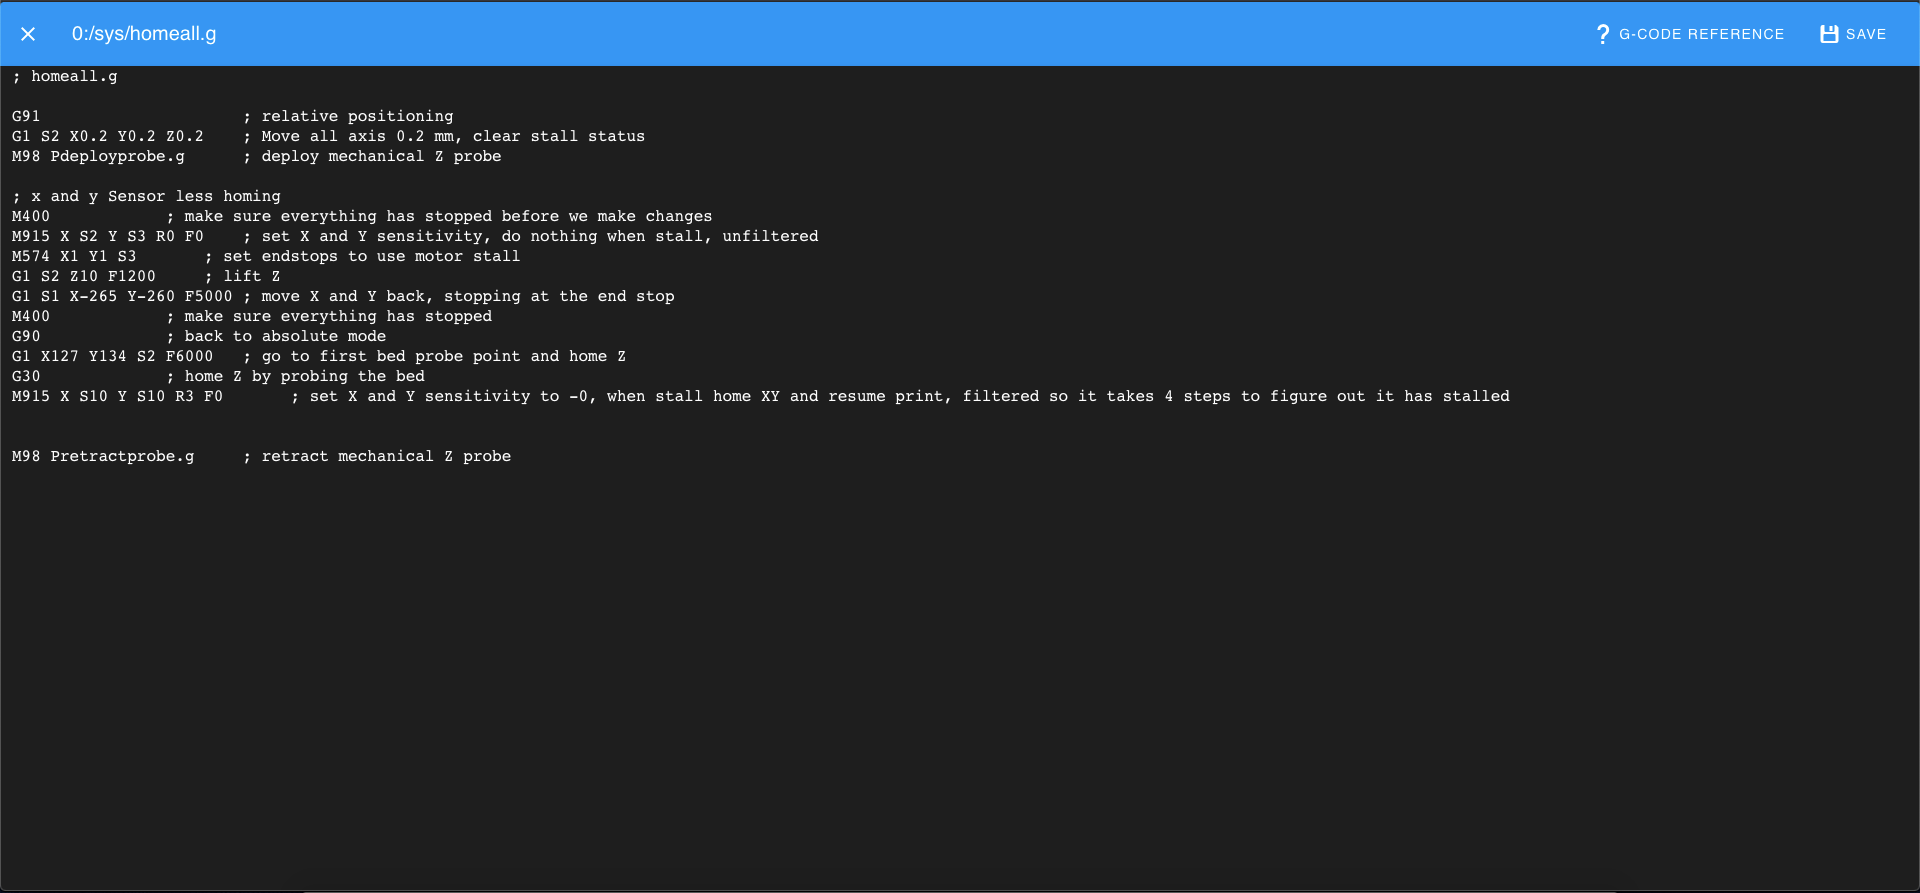
-
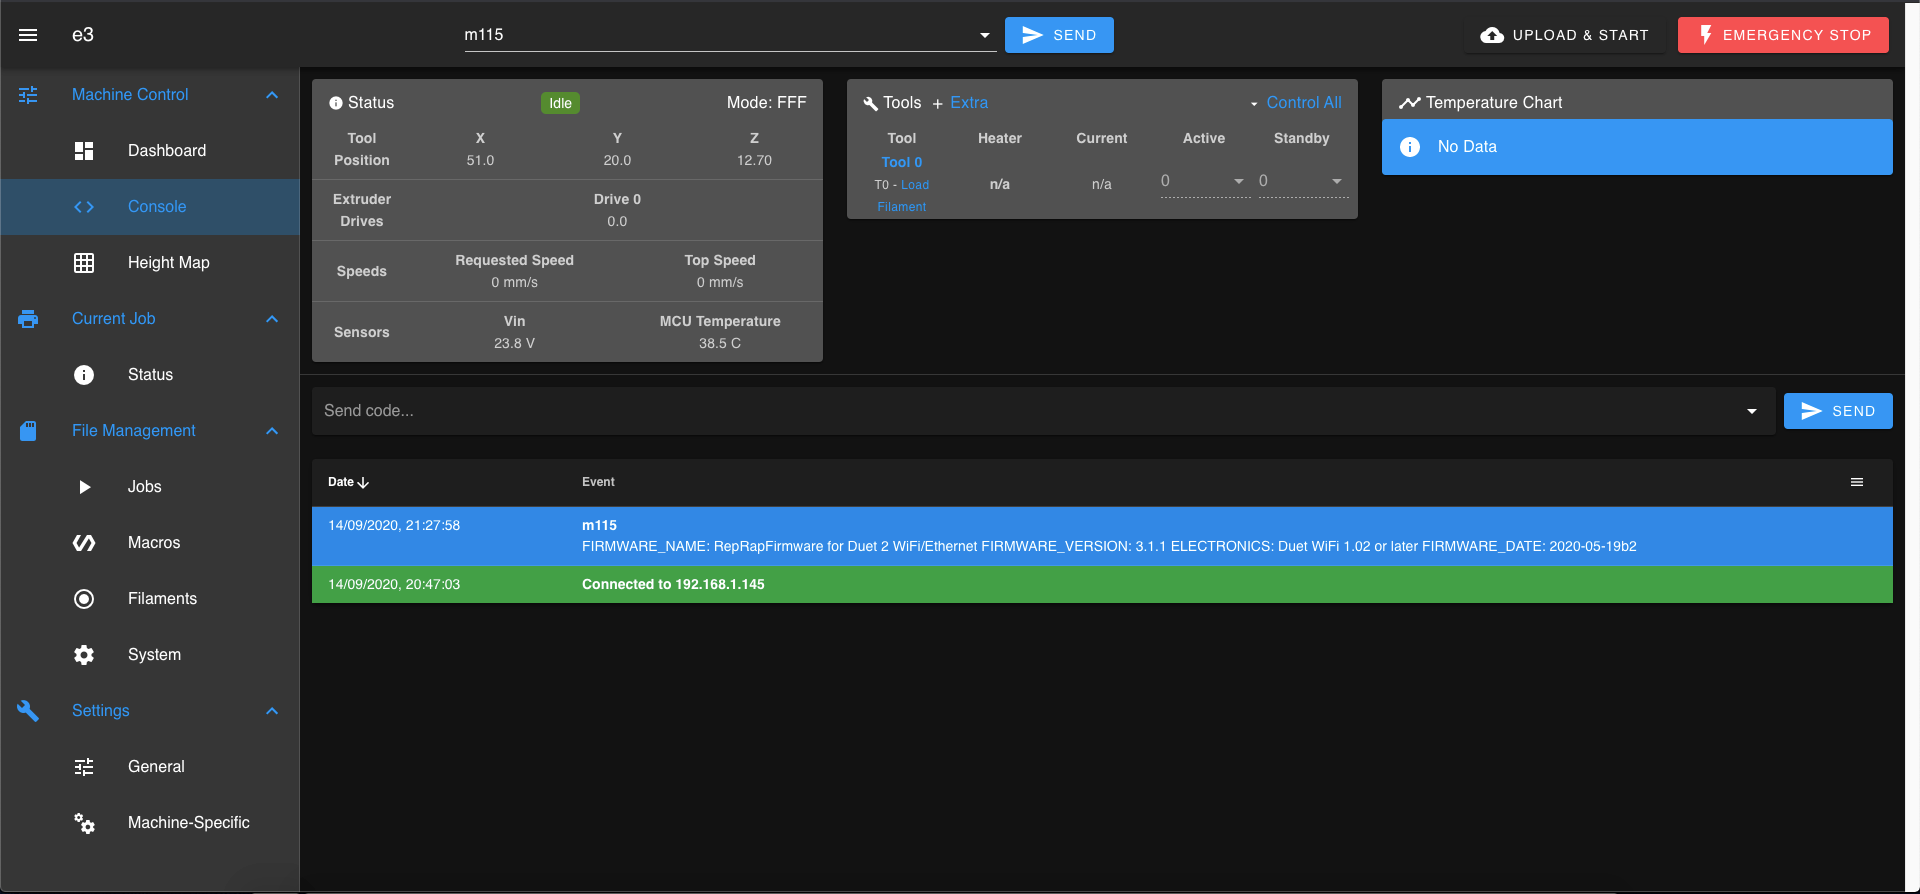
can you also post the output of M115 please
-
-
Your config you posted is for firmware version 1.21 and your installed version is 3.11.
First thing I would suggest you do is re do your config using the online configurator https://configtool.reprapfirmware.org/Start, ensuring that the firmware version selected is version 3.0 or later -
@jay_s_uk ok perfecti will try this. I didnt actually create this file i got it off someone. If i just copy what is there except the firmware version do you think this will work or do i need to work out all the parameters?
-
you should probably browse https://github.com/Duet3D/RepRapFirmware/blob/v3-dev/WHATS_NEW_RRF3.md and https://github.com/dc42/RepRapFirmware/blob/dev/WHATS_NEW.md for all the changes made since that version.
-or- use the config tool linked to to generate a new starting point instead of converting the old.
you can find a lot of the things to put into the config tool from the old config; refer to https://duet3d.dozuki.com/Wiki/Gcode if you don't understand all the different configuration gcode.
-
@jay_s_uk - i amended the .json file and updated the version to 3+
Ive dont it and am now getting a different error code.
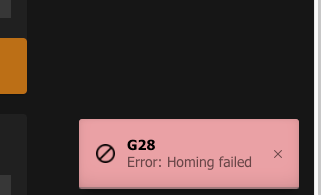
I also have a couple of Qs about how the settings for the tool that you may be able to help me with
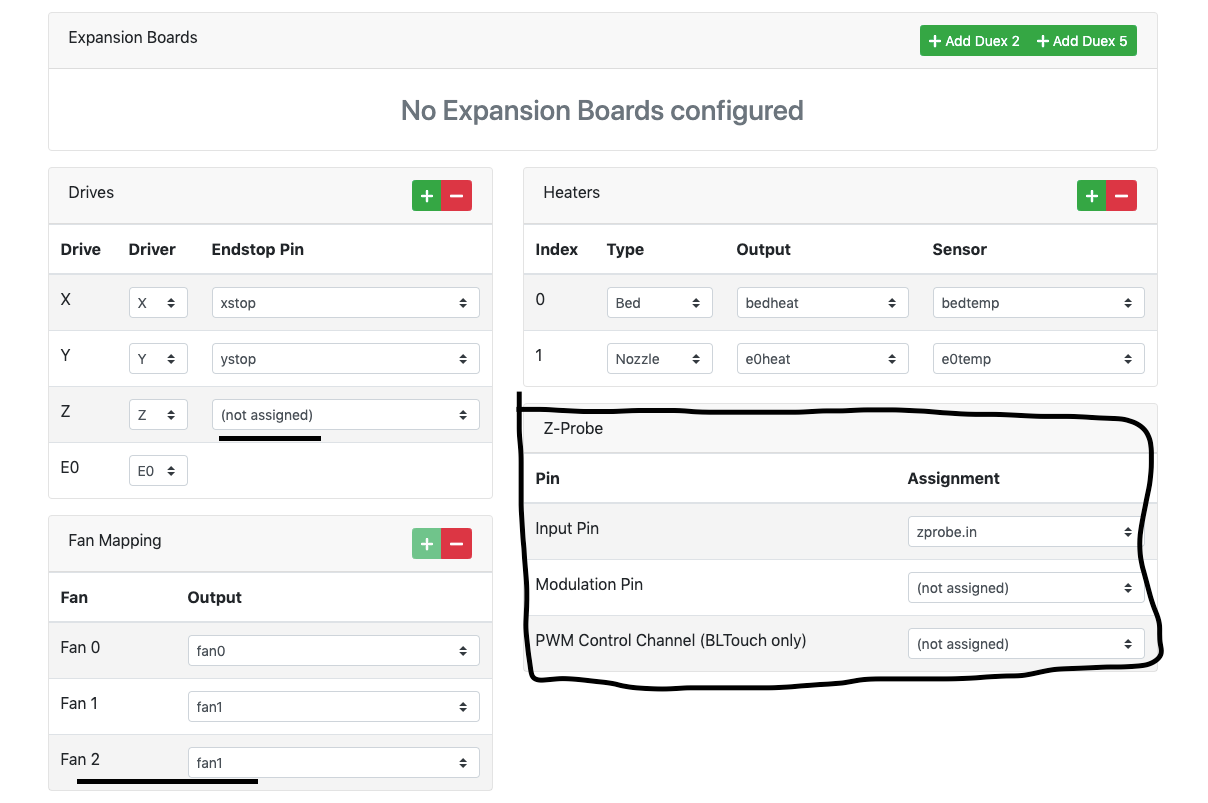
on this page i dont know what endstop pin to select and this was the one on the configuration already is that right (im using a BL touch)?
the ender 3 has 3 fans (two on the extruder and one for the board but im reading this as its set to only have two is that correct?
also the Z prob pins are alittle confusing too does this look right?
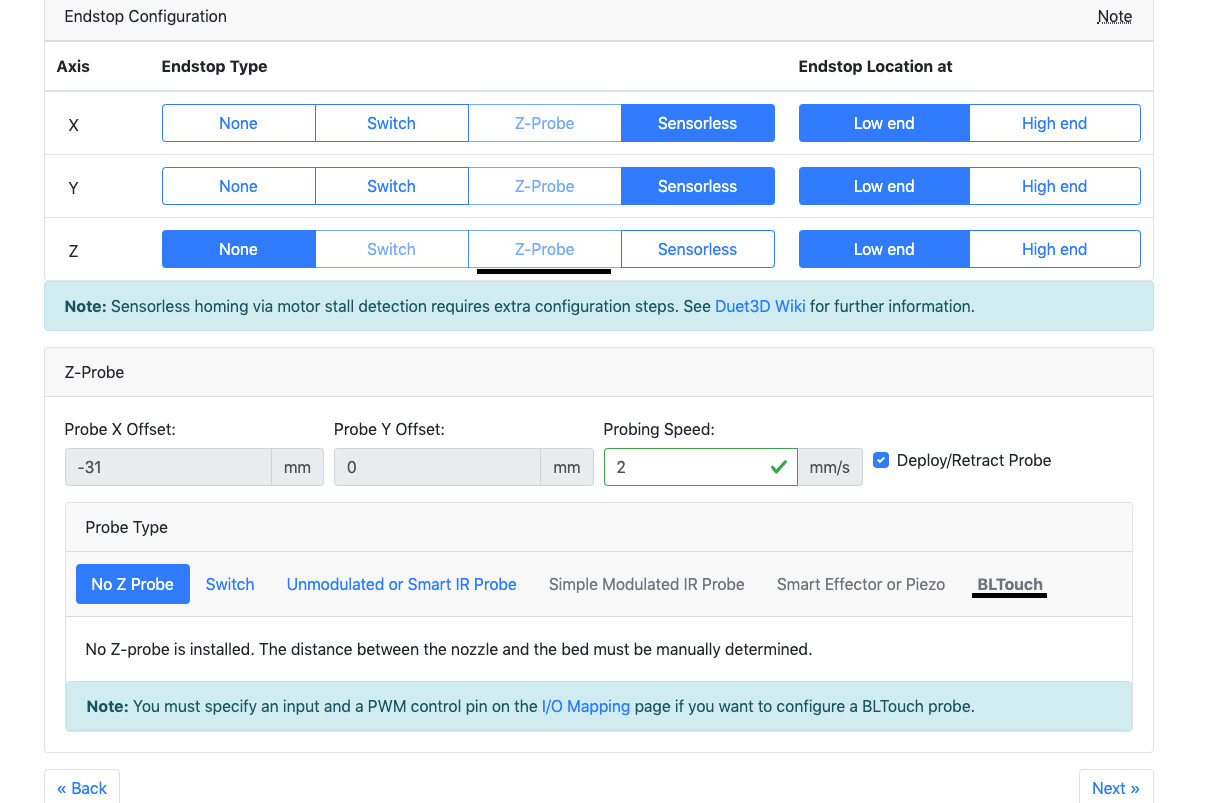
on this page i wasnt able to select the z probe which doesnt seem correct
i also wasnt able to select the BL touch either which wasnt any help
If you can help with this lot i would really appreciate it.
-
@bearer sorry just seen this.
I will have a read tonight and see what i can do.
Thank you!!
-
The configurator has a built in Ender 3 profile, you can select the duet wifi and RRF3 and it should give you a largely accurate config, provided of course that you have wired things in the expected way. I would suggest trying to get the wiring to match the expected way first.
Also, when sharing samples of gcode, it's probably best to copy and paste the text into your post rather than post a photo. It's much easier for those on mobile devices and we can quote sections more easily. You can use the little code tag button </> to put it in a code block to make it even more readable.
code_textDownload this json file and then use the web configurator to load it by clicking on "Ues existing configuration" here: https://configtool.reprapfirmware.org/Start
That should give you a stock ender 3, duet wifi, rrf3, bltouch config example.
From there you can either edit the motor/endstop assignments to match what you have wired, or you can move the wires to the default ports on the board and have it match the example.
-
@Phaedrux Thanks! and apologises for the screenshot i will know for the future (rofl)
so that config.json doesnt download unfortunately, however i have seen that the pre configured ender 3 pro so i will probably use that. I have just the ender 3 but i believe they use the same original board and believe that the are the same except the frame is more sterdy and the PCU is better. but will check the measurements because the print sizes maybe slightly different also. from what ive read on the above links it should just be slight amendments to the gcodes which doesnt seem tooo difficult :s but makinig sure i know what im doing
-
@Phaedrux said in unusual/unnerving noises + error codes:
config.json
You might have to right click and save as and rename it config.json. I just tested it and it works.
the only thing I changed was the board type, the firmware version, and the bltouch, plus a few other minor things.
-
@Phaedrux So i have not uploaded this why is great. however when just trying to home the x axis. it keeps eratically shaking and throwing out these error codes. I have looked for the G1 code but it only seems to be on the tool section of the config.g so im now confused again.
Can you help?
Warning: Obsolete use of S parameter on G1 command. Use H parameter instead.
G28 X Warning: Obsolete use of S parameter on G1 command. Use H parameter instead.
-
@PR1OR check your homing files and everywhere the G1 command uses an S command e.g.
G1 S1 X-500change it to H
G1 H1 X-500Check your homeall.g, homex.g, homey.g and homez.g
-
@jay_s_uk said in unusual/unnerving noises + error codes:
here the G1
this has removed this message. thanks!
now it just shakes still for a while then gives me this
G28 X
Error: Homing failed -
if i try and home all i get the same weird shaking on the X and Y axis the Z doesnt move and i eventually get this error message
G28
Error: G0/G1: insufficient axes homed -
i would suggest looking at your wiring for the x axis motor then.
My guess is you have some of the cables mixed up.
I would suggest reading this https://duet3d.dozuki.com/Wiki/Choosing_and_connecting_stepper_motors#Section_Connecting_stepper_motors
