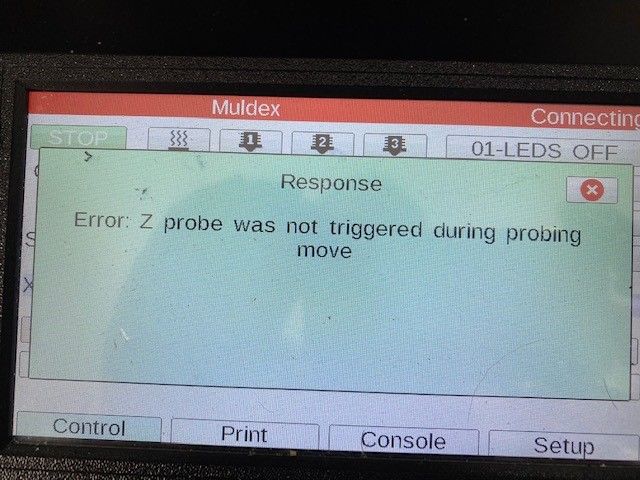
Error: bad Command XXX W/RRF 3.2 and leveling issue
-
Rollback to 3.11 and PANEL DUE to 1.24
Same story
With an offset of -2.55 on tool1 it is showing correct layer height and is about 5 mm up
Tried to disable the tool2 (copy mode in case this is messing), no efect I am starting to think, that because with + offset, shorter hotend than no tool, the duet has some failsafe no to hit the gantry. I will try to add 2.55 to probe and -2.55 to T0 ( loading TO with the config, of course ) -
It is working the - offset is in tool0 and tool1 have 0 offset, th probe ofset is now bigger
-
@martin7404 said in Error: bad Command XXX W/RRF 3.2 and leveling issue:
It is working the - offset is in tool0 and tool1 have 0 offset, th probe ofset is now bigger
I've been trying to follow along. Are you saying it's working as expected now?
-
yes
first print finished with tool1 (left)")
here is my new config
It is with PRF3.11 and I think It will work with PRF3.22 tooG90 ; send absolute coordinates... M83 ; ...but relative extruder moves M550 P"Muldex" ; set printer name ; Network M552 S1 ; enable network M586 P0 S1 ; enable HTTP M586 P1 S0 ; disable FTP M586 P2 S0 ; disable Telnet ; Drives M569 P0 S0 ; X physical drive 0 goes backwards M569 P1 S0 ; Y right physical drive 1 goes backwards M569 P2 S1 ; Y left physical drive 2 goes forwards M569 P3 S1 ; U physical drive 3 goes forwards M569 P4 S1 ; E1 physical drive 4 goes backwards M569 P5 S1 ; Z left physical drive 5 goes backwards M569 P6 S1 ; Z center physical drive 6 goes backwards M569 P7 S0 ; Z right physical drive 7 goes forwards M569 P8 S1 ; E2 physical drive 8 goes forwards M584 X0 Y1:2 U3 Z5:6:7 E4:8 ; set drive mapping M350 X16 U16 Y16 Z16 E16:16 I1 ; configure microstepping with interpolation M92 X199.7 U200 Y199.8:199.8 Z799.2:799.2:799.2 E813.07:830.00 ; set steps per mm (1760nimble) M566 X1000.00 U1000.00 Y1000.00:1000.00 Z80.00:80.00:80.00 E100.00:100.00 ; set maximum instantaneous speed changes (mm/min)(Nimble 40) M203 X12000.00 U12000.00 Y12000.00:12000.00 Z1000.00:1000.00:1000.00 E4200.00:4200.00 ; set maximum speeds (mm/min) M201 X1310.00 U1310.00 Y1310.00:1310.00 Z35.00:35.00:35.00 E800.00:800.00 ; set accelerations (mm/s^2)(500)(Nimble 120) M906 X900 U900 Y900:900 Z900:900:900 E1000:1000 I30 ; set motor currents (mA) and motor idle factor in per cent(Nimble 500) M84 S120 ; Set idle timeout ; Axis Limits M208 X-18 Y0 U40 Z0 S1 ; set axis min - adjust X to align nozzle M208 X350 U422.7 Y333 Z300 S0 ; set axis max M669 K0 Y1:-1:0:1 ; select Markforged Kinematics Y to react with X and U ; Endstops M574 X1 S1 P"xstop" ;X axis active high endstop switch M574 Y2 S1 P"ystop+e1stop" ;Y Double max active high endstop switch ;M574 Y1 S4 ; configure sensorless endstop for low end on Y M574 U2 S1 P"e0stop" ;U axis active high endstop switch ;M574 Z2 S4 ;Stall Detection(no used) ;M574 Y1 S4 ; Y axis stall detection ;M915 P1:9 S3 F1 R0 ; Y axis stall detection ; Z-Probe M671 X-20.6:200:420.6 Y14.3:333.3:14.3 S10 ; Locations left, center, right M950 S0 C"duex.e6heat" ; create servo pin 0 for BLTouch M558 P9 C"zprobe.in+zprobe.mod" H10 F600 A1 T12000 ; set Z probe type to bltouch and the dive height + speeds G31 P25 X-29 Y0 Z3.97 ; set Z probe trigger value, offset and trigger height(lower number farther away)1.8build 1.7glass M557 X10:320 Y20:290 S60 ; probe from X=10 to 390, Y=10 to 290mm with a mesh spacing of 20mm ; Heaters M308 S0 P"bedtemp" Y"thermistor" T100000 B4534 C9.565227e-8 ; configure sensor 0 as thermistor on pin bedtemp M950 H0 C"bedheat" T0 ; create bed heater output on bedheat and map it to sensor 0 M143 H0 S120 ; set temperature limit for heater 0 to 120C M307 H0 B0 S1.00 ; disable bang-bang mode for the bed heater and set PWM limit M140 H0 ; map heated bed to heater 0 M308 S1 P"e0temp" Y"thermistor" T100000 B4725 C0 R4700 ; configure sensor 1 as thermistor on pin e0temp M950 H1 C"e0heat" T1 ; create nozzle heater output on e0heat and map it to sensor 1 M143 H1 S280 ; set temperature limit for heater 1 to 280C M307 H1 B0 S1.00 ; disable bang-bang mode for heater and set PWM limit M308 S2 P"e1temp" Y"thermistor" T100000 B4725 C0 R4700 ; configure sensor 2 as thermistor on pin e1temp M950 H2 C"e1heat" T2 ; create nozzle heater output on e1heat and map it to sensor 2 M143 H2 S280 ; set temperature limit for heater 2 to 280C M307 H2 B0 S1.00 ; disable bang-bang mode for heater and set PWM limit ; Fans M950 F0 C"fan0" Q500 ; create fan 0 on pin fan0 and set its frequency M106 P0 S0 H-1 ; set fan 0 value. Thermostatic control is turned off M950 F1 C"fan1" Q500 ; create fan 1 on pin fan1 and set its frequency M106 P1 S1 H1 T45 ; set fan 1 value. Thermostatic control is turned on M950 F2 C"fan2" Q500 ; create fan 2 on pin fan2 and set its frequency M106 P2 S0 H-1 ; set fan 2 value. Thermostatic control is turned off M950 F3 C"duex.fan8" Q500 ; create fan 3 on pin duex.fan8 and set its frequency M106 P3 S1 H2 T45 ; set fan 3 value. Thermostatic control is turned on ; LEDs M950 F4 C"duex.fan6" ;Q500 ; create LED 4 on pin duex.fan6 and set its frequency M106 P4 S128 H-1 ; set LED 4 value. Thermostatic control is turned OFF M950 F5 C"duex.fan7" ;Q500 ; create LED 5 on pin duex.fan7 and set its frequency M106 P5 S128 H-1 ; set LED 5 value. Thermostatic control is turned OFF ; Tools M563 P0 D0 H1 F0 S"Left" ; define tool 0 Left G10 P0 X0 Y0 Z-2.55 ; set tool 0 axis offsets y was .45 G10 P0 R0 S0 ; set initial tool 0 active and standby temperatures to 0C M563 P1 D1 H2 X3 F2 S"Right" ; define tool 1 Right G10 P1 X0 Y0 Z0 ; set tool 1 axis offsets - adjust Y to alignn nozzle G10 P1 R0 S0 ; set initial tool 1 active and standby temperatures to 0C ;M563 P2 D0:1 H1:2 X0:3 F0:2 S"Copy" ; define tool 2 Copy ;G10 P2 X90 Y0 U-90 S0 R0 ; set tool 2 axis offsets (WAS 105) ;M567 P2 E1:1 ;M568 P2 S1 ; turn on mixing for tool 2 ; set mix ratio 100% on both extruders ;G10 L1 P1 X0.0 Y0.0 Z-2.55 M501 ; Record M593 F66.6 T0 PO M575 P1 S1 B57600 ;Panel due ;G92 Z150 ;G91 ;G1 Z0.1 f100 ;G90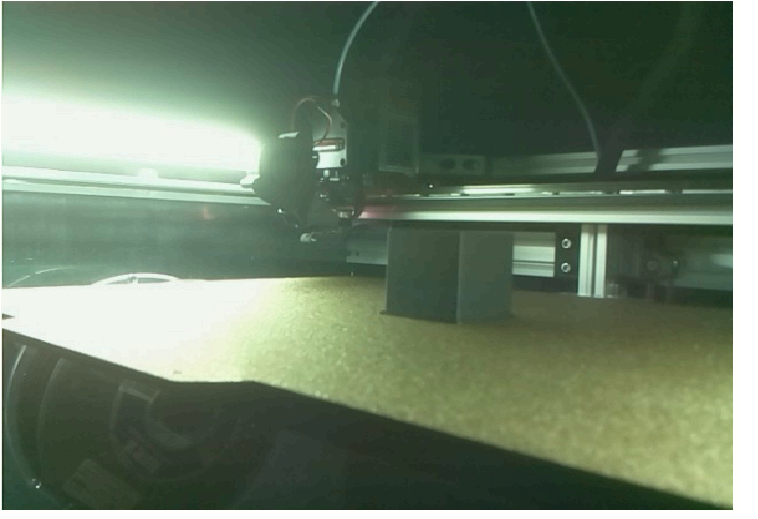
-
@martin7404 That is great news Martin!
-
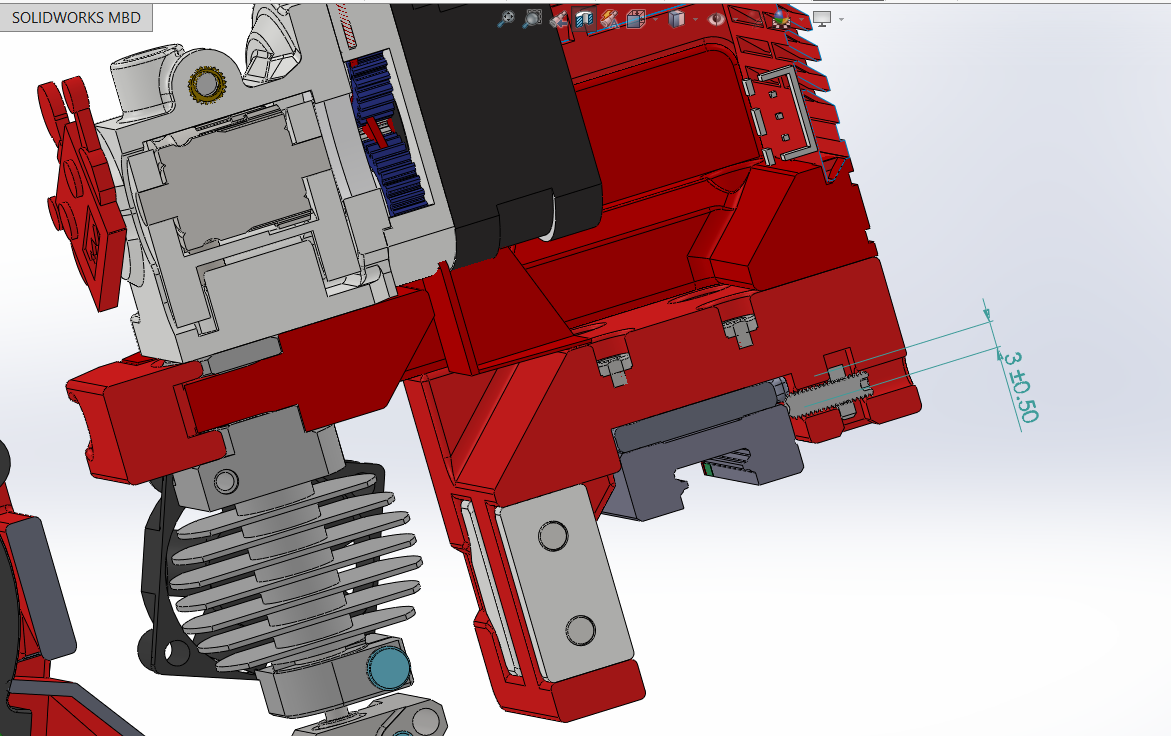
@3DPrintingWorld There is slight problem with such a diference 2.55 when the left head is near the Y0, so temp solution is to put a shim of 3 mm between the MGN9 block and the X cariage
-
So Put X carriage on 3mm plate and now both hot ends are aligned
Muldex IDEX Duet2+Duex5
Custom CoreXY 600x400 Hemera , Duet3+Toolboard+1HCL closed loop
Sapphire Pro with Duet2, with closed-loop motors
custom high temp E3D tool changer with Duet2+Duex -
@martin7404 I see your point. Good idea though, much easier then trying to move the other hotend down.
-
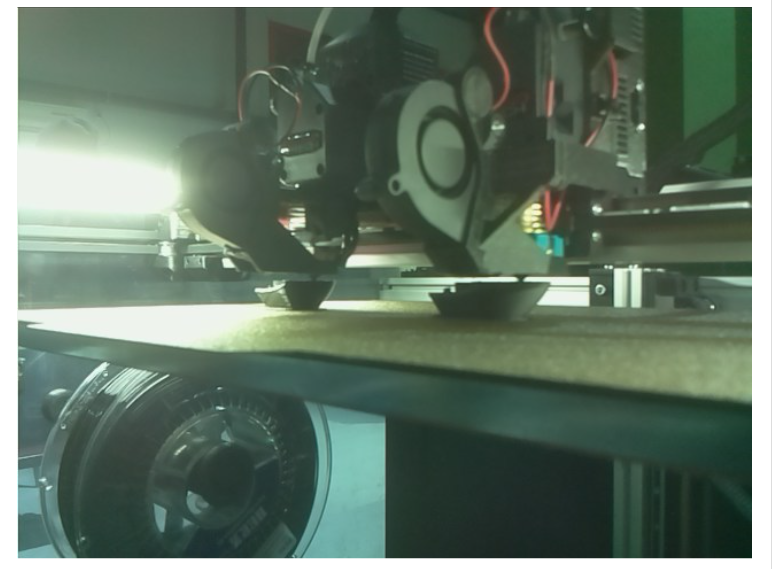
copy mode working
-
@martin7404 I'll have to look at the step file on the github. I dont think I looked at the file after I converted it. I did not realize that I had the Orbiter, it was supposed to have two BMG's.
-
Hey guys if we can get back to my issues for a second I brought up a few errors I have been getting since 3.2, one is this. It crashes the U axis into the end of travel when homing. I said previously it did it every 10-20 times but I just discovered that it will happen every time I make a change to the config and when it asked me to reset and I press "yes" If I dont hit the e-stop again afterword's or recycle power it will crash. I dont see how this is a error on my end because it functions perfectly on normal startup.
It crashes at the second pass of U homing just before it starts homing Z. Note that the U axis switch is connected to the Z axis endstop port.
-
@3DPrintingWorld Given the length of this thread (and that the title does not describe your U homing problem), it might be best to start a new thread for this problem.
-
@gloomyandy That's good advice, I'll take it.
-
@3DPrintingWorld said in Error: bad Command XXX W/RRF 3.2 and leveling issue:
Note that the U axis switch is connected to the Z axis endstop port.
From your config you posted earlier it seems the U axis endstop is "duex.e2stop" and "zstop" is one of the Y axis endstops.
Did you mean the U side endstop of the Y axis? -
@Guillaume-G Sorry, yes that is correct. I also noticed that I also get the error when selecting "upload and start". I need to try to catch a recording on it so I can better tell what is going on. At this time the axis splits and rejoins to home the Y so its hard to tell when exactly it happens.
I also noticed If I don't stop it; it crashes, skips steps, gives the error, but then continues to home the Z like nothing is wrong.
-
@3DPrintingWorld Time to try my sensorless Y homing sequence

In both config.g and homeall.g the comments about Y drives say that drive 1 is right and 2 is left.
However the separated Y homing expects "zstop" when driving the left motor, which I would call X side, not U side:M584 Y2 ; Y-axis Left side M574 Y2 S1 P"zstop" ; Y-axis left side endstop ActiveAlso, from this page:
"Any M584 commands used to remap drivers must come before M350 and M906 commands. M584 commands that create new axes must also come before the M92, M201, M203, M208 and M566 that set parameters for those axes."As you remap Y drives with M584 in homeall.g, you should maybe redefine the mentionned settings for the Y axis after that.
Not sure of anything here, just looking around the Y homing process because you can repeat faults there.
-
@Guillaume-G You know I want to use your senseless homing, I just cant seem to get to anything I want to do as I'm spending all time on this.
Wow, I don't know how you caught that typo, my config is going to be squeaky clean with your help. It still might not level but there wont be anything out of place. P1 should have been left motor, and P2 right. I was sitting behind the printer when I typed it.....
So you are saying that I should redefine M350, M906, M92, M201, M203, and M208 for the Y axis all in homeall after M584 that brings drive 1&2 back together? That seems so sloppy to have it two places. I saw this rule previously but thought it only applied to the config file.
-
@3DPrintingWorld said in Error: bad Command XXX W/RRF 3.2 and leveling issue:
So you are saying that I should redefine M350, M906, M92, M201, M203, and M208 for the Y axis all in homeall after M584 that brings drive 1&2 back together? That seems so sloppy to have it two places. I saw this rule previously but thought it only applied to the config file.
No, it only needs to be defined once in config.g if it's creating an axis. If you modify a parameter of that axis later on, you only need to return that changed value back to it's original state.
If you're changing the driver of the Y axis, the other values used for the axis will still be applied as they are tied to the axis, not the driver.
Hope that makes sense.
-
@3DPrintingWorld said in Error: bad Command XXX W/RRF 3.2 and leveling issue:
@martin7404 Instead of two bearings, what about a option to upgrade to the wide series, mgw9h. This should reduce the tilt, and would result in less binding then two bearings mounted on different planes would.
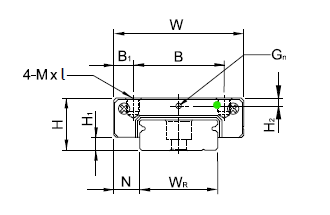
So fo MGW9H I got 150 EUR with 5 days delivery rail and 2 blocks> For MGN9H with Z1 preload they have in stock about 100 EUR for set rail and 2 blocks
Muldex IDEX Duet2+Duex5
Custom CoreXY 600x400 Hemera , Duet3+Toolboard+1HCL closed loop
Sapphire Pro with Duet2, with closed-loop motors
custom high temp E3D tool changer with Duet2+Duex -
@3DPrintingWorld said in Error: bad Command XXX W/RRF 3.2 and leveling issue:
I was sitting behind the printer when I typed it.....
Lol that makes much sense!
I also get the error when selecting "upload and start".
I assume it is then running the the start Gcode from the slicer. Does it just call G28, so homeall.g, or does it call single axes homing macros for instance with G28 Y, G28 XU... Asking because only homeall.g is posted here for review.
it only needs to be defined once in config.g if it's creating an axis.
Thanks @Phaedrux for correcting my wrong assumptions!