• Tags
  • Documentation
  • Order
  • Register
  • Login
Duet3D Logo Duet3D
  • Tags
  • Documentation
  • Order
  • Register
  • Login

After Micro swiss DD upgrade,Extruder skips steps

Scheduled Pinned Locked Moved Solved
Tuning and tweaking
8
164
12.7k
Loading More Posts
  • Oldest to Newest
  • Newest to Oldest
  • Most Votes
Reply
  • Reply as topic
Log in to reply
This topic has been deleted. Only users with topic management privileges can see it.
  • undefined
    Veti @lui2004
    last edited by 5 Dec 2020, 13:30

    distance

    undefined 1 Reply Last reply 5 Dec 2020, 14:16 Reply Quote 0
    • undefined
      lui2004 @Veti
      last edited by 5 Dec 2020, 14:16

      @Veti ok

      right now i am at:

      M98 P"0:/macros/Tuning/Report Current Retraction Settings.g"
      Tool 0 retract/reprime: length 0.25/0.25mm, speed 35.0/35.0mm/sec, Z hop 0.00m

      without stringing,is it good ?

      1 Reply Last reply Reply Quote 0
      • undefined
        Veti
        last edited by 5 Dec 2020, 14:18

        you have to decide that by yourself if you are happy with the result.

        undefined 1 Reply Last reply 5 Dec 2020, 14:20 Reply Quote 0
        • undefined
          lui2004 @Veti
          last edited by lui2004 12 May 2020, 14:21 5 Dec 2020, 14:20

          @Veti

          it looks great !

          but one question why with slicer retraction i have 1.5mm and with firmware retract i have 0.25mm ?

          the distance are good ,now i will check with speed right ?

          1 Reply Last reply Reply Quote 0
          • undefined
            Veti
            last edited by 5 Dec 2020, 14:25

            yes you can, but 35mm/sec is a good speed for retraction

            undefined 2 Replies Last reply 5 Dec 2020, 14:25 Reply Quote 0
            • undefined
              lui2004 @Veti
              last edited by 5 Dec 2020, 14:25

              @Veti

              ok i will leave so !

              i will reprint the benchy to check if its ok

              1 Reply Last reply Reply Quote 0
              • undefined
                lui2004 @Veti
                last edited by 5 Dec 2020, 15:01

                @Veti

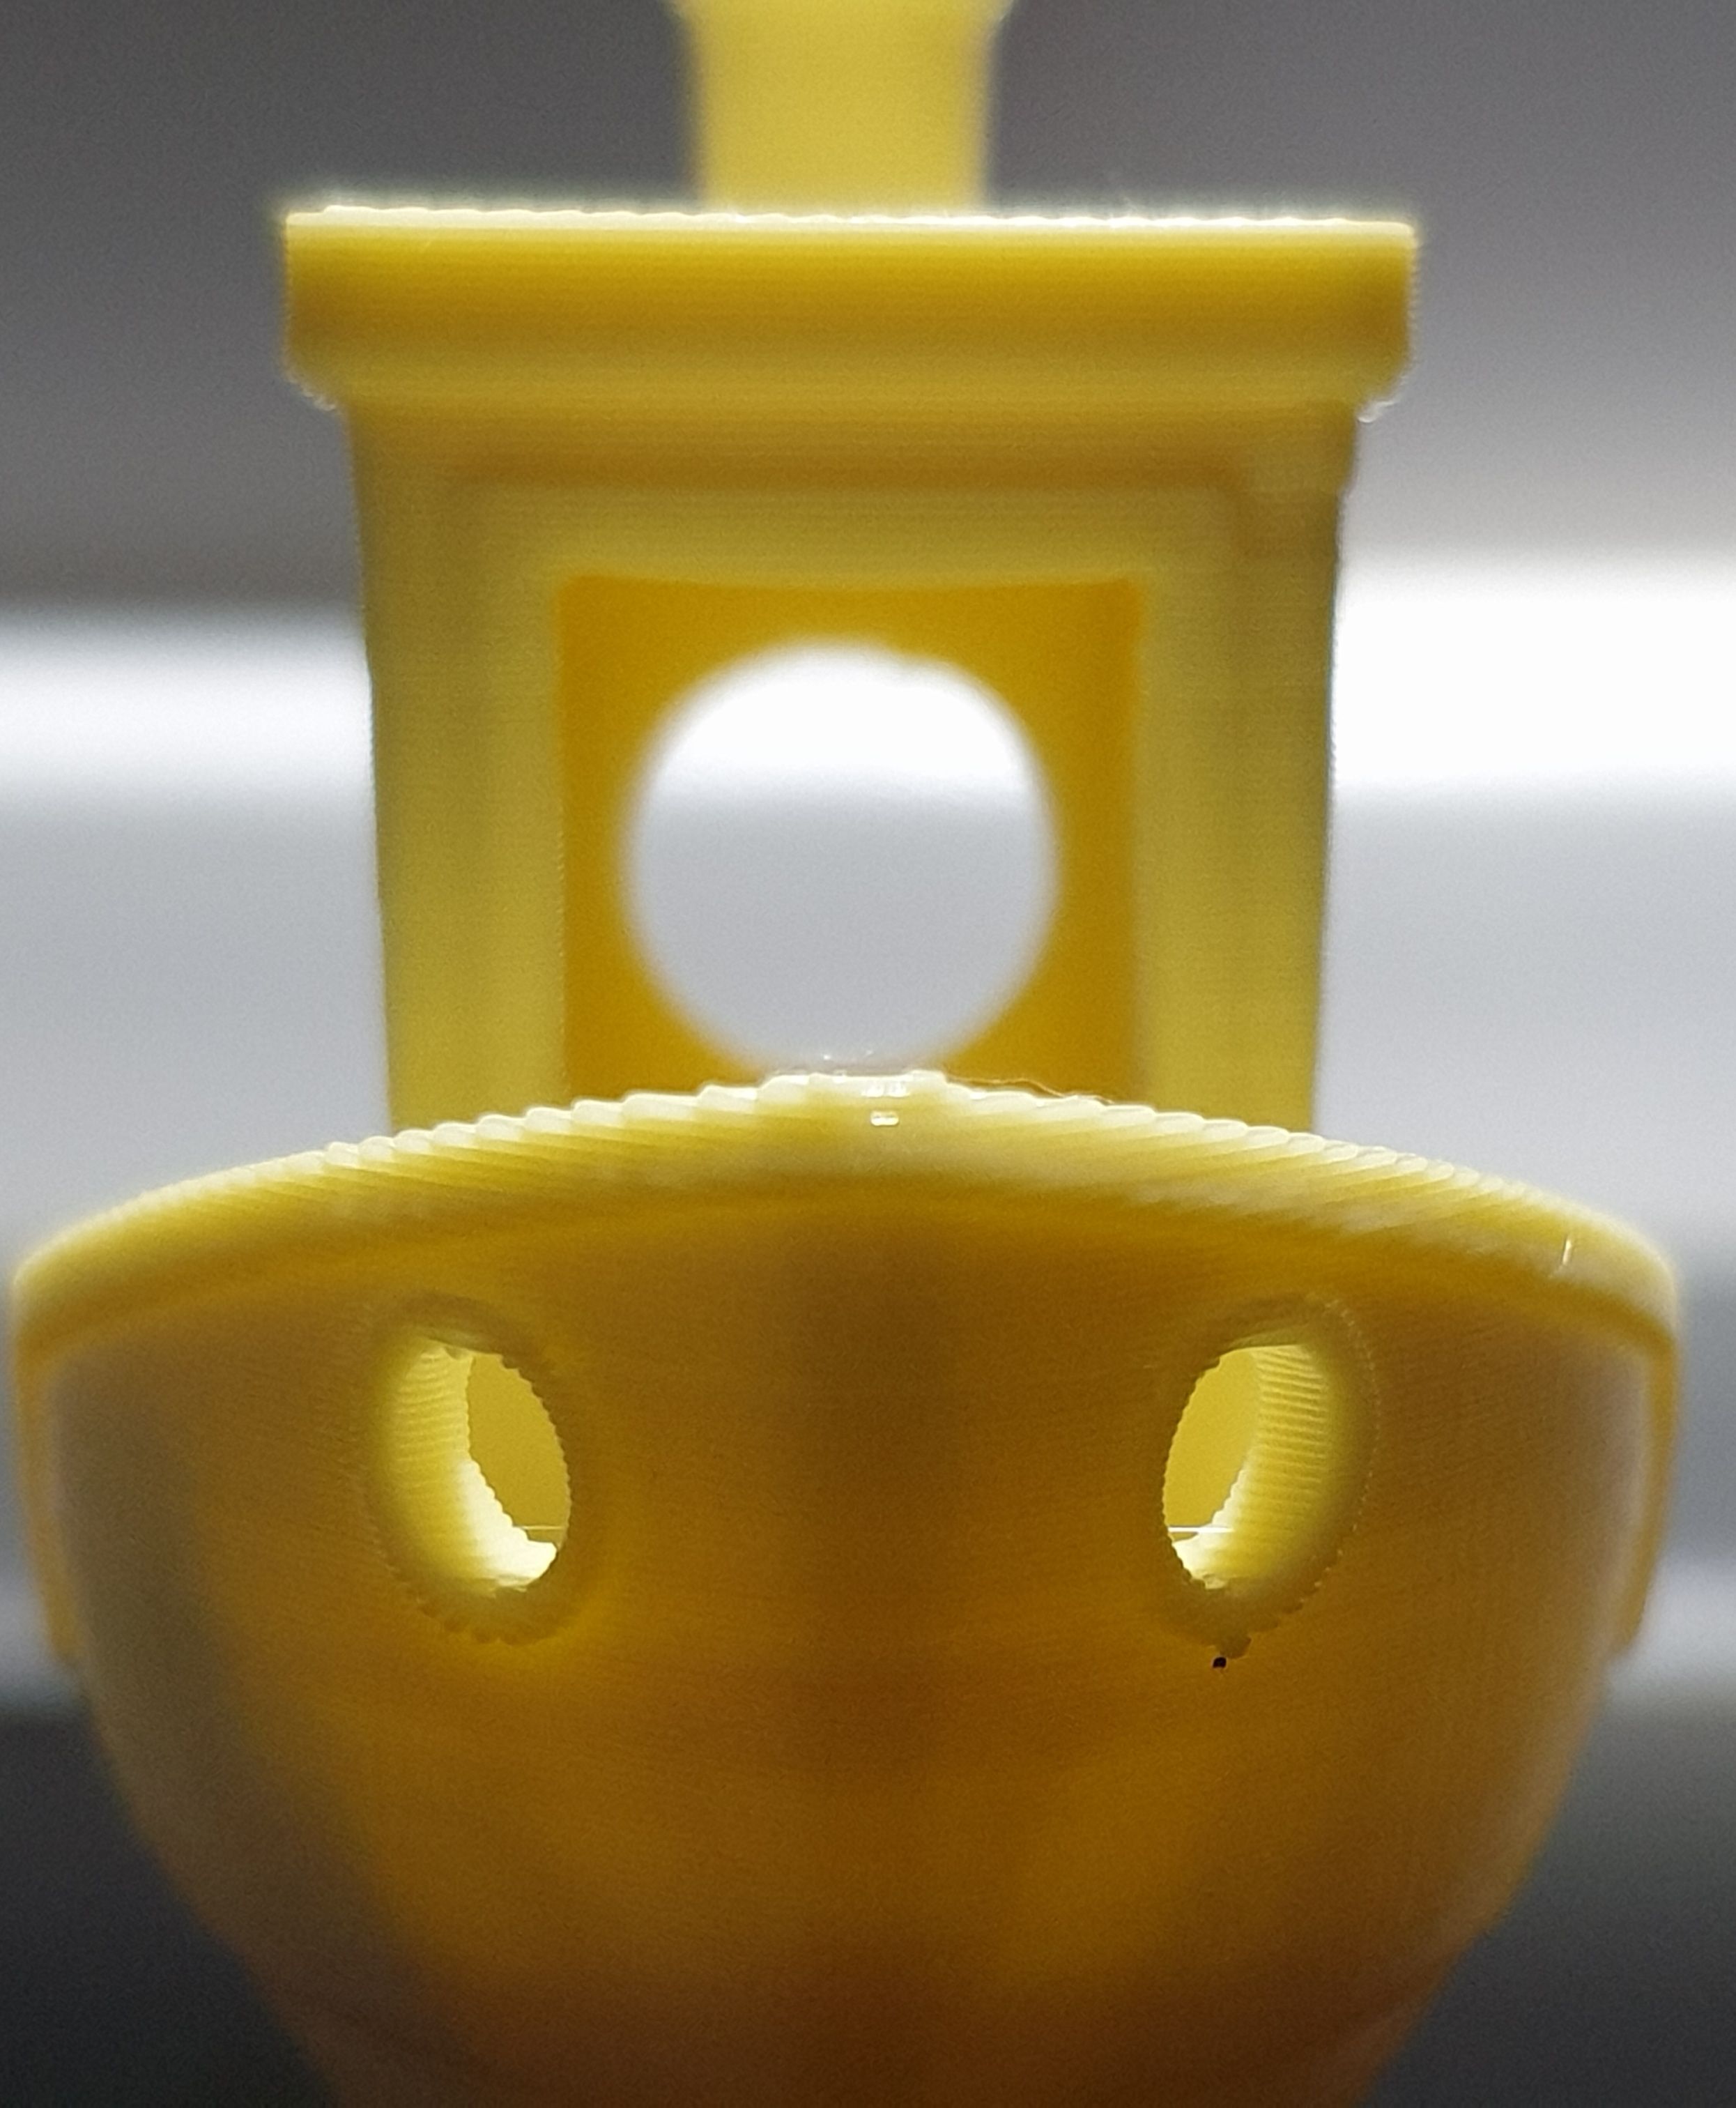
                i want print the benchy but the first layer adhesion is terrible what i can do now ? before it was all good

                1 Reply Last reply Reply Quote 0
                • undefined
                  Veti
                  last edited by 5 Dec 2020, 17:09

                  can you post a picture of the result?

                  undefined 2 Replies Last reply 5 Dec 2020, 17:20 Reply Quote 0
                  • undefined
                    lui2004 @Veti
                    last edited by 5 Dec 2020, 17:20

                    @Veti

                    I dont have adhesion for the first layer so i dont have printed

                    Indint know if i calibrate the EM again or z-offset

                    1 Reply Last reply Reply Quote 0
                    • undefined
                      Phaedrux Moderator
                      last edited by 5 Dec 2020, 17:52

                      Clean the bed maybe?

                      Z-Bot CoreXY Build | Thingiverse Profile

                      undefined 1 Reply Last reply 5 Dec 2020, 18:09 Reply Quote 0
                      • undefined
                        lui2004 @Phaedrux
                        last edited by 5 Dec 2020, 18:09

                        @Phaedrux allready done with iso....

                        I will check this 👍🏼

                        1 Reply Last reply Reply Quote 0
                        • undefined
                          RyanP @lui2004
                          last edited by 5 Dec 2020, 18:57

                          @lui2004

                          Wish I had of caught this post before you went through everything. The MicroSwiss DD can't use a pancake style motor. This is due to the MS DD not being geared. Use a 42-34 Nema 17.

                          I ran through all the same problems and was immediately fixed by putting the stock motor on, a 42-34.

                          CR10S, August 2018
                          Anycubic Photon S December 2019
                          Ender 5 Feb 2020
                          Ender 5 Plus May 2020
                          Anycubic Photon Mono X Nov 2020
                          ~
                          https://3dimensiongames.com/

                          undefined 1 Reply Last reply 5 Dec 2020, 20:39 Reply Quote 1
                          • undefined
                            Veti
                            last edited by 5 Dec 2020, 19:18

                            you are right @RyanP

                            1 Reply Last reply Reply Quote 0
                            • undefined
                              lui2004 @RyanP
                              last edited by 5 Dec 2020, 20:39

                              @RyanP i have the original one here 42-40

                              1 Reply Last reply Reply Quote 0
                              • undefined
                                lui2004 @Veti
                                last edited by 6 Dec 2020, 07:25

                                @Veti @Phaedrux

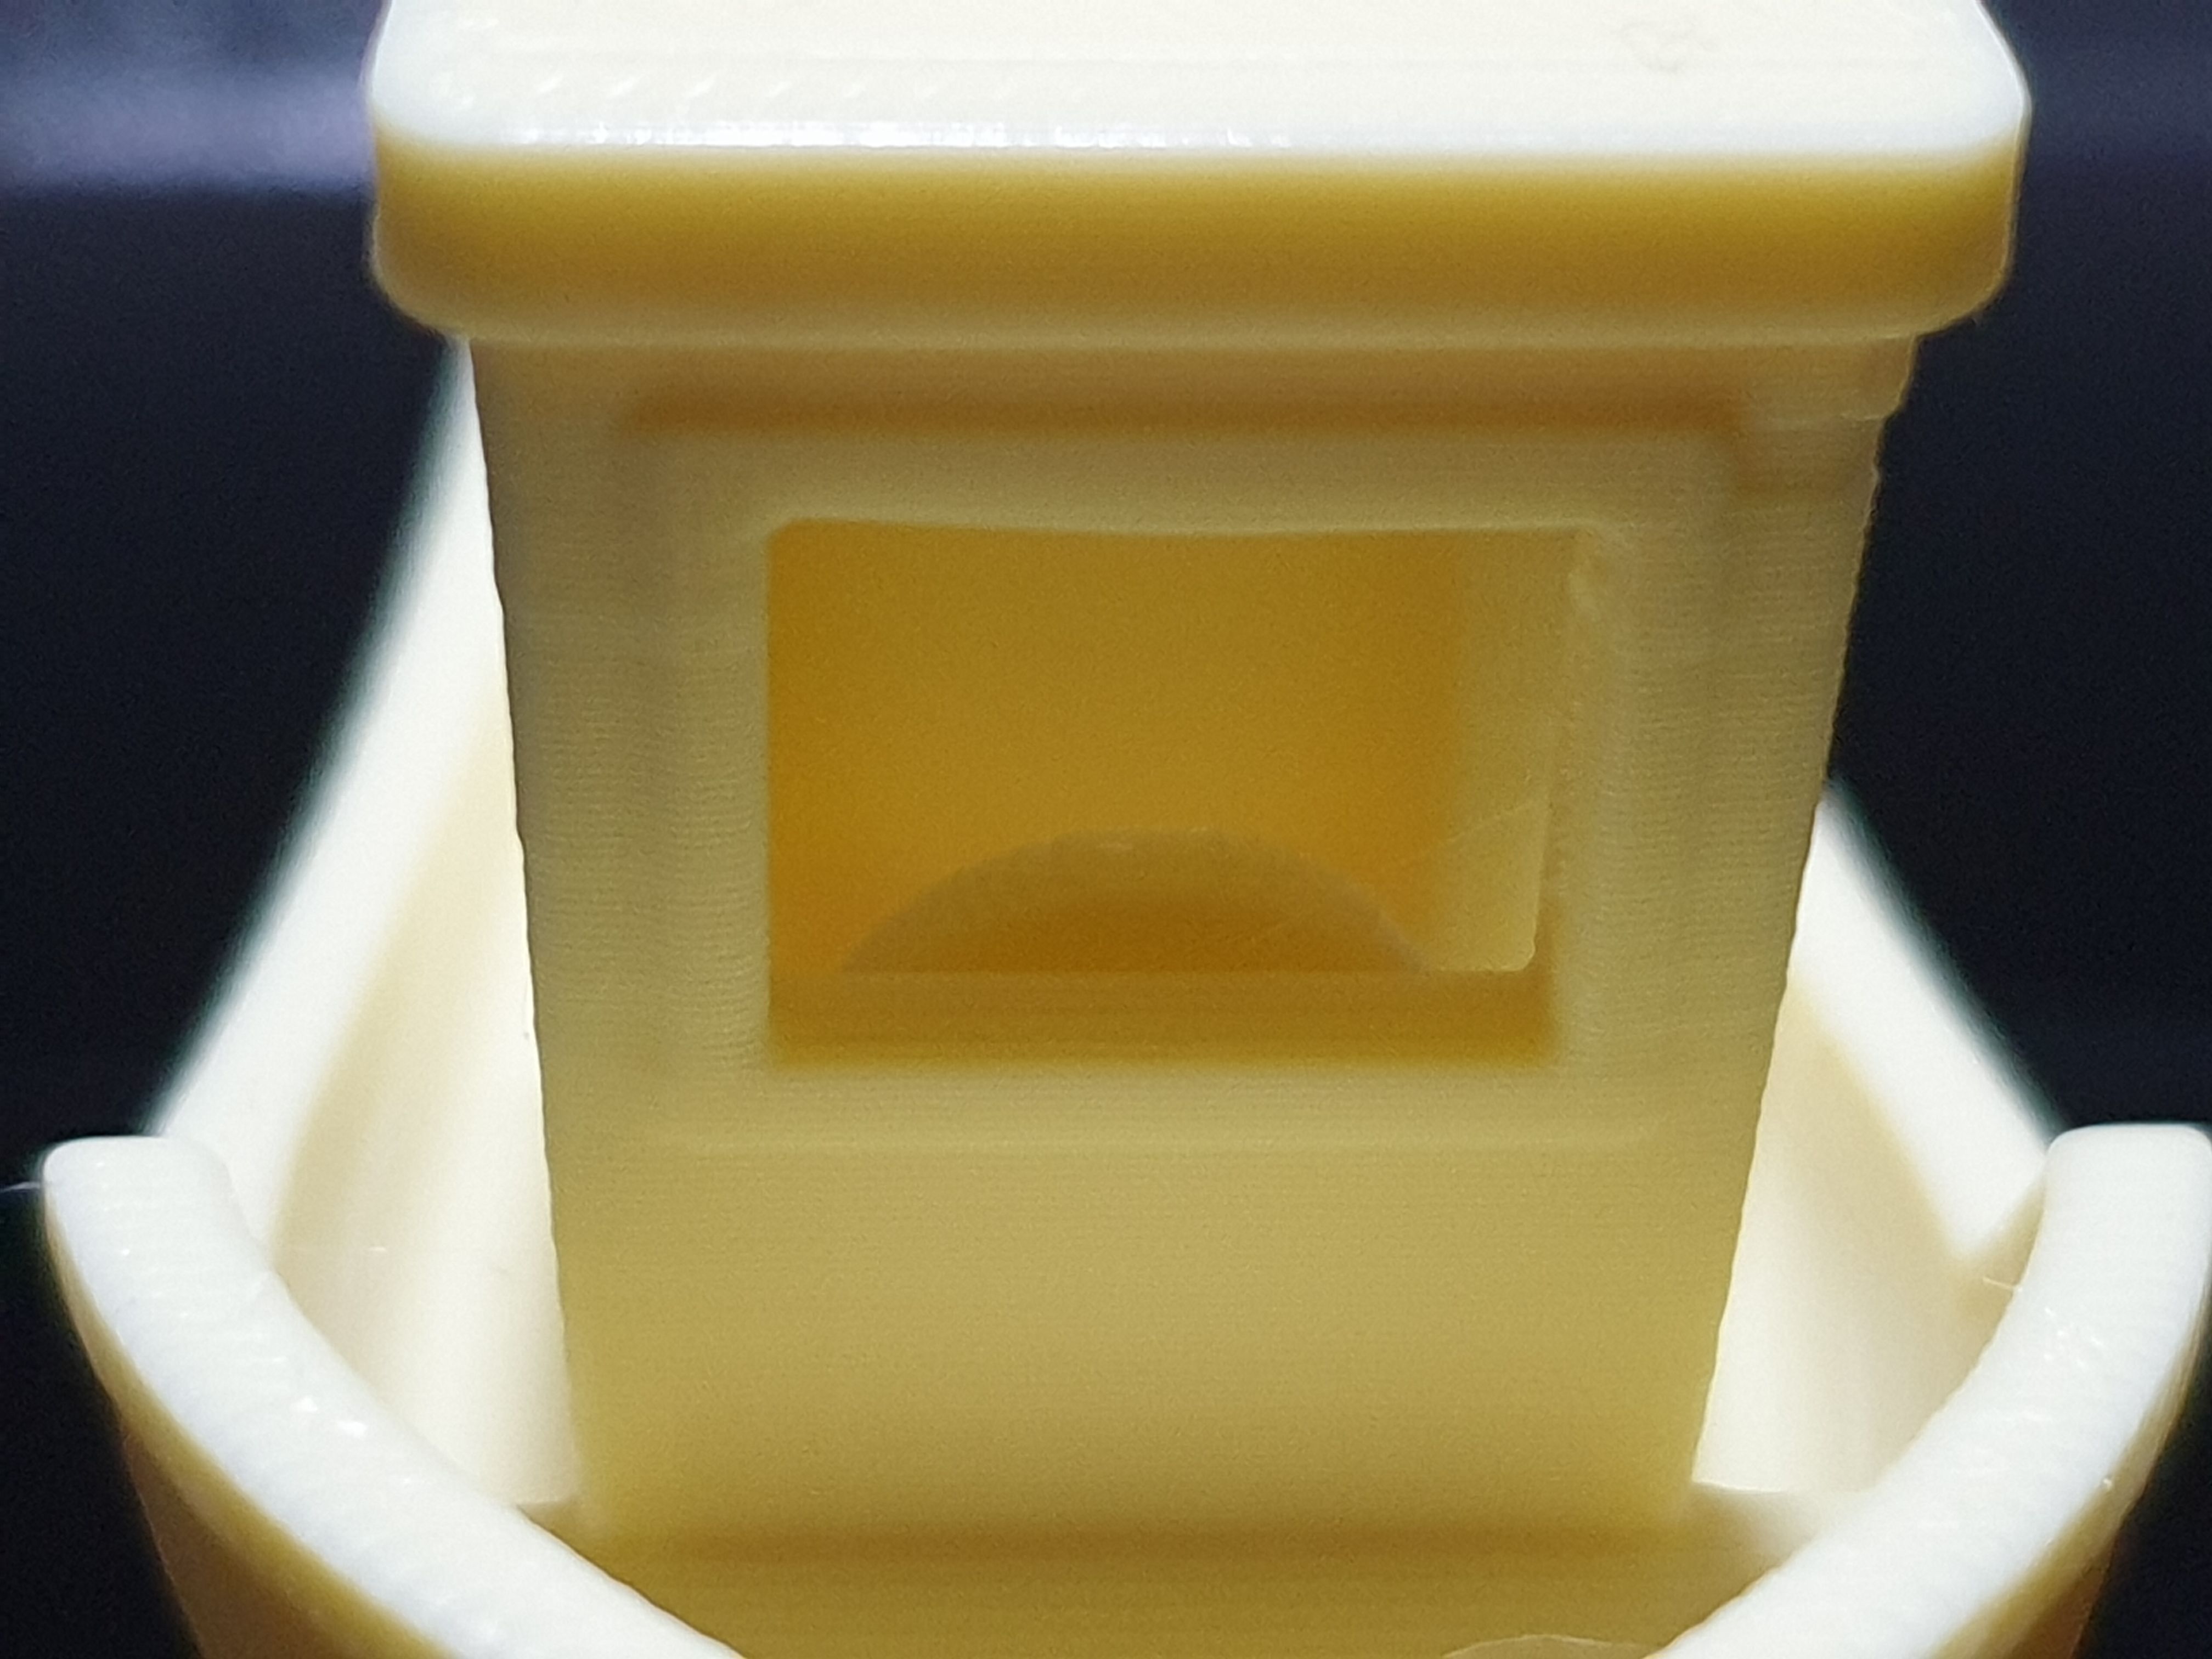
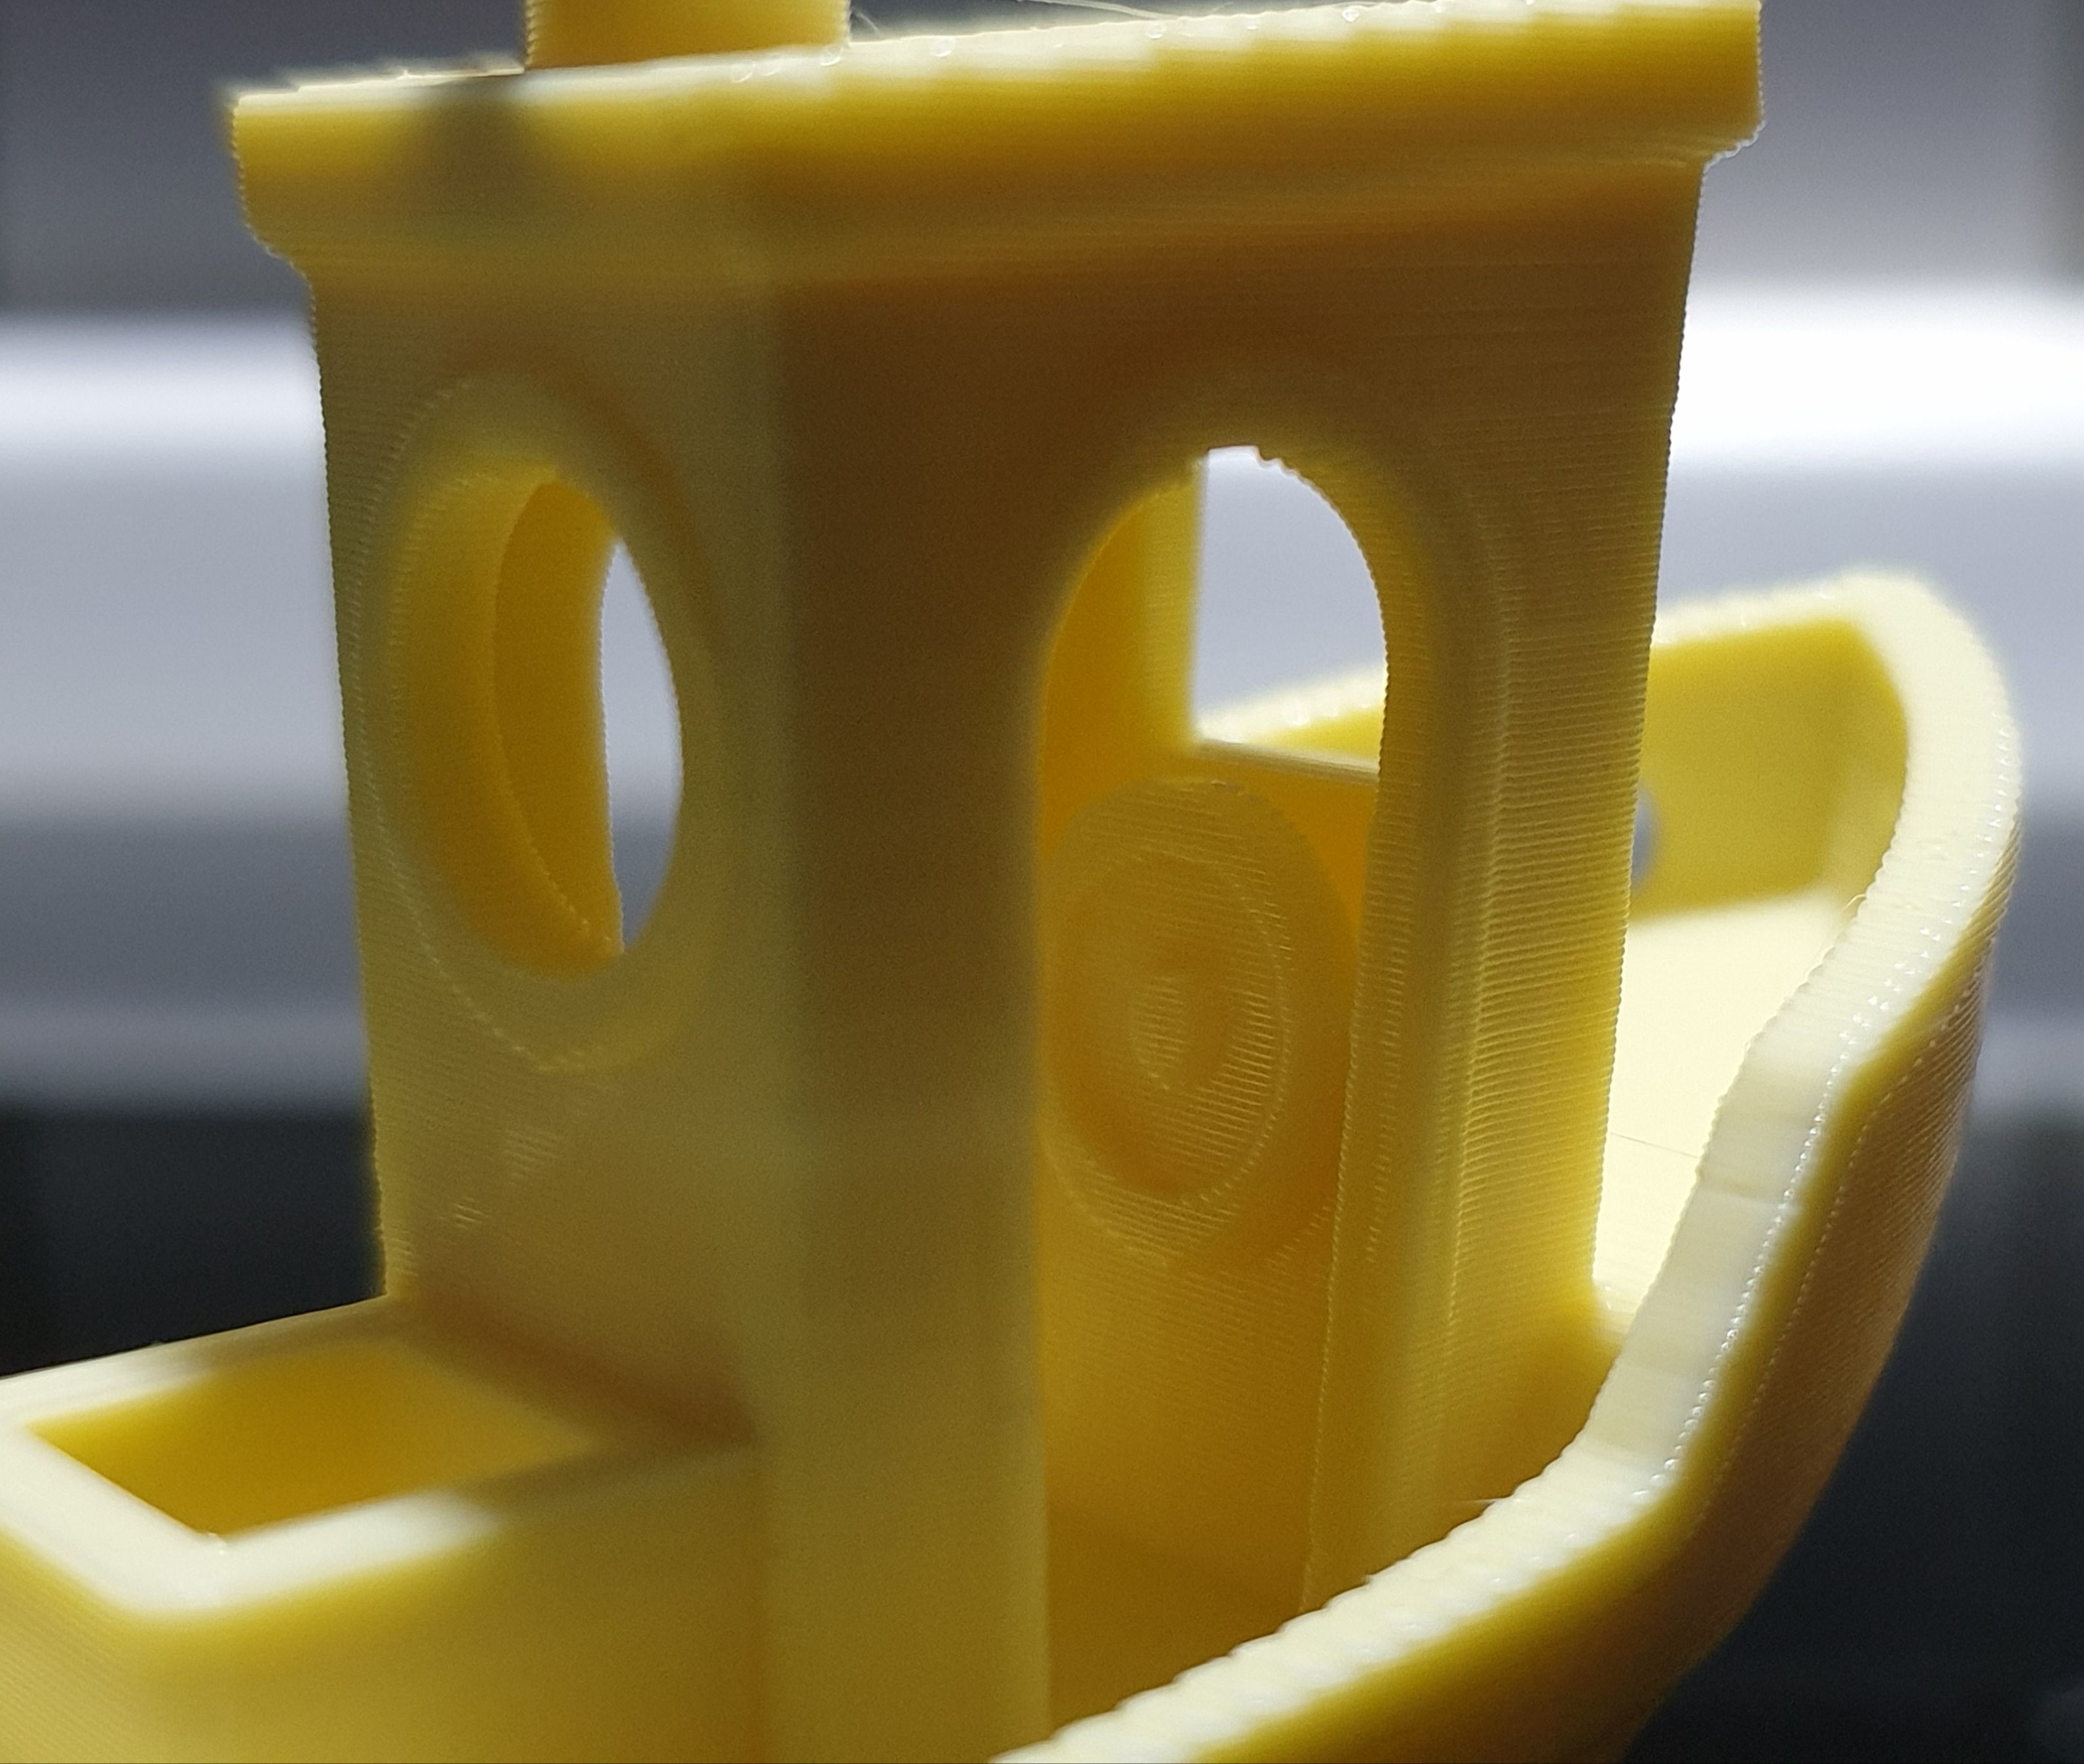
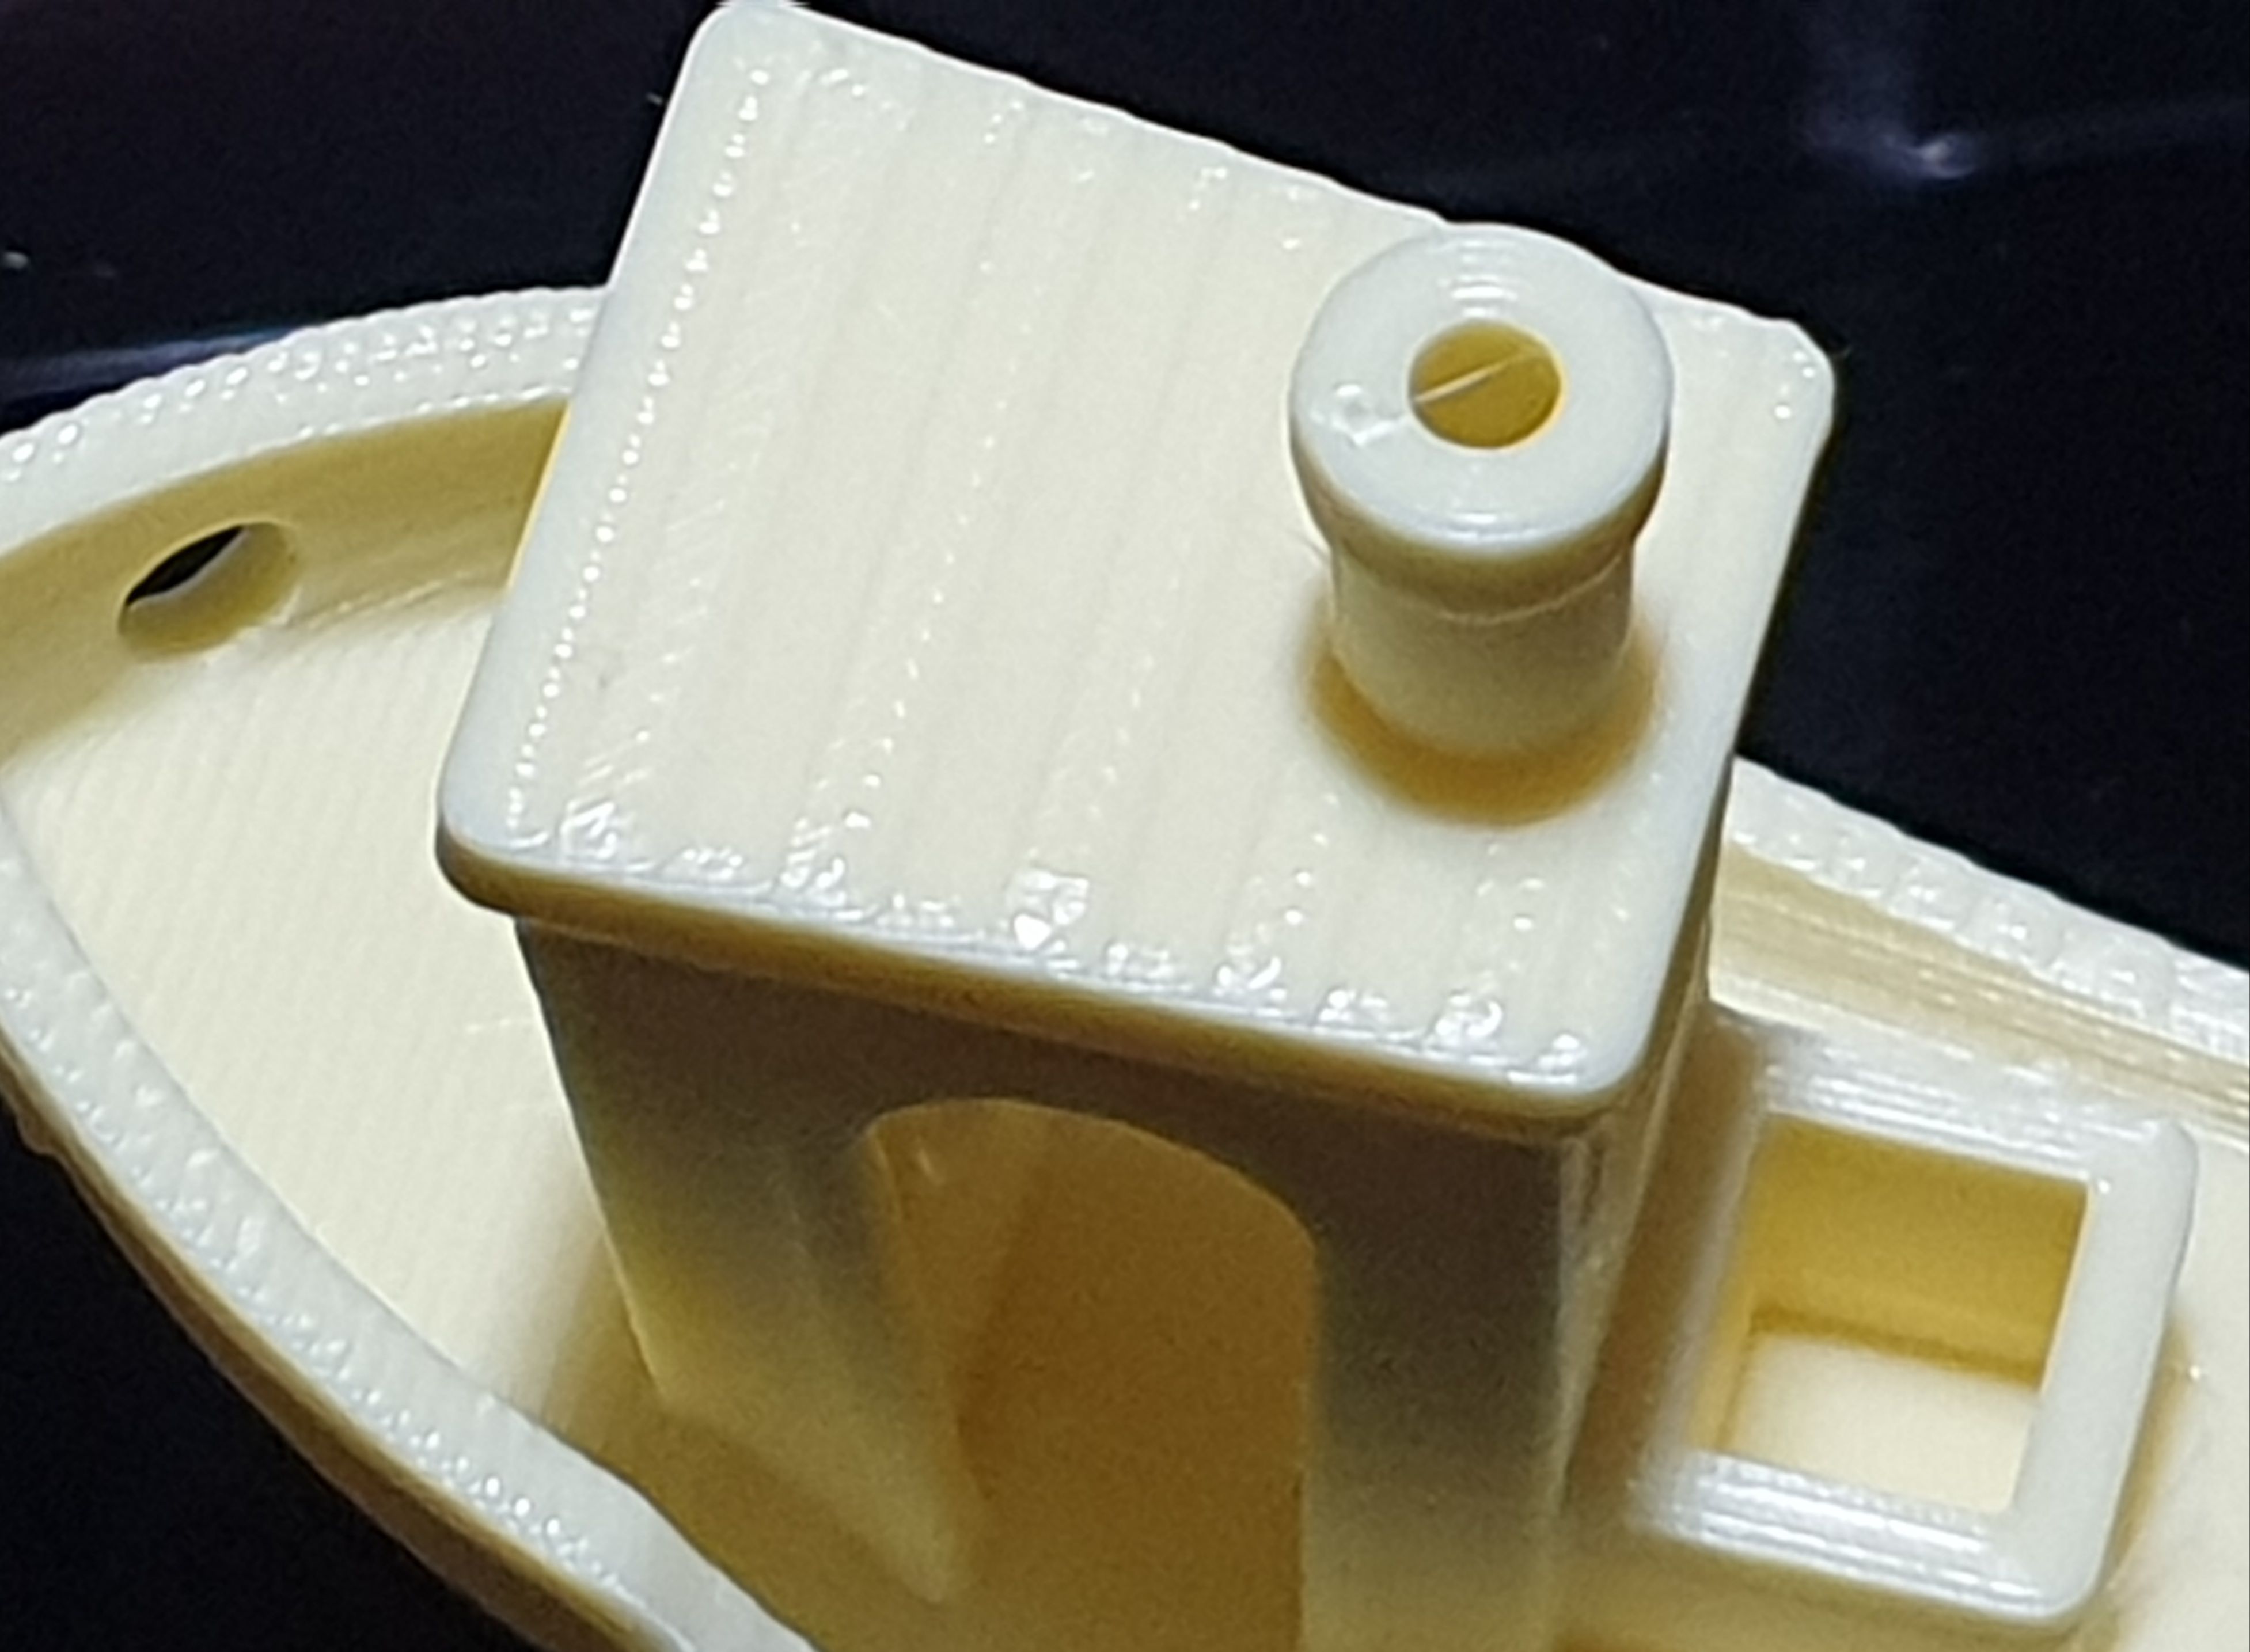
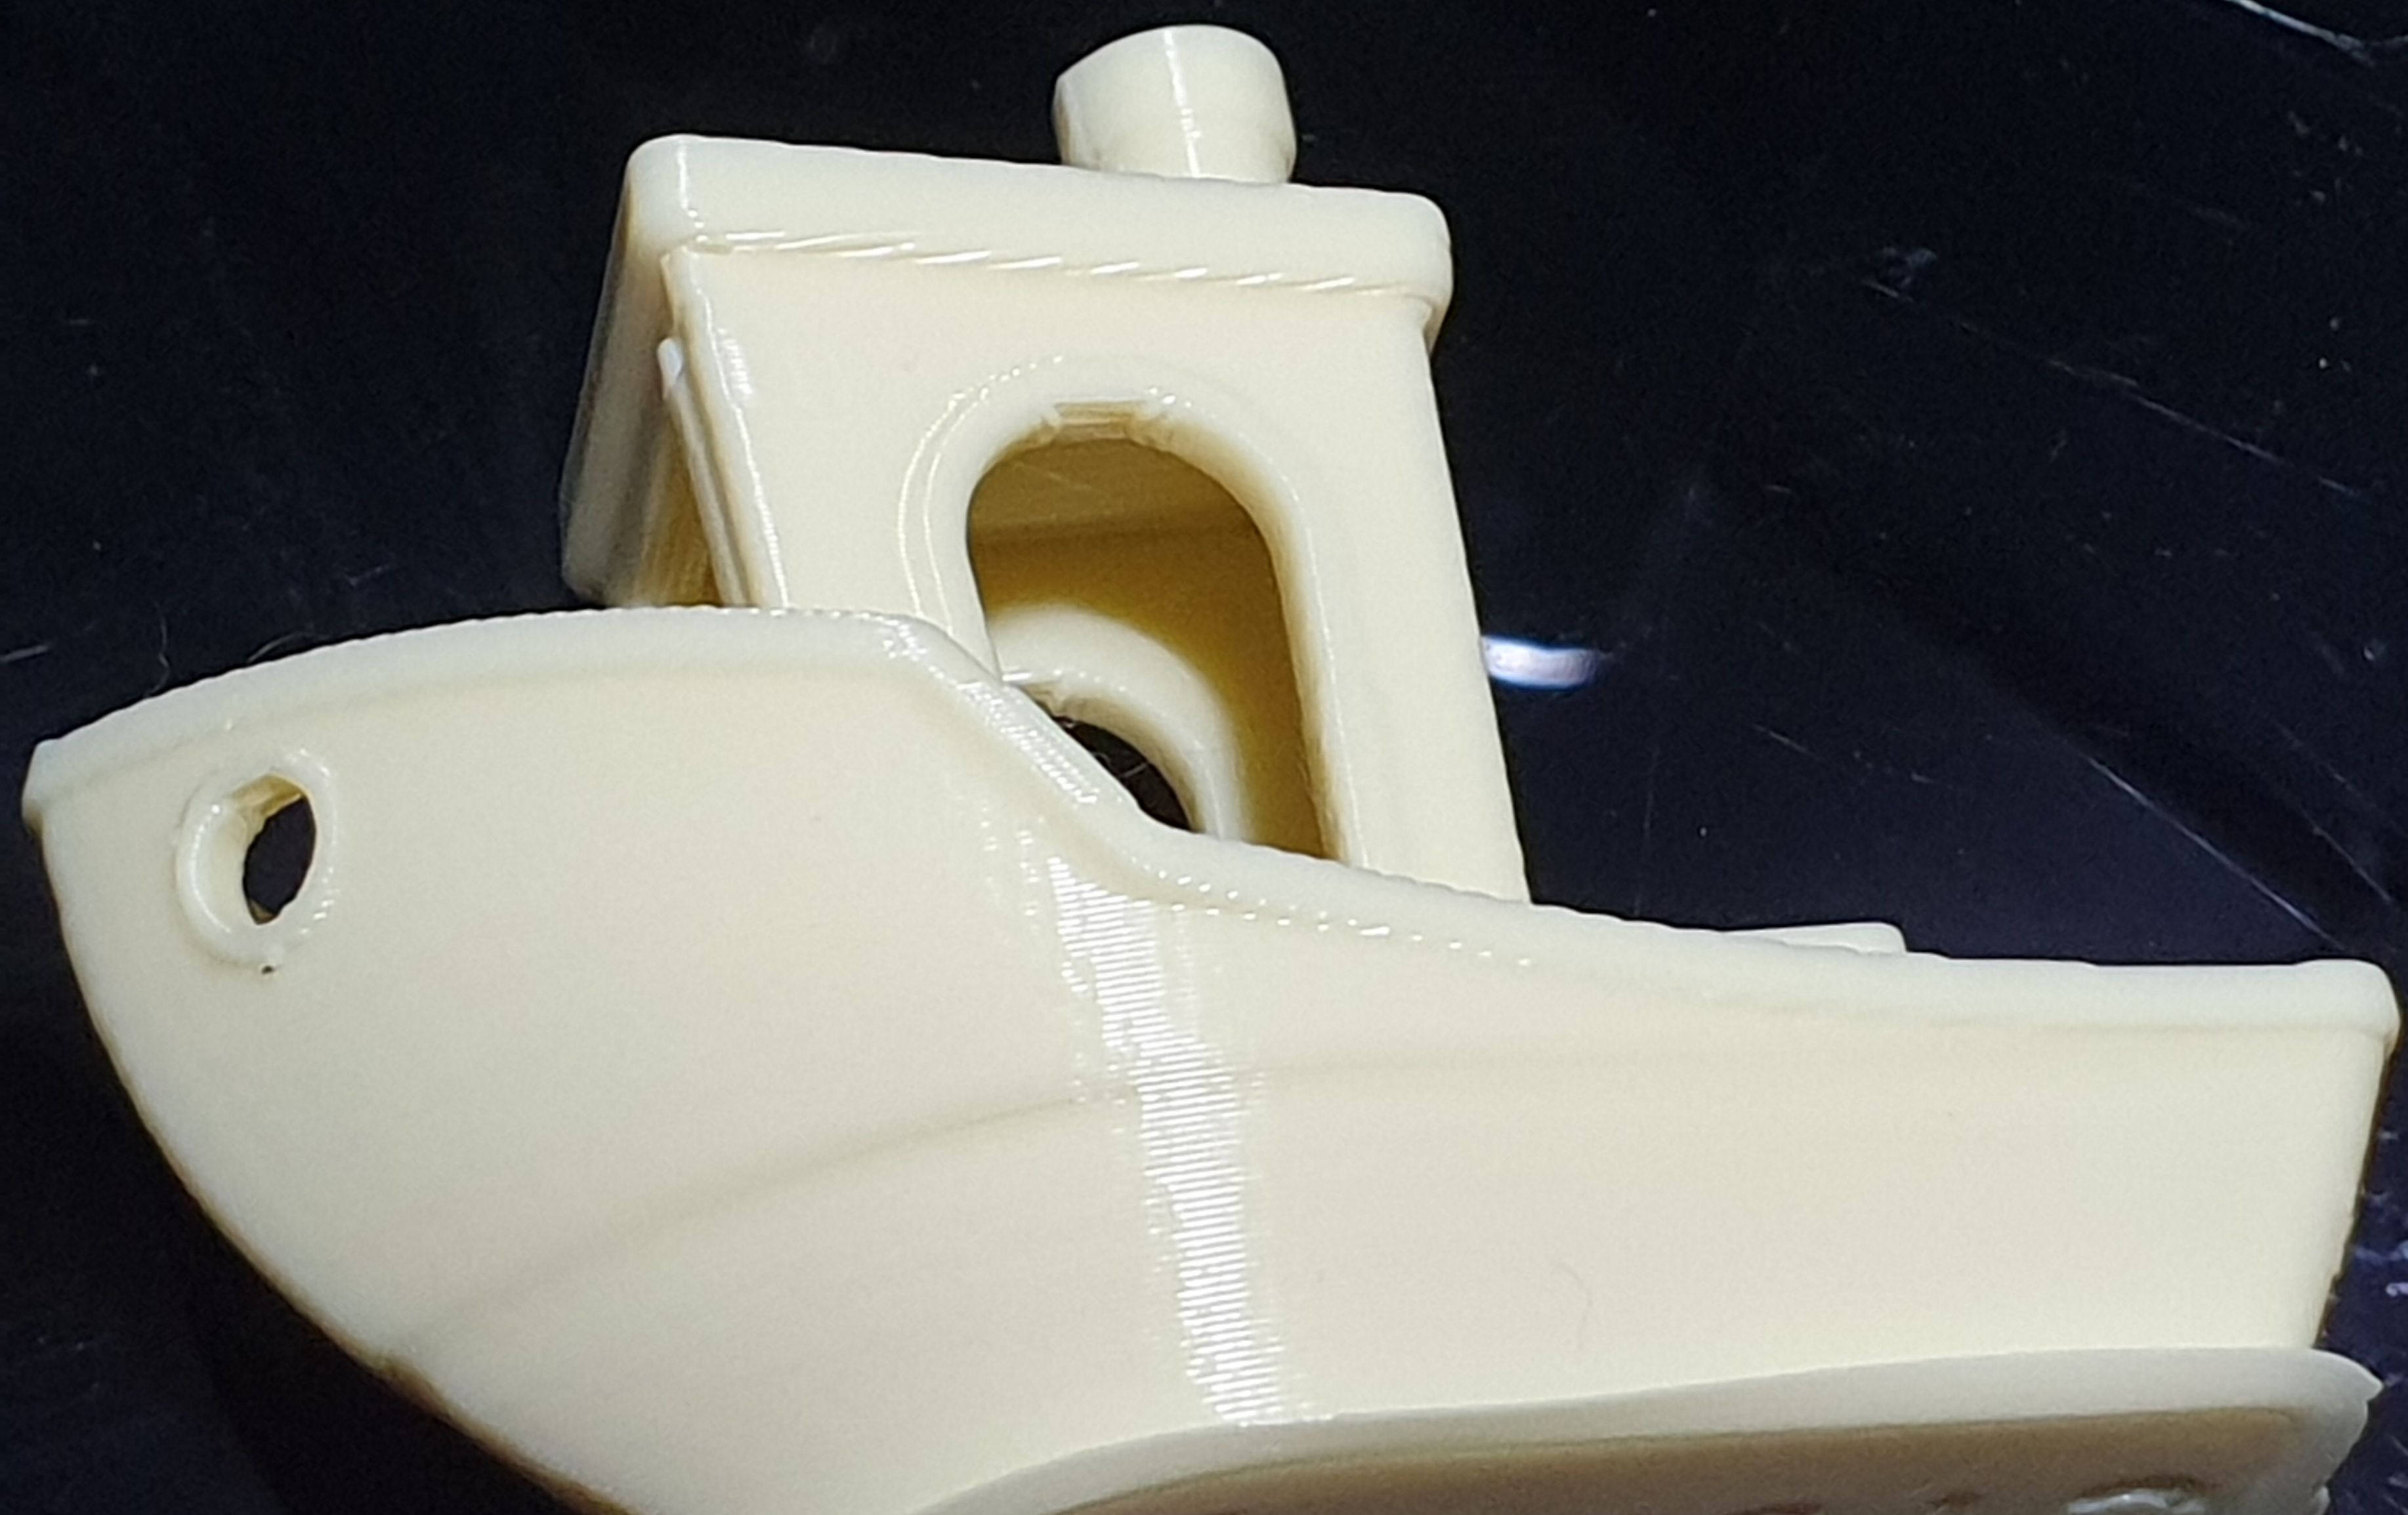
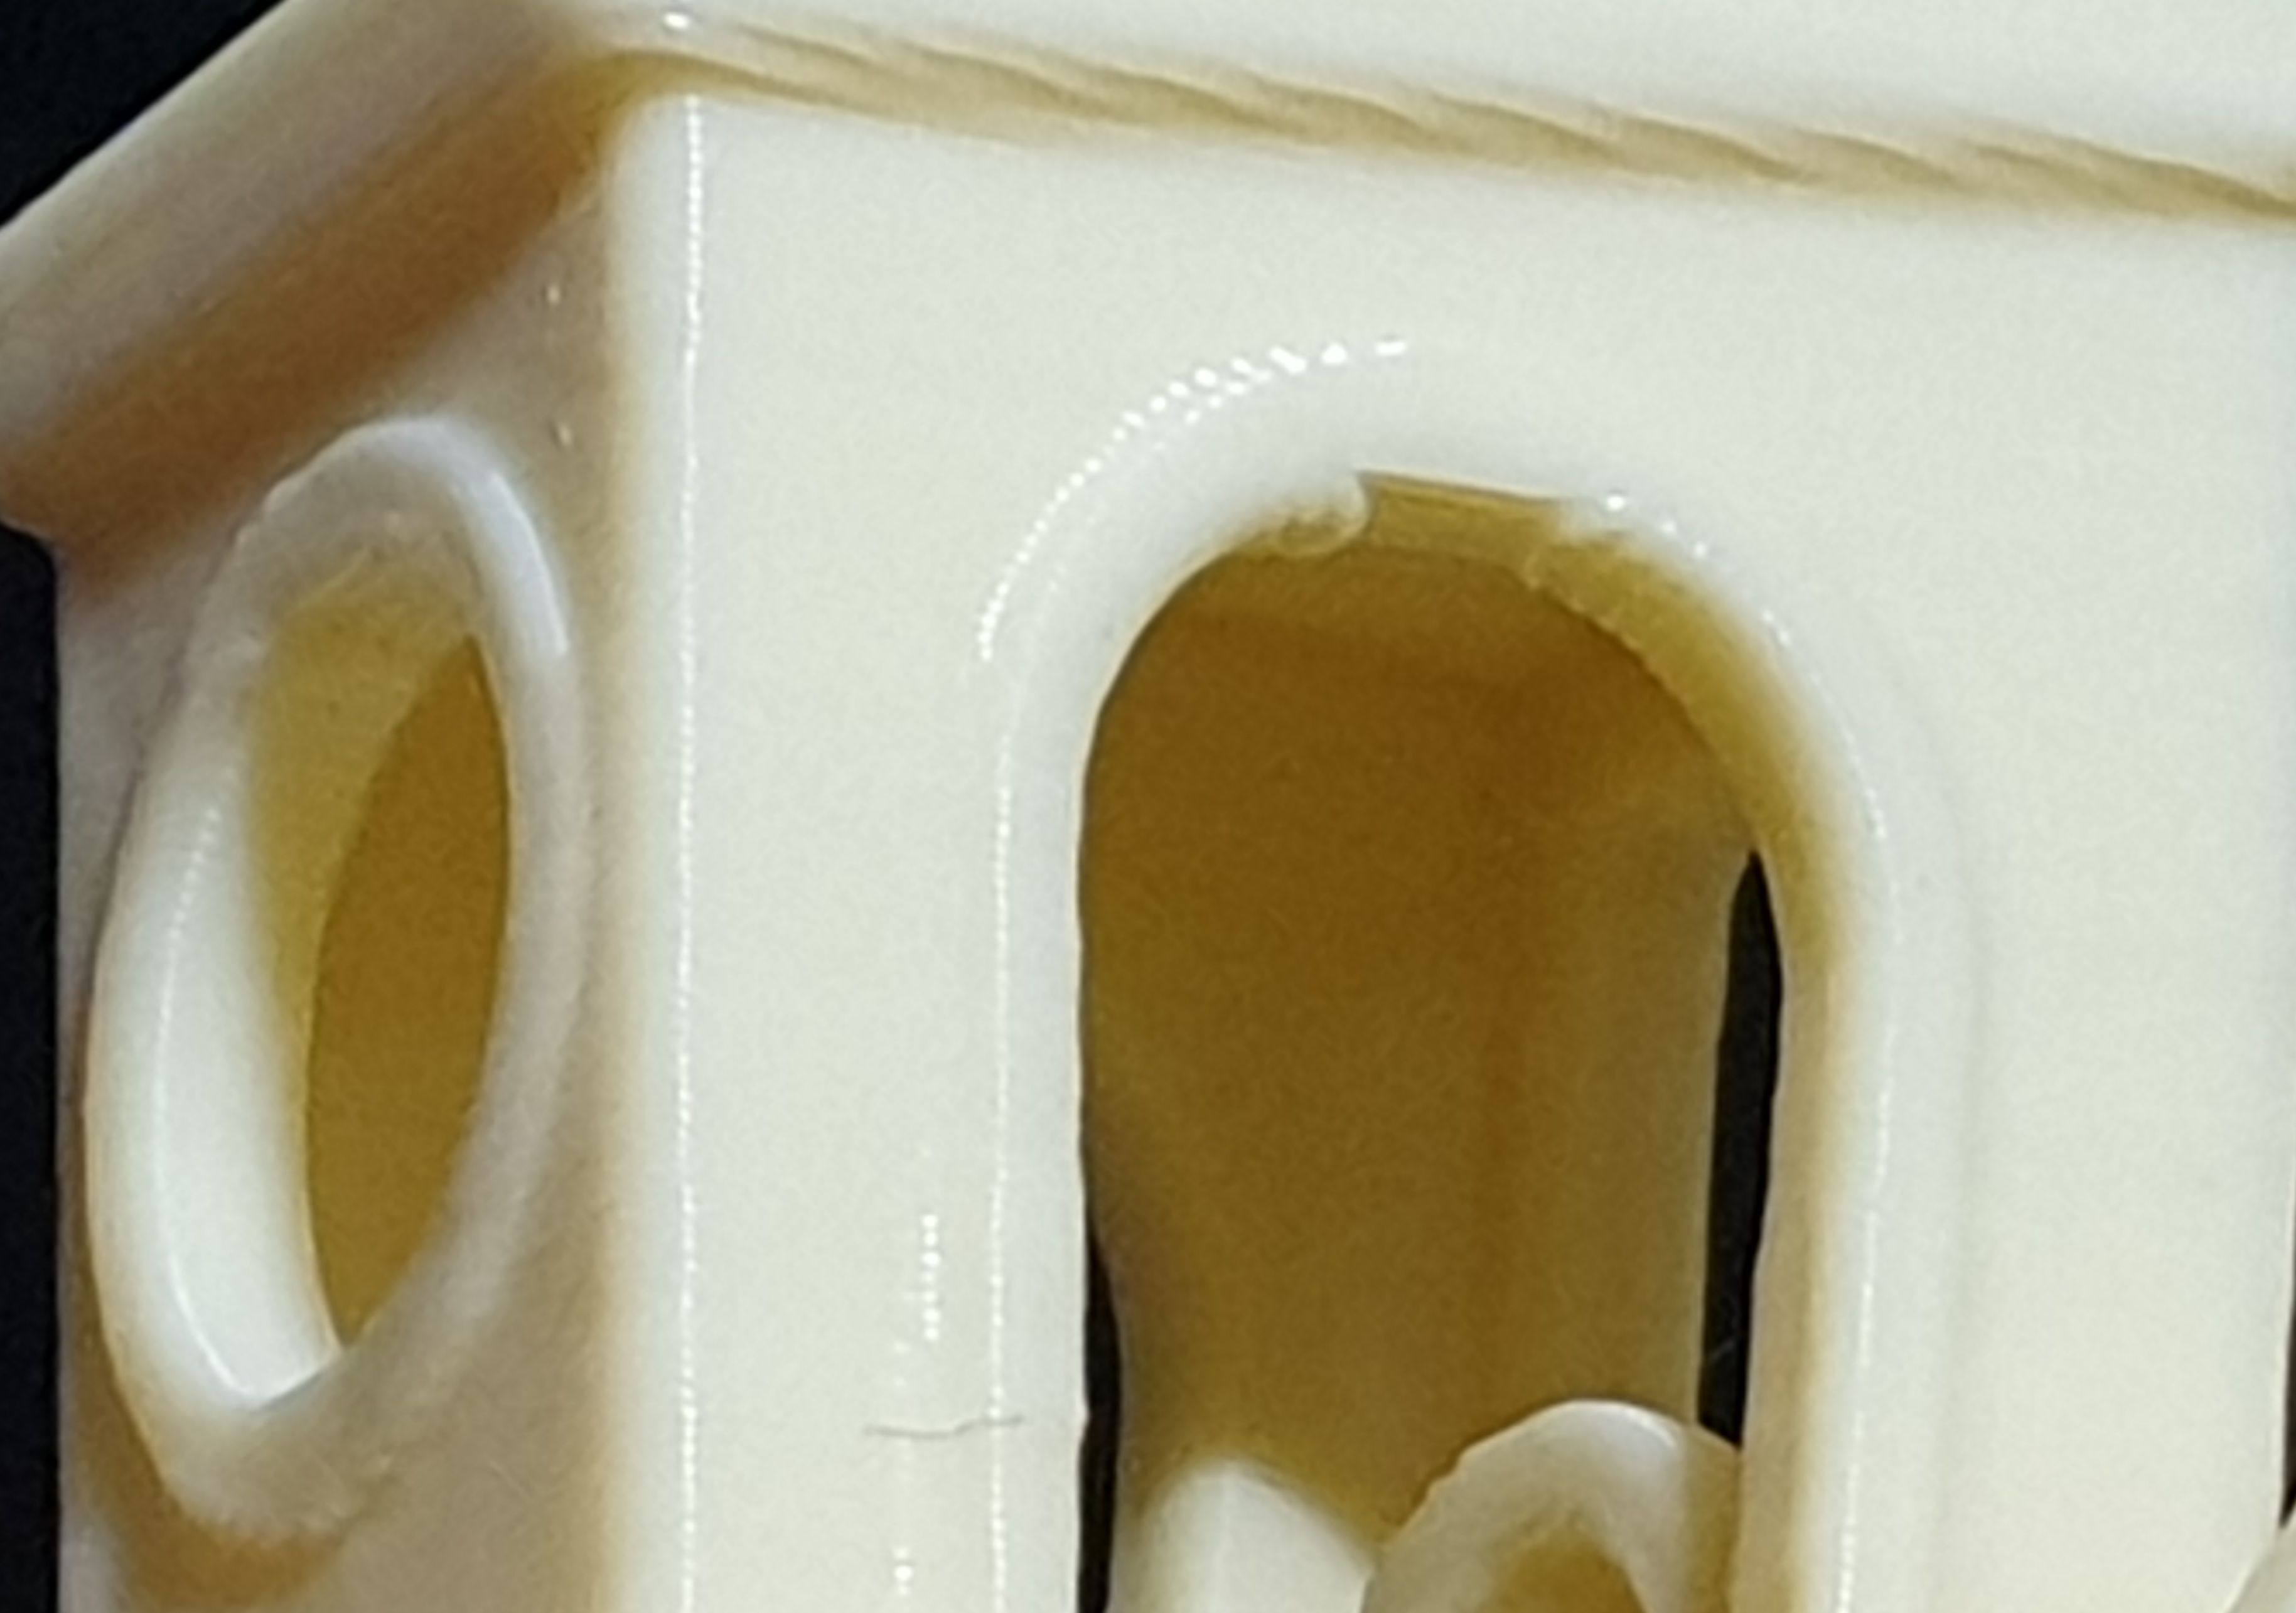
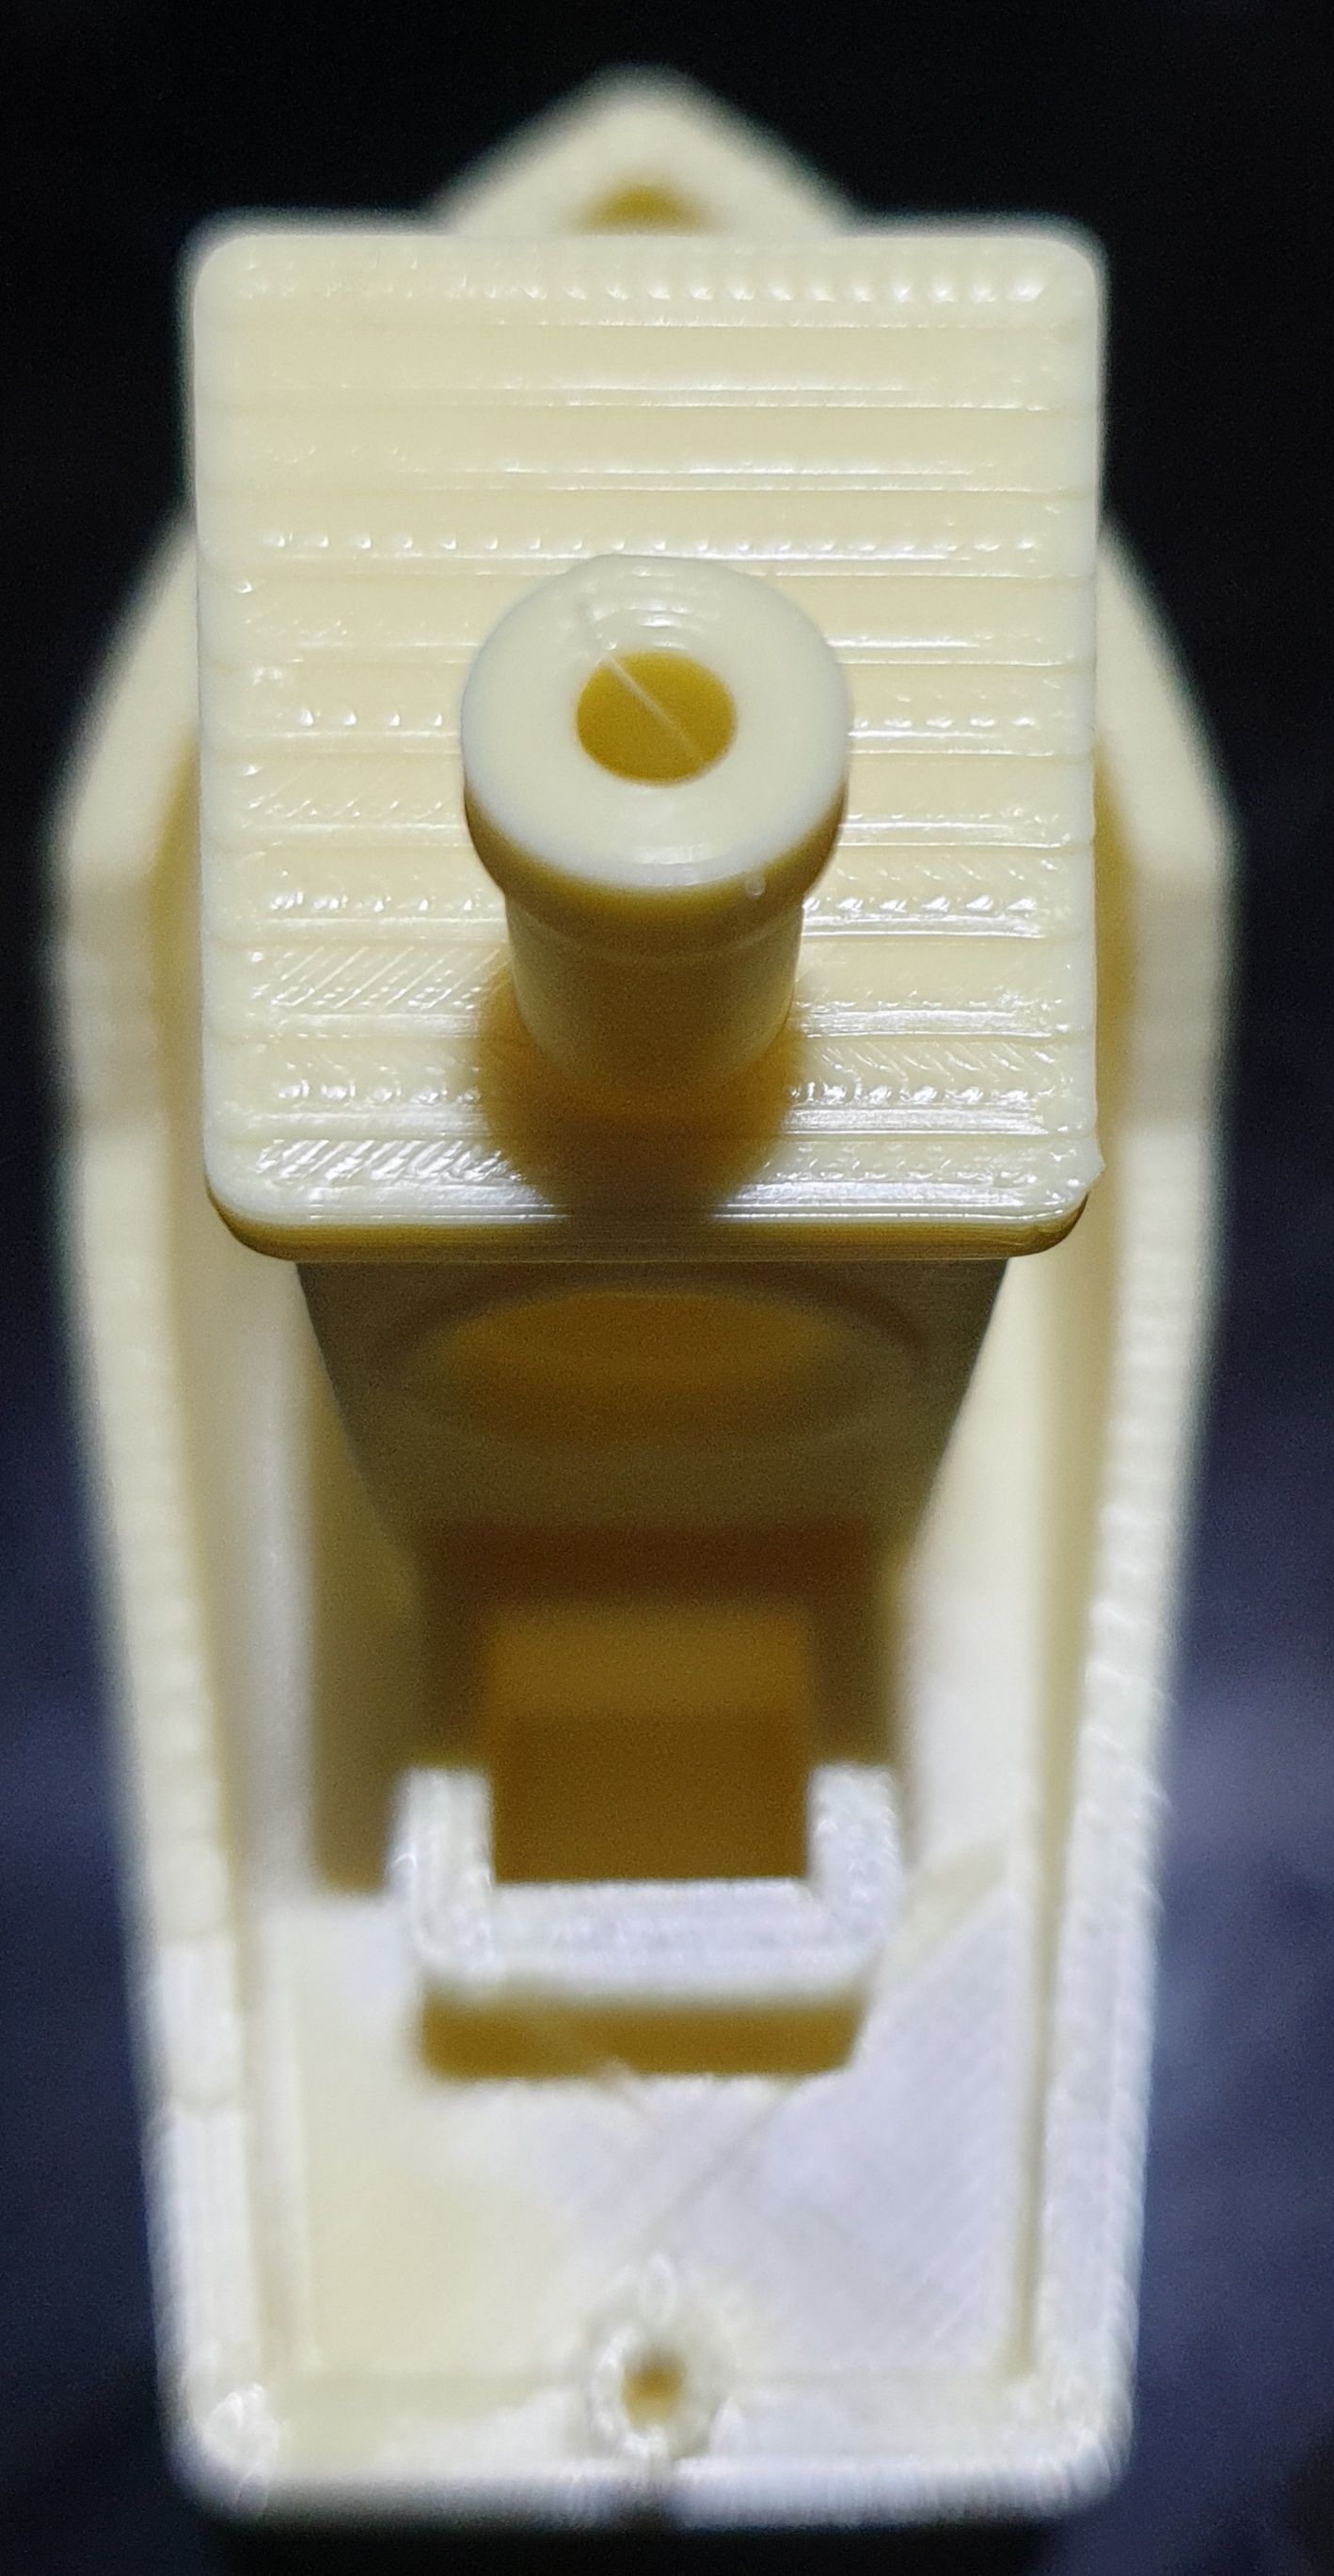
                                so this my result after frimware retraction setup,if you have somthing to make the print better tell me how 😉

                                i have printed faster and other widht

                                my actual config.g

                                ; Configuration file for Duet WiFi (firmware version 1.21)
                                ; executed by the firmware on start-up
                                ;
                                ; generated by RepRapFirmware Configuration Tool v2 on Tue May 07 2019 23:06:50 GMT+0100 (British Summer Time)
                                ; General preferences
                                G90 ; Send absolute coordinates...
                                M83 ; ...but relative extruder moves
                                ; Network
                                M550 P"Ender 5" ; Set machine name
                                M552 S1 ; Enable network
                                M586 P0 S1 ; Enable HTTP
                                M586 P1 S0 ; Disable FTP
                                M586 P2 S0 ; Disable Telnet
                                ; Drives
                                M569 P0 S1 ; Physical drive 0 goes forwards
                                M569 P1 S1 ; Physical drive 1 goes forwards
                                M569 P2 S0 ; Physical drive 2 goes backwards
                                M569 P3 S1 ; Physical drive 3 goes forwards
                                M584 X0 Y1 Z2 E3 ; set drive mapping
                                M350 X16 Y16 Z16 E16 I1 ; configure microstepping with interpolation
                                M92 X80.20 Y80.12 Z794.04 E277.89 ; set steps per mm
                                M566 X900.00 Y900.00 Z60.00 E4000.00 ; Set maximum instantaneous speed changes (mm/min)
                                M203 X15000.00 Y15000.00 Z600.00 E8000.00 ; Set maximum speeds (mm/min)
                                M201 X500.00 Y500.00 Z200.00 E8000.00 ; set accelerations (mm/s^2)
                                M906 X800 Y800 Z800 E1400 I30 ; set motor currents (mA) and motor idle factor in per cent
                                M84 S30 ; Set idle timeout
                                ; Axis Limits
                                M208 X0 Y0 Z0 S1 ; Set axis minima
                                M208 X220 Y220 Z300 S0 ; Set axis maxima
                                ; Endstops
                                M574 X1 S1 P"xstop" ; configure active-high endstop for low end on X via pin xstop
                                M574 Y1 S1 P"ystop" ; configure active-high endstop for low end on Y via pin ystop
                                M574 Z1 S2 ; configure Z-probe endstop for low end on Z
                                ;Filament Sensors
                                M591 D0 P2 C"!e0_stop" S1 ;Extruder 1(0)
                                M950 S0 C"exp.heater7" ; create servo pin 0 for BLTouch
                                M558 P9 C"^zprobe.in" H3 F60 T6000 A10 R0.75 S0.003 ; set Z probe type to bltouch and the dive height + speeds
                                G31 P500 X41.2 Y4.5 Z2.498 ; set Z probe trigger value, offset and trigger height
                                M557 X41.2:221.2 Y4.5:219.5 S20 ; define mesh grid
                                M671 X28.8:198.8:198:28.8 Y24:24:194:194
                                ; Heaters
                                M308 S0 P"bedtemp" Y"thermistor" T100000 B3950 ; configure sensor 0 as thermistor on pin bedtemp
                                M950 H0 C"bedheat" T0 ; create bed heater output on bedheat and map it to sensor 0
                                M307 H0 B0 S1.00 ; disable bang-bang mode for the bed heater and set PWM limit
                                M140 H0 ; map heated bed to heater 0
                                M143 H0 S120 ; set temperature limit for heater 0 to 120C
                                M308 S1 P"e0temp" Y"thermistor" T98801 B4185 ; configure sensor 1 as thermistor on pin e0temp
                                M950 H1 C"e0heat" T1 ; create nozzle heater output on e0heat and map it to sensor 1
                                M143 H1 S300 ; set temperature limit for heater 1 to 300C
                                M307 H1 B0 S1.00
                                ; Fans
                                M950 F0 C"fan0" Q500 ; create fan 0 on pin fan0 and set its frequency
                                M106 P0 S0 H-1 ; set fan 0 value. Thermostatic control is turned off
                                M950 F1 C"fan1" Q500 ; create fan 1 on pin fan1 and set its frequency
                                M106 P1 S1 H1 T45 ; set fan 1 value. Thermostatic control is turned on
                                ; Tools
                                M563 P0 D0 H1 ; Define tool 0 S3D
                                ;M563 P0 D0 H1 F0 ; Für Prusa Slicer
                                G10 P0 X0 Y0 Z0 ; Set tool 0 axis offsets
                                G10 P0 R0 S0 ; Set initial tool 0 active and standby temperatures to 0C
                                ; Automatic saving after power loss is not enabled
                                ; Custom settings are not configured
                                M575 P1 S1 B57600 ; enable support for PanelDue
                                M572 D0 S0.05 ; Pressure Advance
                                M207 P0 S0.25 R0 F2100 T2100 Z0 ; Firmware Retraction
                                M204 P500 T2000
                                M501

                                Changed only this the rest are the same as i posted before:
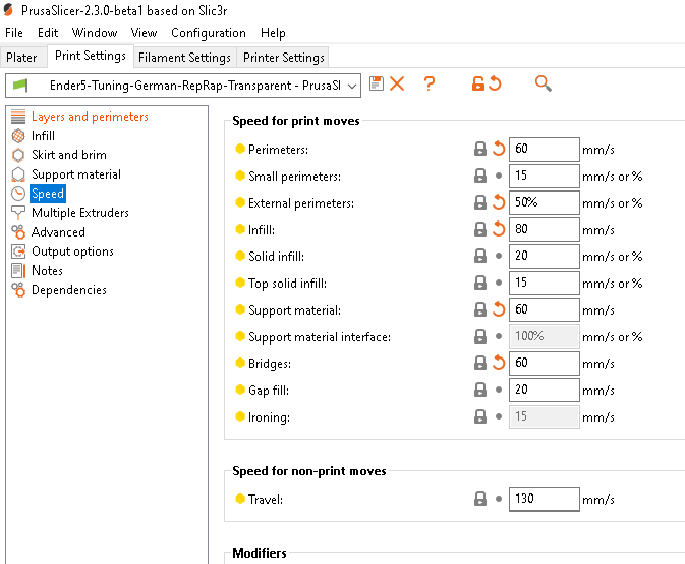
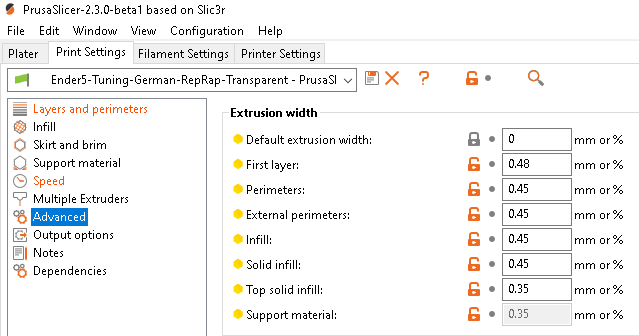
                                Slicer settings:

                                slicer.png
                                slicer1.png

                                Benchy:

                                20201206_080600.jpg
                                20201206_080858.jpg
                                20201206_080923.jpg
                                20201206_080952.jpg
                                20201206_081015.jpg
                                20201206_081032.jpg
                                20201206_081051.jpg
                                20201206_081114.jpg
                                20201206_081152.jpg

                                1 Reply Last reply Reply Quote 0
                                • undefined
                                  Veti
                                  last edited by 6 Dec 2020, 07:39

                                  that look good

                                  1 Reply Last reply Reply Quote 0
                                  • undefined
                                    Phaedrux Moderator
                                    last edited by 6 Dec 2020, 18:12

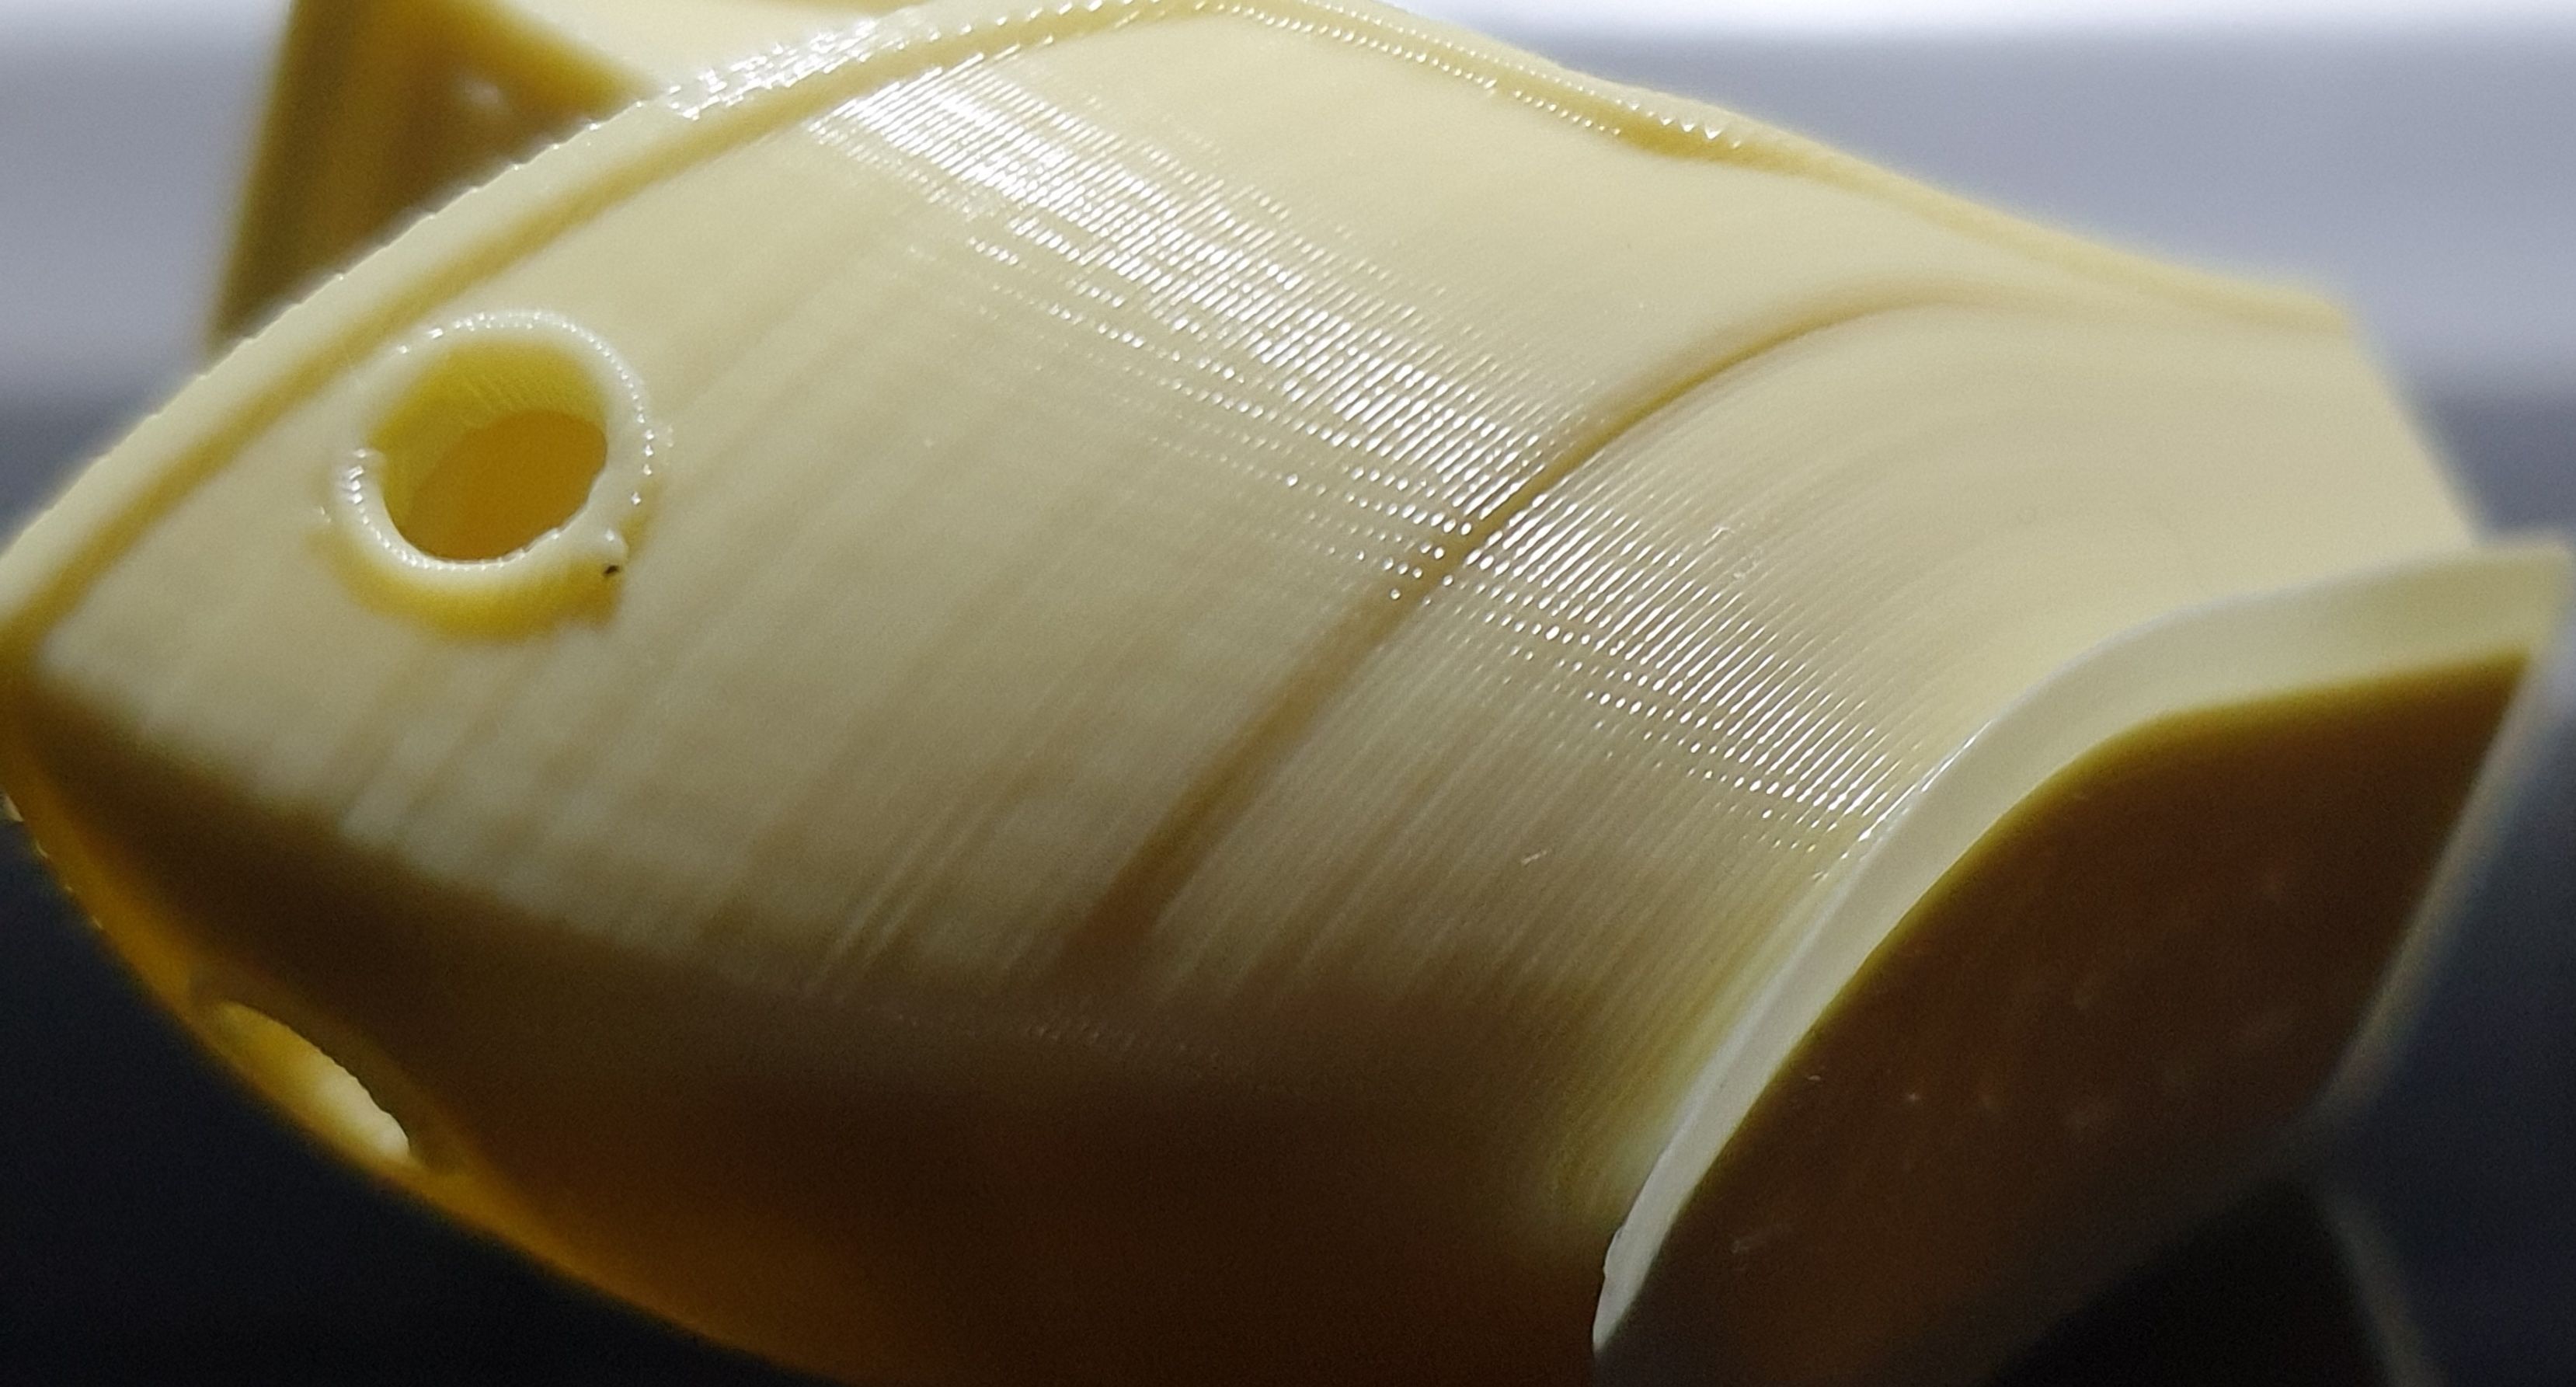
                                    Looking very good. The benchy hull line is a known artifact, likely due to cooling shrinkage.

                                    https://help.prusa3d.com/en/article/the-benchy-hull-line_124745#:~:text=The 3DBenchy is a 3D,testing and benchmarking 3D printers.&text=Ever since it's release%2C one,the infamous Benchy hull line.

                                    Z-Bot CoreXY Build | Thingiverse Profile

                                    undefined 1 Reply Last reply 6 Dec 2020, 18:57 Reply Quote 0
                                    • undefined
                                      lui2004 @Phaedrux
                                      last edited by lui2004 12 Jun 2020, 19:02 6 Dec 2020, 18:57

                                      @Phaedrux ok i will read it.

                                      It can be because i have only 40% partfan because i use Petg.

                                      1 Reply Last reply Reply Quote 0
                                      • undefined
                                        Veti
                                        last edited by 6 Dec 2020, 18:58

                                        thats a petg print? for that its very good.

                                        undefined 1 Reply Last reply 6 Dec 2020, 19:01 Reply Quote 0
                                        • undefined
                                          lui2004 @Veti
                                          last edited by 6 Dec 2020, 19:01

                                          @Veti yes its petg 👍🏼

                                          1 Reply Last reply Reply Quote 0
                                          97 out of 164
                                          • First post
                                            97/164
                                            Last post
                                          Unless otherwise noted, all forum content is licensed under CC-BY-SA