New to the duet COMPLETE NEWBIE
-
@Phaedrux said in New to the duet COMPLETE NEWBIE:
G1 H1 Z-400 F600
It just sits there. when i press home z it goes higher. when i try to bring it back down it does nothing.
-
@Phaedrux
; homeall.g
; called to home all axes
;
; generated by RepRapFirmware Configuration Tool v3.2.1 on Tue Jan 19 2021 17:33:25 GMT-0500 (Eastern Standard Time)G91 ; relative positioning
G1 H2 Z18 F6000 ; lift Z relative to current position
G1 H1 X-300 Y-300 F3000 ; move quickly to X and Y axis endstops and stop there (first pass)
G1 X5 Y5 F6000 ; go back a few mm
G1 H1 X-300 Y-300 F3600 ; move slowly to X and Y axis endstops once more (second pass)
G1 H1 Z-400 F3600 ; move Z down stopping at the endstop
G1 Z5 ; back off
G1 H1 Z-400 F600 ; home z again slowly
G90 ; absolute positioning; homez.g
; called to home the Z axis
;
; generated by RepRapFirmware Configuration Tool v3.2.1 on Tue Jan 19 2021 17:33:25 GMT-0500 (Eastern Standard Time)
G91 ; relative positioning
G1 H2 Z18 F6000 ; lift Z relative to current position
G1 H1 Z-405 F6000 ; move Z down until the endstop is triggered
G92 Z0 ; set Z position to axis minimum (you may want to adjust this)
; set Z position to axis minimum (you may want to adjust this) -
And does it set the current position to Z0?
Check M119 again please. It sounds like the endstop is already triggered at the start, so it won't move any further.
-
@Phaedrux said in New to the duet COMPLETE NEWBIE:
M119
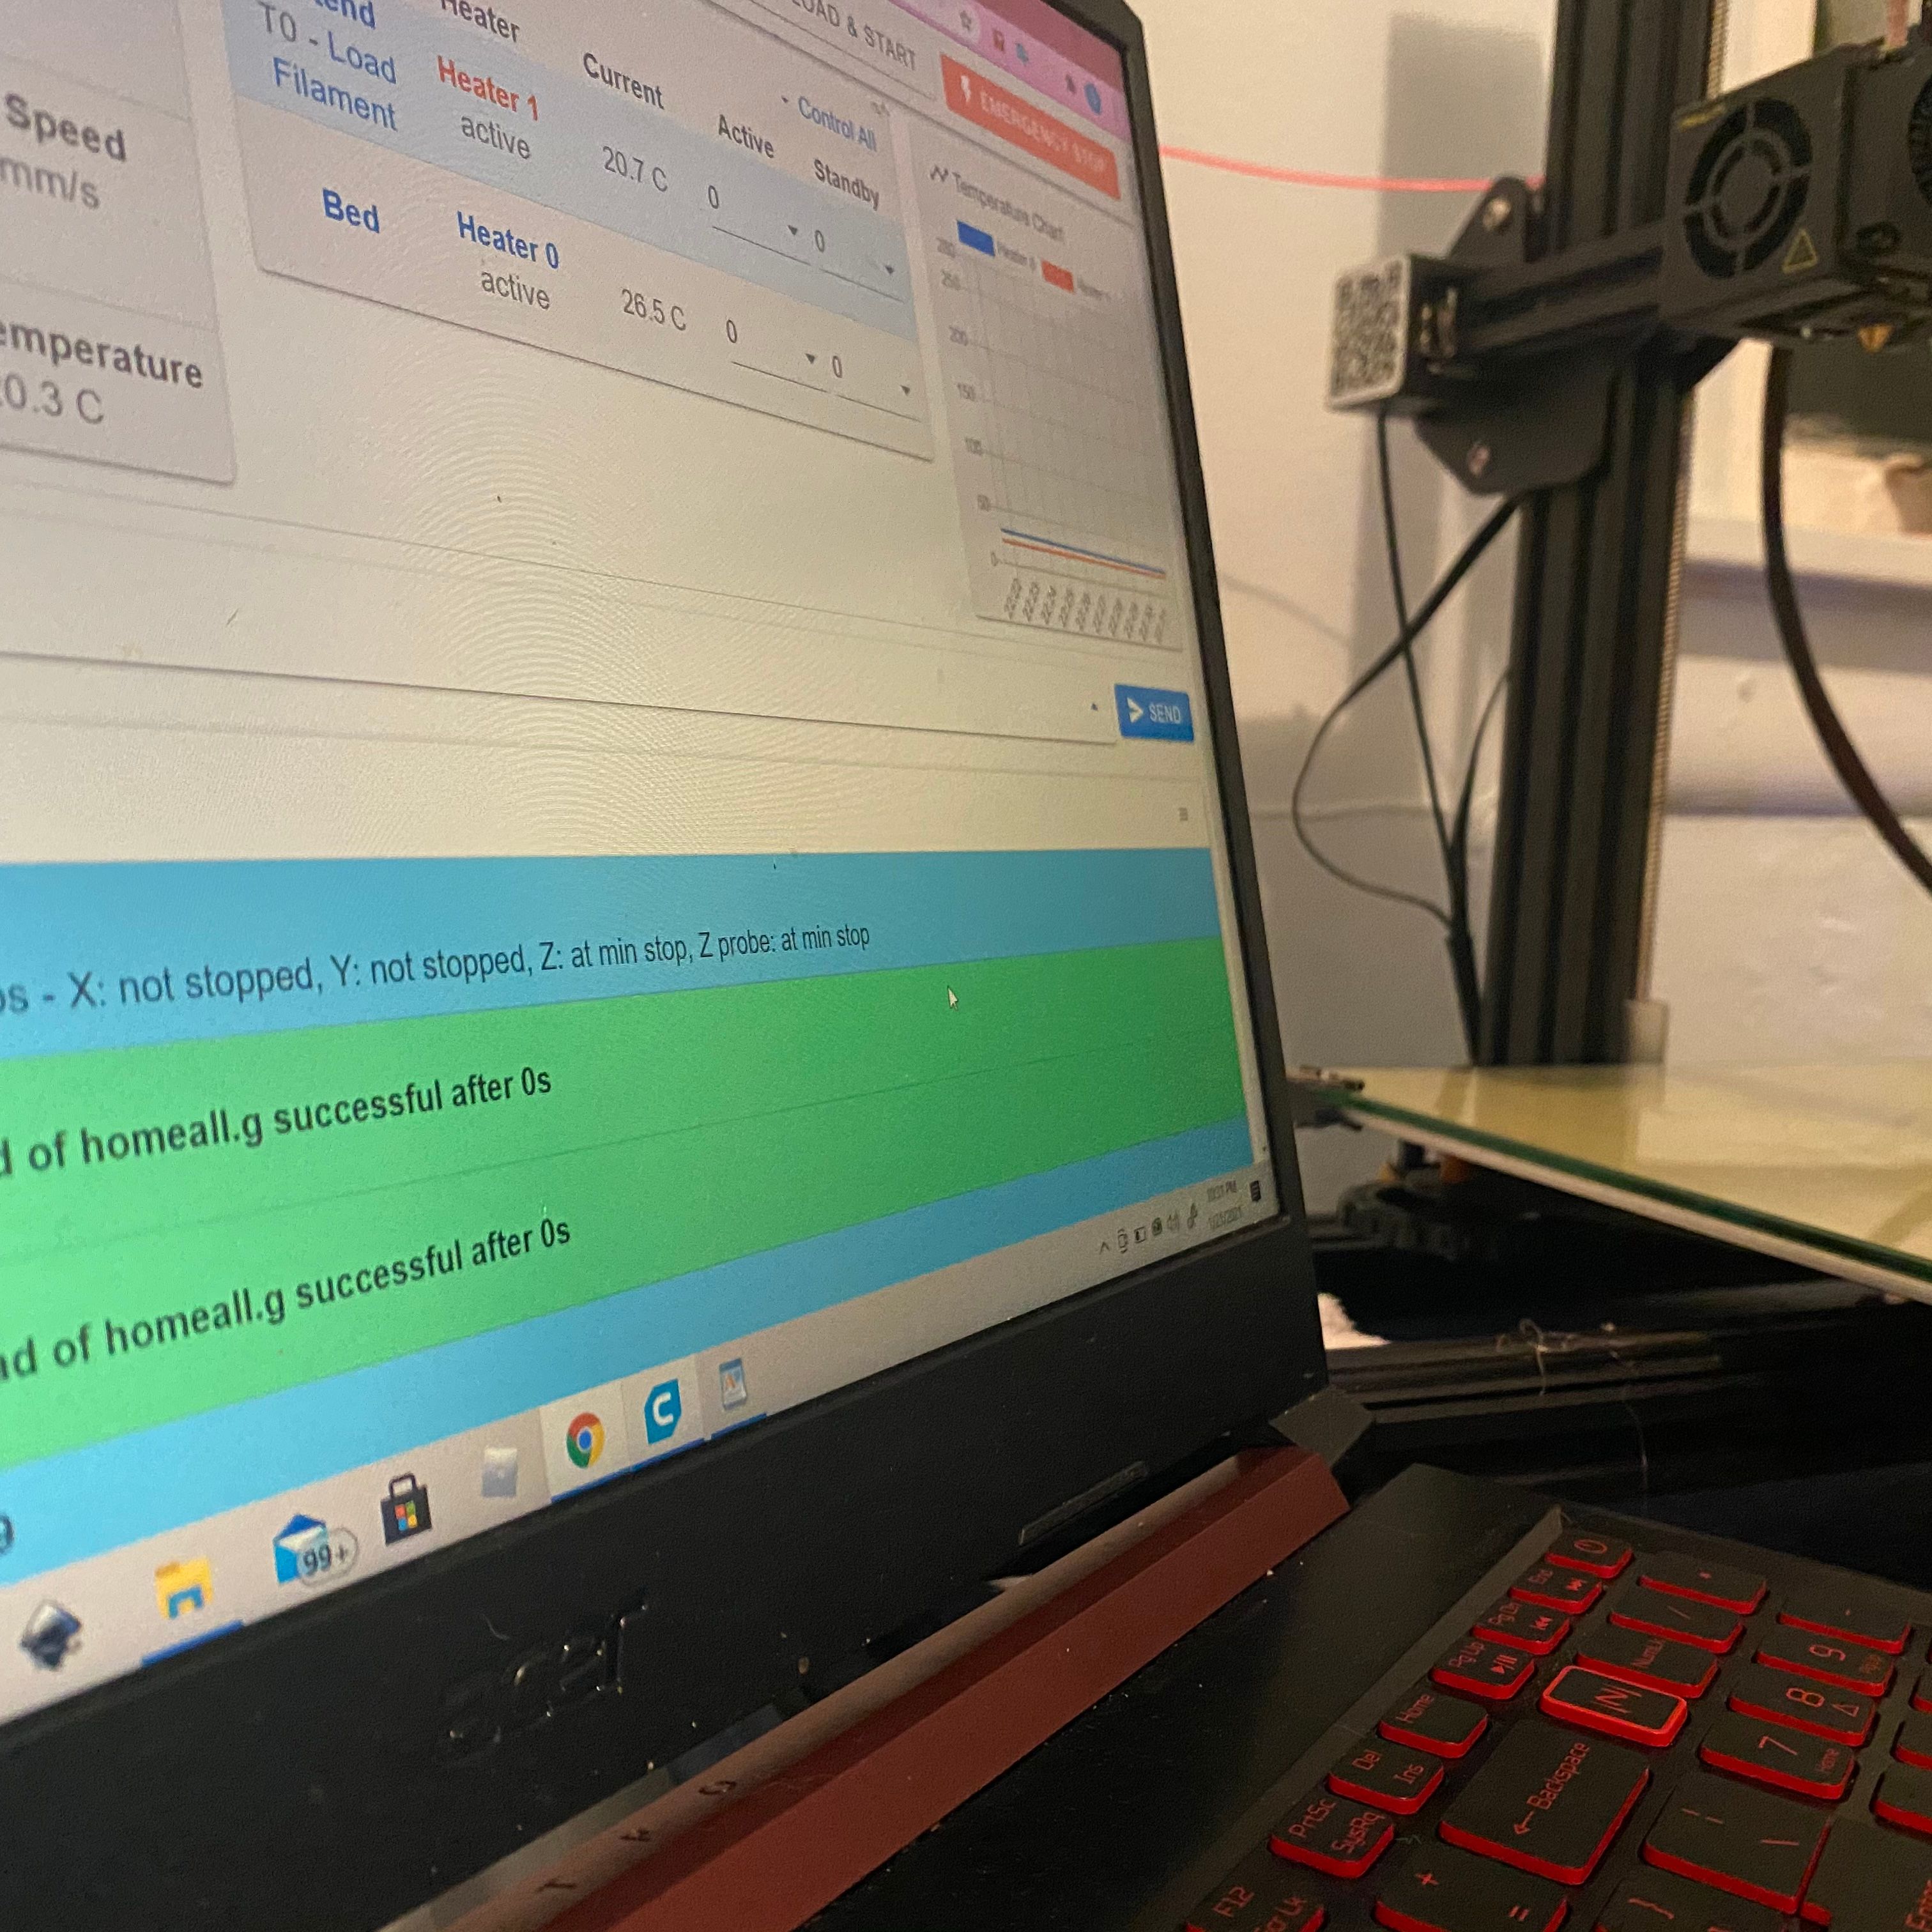
M119
Endstops - X: not stopped, Y: not stopped, Z: at min stop, Z probe: at min stop -
And just to be clear, when you sent M119 the z endstop wasn't actually pressed, right?
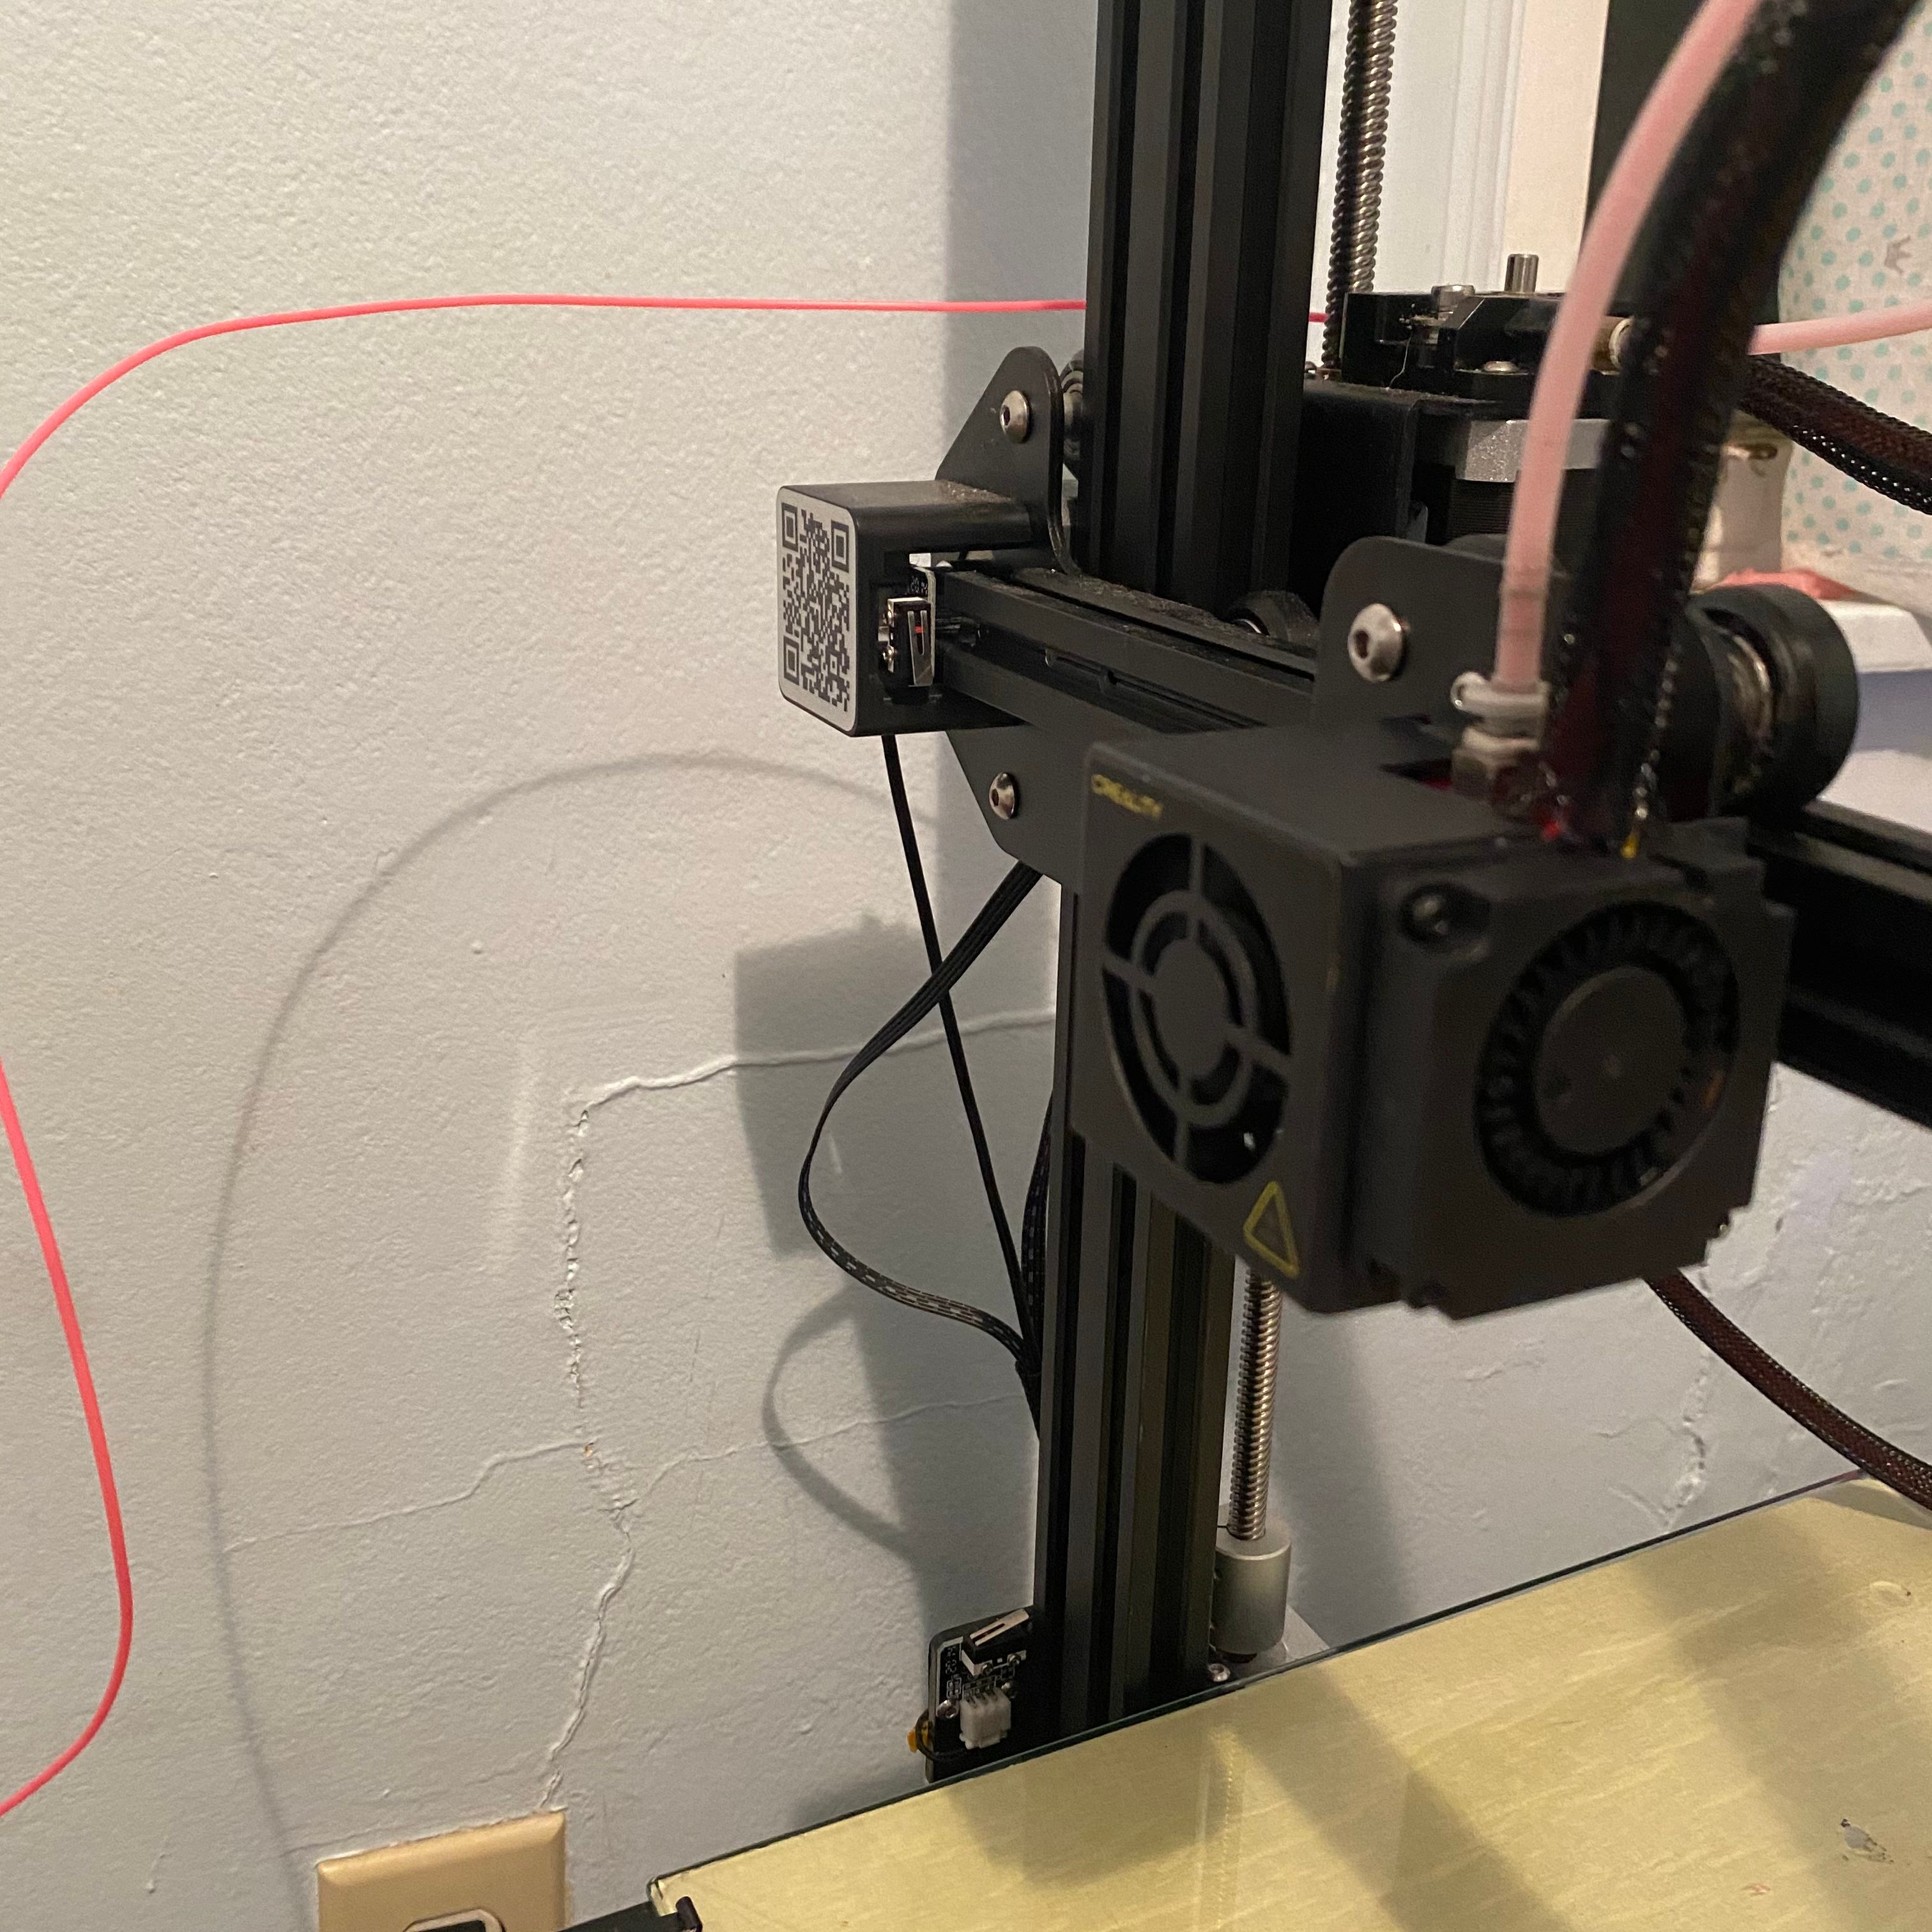
Quick photo of the z endstop?Maybe you DO need the
!to invert the Z endstop? -
-
@Phaedrux I inverted it and it went down so far it cracked the glass .

-
@gabrealek said in New to the duet COMPLETE NEWBIE:
@Phaedrux I inverted it and it went down so far it cracked the glass .
When configuring a printer for the first time you need to take certain precautions.
For instance you can trigger an end stop switch by hand to verify that it stops the movement of the axis when it should.
In this case you would start from far the bed, being homing, hit the end stop switch and confirm movement stops.
If it didn't you can kill power before something breaks - like you piece of glass.
Also you can force very slow speeds by editing your M203 command to something like
M203 X500 Y500 Z500
which gives you more time to observe and react if something starts to go wrong.
Did you use my homing code?
We can get things working - just take it one step at a time.
Frederick
-
@fcwilt yes . . I did use the homing code .. the way my setup is right now i have to reach around to kill the power. . im going to to change things once i print some supports for the new things . . Thank you. I appreciate your help. Im going to post all of my homes to see if you can find anything. . At this point im staring at the computer . . kind of scared to turn it back on . . I may need to take a break.
; Configuration file for Duet WiFi (firmware version 3)
; executed by the firmware on start-up
;
; generated by RepRapFirmware Configuration Tool v3.2.1 on Tue Jan 19 2021 17:33:25 GMT-0500 (Eastern Standard Time); General preferences
G90 ; send absolute coordinates...
M83 ; ...but relative extruder moves
M550 P"Creola" ; set printer name; Network
M552 S1 ; enable network
M586 P0 S1 ; enable HTTP
M586 P1 S0 ; disable FTP
M586 P2 S0 ; disable Telnet; Drives
M569 P0 S0 ; physical drive 0 goes backwards
M569 P1 S0 ; physical drive 1 goes backwards
M569 P2 S1 ; physical drive 2 goes forwards
M569 P3 S0 ; physical drive 3 goes backwards
M584 X0 Y1 Z2 E3 ; set drive mapping
M350 X16 Y16 Z16 E16 I1 ; configure microstepping with interpolation
M92 X80.00 Y80.00 Z400.00 E97.08 ; set steps per mm
M566 X900.00 Y900.00 Z60.00 E120.00 ; set maximum instantaneous speed changes (mm/min)
M203 X6000.00 Y6000.00 Z600.00 E1200.00 ; set maximum speeds (mm/min)
M201 X500.00 Y500.00 Z120.00 E250.00 ; set accelerations (mm/s^2)
M906 X800 Y800 Z800 E800 I30 ; set motor currents (mA) and motor idle factor in per cent
M84 S30 ; Set idle timeout; Axis Limits
M208 X0 Y0 Z0 S1 ; set axis minima
M208 X300 Y300 Z400 S0 ; set axis maxima; Endstops
M574 X1 S1 P"xstop" ; configure active-high endstop for low end on X via pin xstop
M574 Y1 S1 P"ystop" ; configure active-high endstop for low end on Y via pin ystop
M574 Z1 S1 P"!zstop" ; configure active-high endstop for low end on Z via pin !zstop; Z-Probe
M558 P0 H18 F120 T480000 ; disable Z probe but set dive height, probe speed and travel speed
M557 X10:220 Y10:220 S20 ; define mesh grid; Heaters
M308 S0 P"bedtemp" Y"thermistor" T98801 B4185 ; configure sensor 0 as thermistor on pin e0temp
M950 H0 C"bedheat" T0 ; create bed heater output on e0heat and map it to sensor 0
M307 H0 B0 S1.00 ; disable bang-bang mode for the bed heater and set PWM limit
M140 H0 ; map heated bed to heater 0
M143 H0 S80 ; set temperature limit for heater 0 to 80C
M308 S1 P"e1temp" Y"thermistor" T98801 B4185 ; configure sensor 1 as thermistor on pin e1temp
M950 H1 C"e1heat" T1 ; create nozzle heater output on e1heat and map it to sensor 1
M307 H1 B0 S1.00 ; disable bang-bang mode for heater and set PWM limit
M143 H1 S280 ; set temperature limit for heater 1 to 280C; Fans
M950 F0 C"fan0" Q20 ; create fan 0 on pin fan0 and set its frequency
M106 P0 C"PartCool" S0 H-1 ; set fan 0 name and value. Thermostatic control is turned off
M950 F1 C"fan1" Q20 ; create fan 1 on pin fan1 and set its frequency
M106 P1 S1 H T45 ; set fan 1 value. Thermostatic control is turned on; Tools
M563 P0 S"Hotend" D0 H1 F0 ; define tool 0
G10 P0 X0 Y0 Z0 ; set tool 0 axis offsets
G10 P0 R0 S0 ; set initial tool 0 active and standby temperatures to 0C; Custom settings are not defined
; Miscellaneous
M501 ; load saved parameters from non-volatile memory
M911 S21 R23 P"M913 X0 Y0 G91 M83 G1 Z3 E-5 F1000" ; set voltage thresholds and actions to run on power loss
T0 ; select first tool///
; homeall.g
; called to home all axes
;
; generated by RepRapFirmware Configuration Tool v3.2.1 on Tue Jan 19 2021 17:33:25 GMT-0500 (Eastern Standard Time)G91
G1 H1 Z-400 F3000
G92 Z0 ; change Z0 to match the actual Z co-ordinate at which the Z end stop triggers
G1 Z10
G1 H1 X-300 Y-300
G1 X5 Y5
G1 H1 X-6 Y-6 F300
G90; set Z position to axis minimum (you may want to adjust this)
; Uncomment the following lines to lift Z after probing
;G91 ; relative positioning
;G1 Z18 F8000 ; lift Z relative to current position
;G90 ; absolute positioning///
; homex.g
; called to home the X axis
;
; generated by RepRapFirmware Configuration Tool v3.2.1 on Tue Jan 19 2021 17:33:25 GMT-0500 (Eastern Standard Time)
G91 ; relative positioning
G1 H2 Z18 F480000 ; lift Z relative to current position
G1 H1 X-305 F3000 ; move quickly to X axis endstop and stop there (first pass)
G1 H2 X5 F480000 ; go back a few mm
G1 H1 X-305 F3600 ; move slowly to X axis endstop once more (second pass)
G1 H2 Z-18 F480000 ; lower Z again
G90 ; absolute positioning///
; homey.g
; called to home the Y axis
;
; generated by RepRapFirmware Configuration Tool v3.2.1 on Tue Jan 19 2021 17:33:25 GMT-0500 (Eastern Standard Time)
G91 ; relative positioning
G1 H2 Z18 F3000 ; lift Z relative to current position
G1 H1 Y-305 F3000 ; move quickly to Y axis endstop and stop there (first pass)
G1 H2 Y5 F3000 ; go back a few mm
G1 H1 Y-305 F3600 ; move slowly to Y axis endstop once more (second pass)
G1 H2 Z-18 F3000 ; lower Z again
G90 ; absolute positioning////
; homez.g
; called to home the Z axis
;
; generated by RepRapFirmware Configuration Tool v3.2.1 on Tue Jan 19 2021 17:33:25 GMT-0500 (Eastern Standard Time)G91 ; relative positioning
G1 H2 Z18 F480000 ; lift Z relative to current position
G1 H1 Z-405 F3000 ; move Z down until the endstop is triggered
G92 Z0 ; set Z position to axis minimum (you may want to adjust this); Uncomment the following lines to lift Z after probing
;G91 ; relative positioning
;G1 Z18 F8000 ; lift Z relative to current position
;G90 ; absolute positioningThank you all for your help, it is greatly appreciated. I feel a lot better with you all helping me, THERE IS STILL HOPE
-
It's late here (11:30 EST) and I need to turn in. We can take this up tomorrow.
I'm working on my 6th, 7th and 8th printer.
Even so I still take it one step at a time.
Step one is always to get the WiFi working so I have access to the DWC where I can do the rest of the configuration.
Then I connect one piece of hardware at a time and verify that it is working as expected - that stepper motors turn, end stop switches work correctly, fans run, heaters heat, etc.
By doing that when something doesn't work I know exactly where I need to look for the problem.
Frederick
-
@gabrealek said in New to the duet COMPLETE NEWBIE:
@Phaedrux I inverted it and it went down so far it cracked the glass .
Ah nuts. Sorry about that.
I'm wondering if your Z endstop wiring is not correct.
Regardless of the ! being there or not, if it's electrically connected to the Duet it should report as stopped/not stopped and change state if the switch is actually clicked at the time when you send M119.
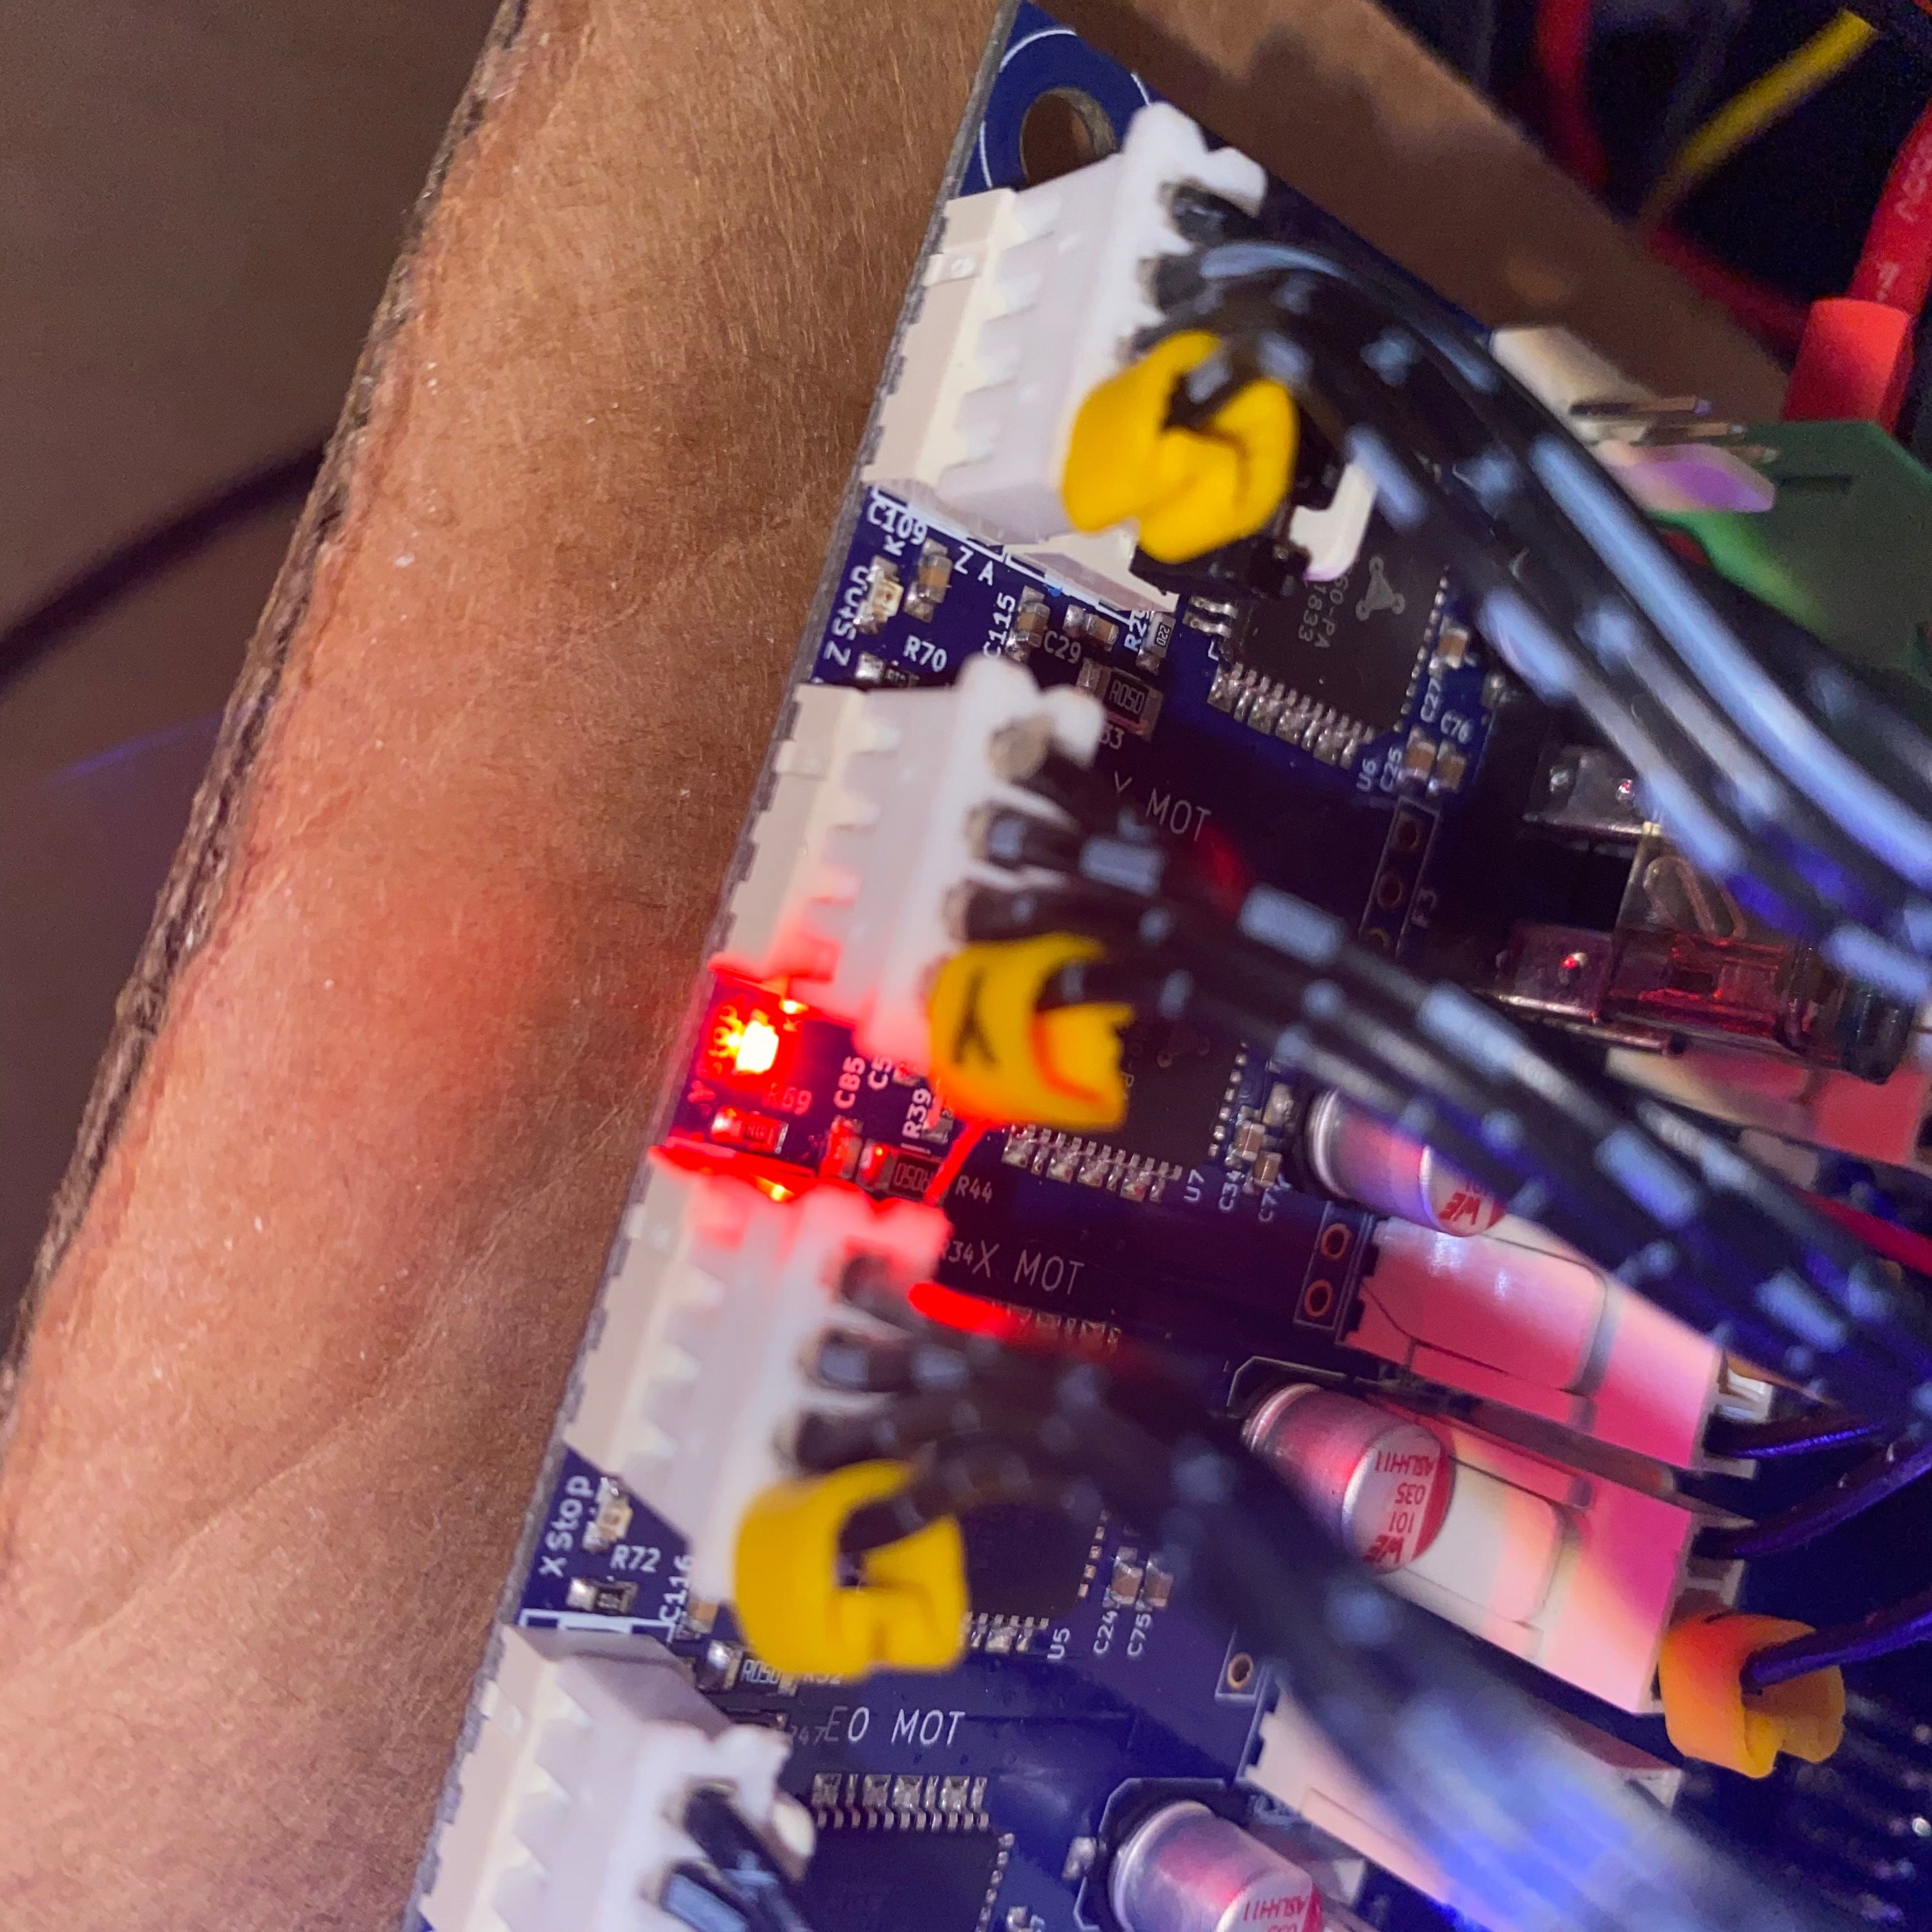
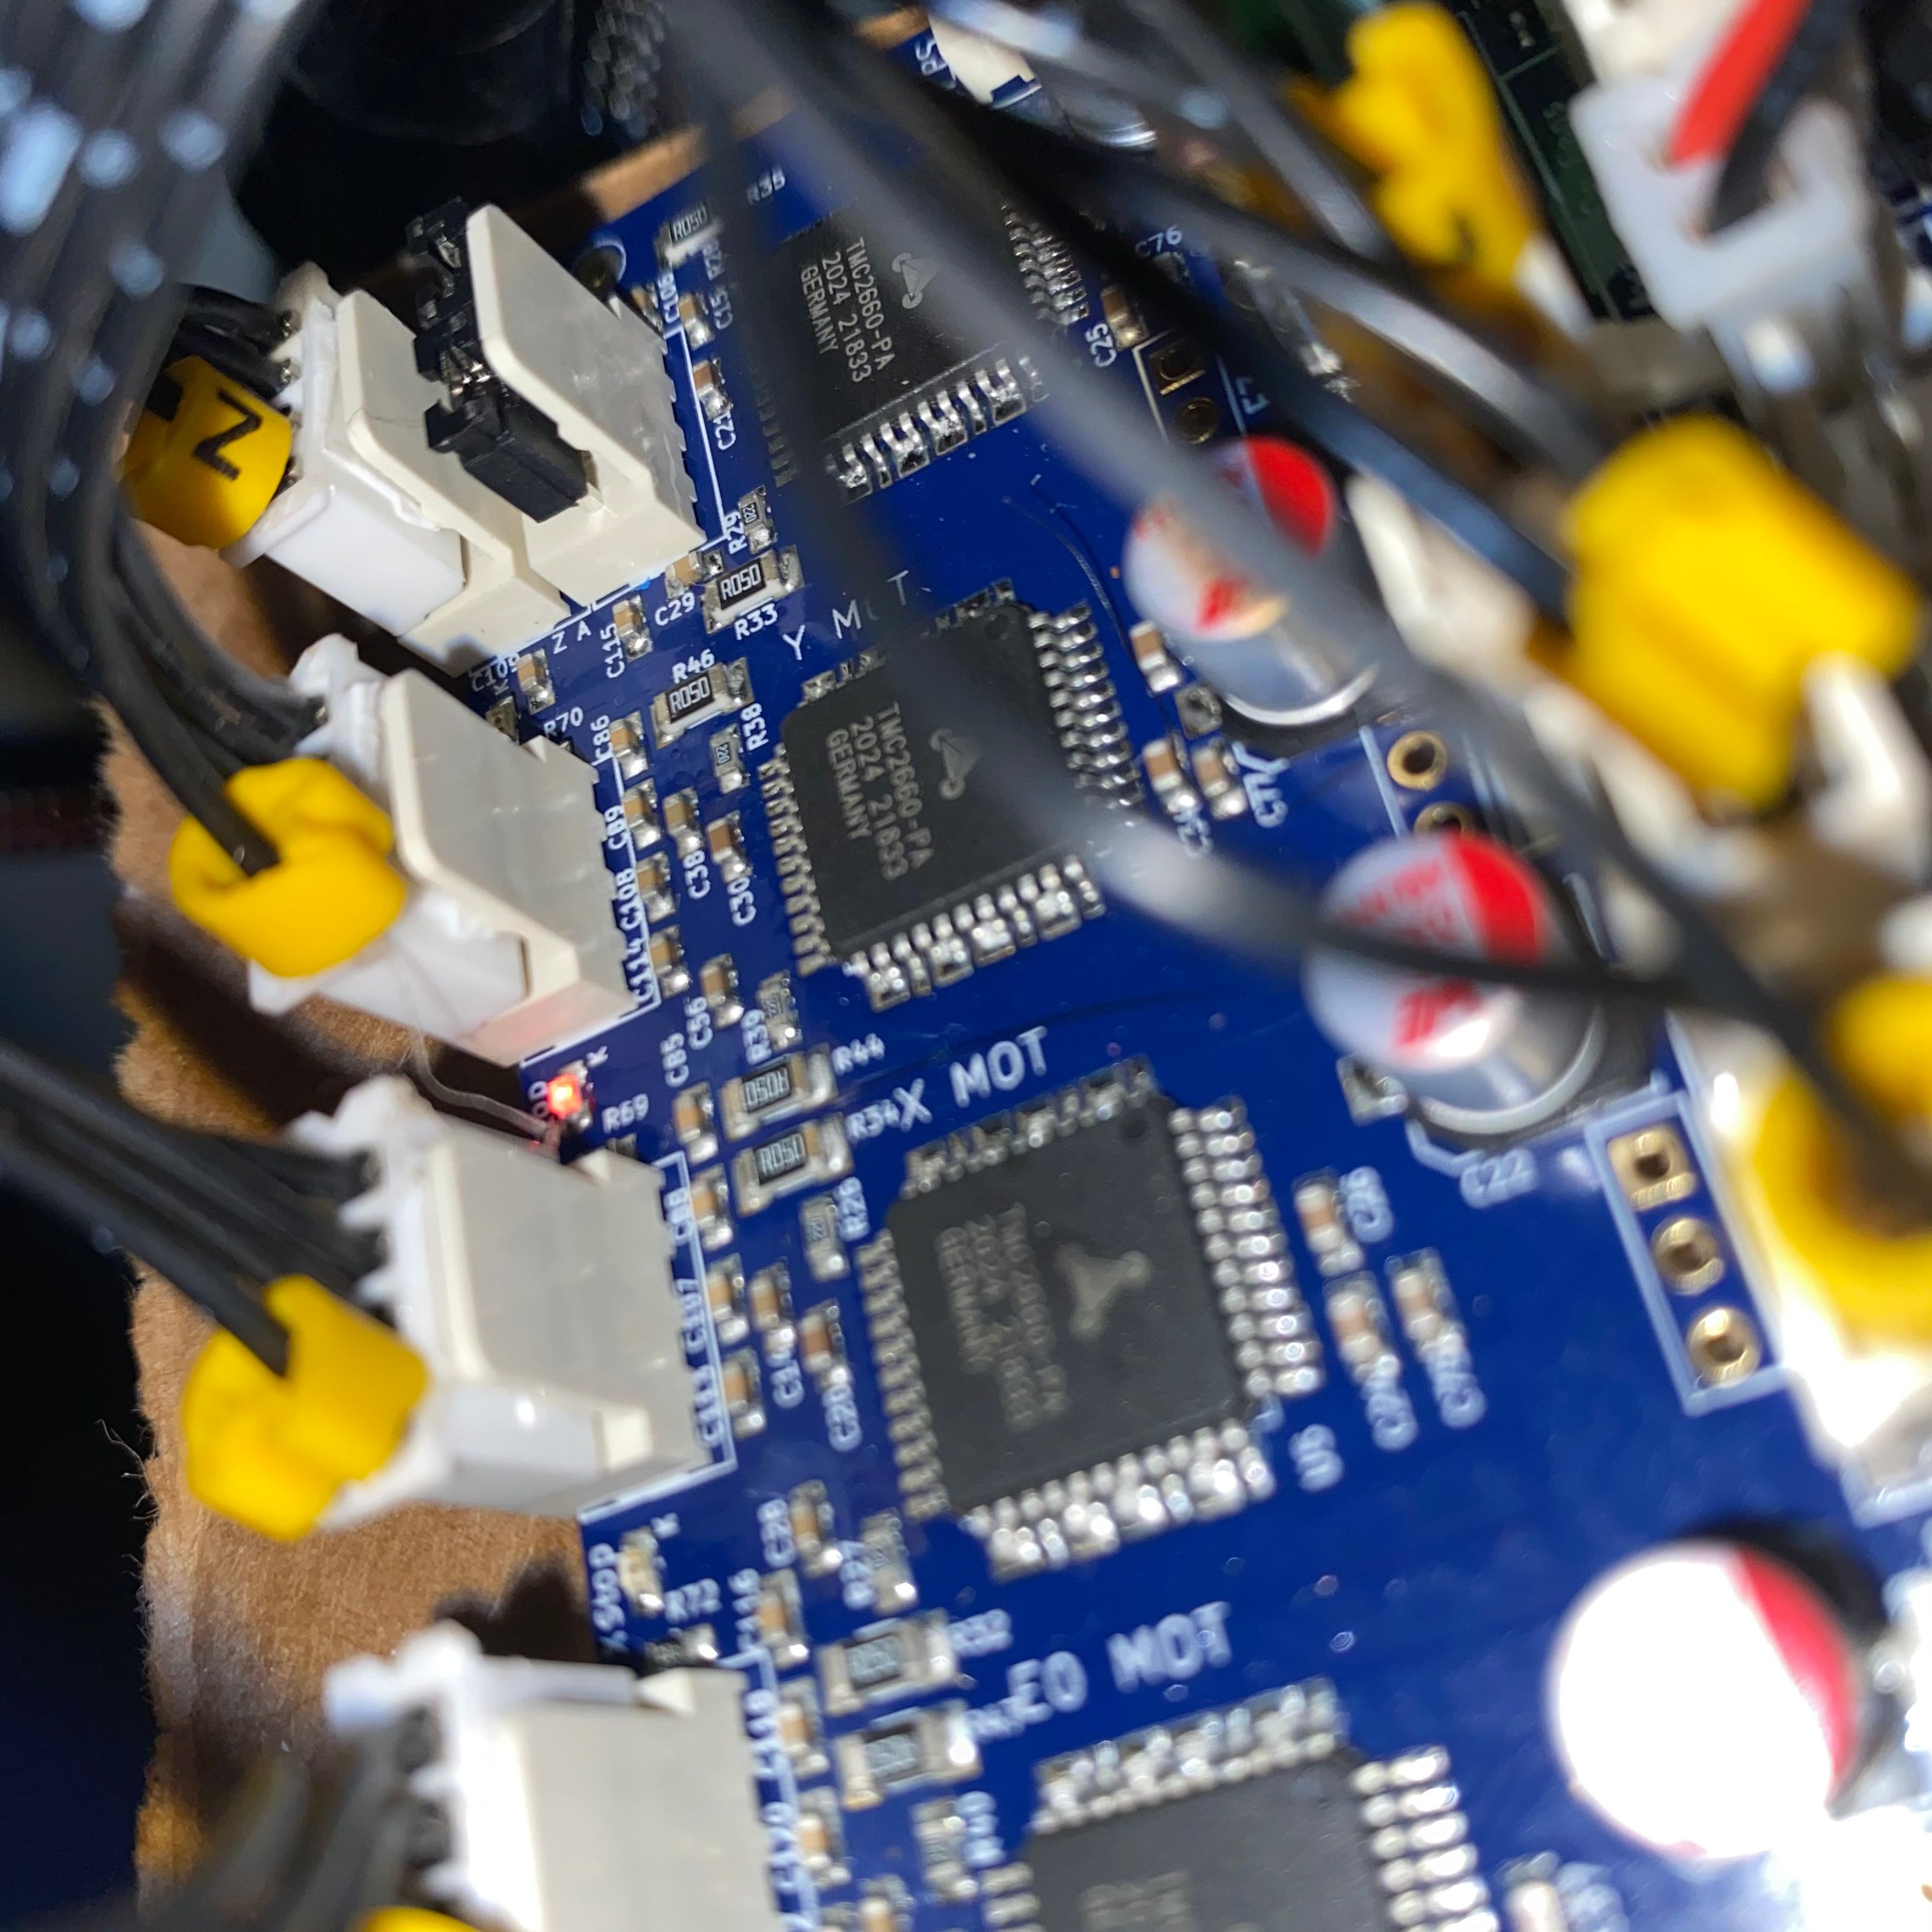
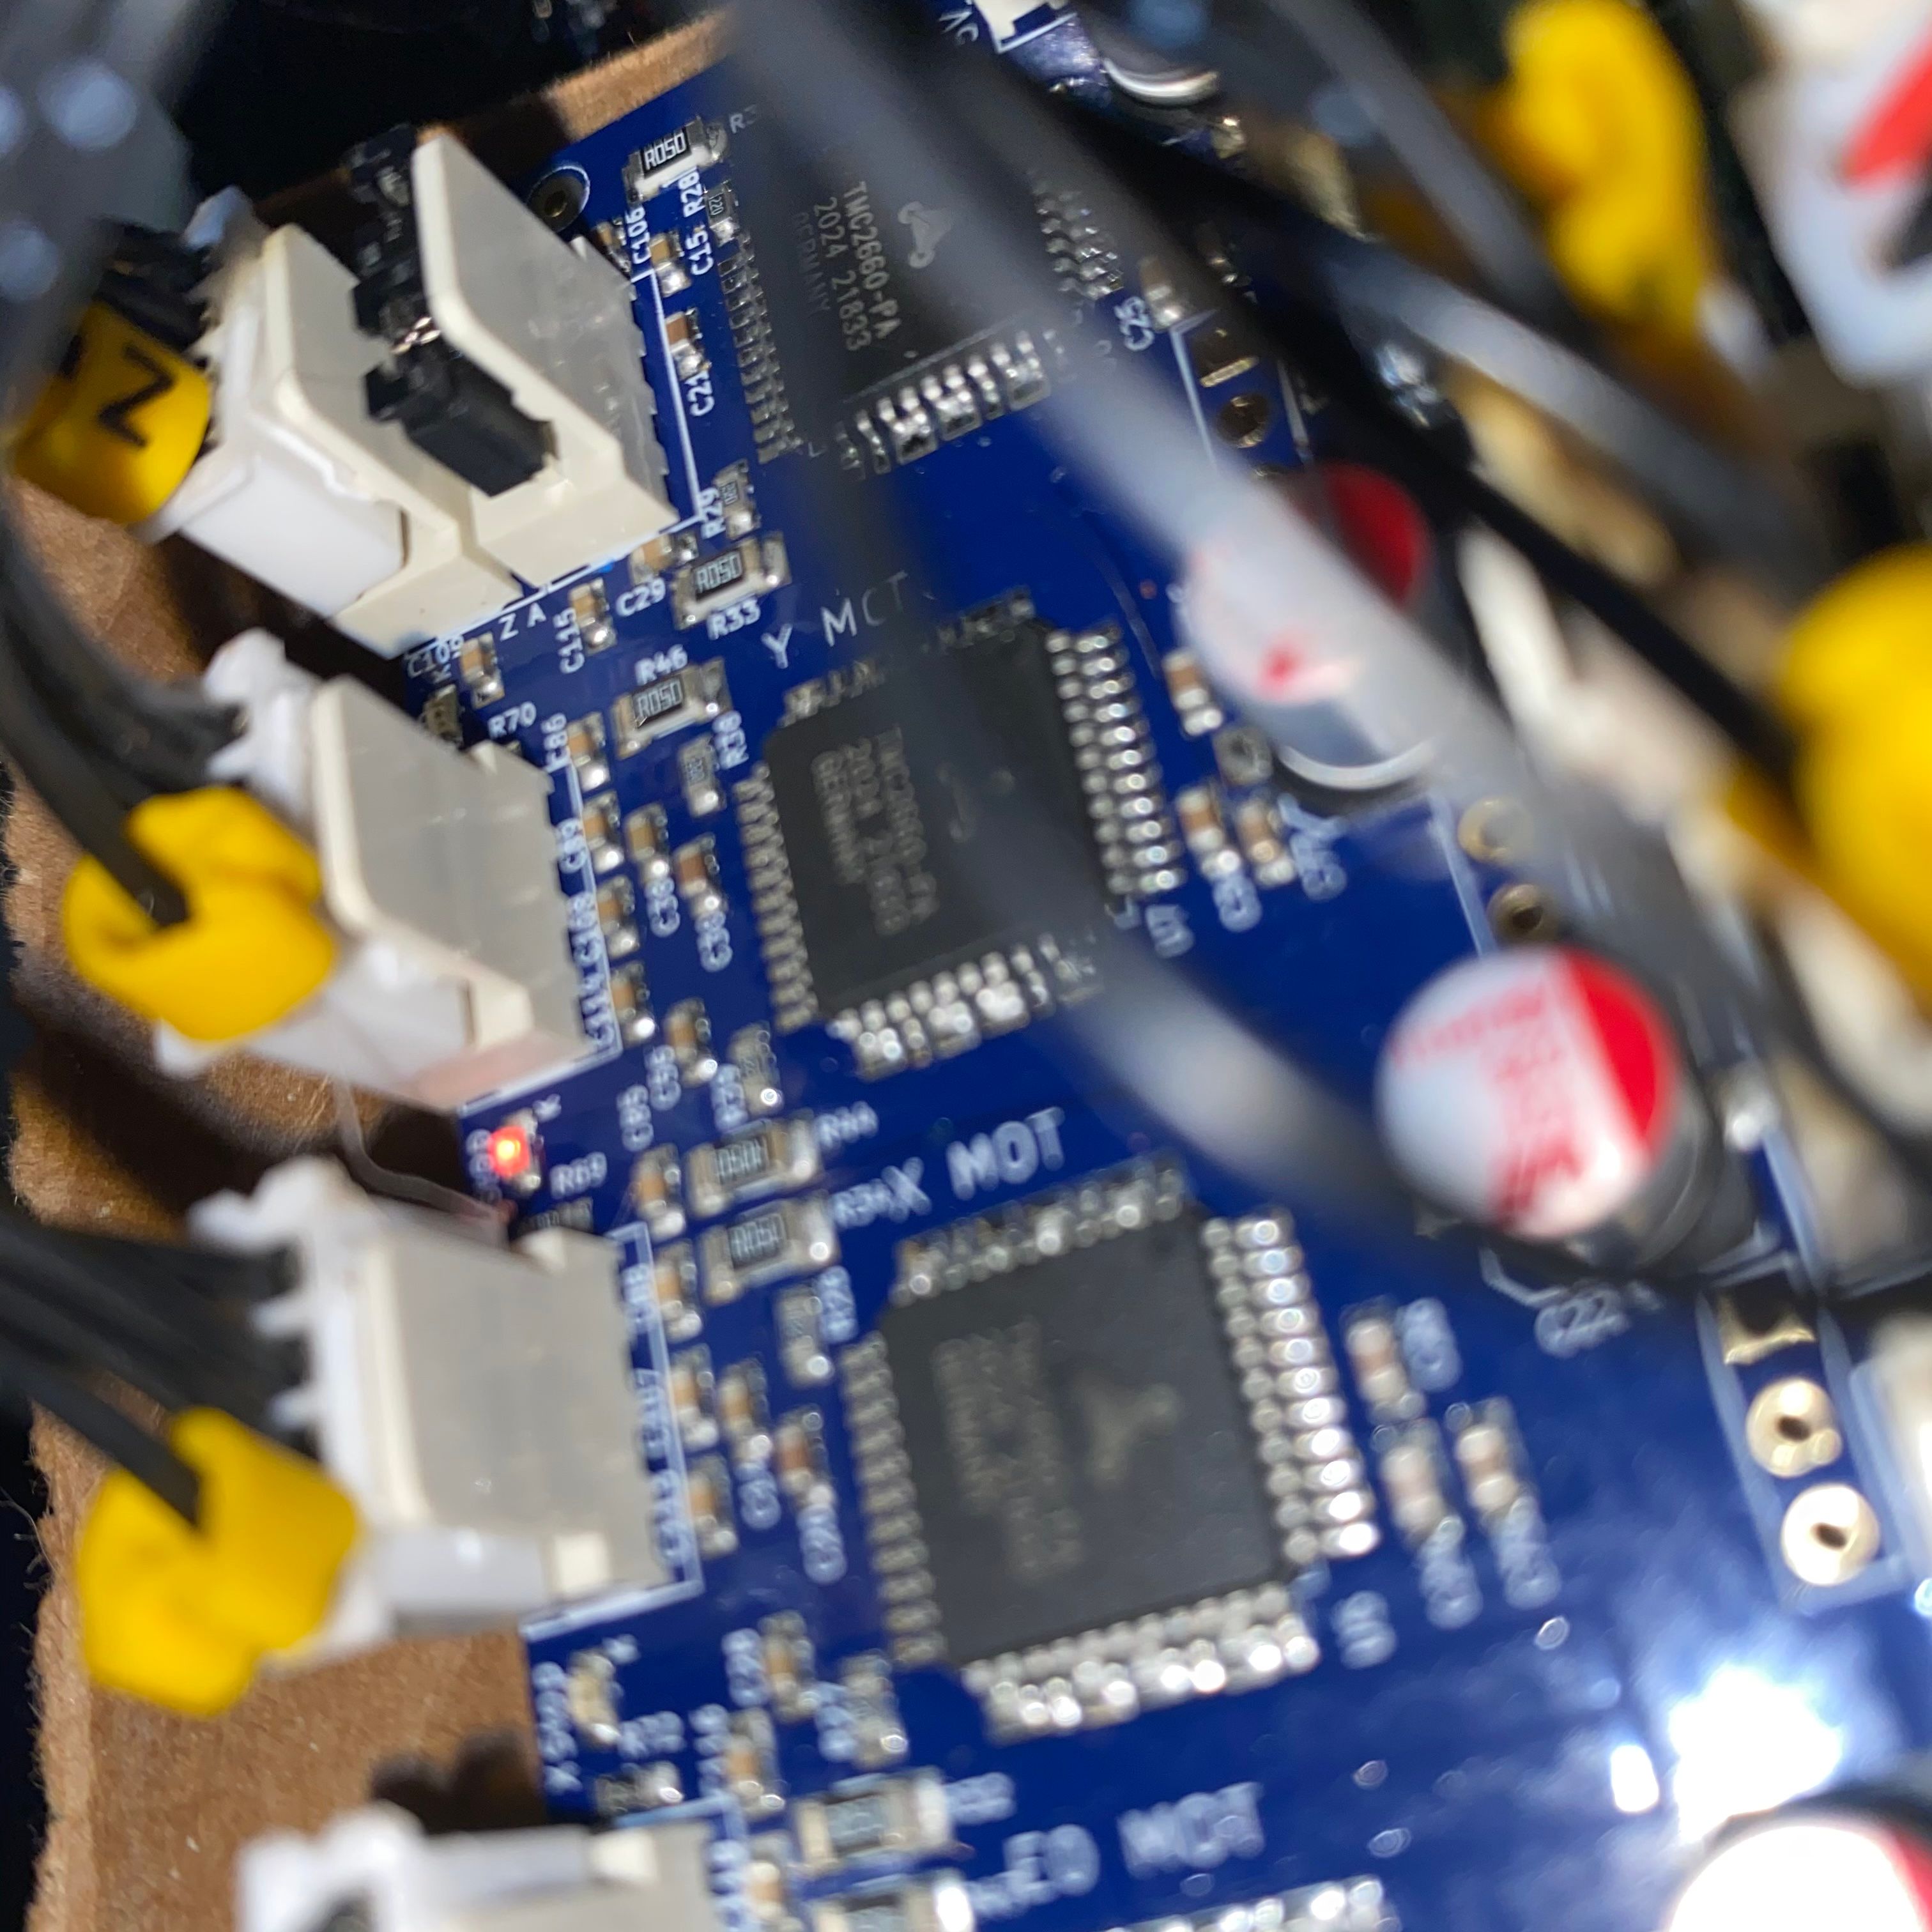
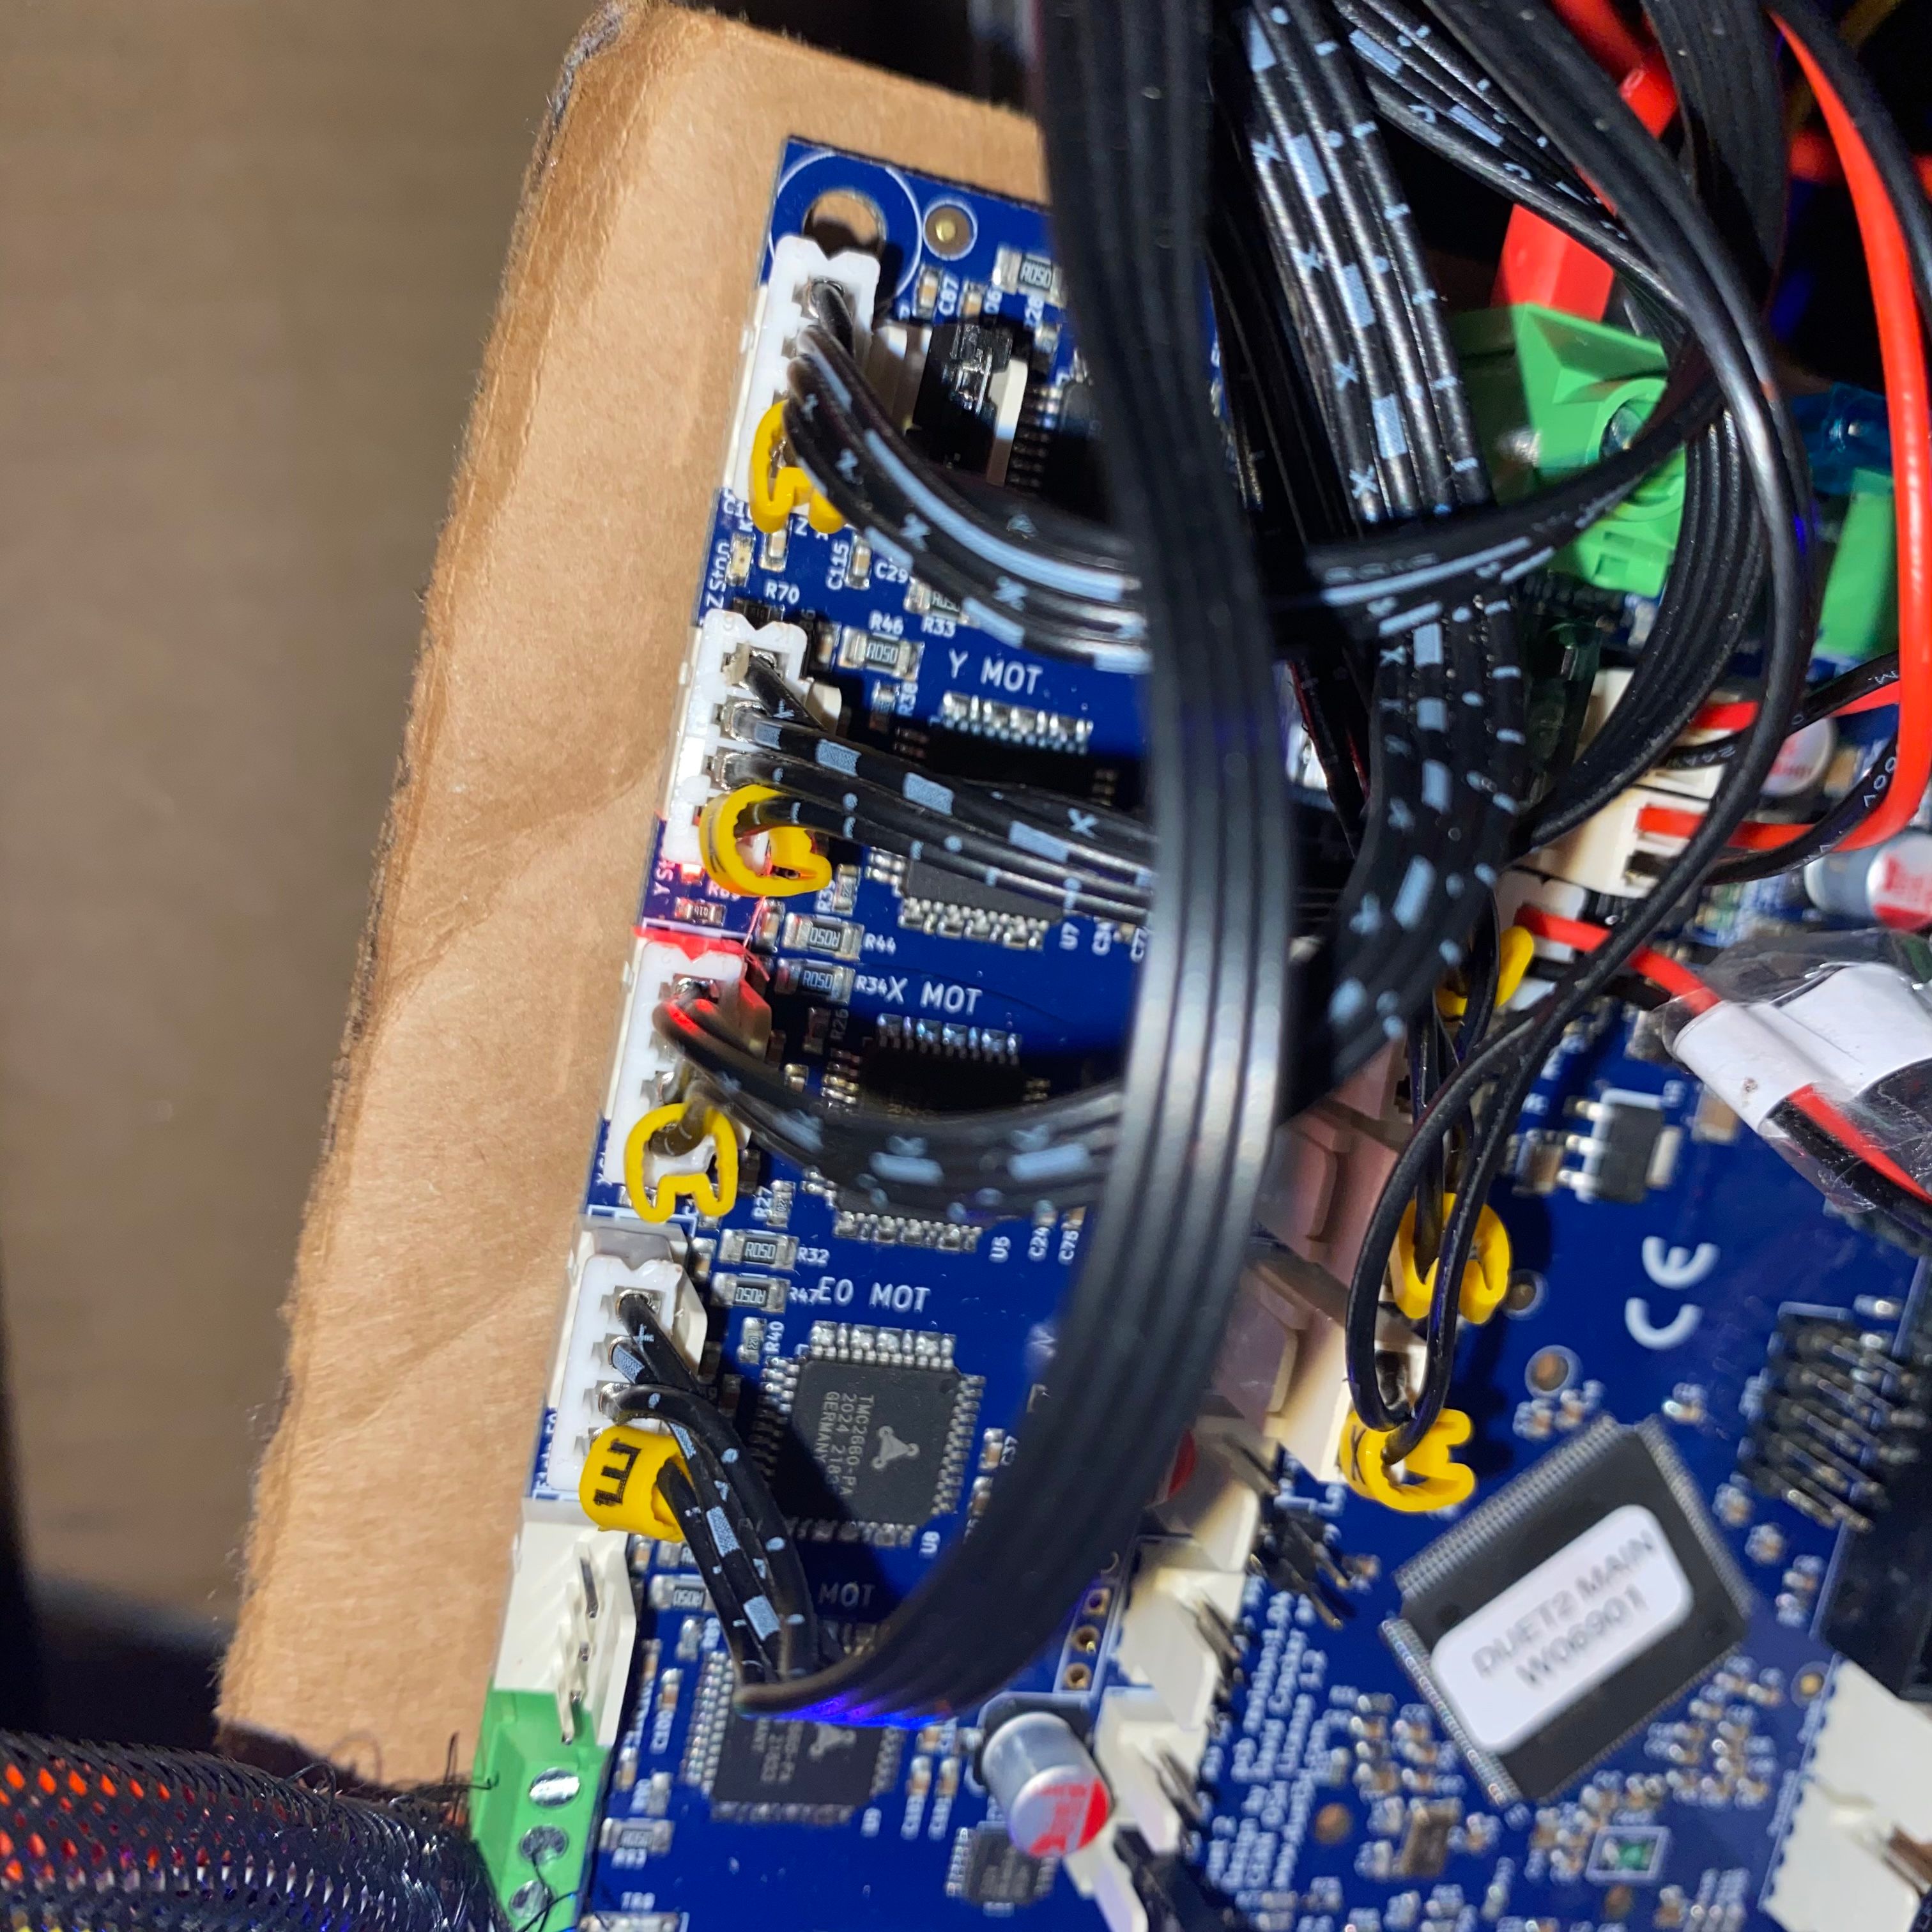
Can you post a photo of the endstop wiring at the board? The creality endstops should be wired to the 2 outside pins of the endstop connector.
-
-
Ok, I can mostly see the endstops and they all look like they are connected correctly with the wires going to the outside pins, so that's a good start.
Now to make sure the wires are actually connected electrically.
Send M119 and see what the Z stop says.
Then hold down the Z switch and send M119 again while holding it clicked and see if the status changes. -
Its being so mean

1/22/2021, 4:44:48 PM M119
Endstops - X: not stopped, Y: not stopped, Z: not stopped, Z probe: at min stop
1/22/2021, 4:44:33 PM M119
Endstops - X: not stopped, Y: not stopped, Z: not stopped, Z probe: at min stop -
So being clicked or not it's not registering? Just as a control, text the other endstops as well.
If that is the case that pressing the endstop isn't registering at all then there could be a break in the wire or poor connection. In which case reseating the z endstop plug on the board may help. If you have a multimeter you can check the wire for continuity and whether the endstop switch will complete or break a circuit.
-
@Phaedrux
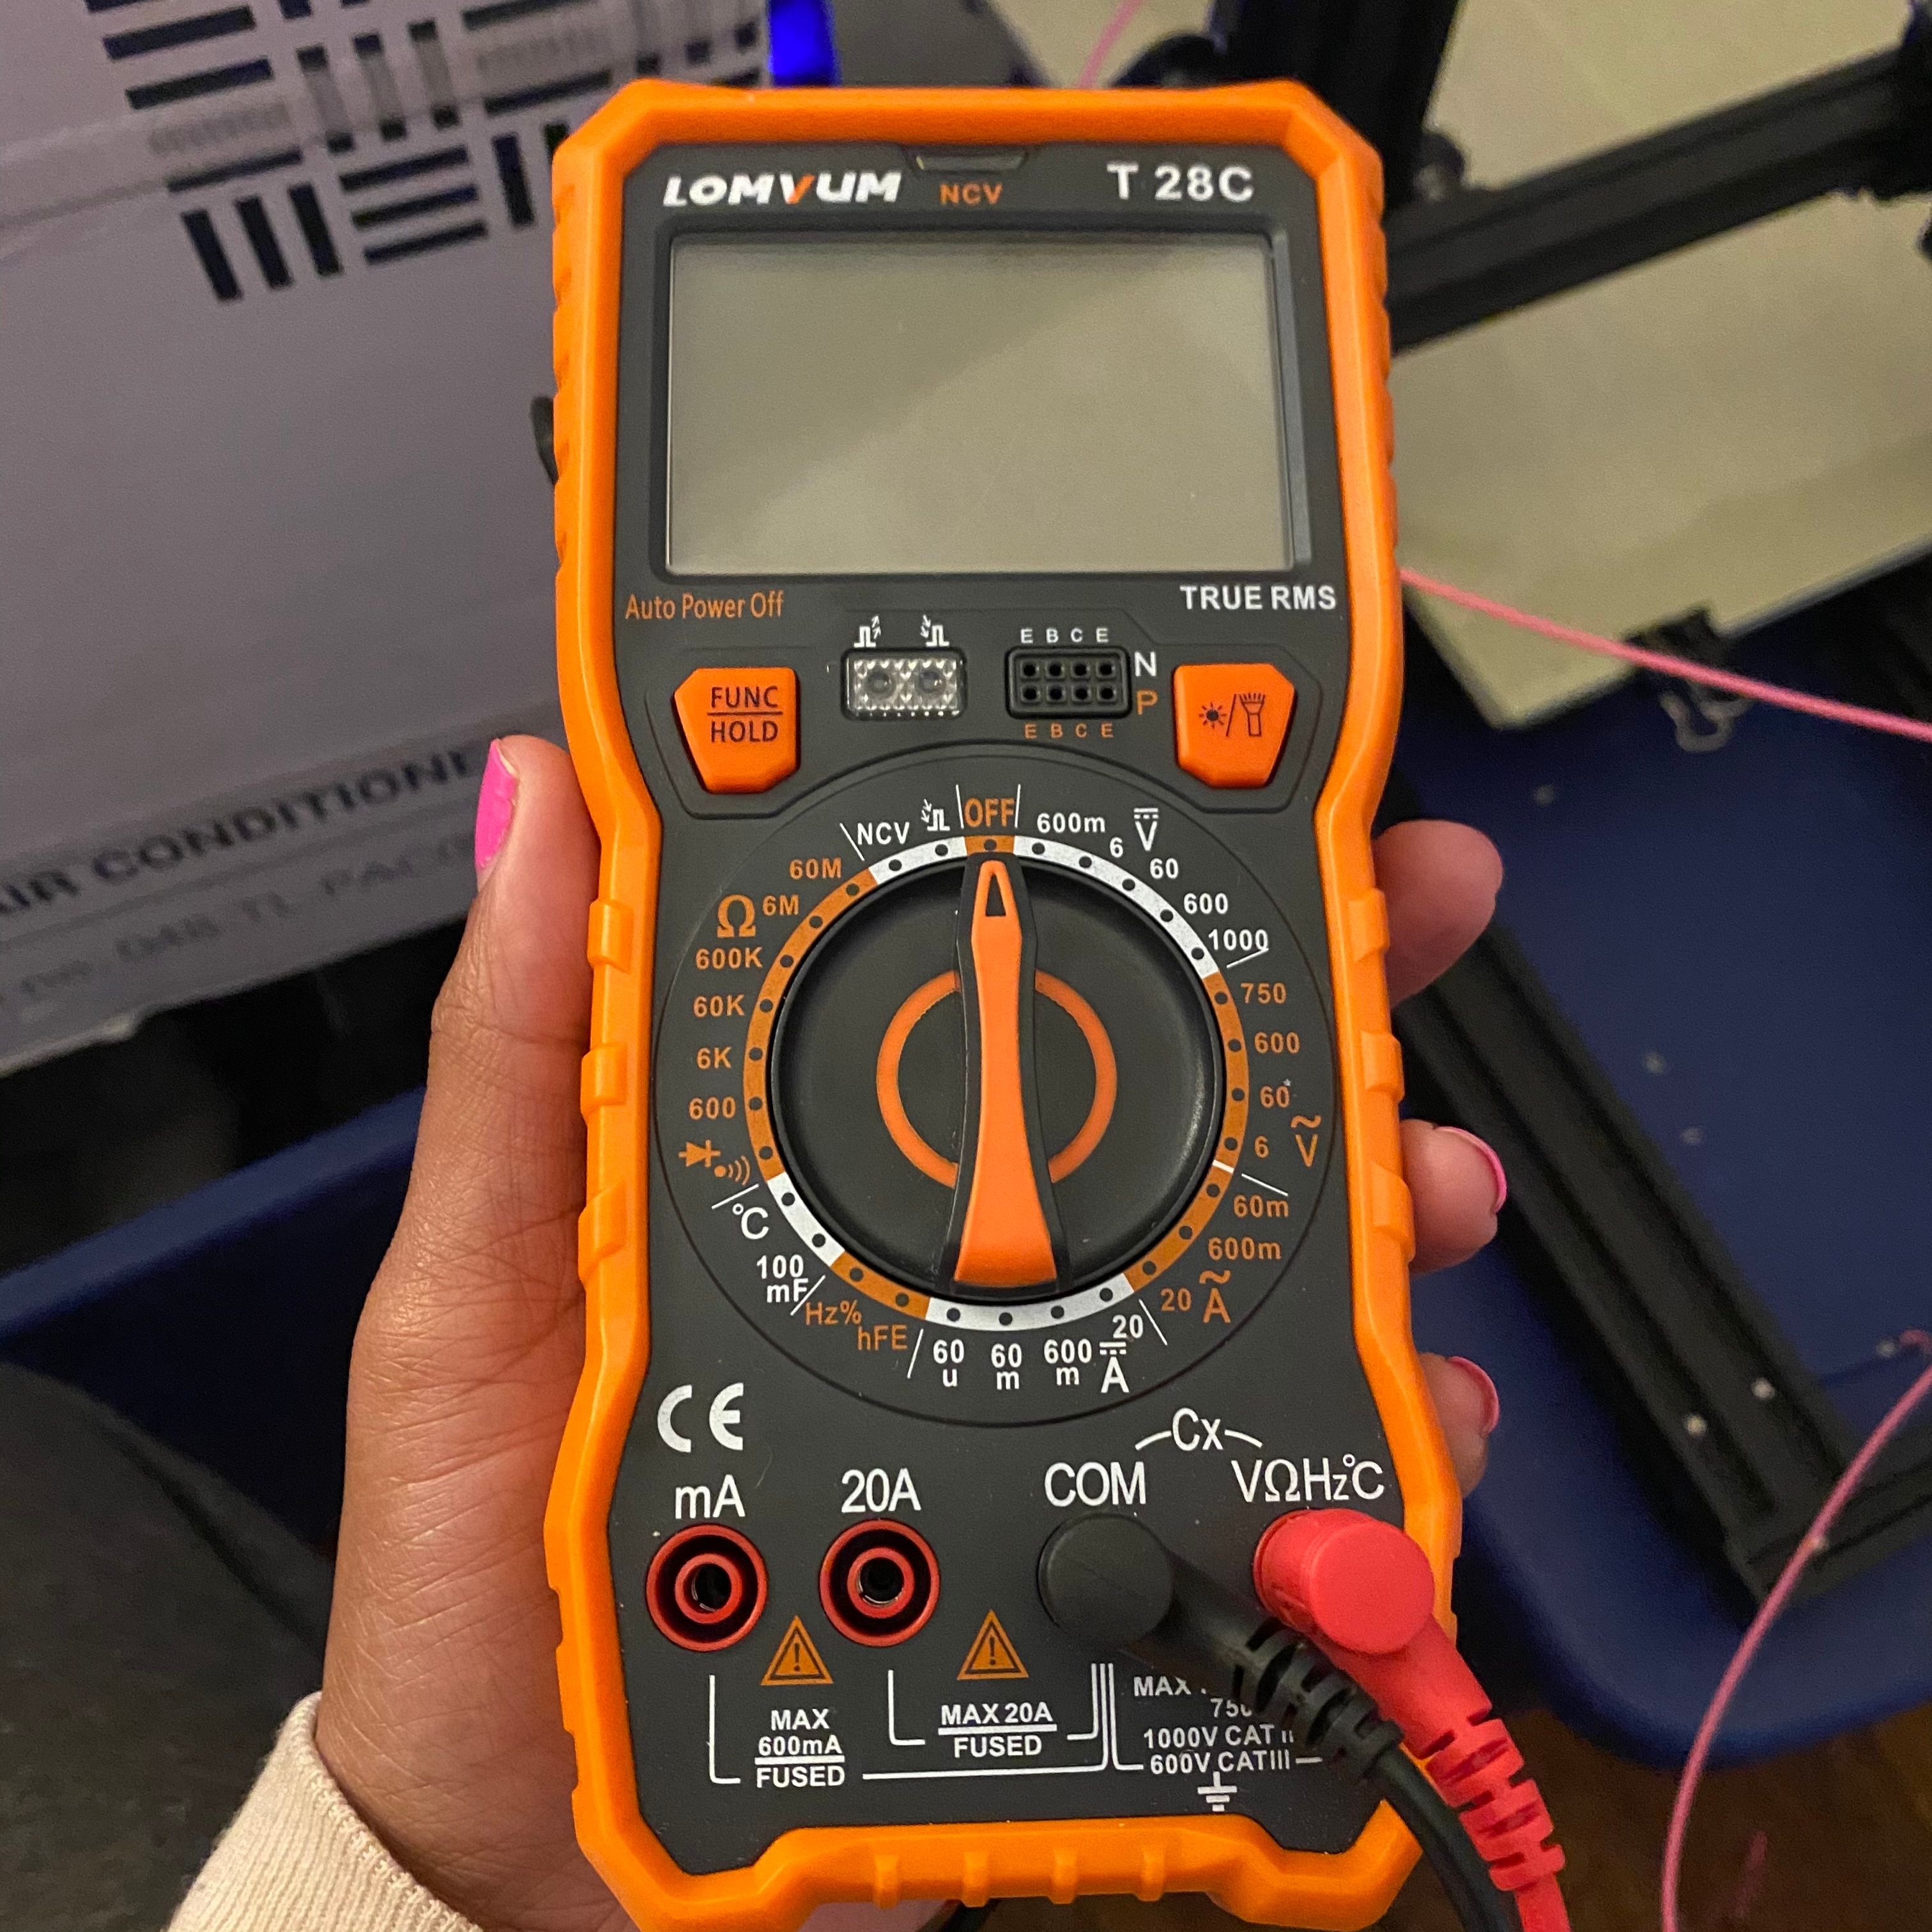
Okay. So how would i test with a multimeter? As in where to on the Z? Im still new at using this multimeter , ill post a pic to know exactly which setting to set it to. Also which command do i sent to test only for Z? THANKKASSSS
-
This might help.
https://www.youtube.com/watch?v=OOK8np4t40c&ab_channel=HelpfulDIY
When set to ohms (orange on the left side, infact the symbol below the 600 may be intended specifically for continuity the arrow and the beep symbol), you can touch the two probe tips together and the display number should change, and maybe beep. Meaning there is a connection between them. Touch something metal and it should do the same. Touch two ends of a wire, same thing.
It will probably be easiest to remove the endstop from the printer entirely so that you can check the wire more easily. You'd basically want to touch one of the wires at the end that plugs into the printer, and the other end at the endstop itself.
-
Yeahhh .. . so i think its the actual endstop. Its really wiggly. . i don't think its suppose to be this way . . i just ordered some new ones, and new cables to dead this whole issue. by the time i'm done ill probably have enough supplies for another printer.
-
@Phaedrux BUT THANK YOU THOUGH!! NOW I KNOW HOW TO USE IT THE RIGHT WAY.
")
-
Hmm, yeah wiggly isn't great.
There is a way to get up and running without a Z endstop at all though. You can configure it to ask you to jog the print head down so that the nozzle touches the bed to set the Z height. Manual probing.
You'd need to change your config.g
M558 P0 H5 F300 T6000 G31 x0 y0 z0 P500 And then in homeall and homez where it says
G1 H1 Z-405 F3000 ; move Z down until the endstop is triggered G92 Z0 ; set Z position to axis minimum (you may want to adjust this) replace that with
G1 X150 Y150 F6000 G30 Then when you try and home it will do xy, move to the center(ish) and there will be a pop up asking you to move Z jog it down carefully and when the nozzle is just touching the bed, hit OK.
Pretty handy in cases like this. I used this the other week when I broke a BLTouch pin.