Duet3D Logo Duet3D
    • Tags
    • Documentation
    • Order
    • Register
    • Login

    Duet Wifi - Accel

    Scheduled Pinned Locked Moved
    Duet Hardware and wiring
    6
    41
    1.5k
    Loading More Posts
    • Oldest to Newest
    • Newest to Oldest
    • Most Votes
    Reply
    • Reply as topic
    Log in to reply
    This topic has been deleted. Only users with topic management privileges can see it.
    • samu_87undefined
      samu_87
      last edited by

      Hello, I'm going to update the firmware in my duet 2 wifi and I wish install the accelerometer on my printer. I must do some modification and I wish understand if i can mount the accelerometer not in permanent way on the head of the 3d printer. In other word, I can install and wire the accelerometer only during the setup of the printer or it's useful during printing? Thansk!

      dc42undefined 1 Reply Last reply Reply Quote 0
      • dc42undefined
        dc42 administrators @samu_87
        last edited by dc42

        @samu_87 yes you can install the accelerometer temporarily. Its main use is to make it easier to identify the resonant frequencies to tune input shaping. Currently, RRF does not support any other use for it. It might be possible to use a head-mounted accelerometer as a Z probe, however the response time would be poor so a slow probing speed would be needed.

        If you make significant changes to your printer hardware (e.g. you change the hot end for one with significantly different mass) then you may need to mount the accelerometer again so that you can re-tune input shaping.

        Duet WiFi hardware designer and firmware engineer
        Please do not ask me for Duet support via PM or email, use the forum
        http://www.escher3d.com, https://miscsolutions.wordpress.com

        samu_87undefined 2 Replies Last reply Reply Quote 0
        • samu_87undefined
          samu_87 @dc42
          last edited by

          @dc42 Many thanks! I'm going to made the update 😁

          1 Reply Last reply Reply Quote 0
          • samu_87undefined
            samu_87 @dc42
            last edited by

            @dc42 I upload the RRF 3.4.5 and I had to update all the parameter that are changed, but I try to install the input shaping plug in without success. I follow this:
            Screenshot 2023-01-28 alle 00.38.16.png
            But return the DWC return me this message:
            Screenshot 2023-01-28 alle 00.39.17.png
            So I try to upload in System -> Upload System Files and do somethings but I can't se the plugin in the GUI.

            Some help?

            Thanks!

            1 Reply Last reply Reply Quote 0
            • Phaedruxundefined
              Phaedrux Moderator
              last edited by

              Are you uploading a single zip file or has the zip file been extracted first?

              It must be a single zip file.

              Z-Bot CoreXY Build | Thingiverse Profile

              jay_s_ukundefined samu_87undefined 2 Replies Last reply Reply Quote 0
              • jay_s_ukundefined
                jay_s_uk @Phaedrux
                last edited by

                @Phaedrux I'm not sure plugins can be uploaded using the upload and start button in DWC so I think the wiki is incorrect

                Owns various duet boards and is the main wiki maintainer for the Teamgloomy LPC/STM32 port of RRF. Assume I'm running whatever the latest beta/stable build is

                chrishammundefined 1 Reply Last reply Reply Quote 1
                • chrishammundefined
                  chrishamm administrators @jay_s_uk
                  last edited by

                  @jay_s_uk Yes, installing plugins via "Upload&Start" is supported so the documentation is correct.

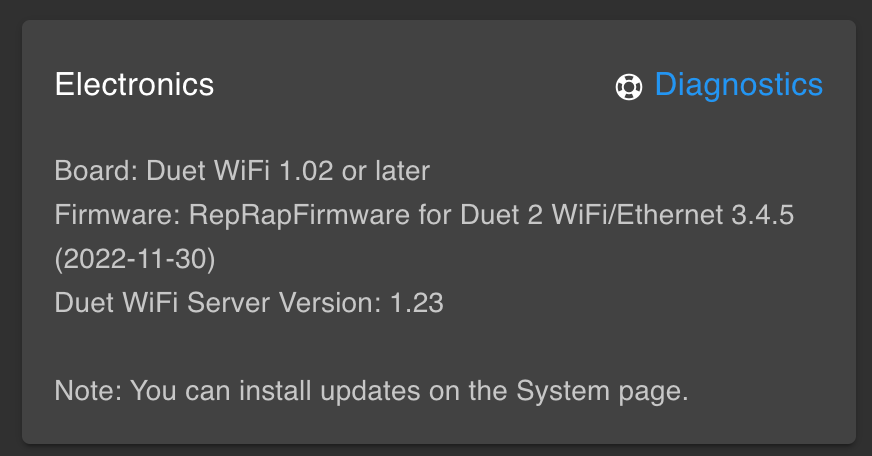
                  @samu_87 Please make sure you are actually using DWC 3.4.5, the error notification looks like it is from an older DWC build. If you are sure that you installed it, try to force-refresh DWC via Ctrl+Shift+R or clear your browser cache.

                  Duet software engineer

                  samu_87undefined 1 Reply Last reply Reply Quote 1
                  • samu_87undefined
                    samu_87 @chrishamm
                    last edited by

                    @chrishamm I install this:Screenshot 2023-01-28 alle 10.47.50.png

                    Where I can control if the DWC is correct?

                    Screenshot 2023-01-28 alle 10.49.32.png

                    I have a lot of problem to migrate to RRF2 to RRF3 maybe is better that I delete all and make a clean and fresh installation? If yes how?

                    Thanks!

                    1 Reply Last reply Reply Quote 0
                    • samu_87undefined
                      samu_87 @Phaedrux
                      last edited by

                      @Phaedrux I upload the exact file that I download... 😞

                      chrishammundefined 1 Reply Last reply Reply Quote 0
                      • chrishammundefined
                        chrishamm administrators @samu_87
                        last edited by

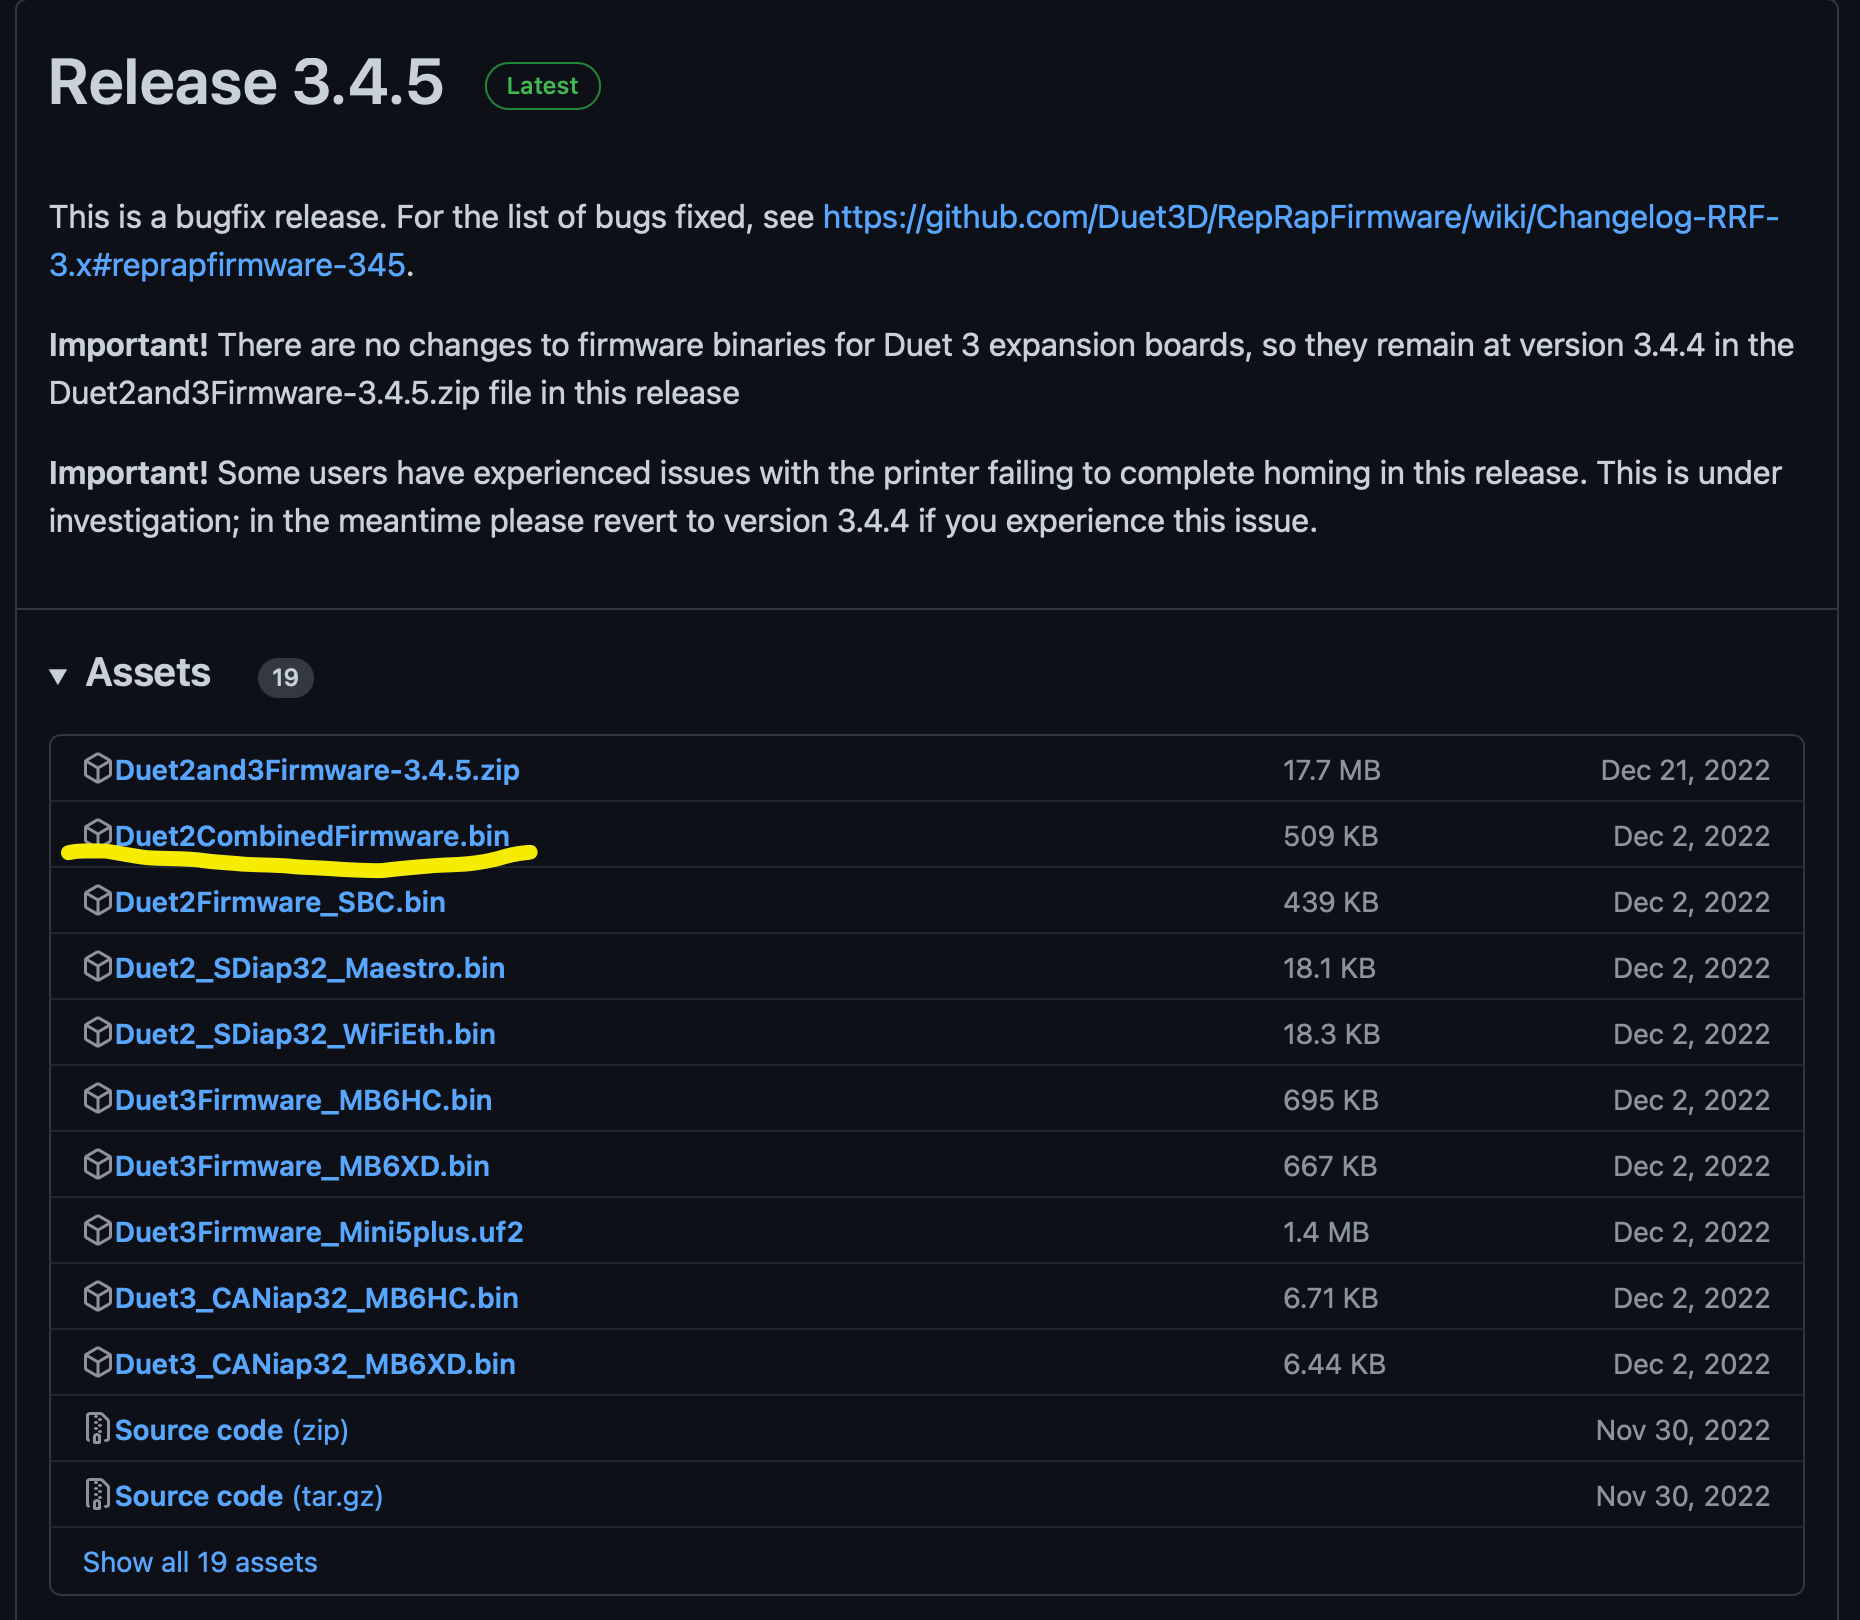
                        @samu_87 Yes, that's the firmware but not the web interface. Just upload Duet2and3Firmware-3.4.5.zip without unpacking it first, then the web interface is updated as well.

                        Duet software engineer

                        samu_87undefined 1 Reply Last reply Reply Quote 0
                        • samu_87undefined
                          samu_87 @chrishamm
                          last edited by

                          @chrishamm Many thanks!!! now I see the plugins! 🙂

                          Can some one help me to adapt my config.g because cannot make the home correctly and if some one can help me to update the parameter. Thanksconfig.g homedelta.g

                          1 Reply Last reply Reply Quote 0
                          • samu_87undefined
                            samu_87
                            last edited by

                            Here the big difference, the homing sometimes don't work well and return me the message "Position can't be reach"...

                            I have traditional optical end stop and I have the piezo probe.

                            Screenshot 2023-01-28 alle 11.18.38.png

                            droftartsundefined 1 Reply Last reply Reply Quote 0
                            • droftartsundefined
                              droftarts administrators @samu_87
                              last edited by

                              @samu_87 your M574 endstop settings should be X2, Y2 and Z2, for max end endstops. I assume this machine is a delta?

                              Ian

                              Bed-slinger - Mini5+ WiFi/1LC | RRP Fisher v1 - D2 WiFi | Polargraph - D2 WiFi | TronXY X5S - 6HC/Roto | CNC router - 6HC | Tractus3D T1250 - D2 Eth

                              samu_87undefined 1 Reply Last reply Reply Quote 0
                              • samu_87undefined
                                samu_87 @droftarts
                                last edited by

                                @droftarts Thank you so much!!! The problem was there, now I'm going to setup fans and heaters OMG 🙂

                                1 Reply Last reply Reply Quote 0
                                • samu_87undefined
                                  samu_87
                                  last edited by

                                  This post is deleted!
                                  1 Reply Last reply Reply Quote 0
                                  • samu_87undefined
                                    samu_87
                                    last edited by

                                    Hi, I think I configure Bed and Hotend well but the printer can't extrude:
                                    Screenshot 2023-01-28 alle 17.30.54.png

                                    Screenshot 2023-01-28 alle 17.42.12.png

                                    Some help? Thanks!

                                    1 Reply Last reply Reply Quote 0
                                    • Phaedruxundefined
                                      Phaedrux Moderator
                                      last edited by Phaedrux

                                      Your tool definition is missing an extruder drive assignment.

                                      You must add D0 like this to your tool definition.

                                      M563 P1 S"tool1" H1 F0 D0

                                      This assigns the first extruder drive to the tool.

                                      It would be easiest if you copy and pasted the text of your config.g here so we can see the whole thing at once.

                                      You can also send M98 P"config.g" in the gcode console and you may catch some error messages.

                                      Z-Bot CoreXY Build | Thingiverse Profile

                                      samu_87undefined 1 Reply Last reply Reply Quote 0
                                      • samu_87undefined
                                        samu_87 @Phaedrux
                                        last edited by

                                        @Phaedrux Thanks! I Add M98:Screenshot 2023-01-28 alle 19.13.29.png
                                        I don't understand why drive 0 is not ok.
                                        If I add D0 at M563 the tool 1 disappear... 😞

                                        1 Reply Last reply Reply Quote 0
                                        • Phaedruxundefined
                                          Phaedrux Moderator
                                          last edited by

                                          Please copy and paste the text of your config.g here so we can see it all?

                                          Z-Bot CoreXY Build | Thingiverse Profile

                                          samu_87undefined 1 Reply Last reply Reply Quote 0
                                          • samu_87undefined
                                            samu_87 @Phaedrux
                                            last edited by samu_87

                                            @Phaedrux Yes!

                                            ; Configuration file for Duet WiFi (firmware version 1.21)
                                            ; executed by the firmware on start-up
                                            ;
                                            ; generated by RepRapFirmware Configuration Tool v2 on Mon Mar 25 2019 12:03:15 GMT+0100 (CET)
                                            M98
                                            ; General preferences
                                            G90                                                                                             ; Send absolute coordinates...
                                            M83                                                                                             ; ...but relative extruder moves
                                            M665 R280.8 L515 B200 H572.95 X0.0 Y0.0 Z0.0							; Set delta radius, diagonal rod length, printable radius and homed height
                                            M666 X0.0 Y0.0 Z0.0 A0 B0                                                                             ; Put your endstop adjustments here, or let auto calibration find them
                                            
                                            ; Network
                                            M550 P"Delta"                                                                                   ; Set machine name
                                            M551 P"KKKKKK"                                                                                ; Set password
                                            M552 S1                                                                                         ; Enable network
                                            M587 S"YYYYYYY" P"XXXXXX" I192.168.1.230 J192.168.1.1 K255.255.255.0 ; Configure access point and IP addresses. You can delete this line once connected
                                            M586 P0 S1                                                                                      ; Enable HTTP
                                            M586 P1 S0                                                                                      ; Disable FTP
                                            M586 P2 S0                                                                                      ; Disable Telnet
                                            
                                            ; Drives
                                            M569 P0 S1                                                                                      ; Drive 0 goes forwards
                                            M569 P1 S1                                                                                      ; Drive 1 goes forwards
                                            M569 P2 S1                                                                                      ; Drive 2 goes forwards
                                            M569 P3 S1                                                                                      ; Drive 3 goes forwards
                                            M350 X16 Y16 Z16 E16 I1                                                                         ; Configure microstepping without interpolation
                                            M92 X200.00 Y200.00 Z200.00 E432                               	                              	; Set steps per mm
                                            M566 X600 Y600 Z2800 E6000.00 P1                                               			; Set maximum instantaneous speed changes (mm/min)
                                            M203 X18000.00 Y18000.00 Z18000.00 E900.00                                                    	; Set maximum speeds (mm/min)
                                            M201 X3000.00 Y3000.00 Z3000.00 E5000.00                                                      	; Set accelerations (mm/s^2)
                                            M906 X1600.00 Y1600.00 Z1600.00 E1000.00 I30                                                    ; Set motor currents (mA) and motor idle factor in per cent
                                            M84 S30                                                                                         ; Set idle timeout
                                            
                                            
                                            ; Axis Limits
                                            M208 Z0 S1                                                                                ; Set minimum Z
                                            
                                            ; Endstops
                                            M574 X2 P"xstop" S1
                                            M574 Y2 P"ystop" S1
                                            M574 Z2 P"zstop" S1
                                            
                                            
                                            ; Z-Probe
                                            
                                            M558 P1 C"!zprobe.in" R0.4 F240 H10 T3600
                                            G31 X0 Y0 Z-0.1 P540
                                            
                                            M557 R190 S20                                                                                   ; Define mesh grid
                                            
                                            ; Heaters
                                            M308 S0 P"e1temp" Y"thermistor" T100000 B4138 ; configure sensor 0 as thermistor on pin e1temp
                                            M950 H0 C"e1heat" T0                          ; create bed heater output on e1heat and map it to sensor 0
                                            M307 H0 B1 S1.00                              ; enable bang-bang mode for the bed heater and set PWM limit
                                            M140 H0                                       ; map heated bed to heater 0
                                            M143 H0 S120                                  ; set temperature limit for heater 0 to 120C
                                            M308 S1 P"spi.cs1" Y"rtd-max31865"            ; configure sensor 1 as PT100 on pin spi.cs1
                                            M950 H1 C"bedheat" T1                         ; create nozzle heater output on bedheat and map it to sensor 1
                                            M307 H1 B0 S1.00                              ; disable bang-bang mode for heater  and set PWM limit
                                            M143 H1 S280                                  ; set temperature limit for heater 1 to 280C
                                            
                                            
                                            ; Fans
                                            M950 F0 C"fan0" Q500                          ; create fan 0 on pin fan0 and set its frequency
                                            M106 P0 S0 H-1                                ; set fan 0 value. Thermostatic control is turned off
                                            
                                            ;CPU Fan - NOT WORKING
                                            M912 P0 S3											;Calibration CPU Temperature
                                            M950 F2 C"fan2" Q500  
                                            M106 P2 T25:65 H100:101:102 L130								;Cooling board
                                            
                                            ; Tools
                                            ;M563 P1 S"tool1" H1 F0                         ; define tool 1
                                            M563 P1 S"tool1" H1 F0 D0
                                            G10 P1 X0 Y0 Z0                               ; set tool 1 axis offsets
                                            G10 P1 R0 S0                                  ; set initial tool 1 active and standby temperatures to 0C
                                            
                                            M204 P1800
                                            
                                            M579 X1.004 Y1.01
                                            
                                            ;M591 D0 P1 C"e1stop" S1										;Sensore di Fine_Filo
                                            M572 D0 S0.05
                                            
                                            ;M955 P0 C"spi.cs4+spi.cs3"	;Accelerometer
                                            
                                            M501
                                            
                                            ; Automatic saving after power loss is not enabled
                                            
                                            ; Custom settings are not configured
                                            
                                            Phaedruxundefined 1 Reply Last reply Reply Quote 0
                                            • First post
                                              Last post
                                            Unless otherwise noted, all forum content is licensed under CC-BY-SA