change or add a ON/Off button instead of a slider
-
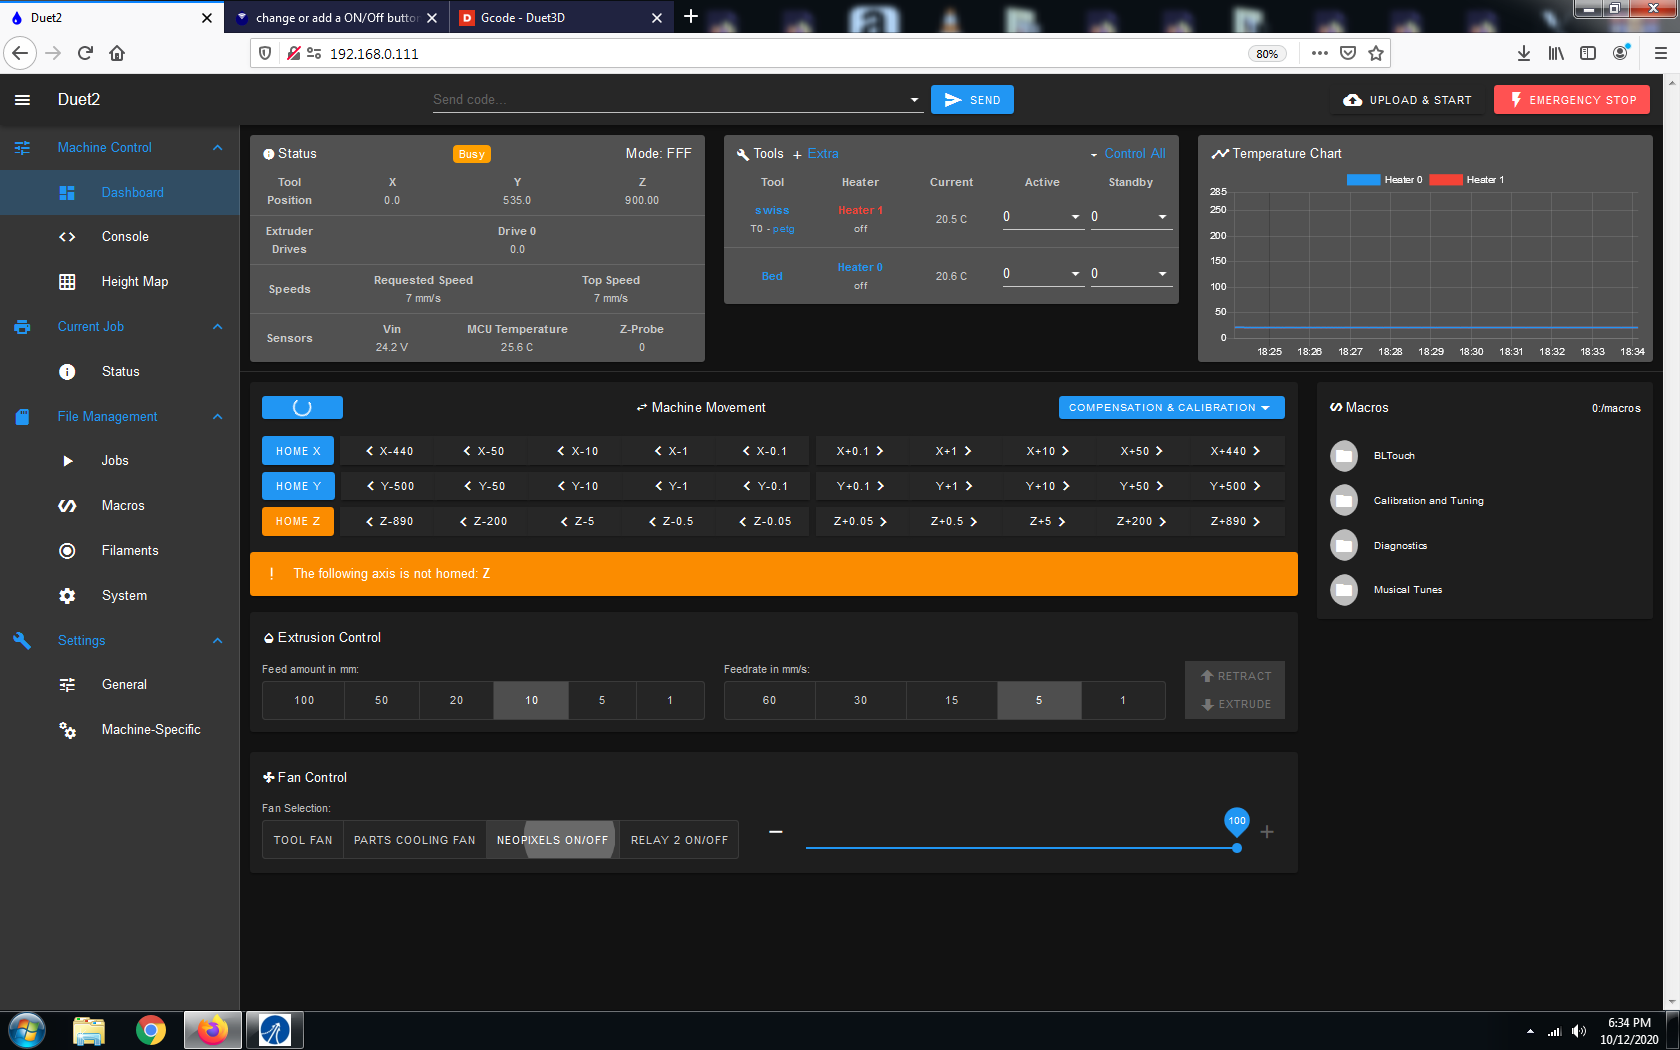
under the dashboard/ fan control.
can a new section be added or created Just to be an ON/OFF button for the led's hooked up to a fan port instead of a Slider bar ?
so ultimatly where it says fan selection, and the "tool fan" tab, can that tab be made to be an on off button instead of a selection button ?
-
Shouldn't you redefine the pins in question as general GPIO pins and then control them with
M42? Then you'd get no fan entry (and no buttons -- but in my setup I have two macros "0_led on" and "1_led off" which runM42 P0 S255andM42 P0 S0respectively and due to their name they are at the top of the list of Macros. Suits me (-: -
@oliof said in change or add a ON/Off button instead of a slider:
Shouldn't you redefine the pins in question as general GPIO pins and then control them with
M42?So it's possible to do that to what would normally be a fan connection?
If that is what you are saying, could you post a example of the command(s) needed to do that?
Thanks.
Frederick
-
@fcwilt In RRF3 you use M950 to define your pins. So you could define a servo pin and then target it with M42.
https://duet3d.dozuki.com/Wiki/Gcode#Section_M950_Create_heater_fan_or_GPIO_servo_pin
https://duet3d.dozuki.com/Wiki/Gcode#Section_M42_Switch_I_O_pin
M950 S0 C"fan0" Q500
M42 P0 S255/S0If you were using a BLTouch I think you'd need to choose the next available servo number, so S1/P1
-
Thanks.
I have failed to realize what M950 can do.
I was thinking that it just declared that you were going to use a specific heater, fan or servo as a heater, fan or servo.
I didn't realize that it could change a fan connection into a servo connection. That is very useful.
Frederick
-
@fcwilt said in change or add a ON/Off button instead of a slider:
I didn't realize that it could change a fan connection into a servo connection. That is very useful.
Yes that is one of the big reasons for RRF3 to make the I/O more generalized and easier to manage over the fixed function of RRF2. This is exemplified in the hardware design of Duet 3 where all specific ports have been replaced in favour of more general i/o leaving it up to the user to define.
-
@Phaedrux said in change or add a ON/Off button instead of a slider:
Yes that is one of the big reasons for RRF3 to make the I/O more generalized and easier to manage over the fixed function of RRF2. This is exemplified in the hardware design of Duet 3 where all specific ports have been replaced in favour of more general i/o leaving it up to the user to define.
I now see why the Duet 3 has more generic names - I like that.
I think the use of specific names like fan0 is what led to my misunderstanding. My fault for not reading with greater comprehension.
Thanks much.
Frederick
-
Ok so from what i have read makes no sense to me, lol
the picture i have attached shows me clicking on the (Neopixels on/off) tab
Can this tab be an actual button to toggle on and off at full power, and remove the slider ?this is what i have:
; Fans
M950 F0 C"fan0" Q500 ; create fan 0 on pin fan0 and set its frequency
M106 P0 C"Tool fan" P1 S0 H-1 T45 ; set fan 0 value. Thermostatic control is turned on "H-1 disables thermostatic mode" or H1 enables. "S" parameter turns that fan on or off S0 or S1 T45 is fan on at 45 degreesM950 F1 C"fan1" Q500 ; create fan 1 on pin fan1 and set its frequency
M106 P1 C"Parts cooling fan" S0 H-1 ; set fan 1 value. Thermostatic control is turned on
M950 F2 C"e1heat" Q20000 ; create fan 2 on pin e1heat and set its frequency ( connected to relay )
M106 P2 C"Neopixels ON/OFF" S0 H-1 ;set fan 2 name and value. Thermostatic control is turned off
M950 F3 C"fan2" Q20000 ; create fan 0 on pin fan0 and set its frequency ( connected to relay )
M106 P3 C"Relay 2 ON/OFF" S0 H-1OR can io create a whole new section under the " fan Control " section just for led and stuff with buttons?
-
@tracar Sorry it's not currently that flexible. I can move this to the wish list.
-
@Phaedrux
thanks for the reply.")
-
What @oliof is talking about would put on/off buttons on the macros list on the right side of your photo and remove the LEDs listing from the fan control entirely.