massive overextrusion, E-Steps are calibrated
-
@Veti said in massive overextrusion, E-Steps are calibrated:
maybe we could send you a known good sliced g code and you can print that to rule out any misconfiguration in the slicer
Hello Veti, that would be very nice !
Here is a link to the file i am doing all my tests with atm:
iphone_halterung_V26.stlIf someone could slice that proper for further testing. Would be great ! thx alot.
-
1611847978080-iphone_halterung_v26.txt
rename to zip and extract.
-
@Veti said in massive overextrusion, E-Steps are calibrated:
1611847978080-iphone_halterung_v26.txt
rename to zip and extract.
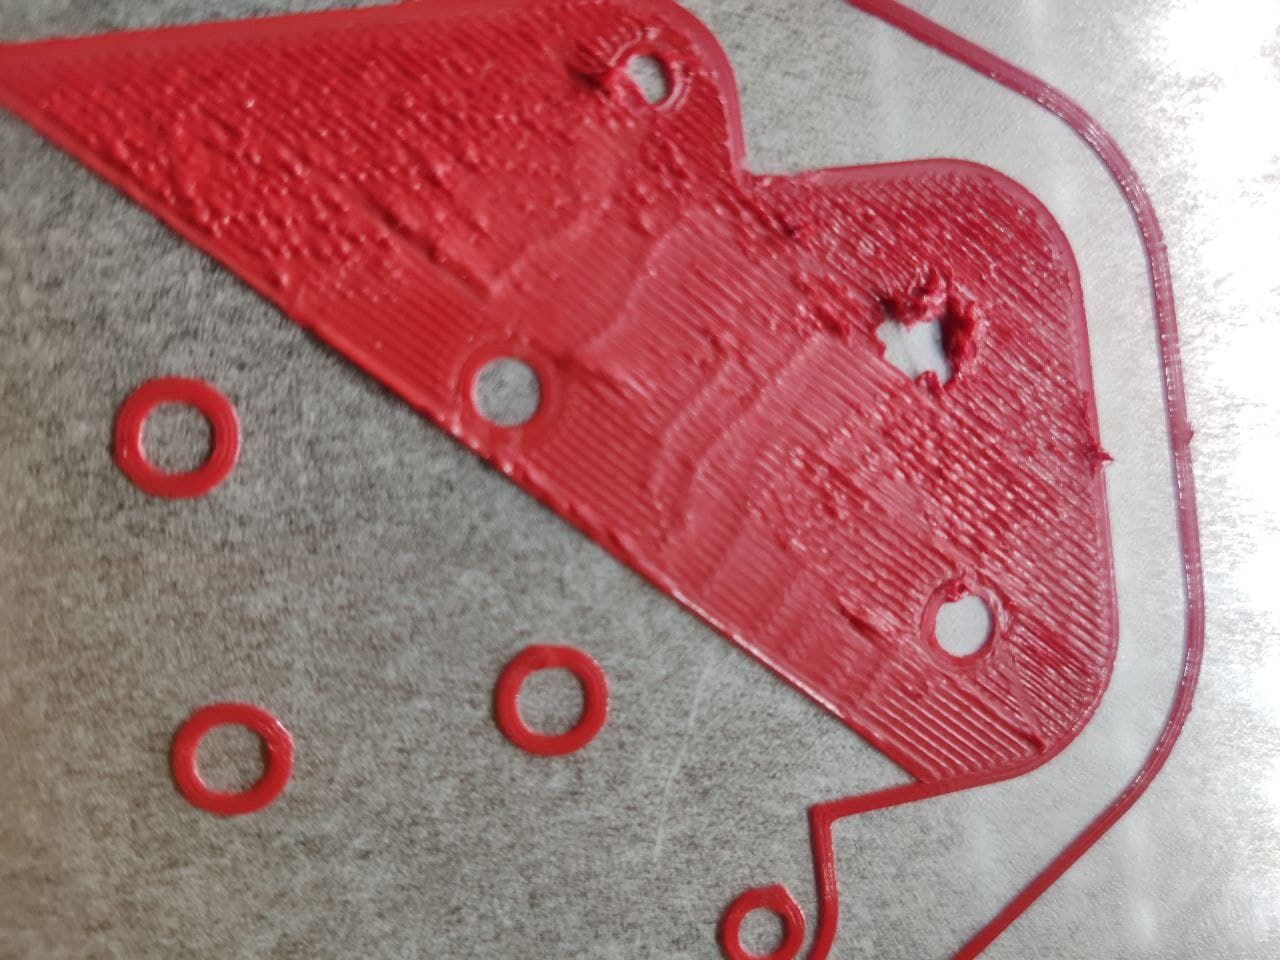
Veti, thx alot. Here comes the result of your gcode printed:
-
@Enpixa said in massive overextrusion, E-Steps are calibrated:
Checked nozzle distance to bed again with the good old "paper-method" using standard 80g paper. Nozzle is barely touching the paper. Really only slightly, it doesnt bend nor really scratches it. just a little feel of.. there could be paper
Did you measure the paper thickness with calipers or a micrometer? What do you set Z to when it's just brushing the paper? 0? 0.1? If the printer thinks it's at Z 0, and it's just brushing a piece of paper that's 0.1mm thick, then your first layer should look UNDER extruded (because your distance is too great.)
As an alternative to standard paper, I buy cigarette rolling papers. They are usually about 0.02mm thick, and tear VERY easily. If I put that paper under my nozzle and move to Z0, it should tear the paper. If I move to Z0.02, I should be able to slide the paper out without tearing (but still feel resistance.)
At Z0.01, I can slide it out if I'm very careful and go slow, but it feels like it really wants to tear.
(I realize that the above info likely isn't going to help you solve your issue, and might even result in it appearing worse. I've just noticed that people very frequently associate a piece of paper with "z = 0" when it's not.)
i am going crazy !

That depends: Were you crazy before you started having this issue?
-
Some random ideas based on likely far-fetched things, but that haven't been asked yet:
I've noticed all your pictures are using red filament. I'm guessing it's the same spool? What is the brand and type of filament? Is it 1.75mm?
Have you tried a different spool of filament?
Have you measured the filament thickness to validate it's really 1.75 (or within 0.05mm)? It's not unheard of for people to get filament that's way off.
When measuring, use calipers to measure the thickness of the filament in multiple directions. For example, it might be 1.73 measured one way, and 1.77 measured at a 90 degree angle.
-
In Germany we have a saying: "It is the same in green"..... fits perfect to my print result
 Meanwhile tried it with 4 different filaments. ( All from "high quality" filament companies.
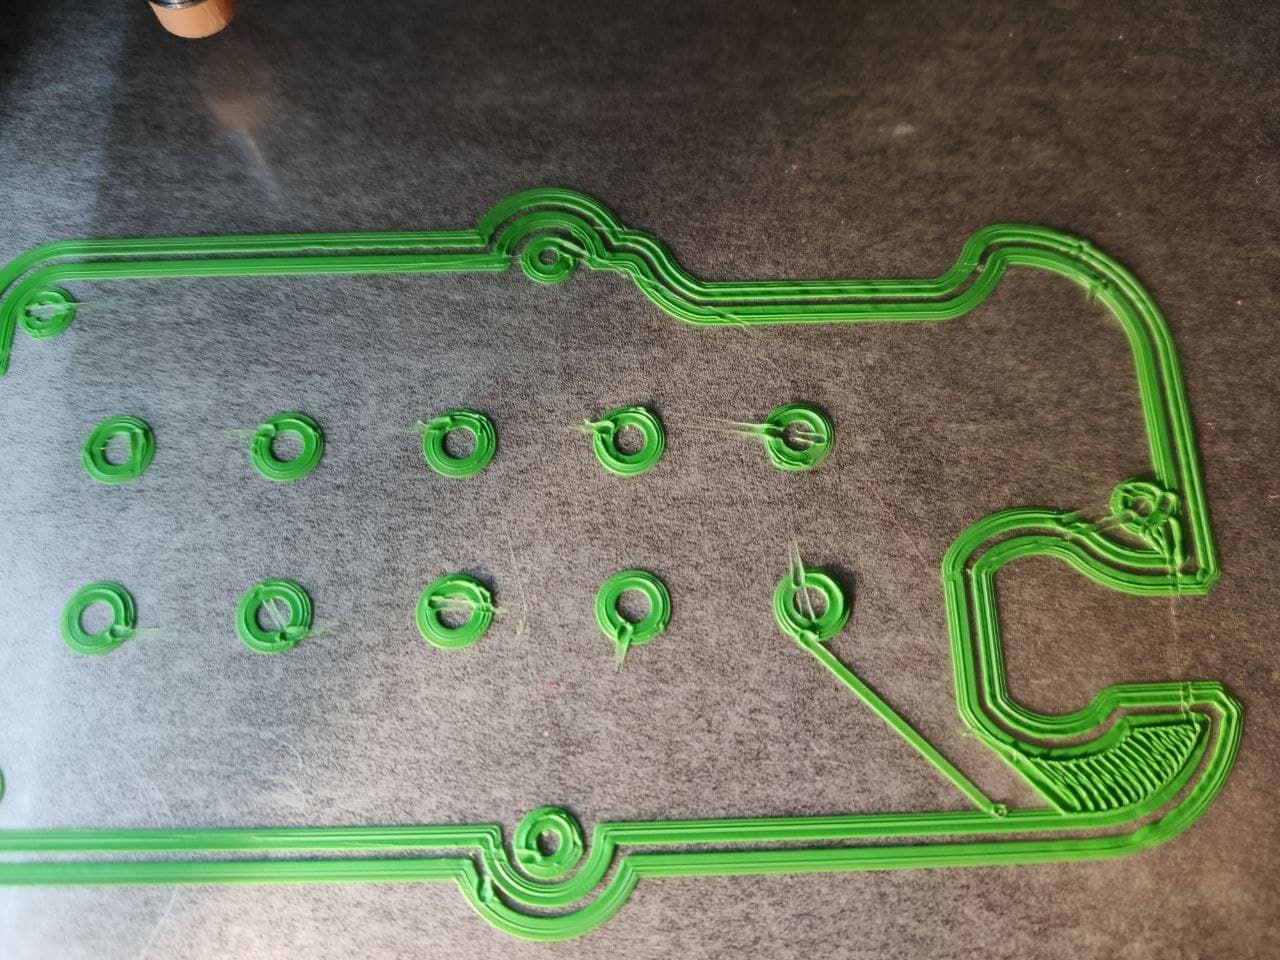
Will measure tomorrow, have my calipers in office. But the filaments work on my other printers fine.
-
Taking more guesses (and they really are guesses at this point.)
The shape that it's starting to print in your tests: are the X and Y dimensions of the outline accurate? In other words, if the shape is supposed to be 100mm wide and 50mm long, it the outline on the build plate 100mm wide and 50mm long? (Just validating that your X and Y steps/mm are accurate. If they are set too low, the shape would be smaller than it's supposed to be, and it would appear over-extruded.)
What is the height of that first layer? 0.2mm?
Try reversing the order of M92 and M350 in your config.g (so that M350 appears BEFORE the M92.) That way, you define what "a step" is before you define how many steps are in a millimeter. (I don't think this will solve your problem, but it's good practice anyway.) Also, "I1" in your M350 turns interpolation on (the comment in your config.g says "without interpolation", but the command is enabling it.)
-
I've seen filament leaving the nozzle and it was foamed up from 0.4mm to 1mm or more.
Can't remember which settings where wrong.Maybe others can confirm that and tell what to change?
The red testprint looks pretty normal to me, except this hole to the right, that didn't stick to the bed and messed up the infill around.
The green test was too close to the bed, you can see the nozzle has scratched through the print.
Maybe you just have to improve the stickiness of your bed and raise the nozzle.
The first layer isn't perfect most of the time, that's not unusual. -
Do you have calipers?
can you raise your head and extrude (manually) some amount of filament in the air and then measure the diameter of the string that is going out of the nozzle? -
Next Update:
measured the Filament, it is ~1.75
Checked Z-Movement: G92 Z0 & G1 Z150 :
Started at 25cm on ruler and it ended at exactly 10cm.Starting-Point:
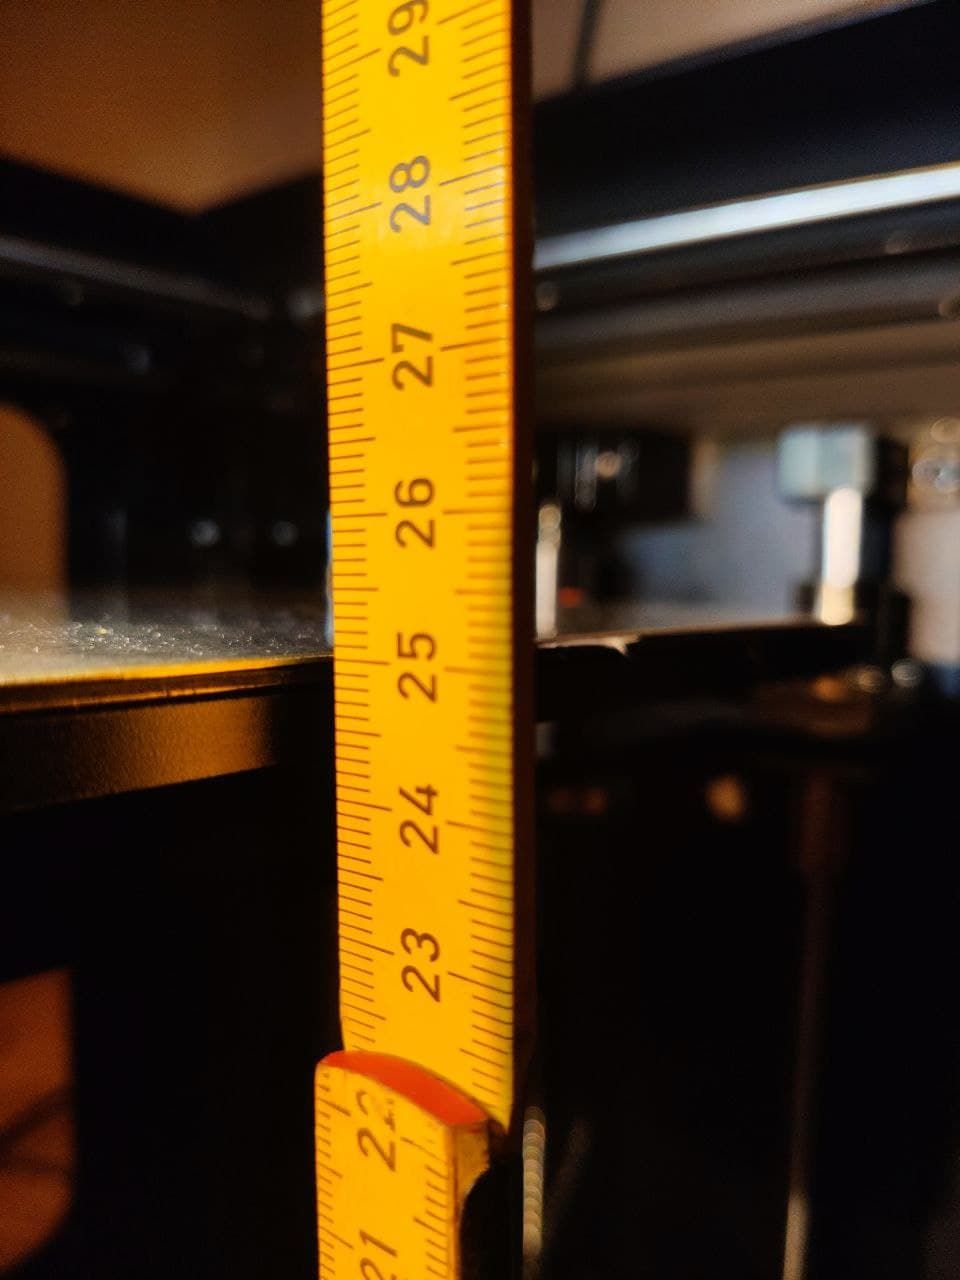
End-Point of G1 Z150:
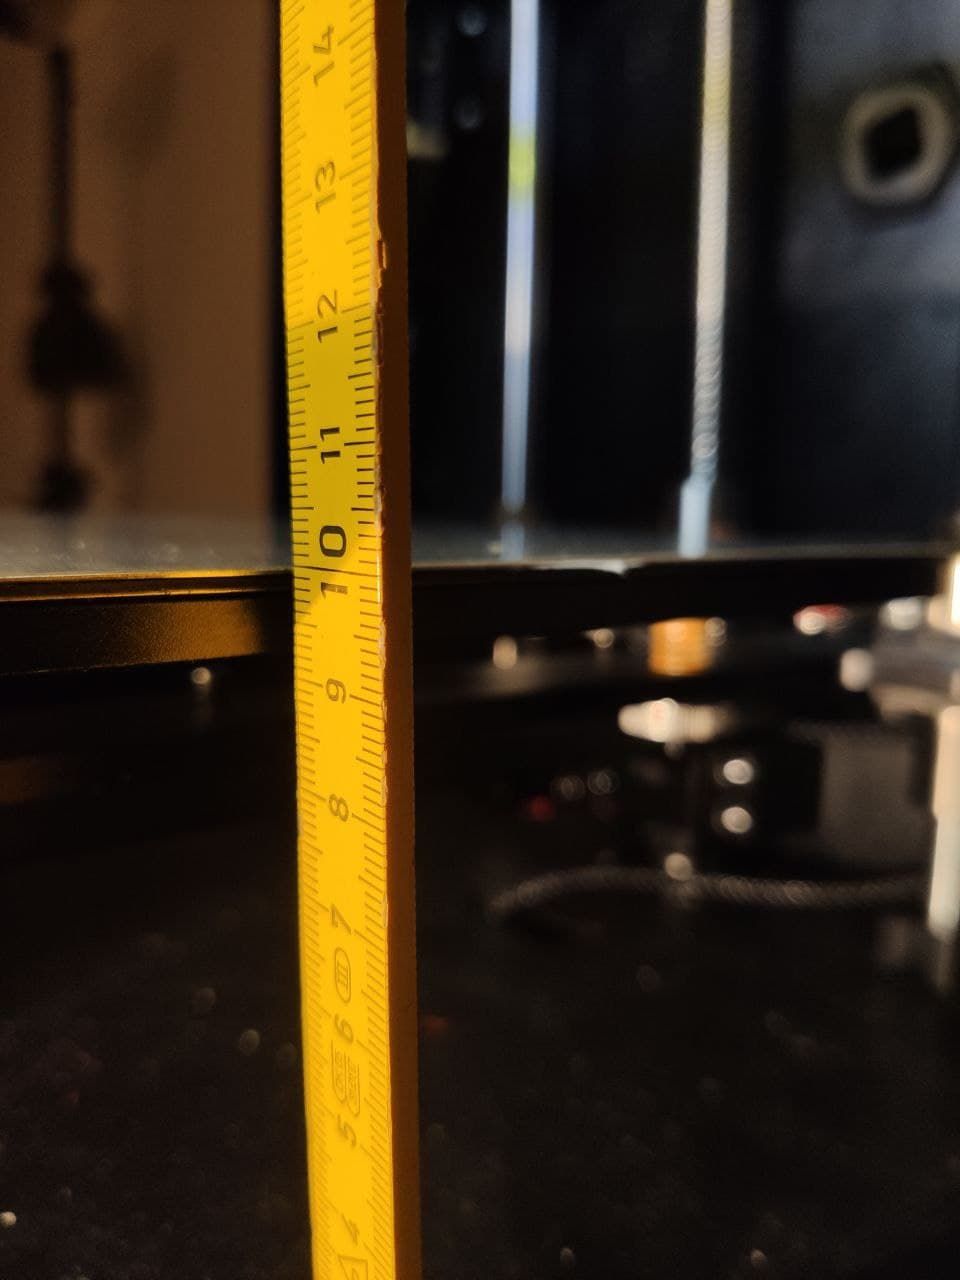
Next printed the Calibration Cube several times. Layer Height 0.16.
1st layer completely, 2nd Layer to the half to show nicely :Offset 0.15 ( Babysteps ), Extrusion Factor in DWC 70%
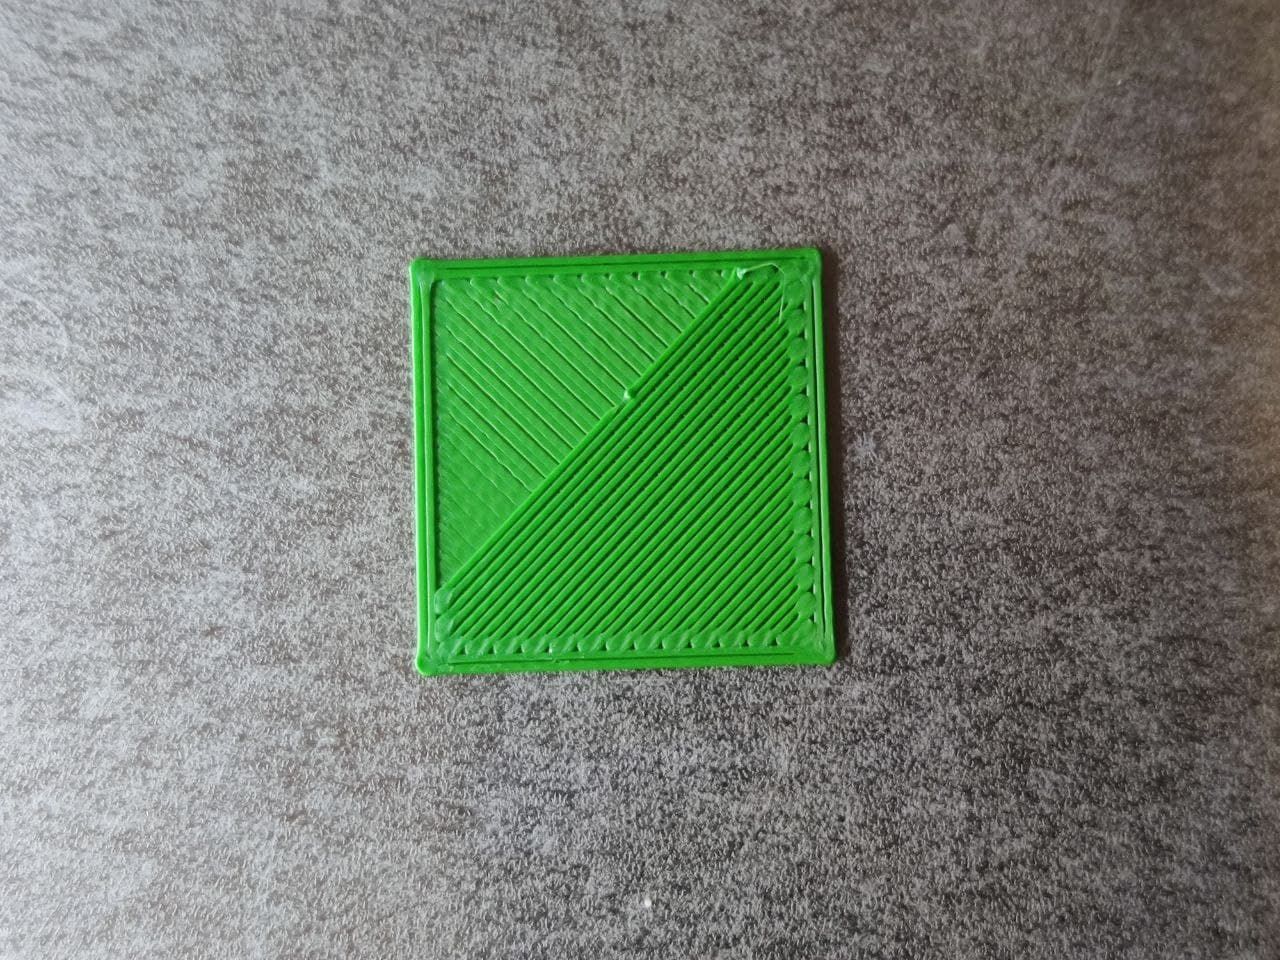
Offset 0.20 ( Babysteps ), Extrusion Factor in DWC 85%
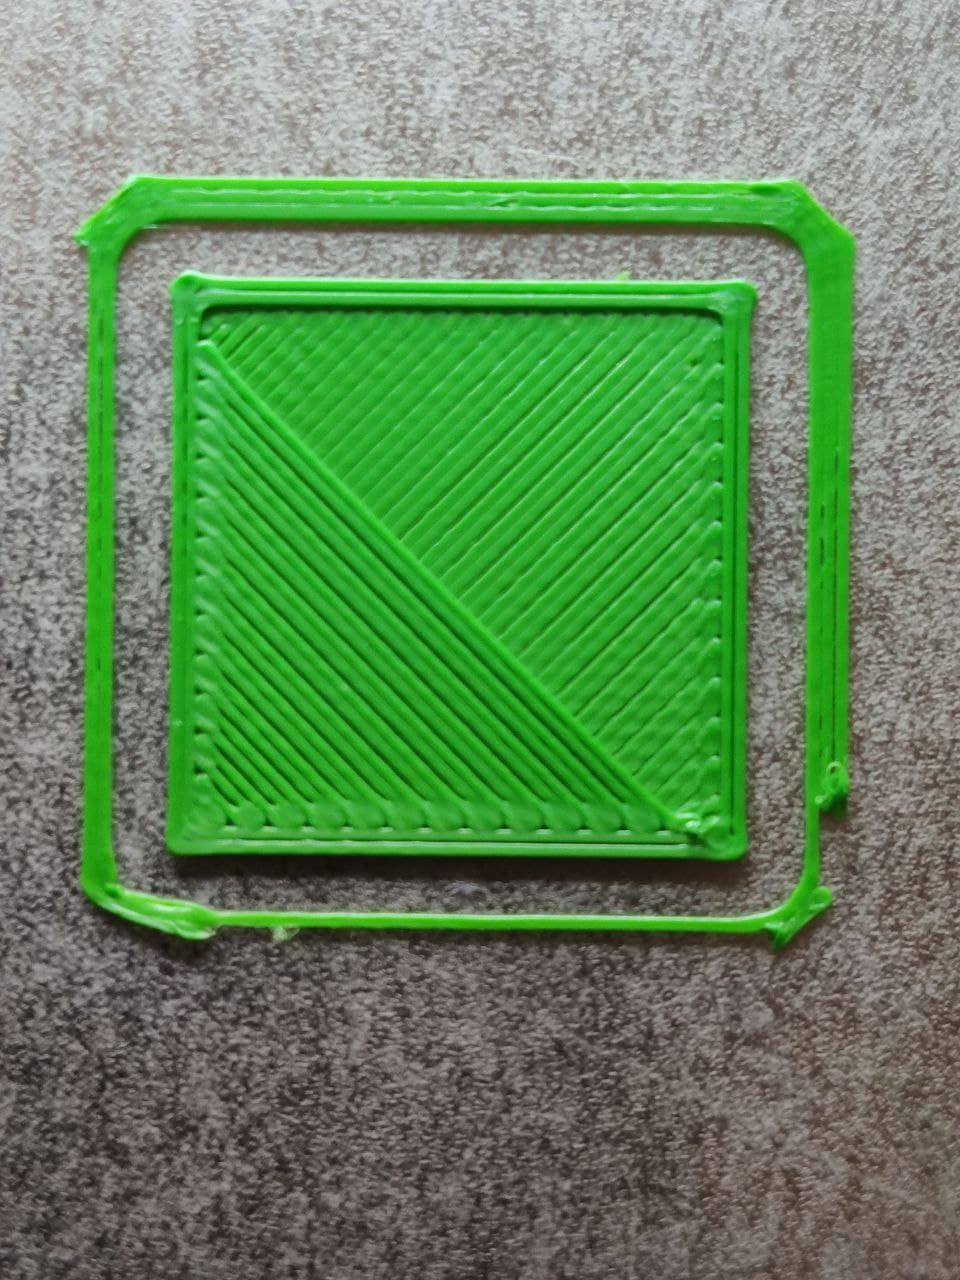
Offset 0.20 ( Babysteps ), Extrusion Factor in DWC 90%
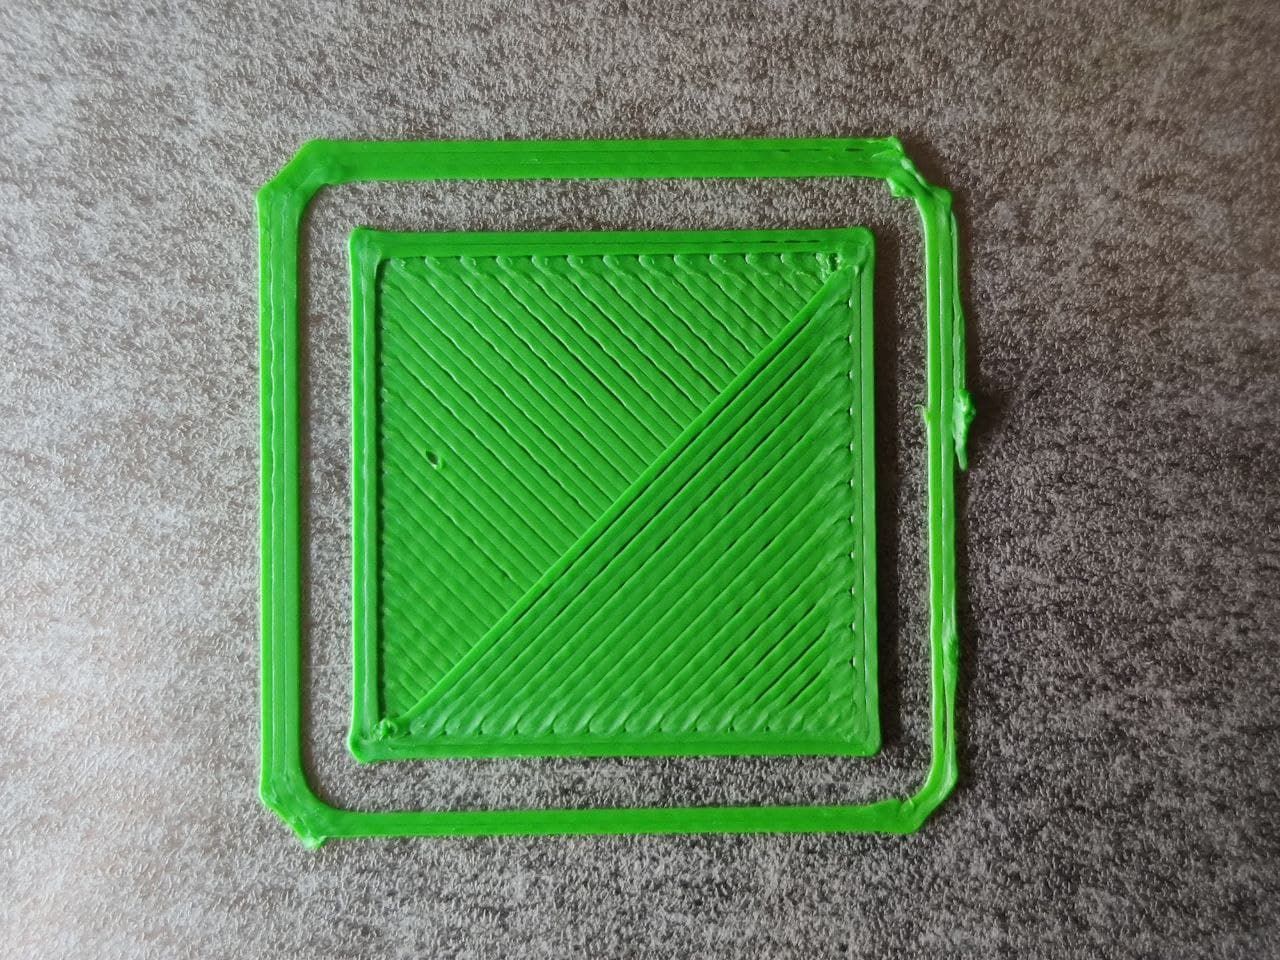
Offset 0.2 ( Babysteps ), Extrusion Factor in DWC 95%
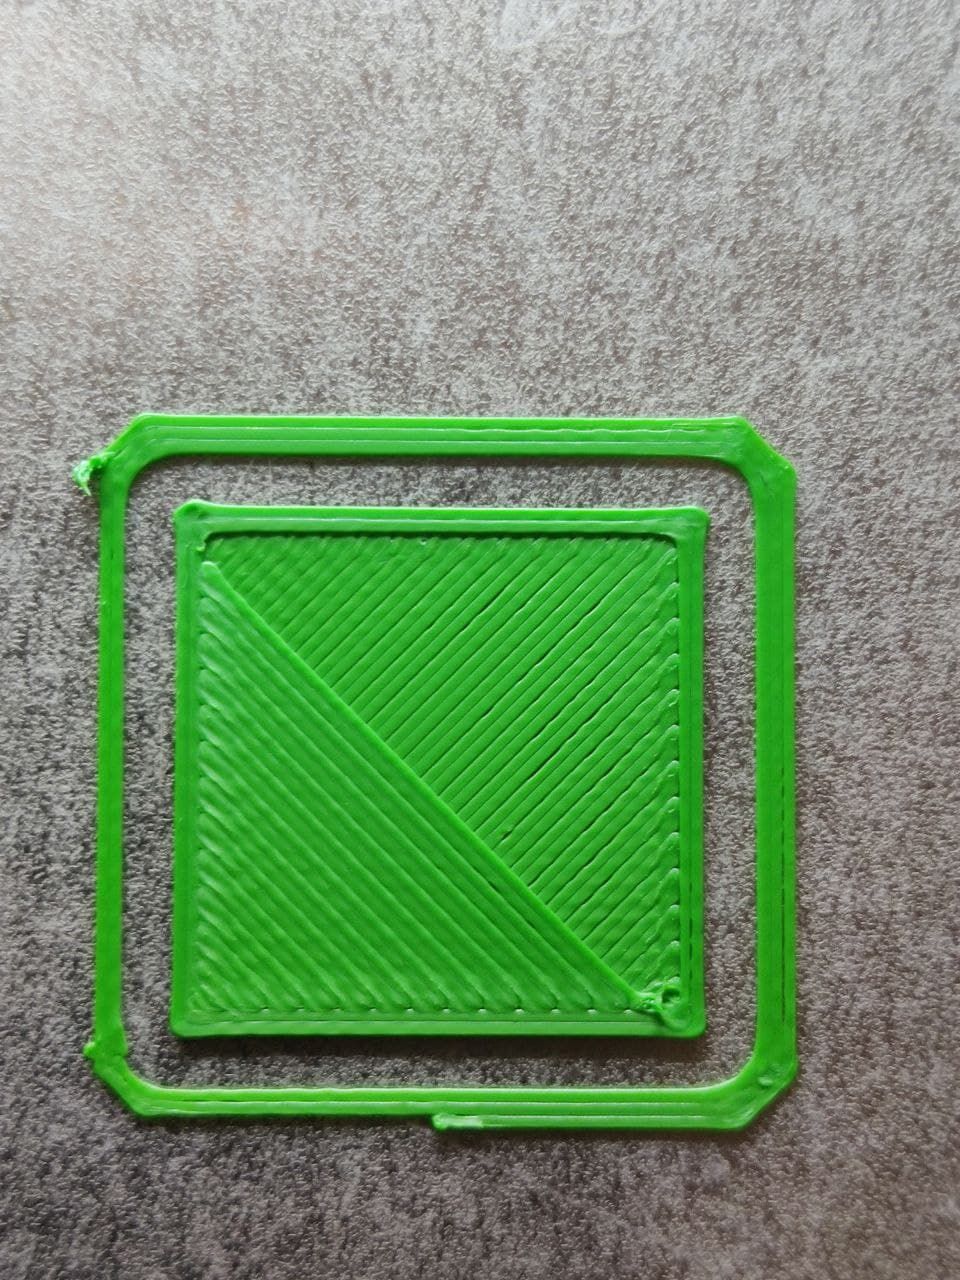
Offset 0.2 ( Babysteps ), Extrusion Factor in DWC 100%
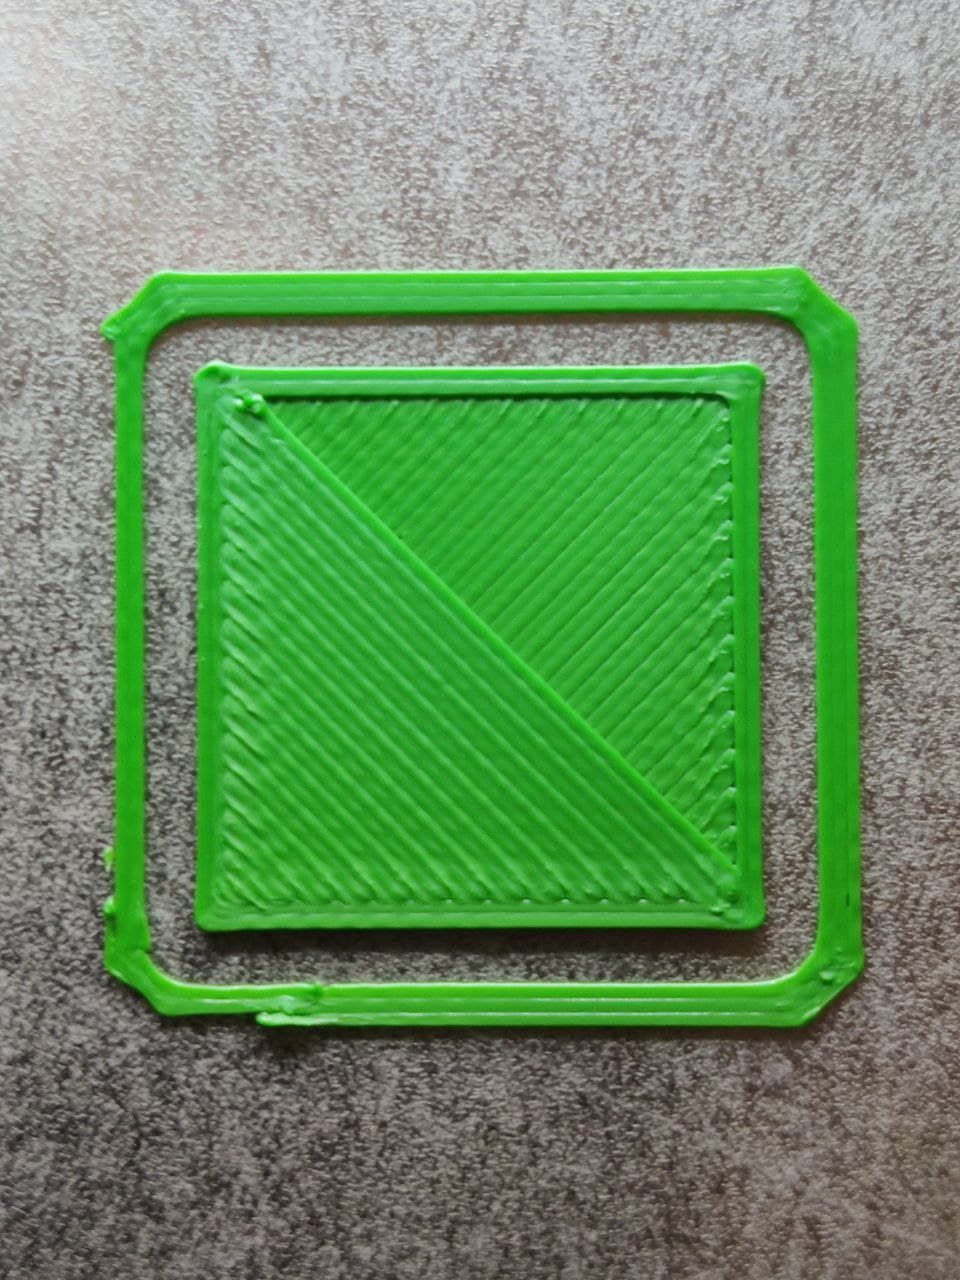
Offset 0.25 ( Babysteps ), Extrusion Factor in DWC 100%
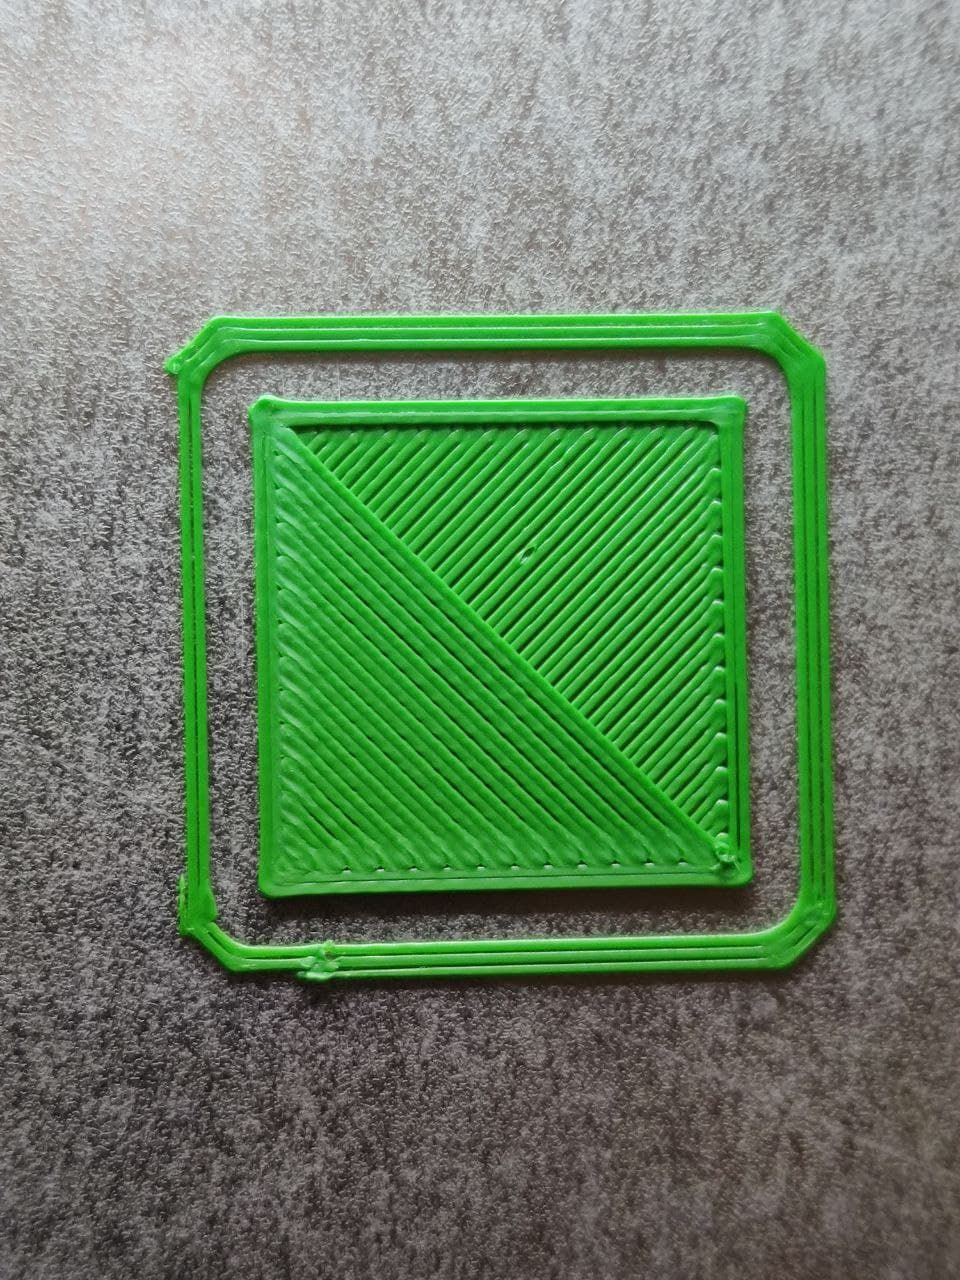
Thought, Offset 0.2 and EF 100% didnt look too bad. so went for it
to print it:View to Infill at about 50% Printtime
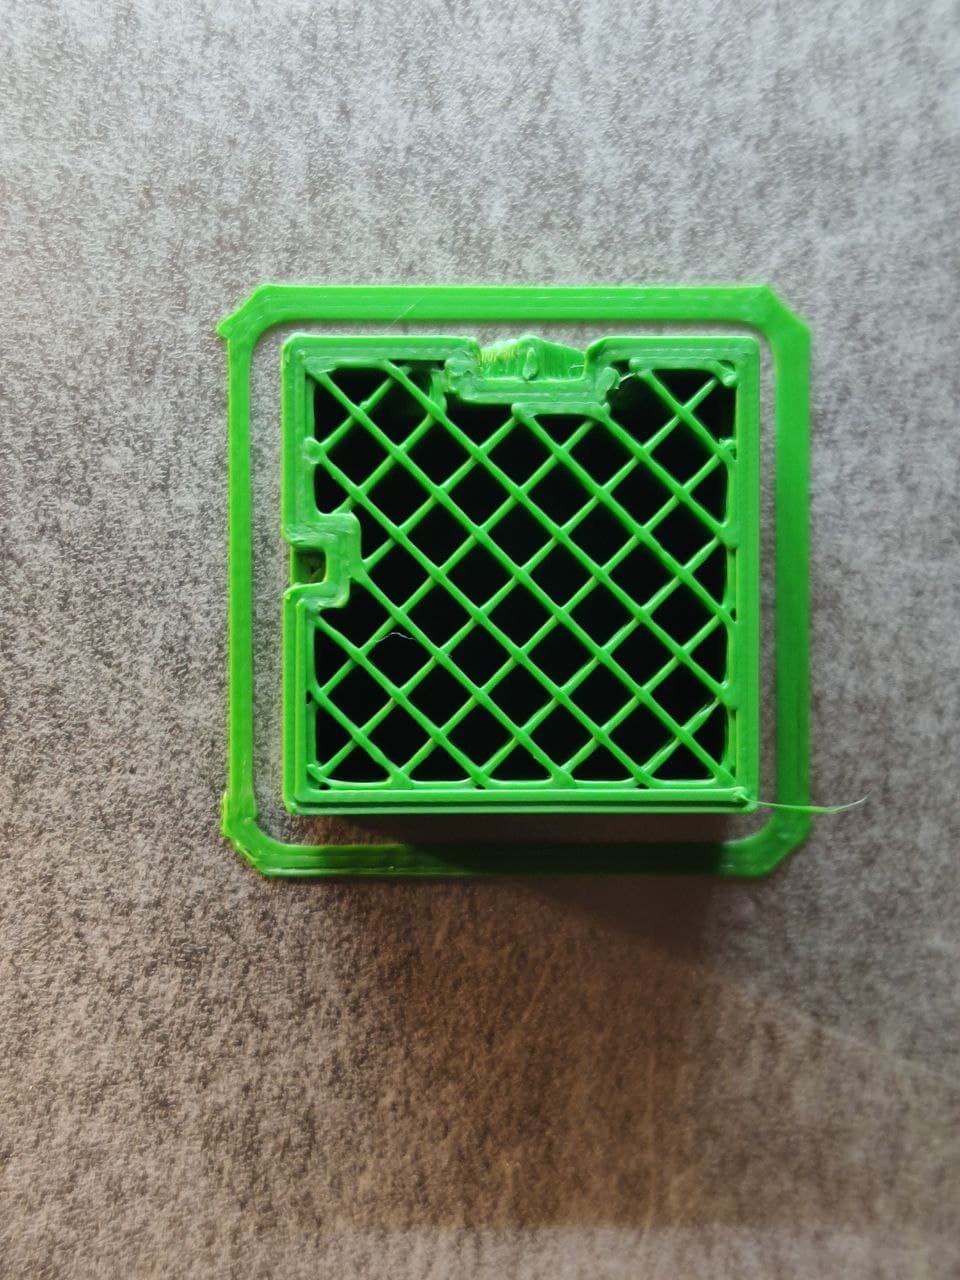
Photos of Calibration Cube. It is the same cube, just rotated it for the Photos, Printed with 0.16 Layer-Height:
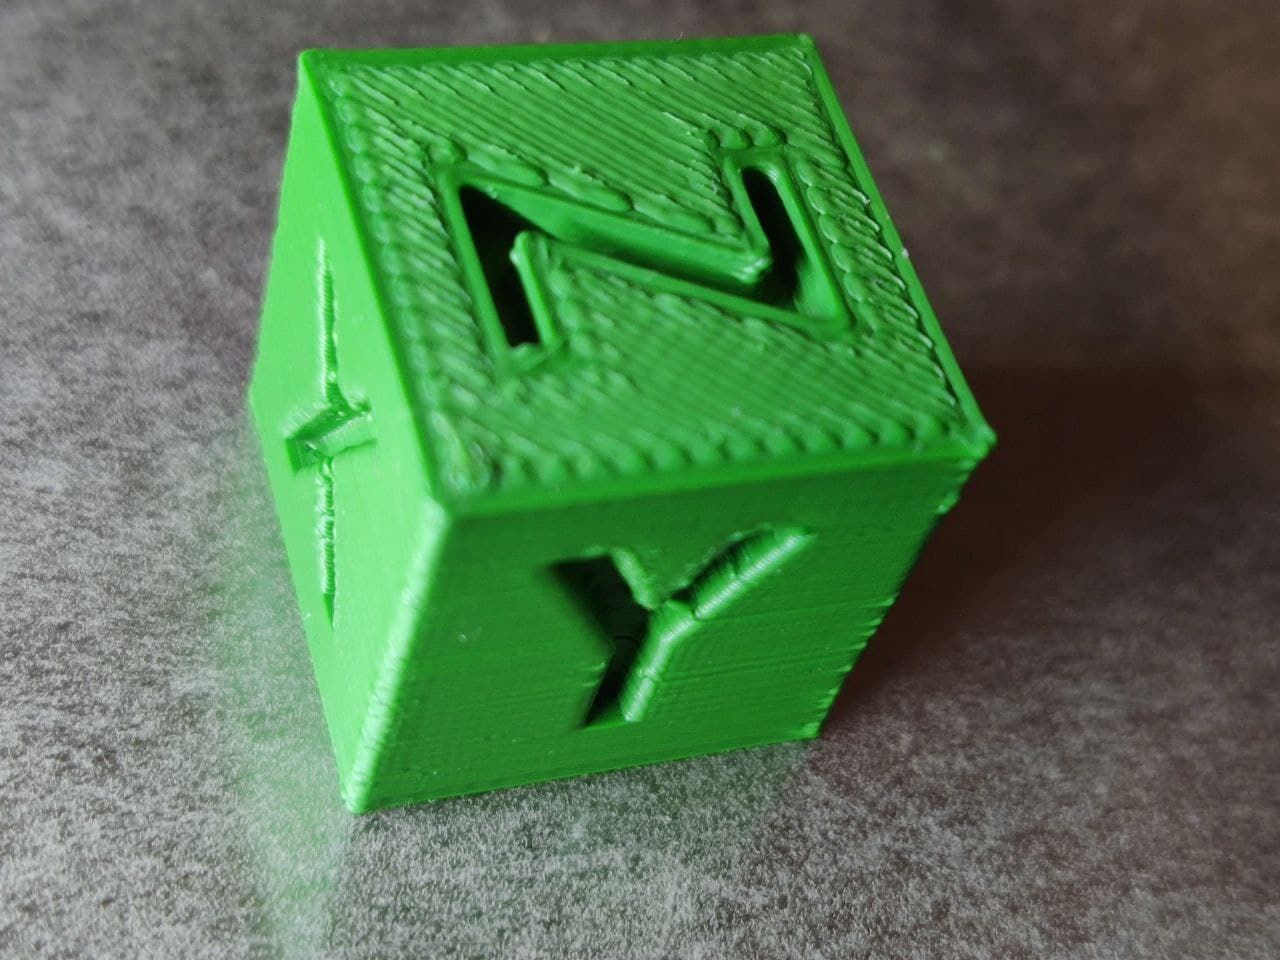
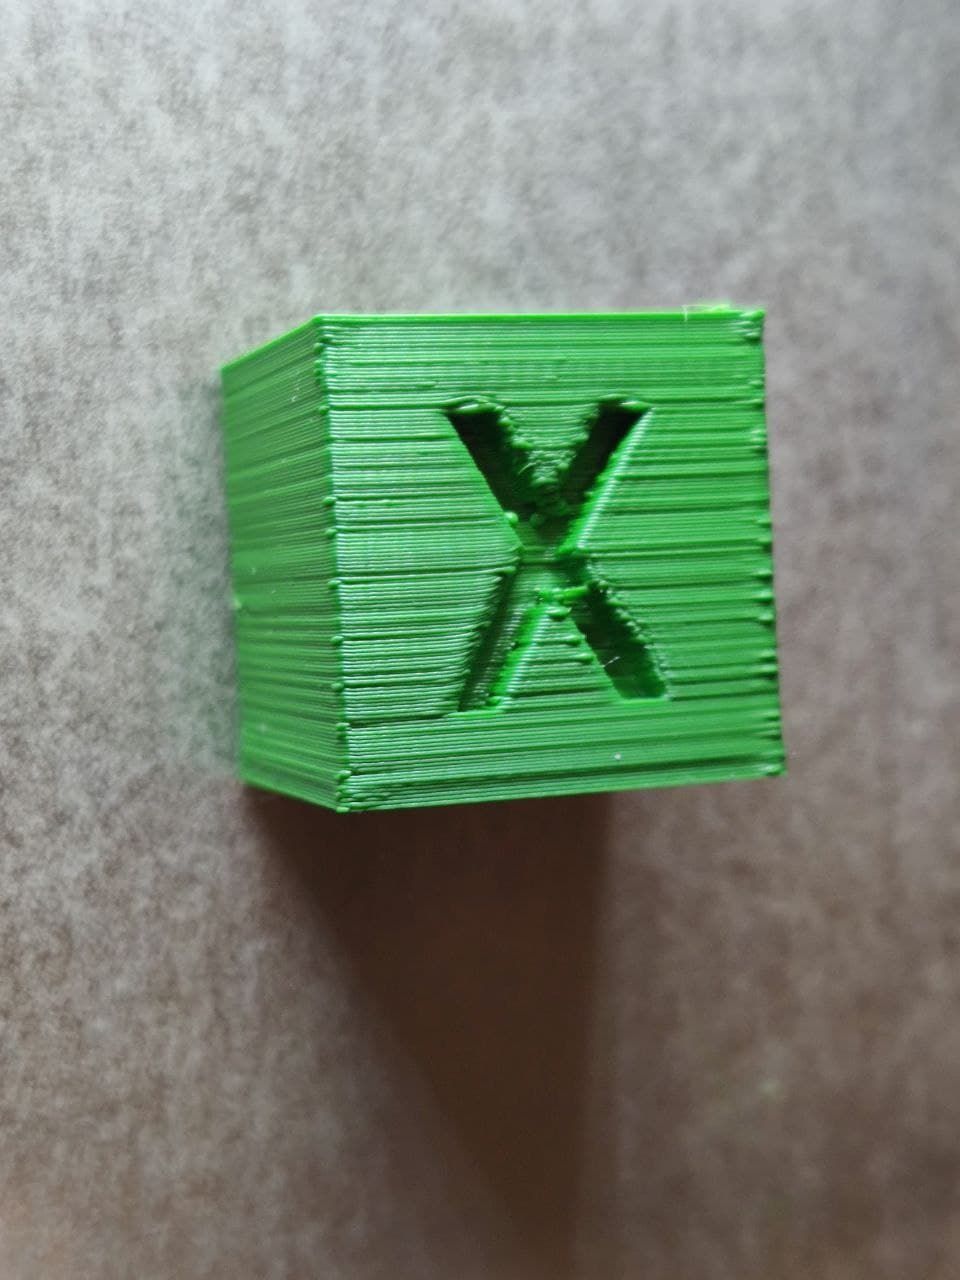
Any ideas, how i could proceed to get a good print result ?
-
i am confused. the one with 100% extrusion looks like its supposed to.
-
It's not uncommon to set the extrusion factor in the slicer to 90-95% to get clean prints. I'd say your first layer just needed to be a bit higher. The layers afterwards look ok.
-
what temperature are you printing at?
also make sure your retraction settings are working
print this
https://www.thingiverse.com/thing:2766430
and check with differernt retraction distances -
@Phaedrux said in massive overextrusion, E-Steps are calibrated:
It's not uncommon to set the extrusion factor in the slicer to 90-95% to get clean prints. I'd say your first layer just needed to be a bit higher. The layers afterwards look ok.
there is one example with offset 0.25 and 100%, for me it already looks like too far away. Lines on first layer diesnt stick together anymore. Thats why i went for the 0.2 & 100%
-
@Veti said in massive overextrusion, E-Steps are calibrated:
what temperature are you printing at?
also make sure your retraction settings are working
print this
https://www.thingiverse.com/thing:2766430
and check with differernt retraction distancesVeti, at the moment at 205°, but had pretty the same results with 190°
-
@Enpixa said in massive overextrusion, E-Steps are calibrated:
Thought, Offset 0.2 and EF 100% didnt look too bad. so went for it
to print it:0.2mm babystepping is a lot and explains the 50% extrusion rate you had to use earlier.
Question is, how good does the print stick to the surface with this new nozzle height? -
I wanted to thank you all for your input.
Atm the main-problem is still not solved but before further hunting for the overextrusion-issue and all the suffering :), i thought it is a good time to replace the old part-cooling-system which i got from Grabcad and never convinced me because the ducts were oriented 90° directly to bottom (but it looked awsome
 )
)So i opened my old loved Rhino3D an started to model a new cooling-system from scratch, simple, but hopefully well performing:


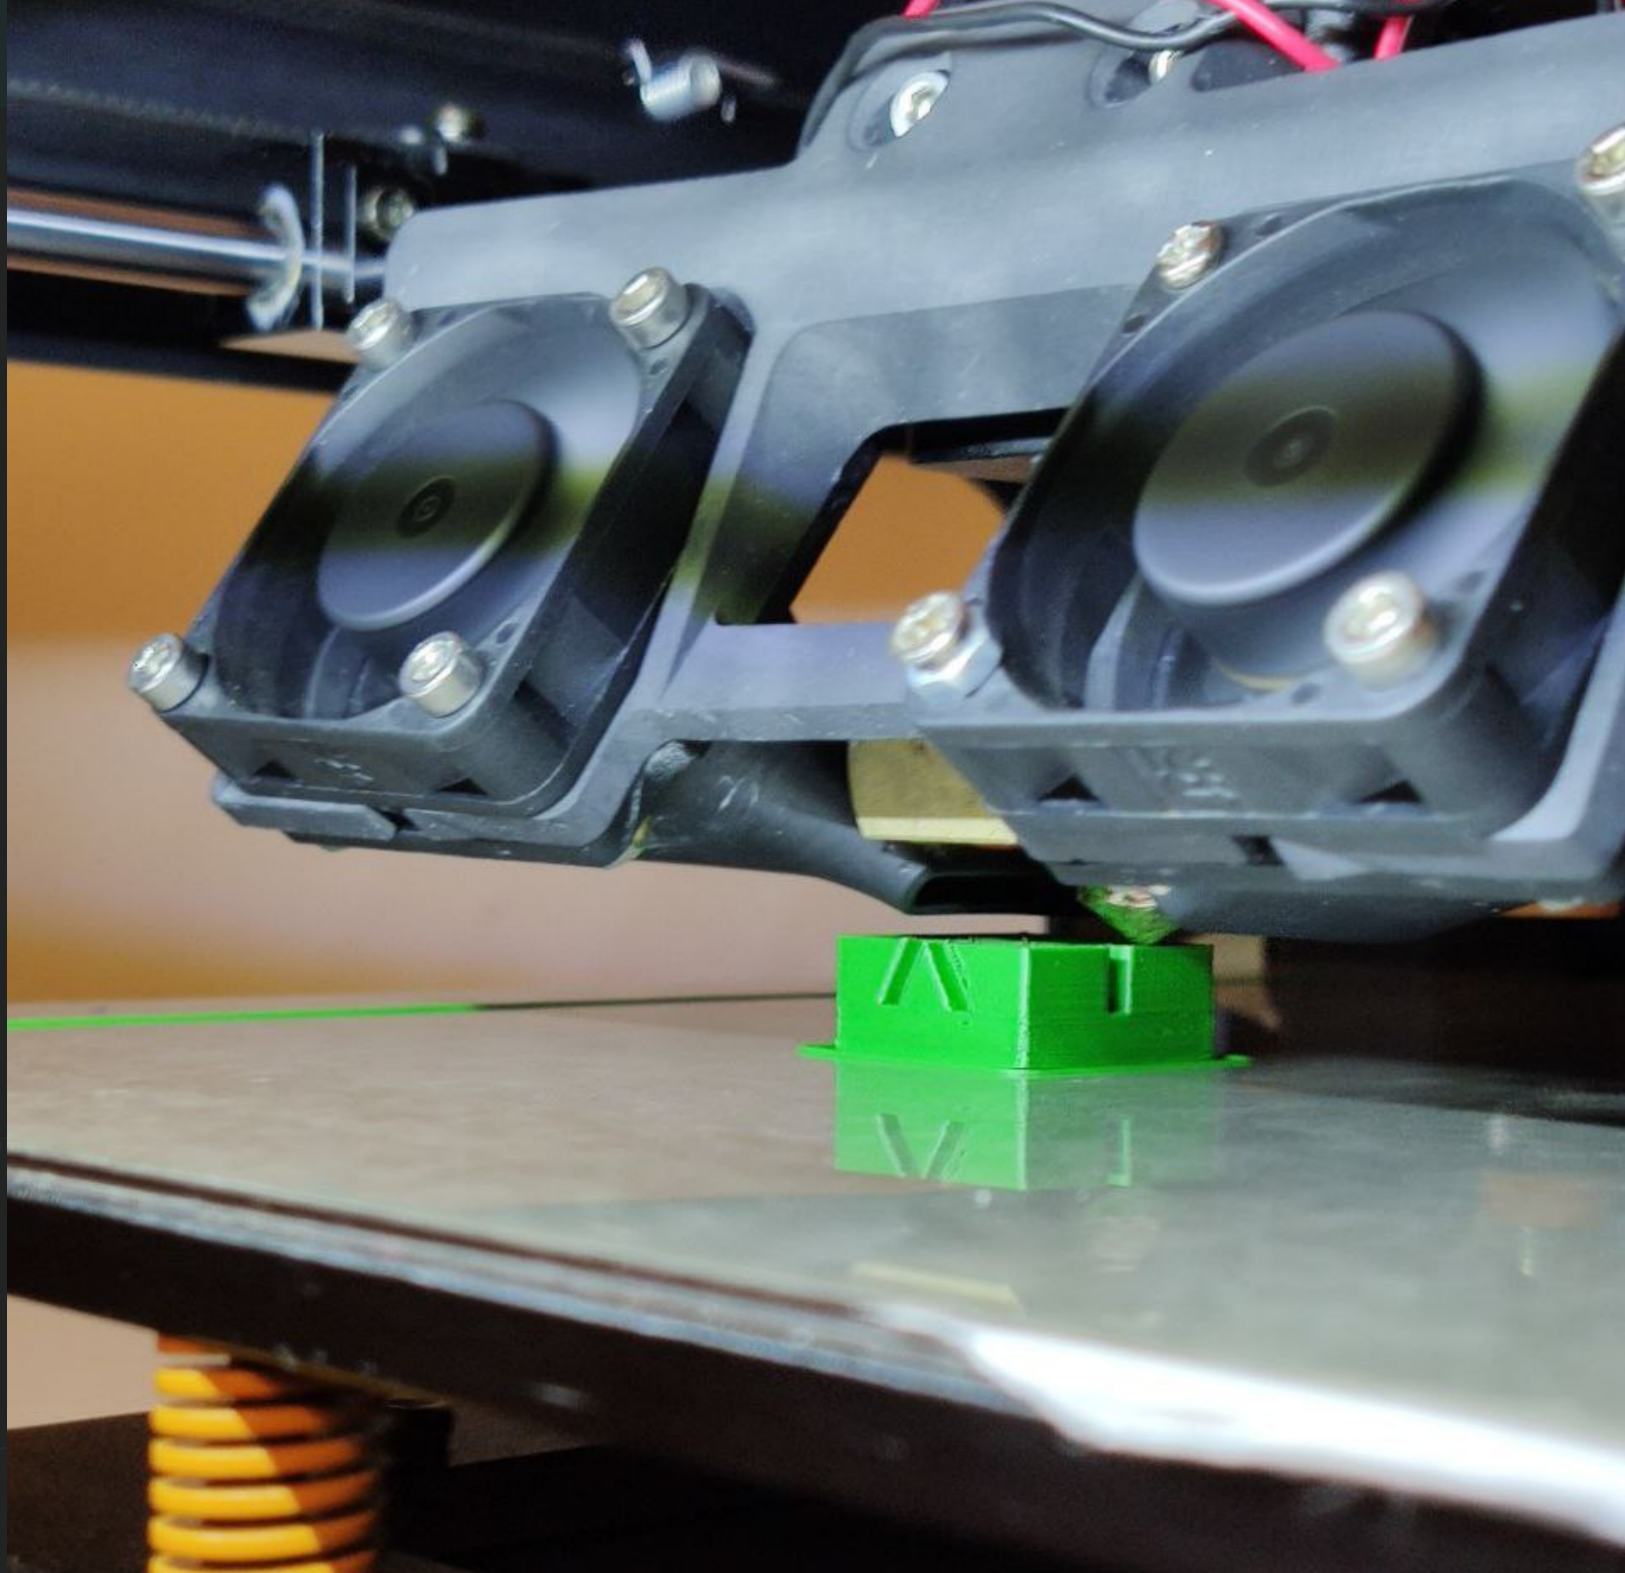
I keep you updated ! When i approved that the new cooling fans are doing well, i will provide the model on grabcad.
Hunting over-extrusion will start soon again.
-
Hi,
This may be a bit late to help but I will post it anyway.
I have had massive overextrusion myself and have decided the easiest way of overcoming this after much searching for the problem is to just reduce the extrusion factor until it prints well and leave it at that.I have built a large (500X500X500) core XY printer which I use for engineering components using mainly Nylon CF. This is the printer I have massive over extrusion.
I also have a Prusa MK3S and use the Prusa Slcr to do my slicing.The coreXY printer uses a Duet Wifi board with two independant Z axis drives. All of the X,Y,Z axis are calibrated and also the extruder is also calibrated. When printing I also checked that my extruder nozzle was the correct diameter (o.6mm) and that the first layer print was exactly the correct level (by using a vernier caliper to test the extrusion thickness and also the first layer thickness).
I tested my extrusion using just a single first layer and a spiral vase cylinder and found the perfect print at 0.75 extrusion factor. I now slice all of my prints using this and they come out perfectly.I spent a lot of time trying to solve why the overextrusion because there seems to be almost a religious belief in the 3D printing community that if the extrusion factor is more than 5% from 1 then there is a major problem that needs to be hunted down at all costs.
I might mention that my MK3S also over extrudes but a an extrusion factor of 0.9 seems to print OK.
Hope this was helpful.
-
did you get this resolved? I have exactly the same problem and have gone pretty much through all the steps in this thread aswell (minus changing the Duet2 Board)
-
@hadtstec
I'm not OP but I had this same result on my newly homemade coreXY.
First blunder was the steps for Z, a bit miscalculated... Got alot better but not near what to expect, still looked like over extruding.
Started to tune retraction and pressure advance and that did it for me!